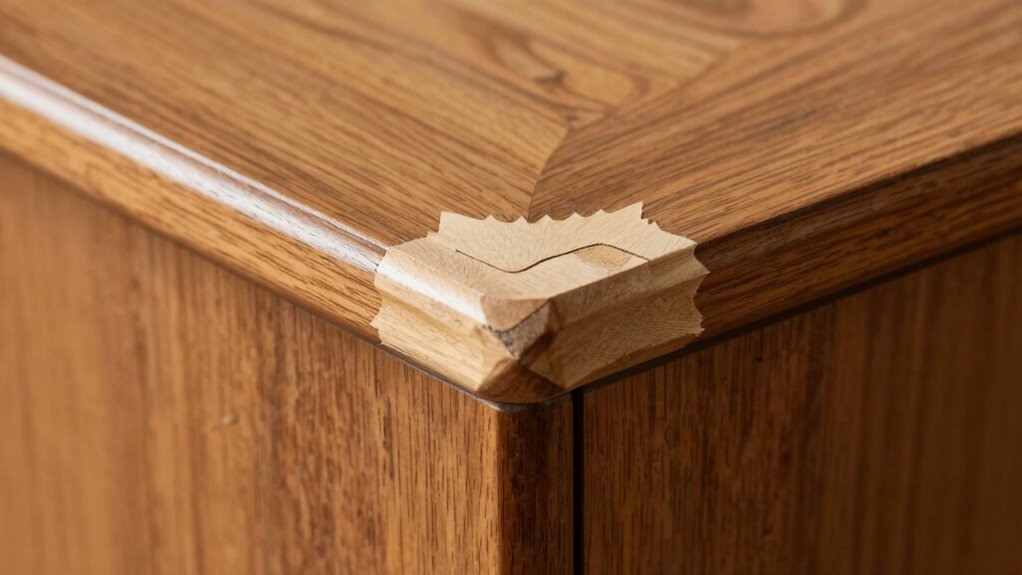
If you’re dealing with missing veneer corners, choosing the right patch shape is key for a seamless blend. Opt for a patch that mimics the original corner’s contours, ensuring it fits snugly. Clean the area well and apply a high-quality adhesive. Clamp your patch securely for a strong hold. Once it’s set, trim excess material and sand lightly before applying a matching stain. This approach not only hides the damage but enhances your furniture’s beauty. You’ll discover more tips along the way!

Get business pricing on tools and workshop supplies
- Business-only prices and quantity discounts
- Tax-exempt purchasing
- Multiple users, one account, clear invoices
Key Takeaways
- Choose a patch shape that mimics the original corner design for seamless integration with the surrounding veneer.
- A rounded or curved patch often blends better with furniture aesthetics than a square or rectangular shape.
- Select veneer that matches the wood grain and color of the original surface for a flawless appearance.
- Use wood putty to fill in small gaps around the patch, enhancing the overall look and reducing visibility.
- Finish with matching stain and protective coating to unify the repair with the existing surface.
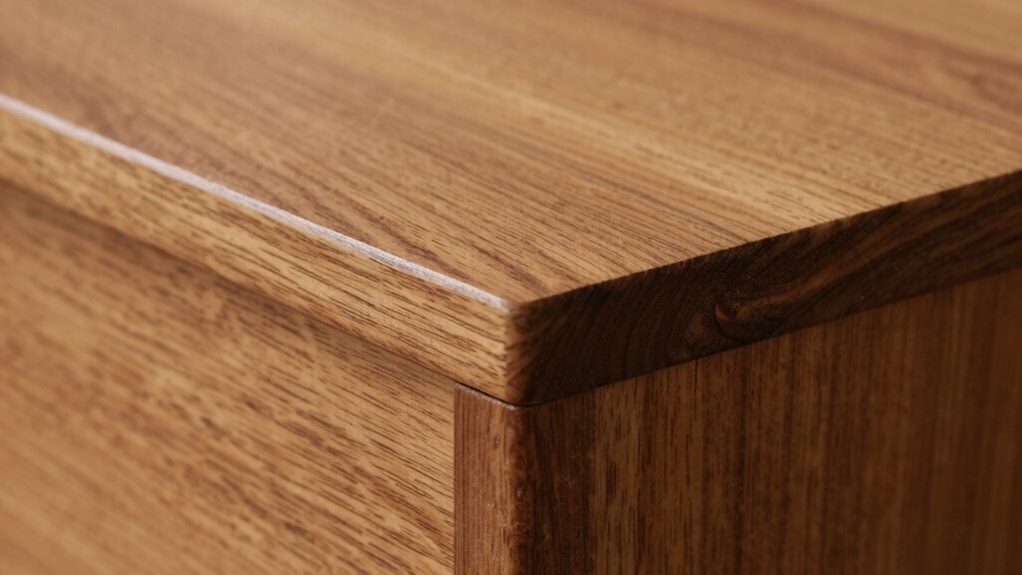
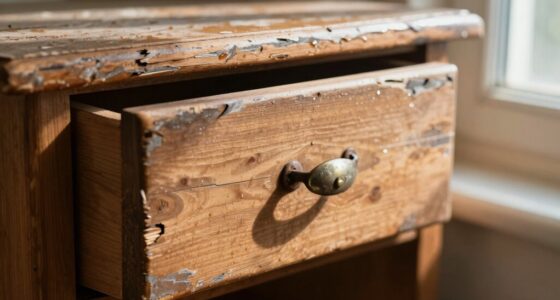
First, assess the damage. If the missing corner is small, you might consider using DIY fixes that involve filling in the gap with wood putty or matching veneer. Start by selecting the right material. You want to choose a veneer that closely matches the original wood grain and color. Material selection is essential, as it can make or break the aesthetic solutions you’re aiming for.
Once you have your materials, prepare the area by cleaning it thoroughly. Remove any loose debris and guarantee the surface is smooth. Next, you’ll want to apply your adhesive techniques effectively. Choose a high-quality wood glue that sets well and can withstand some wear over time. Apply a thin layer of glue to the back of your patch or veneer piece and place it carefully into the missing corner. Make sure it aligns well with the surrounding surface.
After you’ve secured the piece, clamp it in place for a few hours to allow the adhesive to set properly. This step is vital; if it isn’t clamped securely, the veneer won’t adhere correctly, leading to further issues down the line. Once it’s dry, you can trim any excess material with a sharp utility knife for a clean finish. In addition, paying attention to proper preparation can significantly improve the overall outcome of your repair.
For an even better look, you might want to sand the area lightly with fine-grit sandpaper. This will help integrate the new veneer with the old and create a seamless shift. To achieve a more professional finish, applying a matching stain can help conceal any differences in color and tone. If the color isn’t quite right, you can also use wood stain to blend the new veneer with the existing finish. Just be sure to test the stain on a small area first to avoid any surprises. Additionally, understanding color matching techniques can make a noticeable difference in achieving a flawless repair.
Finally, applying a protective finish can enhance the overall look and durability of your repair. Keep in mind that understanding home improvement techniques can help you achieve better results. With these steps, you’ll not only restore the corner but also preserve the beauty of your furniture. Tackling missing veneer corners doesn’t have to be intimidating. With a little patience and some DIY spirit, you can make your furniture look its best again.
Frequently Asked Questions
What Types of Wood Work Best for Veneer Patches?
When patching veneer, you’ll want to choose wood types that match your project. Common veneer types like oak, walnut, and cherry work well due to their grain patterns and colors. For effective patching techniques, make certain your patch is slightly thicker than the surrounding area, allowing for sanding. Always test your adhesive on a scrap piece first to make certain compatibility. This way, you’ll achieve a seamless and professional-looking repair every time.
How Can I Prevent Further Veneer Damage?
You’d think avoiding veneer damage is easy, but it’s not! To prevent further issues, start with preventive care. Regularly clean with a soft cloth and avoid harsh chemicals. Consider using coasters; they aren’t just for looks! Also, maintain ideal humidity levels to keep the wood from cracking. Finally, inspect for early signs of wear—catching problems before they escalate is key. Follow these maintenance tips, and your veneer will thank you!
Is Professional Help Necessary for Patching Veneers?
You don’t necessarily need professional help for patching veneers, but it can make a difference. If you’re comfortable, you can use veneer repair techniques and quality patching materials to tackle small issues yourself. However, for extensive damage or if you’re unsure, calling in a pro might save you time and guarantee a seamless finish. Weigh your skills against the complexity of the repair to make the best decision.
Can I Paint Over a Veneer Patch?
Absolutely, you can paint over a veneer patch! Just think of it like giving your old-school ride a fresh coat. To guarantee good paint adhesion, use veneer patching techniques like sanding the surface lightly and priming it first. This prep work helps the paint stick better, making your patch blend seamlessly into the surrounding veneer. Follow these tips, and you’ll have a smooth, polished finish that looks like new!
How Long Does a Veneer Patch Last?
A veneer patch can last several years, depending on the quality of the patch and how well you maintain it. For ideal veneer longevity, keep your furniture in a stable environment, away from extreme temperatures and humidity. Regularly clean it with a soft, damp cloth and avoid harsh chemicals. If you follow these maintenance tips, you’ll guarantee your veneer patch stays looking great for a long time.
Conclusion
In the end, fixing missing veneer corners can be a piece of cake with the right approach. By choosing a patch shape that blends seamlessly, you’ll not only restore the beauty of your furniture but also save yourself from a costly replacement. Remember, a little creativity goes a long way. So roll up your sleeves and tackle those corners—your furniture deserves it, and you’ll feel great having given it a second chance!
Fall Picks
fall essentials
As an affiliate, we earn on qualifying purchases.