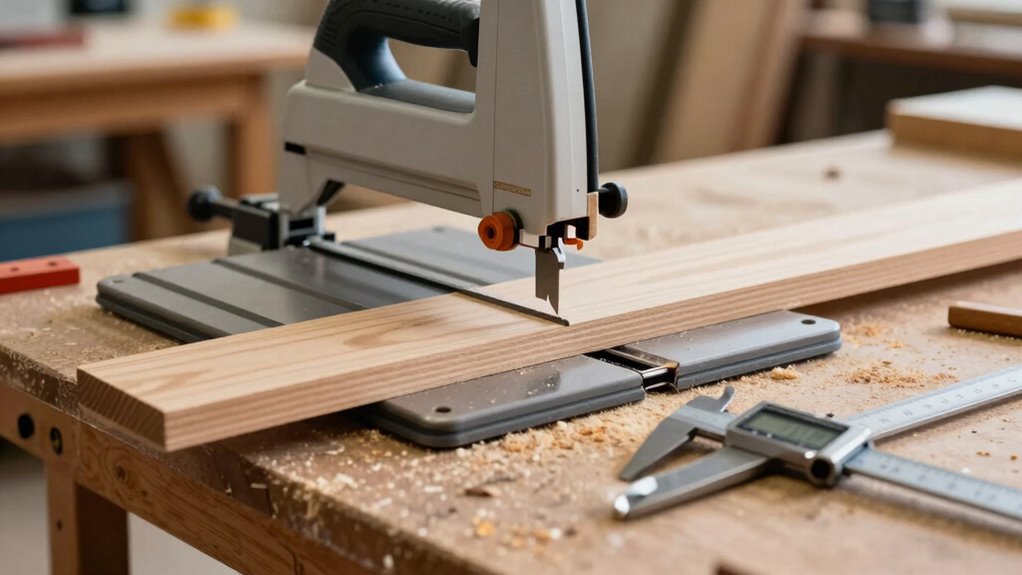
To resaw straight, thin boards, start by selecting the right blade width and tooth pitch for your cut. Make certain your blade tension and tracking are correct, and align your fence parallel to the blade. Support your workpiece with push sticks or rollers to keep it steady. Keep the saw clean and securely tighten all adjustments before guiding the wood through. Mastering these setup steps guarantees smooth, accurate cuts—continue with these techniques to perfect your resawing skills.
Key Takeaways
- Ensure the bandsaw blade is properly tensioned, aligned, and tracking centered on the wheels for straight cuts.
- Use a wider blade with fine teeth suited for stability and precision in resawing thin, straight boards.
- Keep the workpiece firmly supported and secured, using push sticks or rollers to prevent wobbling.
- Align and lock the fence parallel to the blade, and tighten all adjustments before each cut.
- Maintain consistent feed pressure, control the feed rate, and stay focused to achieve clean, straight, thin boards.

3423VPC 93.5" by 3/4" Timber Wolf Bandsaw Silicone Steel Low Tension Resaw Blade
Milled teeth are 50 PERCENT SHARPER than competitors stamped or crush ground blades
As an affiliate, we earn on qualifying purchases.
As an affiliate, we earn on qualifying purchases.
Why Proper Bandsaw Setup Is Key to Thin, Straight Boards

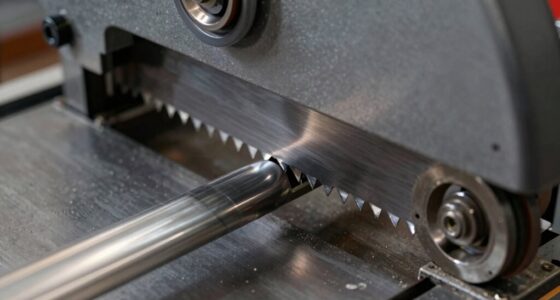
A proper bandsaw setup is essential because it directly affects the quality of your cuts. You need to pay close attention to blade tension, ensuring it’s neither too loose nor too tight. Correct tension keeps the blade stable, reducing wobble and preventing blade drift, which are crucial for straight, thin cuts. Saw blade selection also plays a vital role; choosing the right blade width and tooth configuration helps achieve smooth, accurate resawing. An improperly tensioned blade or incorrect blade choice can cause uneven cuts, blade binding, or wandering, ruining your project. Taking the time to fine-tune these elements ensures your bandsaw operates efficiently, giving you cleaner, straighter boards. Proper setup isn’t just a step—it’s the foundation for successful resawing. Additionally, understanding blade tracking helps maintain consistent contact with the wheels, further improving cut quality and safety. Regularly checking and adjusting machine alignment ensures your saw remains precise over time. Ensuring the proper blade tension maintains optimal cutting performance and prolongs blade life.

Lenox, 62126, Band Saw Blade Tension Meter
As an affiliate, we earn on qualifying purchases.
As an affiliate, we earn on qualifying purchases.
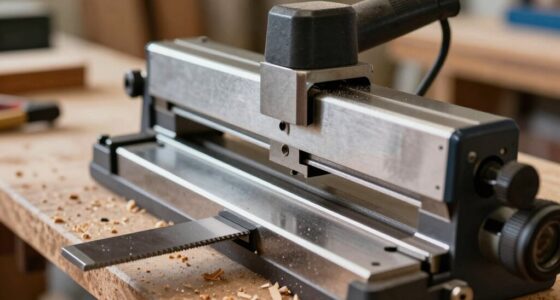
How to Choose the Best Blade for Resawing on Your Bandsaw
Choosing the right blade for resawing depends on several key factors, starting with blade width. You’ll also want to think about tooth pitch to balance cut speed and finish quality, and the material of the blade affects durability and performance. Understanding these points helps you pick the best blade for clean, accurate cuts every time. Additionally, considering blade tension and alignment ensures optimal performance and reduces the risk of blade deflection or wandering during cuts. Proper blade selection can also extend the lifespan of your saw and improve safety during operation. Paying attention to blade maintenance and regular checks can further enhance your resawing results and machine longevity. Regularly inspecting and adjusting blade tension helps maintain consistent cuts, especially during long resawing sessions. Moreover, selecting the appropriate blade material can significantly impact the overall cutting efficiency and blade longevity.
Blade Width Selection
Selecting the right blade width is essential for achieving clean, accurate resaws on your bandsaw. A wider blade provides stability and reduces drift, making it easier to follow straight lines using your resawing technique. Narrower blades excel at cutting tighter curves but may wobble more during resawing, affecting cut accuracy. When choosing blade width, consider the thickness of the material and your precision needs. Wider blades require more blade tension and can be more demanding on blade maintenance, so ensure your bandsaw can handle them properly. Proper blade selection helps maintain consistent cuts and minimizes blade deflection. Additionally, understanding blade tension and proper setup can significantly improve resawing performance. Matching blade width to your project ensures better control, smoother cuts, and less frustration during resawing. Paying attention to cutting technique can also enhance overall results and help you achieve the desired finish. Being aware of blade compatibility with your bandsaw model ensures safe and effective operation. Choosing the appropriate blade width based on your project requirements and equipment capabilities can make a notable difference in your resawing outcomes. Remember that practicing proper setup and regularly maintaining your blades will lead to more accurate and efficient cuts.
Tooth Pitch Considerations
When it comes to resawing on your bandsaw, tooth pitch plays a crucial role in achieving clean, accurate cuts. Tooth pitch considerations involve selecting the right distance between teeth to match your material and cut quality goals. Finer tooth pitches, with more teeth per inch, produce smoother cuts and are ideal for thin or detailed work. Conversely, larger pitches, with fewer teeth per inch, remove material more quickly and are better for resawing thick or dense woods. Blade tooth geometry also influences performance; the shape and arrangement of teeth affect chip clearance and cut quality. Matching tooth pitch to your project ensures efficient cutting and minimizes tear-out or rough edges. Carefully evaluating these factors helps you optimize your bandsaw setup for precise, straight resawing. Additionally, ensuring you use the appropriate oil can improve blade performance and longevity during resawing tasks.
Blade Material Choices
Your choice of blade material directly impacts the performance and longevity of your bandsaw during resawing. Opting for high-quality steel or carbide-tipped blades enhances blade durability, allowing for cleaner cuts and longer use between replacements. Consider material compatibility with your bandsaw and the wood you’re working with—some blades excel with hardwoods, while others suit softer species better. Carbide-tipped blades, although more expensive, resist dulling and stay sharper longer, making them ideal for frequent resawing. Steel blades are more affordable and versatile but may require more frequent sharpening. Selecting the right blade material guarantees you achieve consistent, straight cuts, reduces downtime, and maximizes your investment in your equipment. Prioritize durability and compatibility to get the best results. For optimal performance, ensure your blades are properly tensioned and maintained, which also helps prevent blade breakage and ensures smooth operation. Additionally, choosing the appropriate blade width and tooth configuration can significantly influence cut quality and efficiency for resawing.

POWERTEC Push Block and Push Stick Set Fits Table Saws, Router Tables, Band Saws & Jointers, Dual Ergonomic Handles w/Max Grip, Wood Pusher Reduces Kickback & Increases Safety. 5PK (71009V)
INCLUDES: (1) Long Hold Down Push Block (1) Safe V Stick and (1) Straight Push Stick (2) Short…
As an affiliate, we earn on qualifying purchases.
As an affiliate, we earn on qualifying purchases.
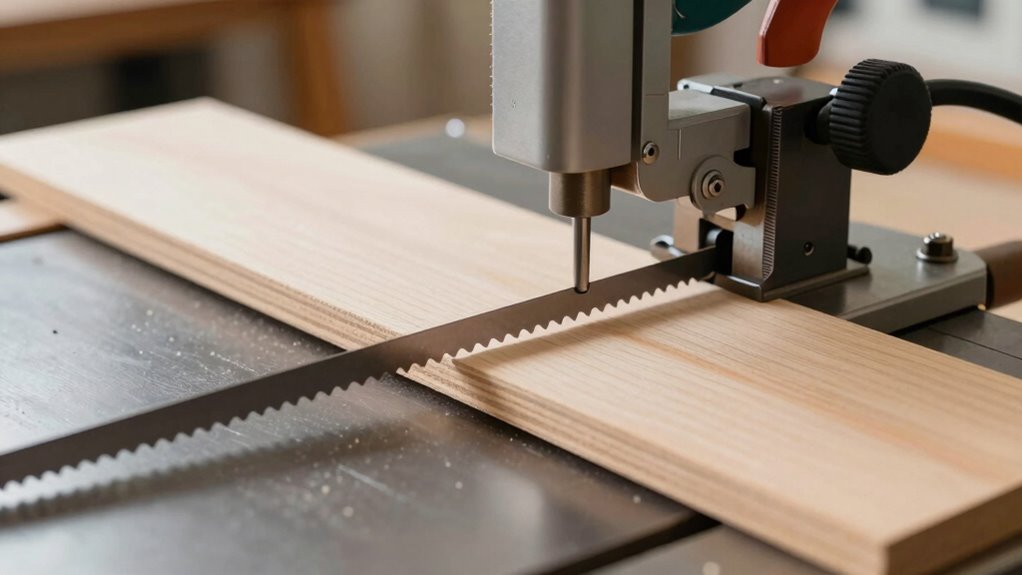
How to Fine-Tune Blade Tension, Tracking, and Guides for Perfect Cuts
Achieving perfect cuts on your bandsaw starts with fine-tuning the blade tension, tracking, and guides. Proper blade tension keeps the blade straight and prevents it from wandering during cuts. Too tight, and you risk damaging the blade or saw; too loose, and it won’t cut accurately. Adjust the tension according to the blade’s thickness and manufacturer’s recommendations. Next, check blade tracking—ensure the blade sits centered on the wheels. Use the saw’s tracking adjustment to align it properly, preventing the blade from drifting. Finally, set your guides—both side and thrust guides—so they support the blade without restricting movement. Well-tuned tension, tracking, and guides create a stable, precise cut, essential for thin, straight resawing. Regularly check these settings to maintain ideal performance.

CARTER F-A-S-T Fence Alignment Tool
FAST bar allows for accurate measurement of the width of the blade to the fence
As an affiliate, we earn on qualifying purchases.
As an affiliate, we earn on qualifying purchases.
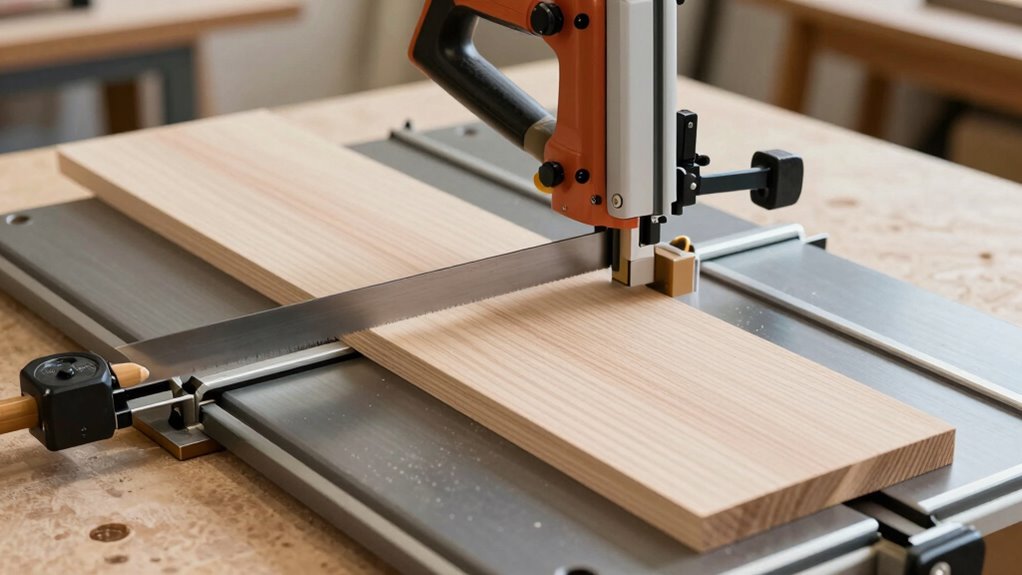
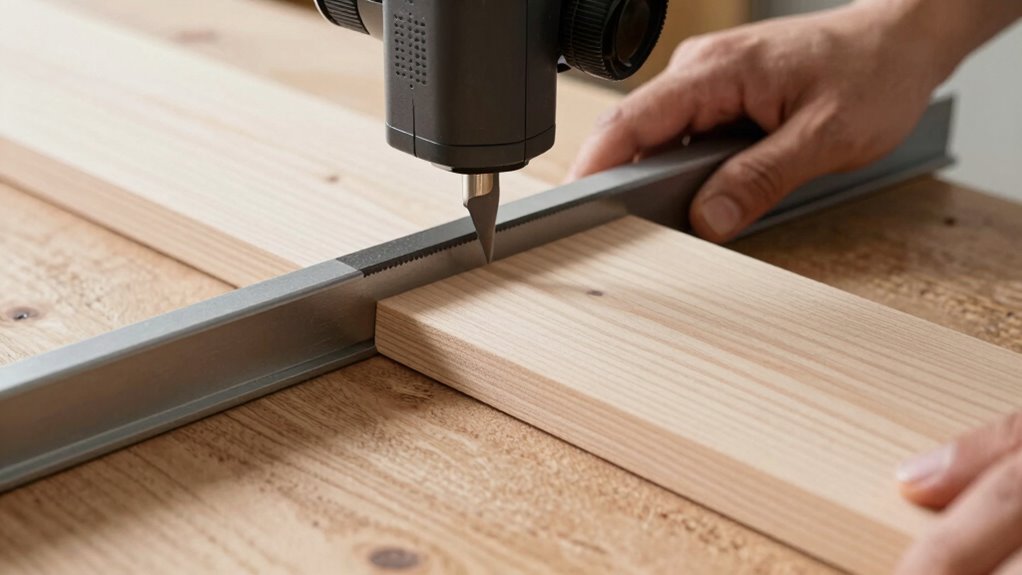
How to Align Your Fence for Accurate, Straight Resawing
A properly aligned fence is essential for straight, accurate resawing on your bandsaw. To achieve this, check your fence’s alignment relative to the blade. Use a square or a dial indicator to verify that the fence is perfectly parallel to the blade’s edge. Adjust the fence until it maintains consistent contact along its entire length when moved side to side. Proper fence alignment directly impacts your cut accuracy, ensuring your boards are straight and uniform. Remember to tighten all fence adjustments securely before resawing to prevent movement during cuts. Periodically recheck alignment, especially if you notice deviations or inconsistency. Trustworthy guidance is key to achieving clean, straight, and thin resawn boards with minimal tear-out or drift. Additionally, incorporating proper setup techniques can further enhance your resawing precision. Regularly inspecting your fence’s alignment helps maintain consistent results over time. Ensuring proper blade tension also plays a crucial role in achieving optimal resawing accuracy and cut quality. Paying attention to cut quality and making incremental adjustments can prevent common issues like drift or uneven cuts.
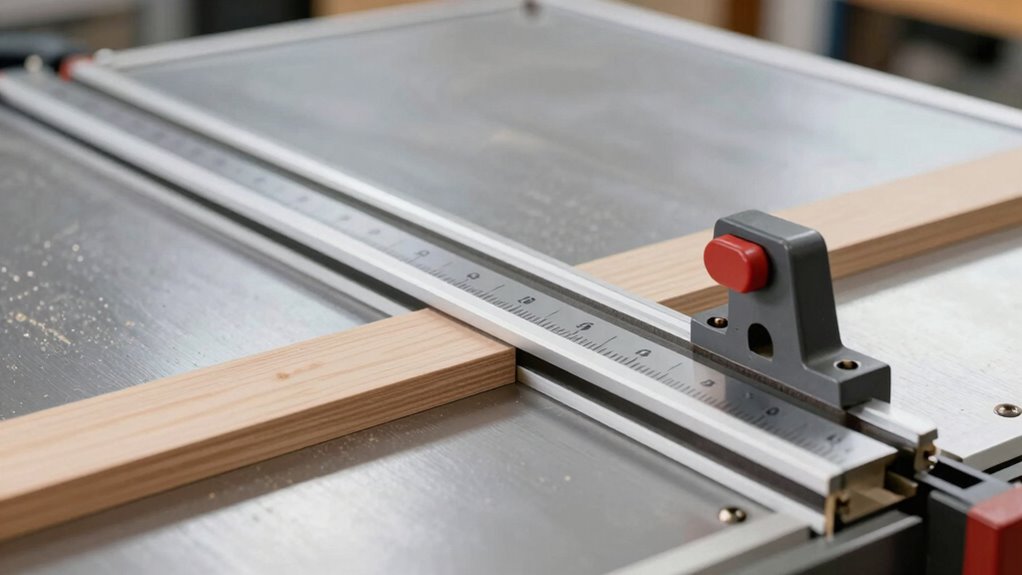
How to Set Up Your Workpiece and Fence for Consistent Results
To get consistent resawing results, you need to start by aligning your fence correctly with the blade. Make sure your workpiece is secured firmly so it doesn’t shift during cuts. Proper setup guarantees your cuts are straight and accurate every time. Additionally, paying attention to wood movement can help maintain precision during resawing.
Aligning the Fence Properly
Properly aligning the fence is essential for making accurate, consistent resaw cuts. First, check your blade tension to ensure the blade is tight enough for smooth cuts. Next, verify fence alignment by adjusting it so it’s parallel to the blade, ensuring consistent thickness. Third, double-check that the fence is securely locked in place to prevent shifting during cuts. Finally, make minor adjustments to the fence’s position, then test on scrap wood to confirm straightness. Maintaining proper blade tension helps prevent wandering, while precise fence alignment ensures each cut is uniform. Always recheck these settings before starting each resaw, as even slight misalignments can lead to uneven or crooked boards. Additionally, consistent setup procedures help maintain safety and accuracy throughout your project. Proper setup guarantees clean, straight slices every time.
Securing the Workpiece Firmly
Ensuring your workpiece is securely held in place is essential for achieving consistent resaw cuts. Use proper clamping techniques to prevent movement during sawing. Clamp the workpiece firmly but avoid overtightening, which can cause damage or misalignment. Make sure your workpiece support is stable, providing a solid base for the board as it passes through the saw. Supporting the wood with support blocks or rollers helps maintain even pressure and reduces vibrations. Check that the workpiece doesn’t shift when you tighten the clamps, and verify that the fence remains aligned. Proper clamping techniques and workpiece support work together to keep everything steady, ensuring your cuts stay straight and thin without surprises or inaccuracies. Additionally, understanding the importance of filtration systems can help maintain a clean workspace and extend the life of your tools.
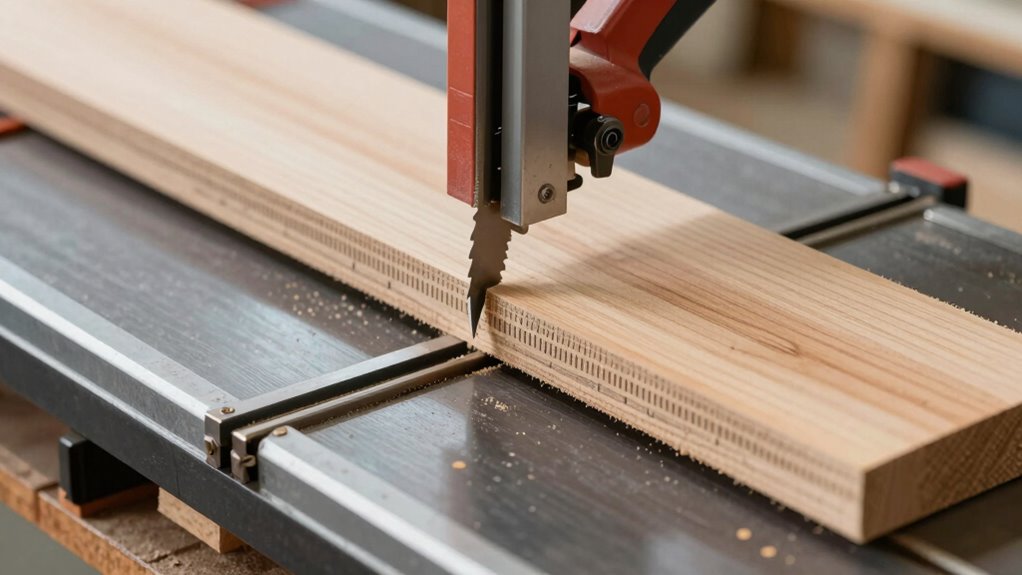
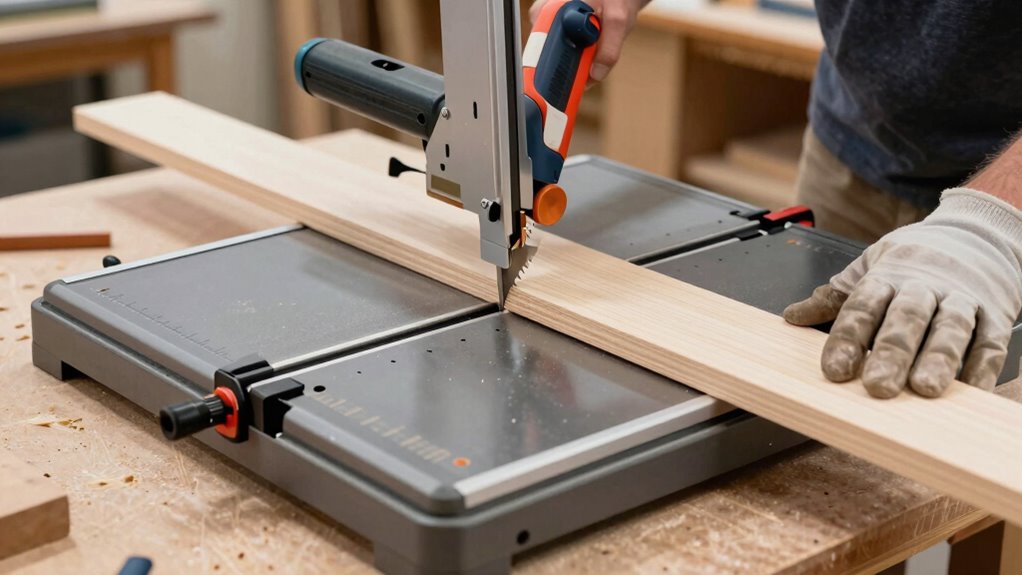
How to Feed Wood Safely and Smoothly During Resawing
Feeding wood safely and smoothly during resawing begins with understanding how to control the material as it moves through the saw. First, always pay attention to the feed direction, ensuring the board moves steadily and aligned with the blade. Second, use push sticks to keep your hands safe and maintain control, especially when cutting thin sections. Third, support the board with your free hand or a push block to prevent binding or kickback. Fourth, maintain a consistent, gentle pressure—don’t force the wood; let the saw do the work. This approach minimizes wobbling and ensures a clean cut. Staying aware of feed techniques and using proper tools like push sticks helps you achieve smooth, straight resawing securely.
Common Resawing Problems and How to Fix Blade Drift, Burning, and More
Despite your careful setup, you might still encounter common resawing issues like blade drift and burning. Blade drift often results from improper blade tracking or uneven tension, causing the blade to wander from its line. To fix this, check that your blade is correctly tracking on the wheel—adjust the tracking knob until the blade runs true. Ensuring proper blade tension is equally important; too loose, and the blade wanders or burns, too tight, and it can cause stress or breakage. Regularly inspect your blade’s condition, replacing dull or damaged blades. Keep the saw clean and aligned, and make sure the blade is properly tensioned and tracking before each cut. These adjustments help maintain accuracy and prevent common issues during resawing.
Tips for Achieving Thin, Uniform Boards Every Time
Achieving thin, uniform boards during resawing requires careful setup and technique. Follow these tips to improve your results:
- Use precise resawing techniques by aligning the fence and blade correctly, ensuring the cut is straight.
- Check and maintain your blade regularly; sharp, clean blades cut more smoothly and produce consistent thickness.
- Set the blade height just slightly above the thickness of your board for better control and reduced wobble.
- Feed the material steadily, avoiding pressure fluctuations that can cause uneven cuts or blade drift.
Essential Safety Tips for Resawing on Your Bandsaw
Safety should always be your top priority when resawing on a bandsaw. Always wear proper safety equipment, including eye protection, hearing protection, and a dust mask. Keep your hands clear of the blade and use push sticks when guiding thin or narrow stock. Before starting, review emergency procedures, such as knowing how to shut off the machine quickly and where your emergency stop button is located. Verify the bandsaw is properly adjusted, with the blade guards in place. Never force the wood through the blade; let the saw do the work. Stay focused, avoid distractions, and never leave the machine running unattended. Following these safety tips helps prevent accidents and keeps you safe while producing accurate, thin boards.
Frequently Asked Questions
How Often Should I Replace My Bandsaw Blade for Resawing?
You should replace your bandsaw blade when you notice it’s dull, chipped, or if it’s causing trouble maintaining proper blade tension or tracking. Regularly check blade tension and tracking to guarantee ideal cuts; if these adjustments no longer improve performance, it’s time for a new blade. Typically, for resawing, change the blade after about 50-100 hours of use or when you see significant signs of wear.
Can I Resaw Hardwoods on a Small Bandsaw?
You can resaw hardwoods on a small bandsaw, but it’s like trying to cut through a mountain with a spoon. Make certain your blade tension is properly set, and check that the blade guides are aligned to keep the cut straight. Use a sharp, thin blade designed for resawing, and feed the wood slowly to prevent strain. With these tips, your small bandsaw can handle hardwoods effectively.
What’s the Ideal Blade Thickness for Thin Resawed Boards?
For thin resawed boards, a blade thickness of around 3/4 inch or less works best. You should also guarantee your blade tension is properly set and your blade guides are aligned to keep the blade stable during cuts. This combination minimizes blade deflection, reduces vibrations, and helps produce smooth, straight thin boards, especially when working with hardwoods. Regularly check your setup for ideal results.
How Does Blade Speed Affect Resawing Quality?
Blade speed directly impacts your resawing quality by influencing cut smoothness and accuracy. When you increase the speed, make sure your blade tension is properly adjusted to prevent wobbling, which can cause rough cuts. Good dust collection also plays a role, as it keeps your workspace clear, reducing blade drag and overheating. Adjusting blade speed thoughtfully, along with maintaining proper tension and dust management, results in cleaner, straighter, and more precise thin boards.
Are There Specific Lubricants Recommended for Bandsaw Blades?
Imagine you’re resawing hardwood and notice increased blade friction. You should use a specific cutting lubricant, like a silicone-based spray, for ideal blade lubrication. These cutting lubricants reduce heat and friction, extending blade life and improving cut quality. Avoid household oils, as they can gum up the blade. Proper blade lubrication is essential for smooth, straight cuts and to prevent blade overheating during resawing.
Conclusion
Think of resawing like sailing a precise vessel through calm waters. When your setup is steady and your techniques are sharp, you’ll glide smoothly to thin, straight boards. Keep your tools tuned, your workpiece aligned, and your safety in check, and you’ll navigate each cut with confidence. Master these basics, and your bandsaw becomes your trusty ship, guiding you effortlessly to perfect results every time. Happy sailing on your woodworking journey!