
Understanding the reference face on your jointer is essential for achieving flat, straight boards with less effort. This surface acts as a foundation, guiding your workpiece to guarantee consistent results. Properly identifying, preparing, and maintaining this face helps avoid mistakes and keeps your machine in top condition. If you keep these principles in mind, you’ll improve your jointing accuracy. Continue to explore how mastering the reference face can make woodworking easier and more precise.
Key Takeaways
- The reference face is the flat, prepared surface used as a baseline for accurate jointing and consistent surface flatness.
- Proper identification and marking ensure the correct face is used as the reference, reducing errors.
- Ensuring full contact between the workpiece and the jointer’s reference surface maintains grain flow and surface quality.
- Regular cleaning, inspection, and maintenance of the reference face prevent damage and preserve long-term accuracy.
- Using the reference face simplifies jointing, improves precision, and extends the lifespan of the jointer’s components.

WOODSTARTER 6-Inch Benchtop Jointer with 15 Amp Motor, 12000 RPM Cutting Speed, Adjustable Fence 90–135°, Up to 1/8" Depth, HSS Blades, Table Jointer To for Woodworking DIY
POWERFUL 15 AMP MOTOR: Tackle hardwoods with ease thanks to a high-performance 15 Amp motor delivering up to…
As an affiliate, we earn on qualifying purchases.
As an affiliate, we earn on qualifying purchases.
Why the Reference Face Is Key to Flat, Straight Boards
The reference face is essential because it serves as the foundation for achieving flat and straight boards. When you establish this face, you set a baseline for the grain direction, which influences how the wood responds during jointing. Correctly aligning the reference face ensures the grain runs smoothly, reducing tear-out and splintering. It also helps maintain proper jointing angles, so subsequent passes create consistent, even surfaces. Additionally, focusing on the reference face helps in controlling the board’s overall flatness, which is crucial for precise woodworking projects. By focusing on this face, you control the board’s overall flatness and straightness. This foundation minimizes the need for rework later and guarantees that your finished piece looks professional. Remember, a stable, well-prepared reference face makes all subsequent jointing and planing more predictable and accurate. Incorporating proper techniques and connected equipment can further enhance your results, ensuring your home workshop remains efficient and effective. Paying attention to the grain orientation during this step can significantly improve the quality of your final product.

BLSGBUIDING Jointer Knife Setting Jig Metal Bars with Magnets for 4"-8" Jointer Blades Easy Quick Install – 1pack
【Efficiency & Precision】 Achieve Perfect Blade Alignment in Minutes. Stop struggling with tedious manual setups using straight edges….
As an affiliate, we earn on qualifying purchases.
As an affiliate, we earn on qualifying purchases.
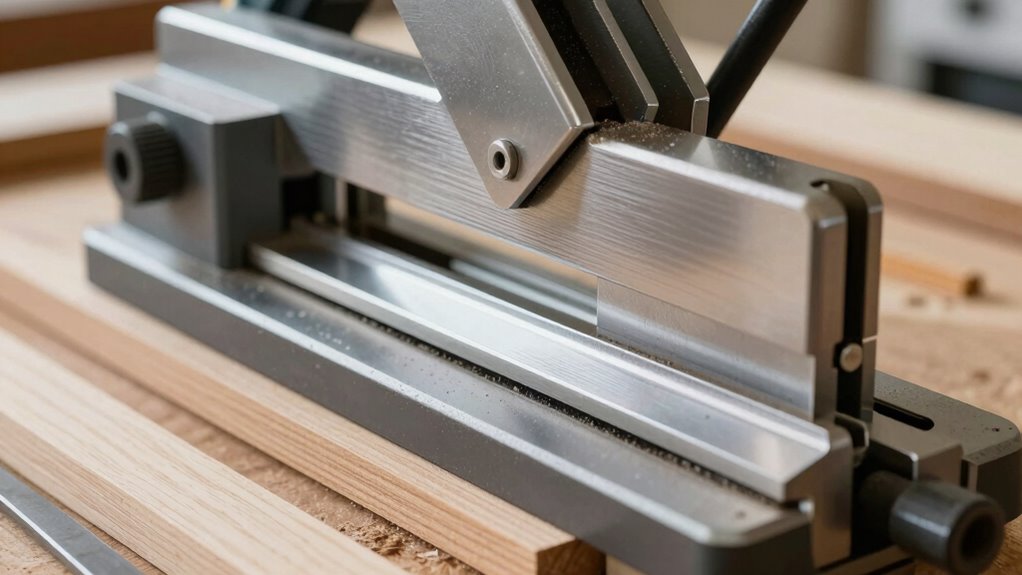
How to Identify the Reference Face and Edge on Your Jointer
To make certain of accurate jointing, you need to correctly identify the reference face and edge on your jointer. The reference face is typically the flat, flat side you’ve already prepared, and the reference edge is aligned parallel to the grain direction. Ensuring proper edge alignment helps keep the board stable during jointing and prevents tear-out. Use this table to confirm your reference surfaces:
| Surface | Grain Direction | Edge Alignment | Purpose |
|---|---|---|---|
| Reference face | Parallel to grain | Smooth, flat | Stability and consistency |
| Non-reference face | Perpendicular | Varies | Final surface |
| Reference edge | Perpendicular to face | Parallel to grain | Accurate jointing |
| Non-reference edge | Varies | Perpendicular | Less critical |
| Grain direction | Parallel | N/A | Guides edge alignment |
Identifying these correctly guarantees a smooth, flat surface every time. Additionally, understanding how to properly align these surfaces can significantly improve your jointing results for accurate woodworking.

WEN JT630H 10-Amp 6-Inch Spiral Benchtop Jointer
Spiral cutterhead system utilizes 12 staggered HSS blades for an ultra fine finish
As an affiliate, we earn on qualifying purchases.
As an affiliate, we earn on qualifying purchases.
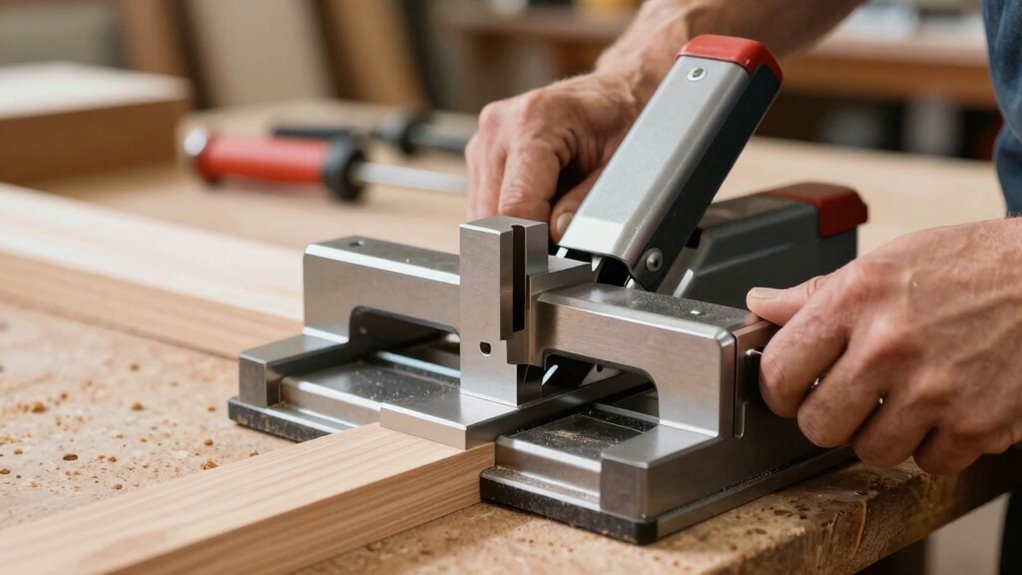
Preparing Your Board Using the Reference Face : A Step-by-Step Guide
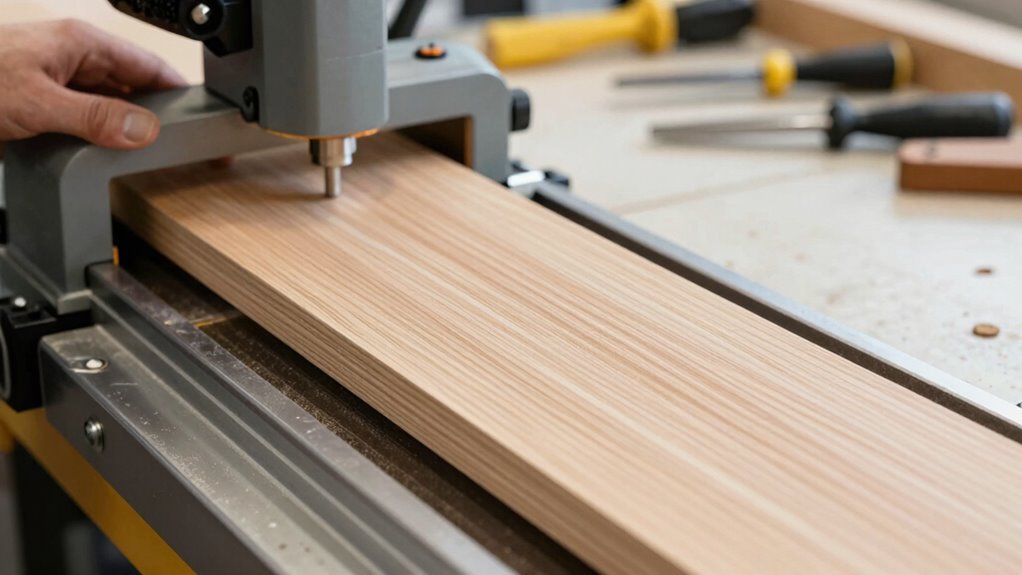
Start by clearly marking the reference face on your board to guarantee consistent results. Then, secure the board firmly to prevent movement during planing. Additionally, verifying the flatness of the surface helps ensure precision in your work. Properly aligning and checking the field‑of‑view of your tools can further enhance accuracy. To maintain consistent quality, regularly inspecting your tools for sharpness and calibration is essential. Also, understanding the importance of industry trends can help you adapt your techniques over time. Finally, check that the surface is flat and even before making any cuts. For added precision, consider exploring precious metal investment options to enhance your understanding of valuable resources.
Mark the Reference Face
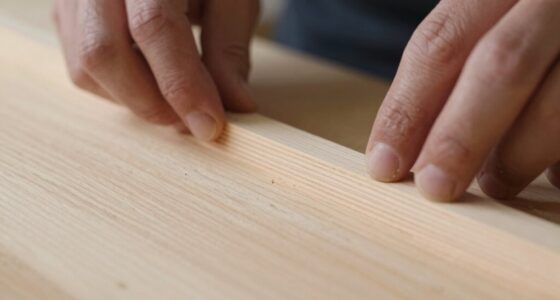
Marking the reference face is a crucial step in preparing your board for jointing. First, identify the grain direction by running your hand along the surface; the fibers should feel smooth and consistent. Mark this face as the reference to maintain orientation throughout the process. When marking, keep in mind that the reference face should be the side with the most stable grain pattern, which helps prevent tear-out. Also, check the edges for proper alignment, ensuring they are straight and true. This reference face will serve as your guide for subsequent cuts, so accuracy is key. By clearly marking the reference face, you establish a solid foundation for jointing, resulting in cleaner, more precise edges and a better fit in your project. Additionally, understanding the importance of the reference face ensures you can confidently achieve consistent results every time. For optimal results, consider the calibration of your tools and techniques to ensure the best possible surface finish. Properly preparing this face helps maintain grain orientation, which is essential for achieving smooth, accurate joints. Recognizing the importance of proper marking can help prevent errors and rework during your woodworking process. Being aware of the weight of your tools can also influence how you handle and maneuver your boards, especially if you are working with larger or heavier pieces.
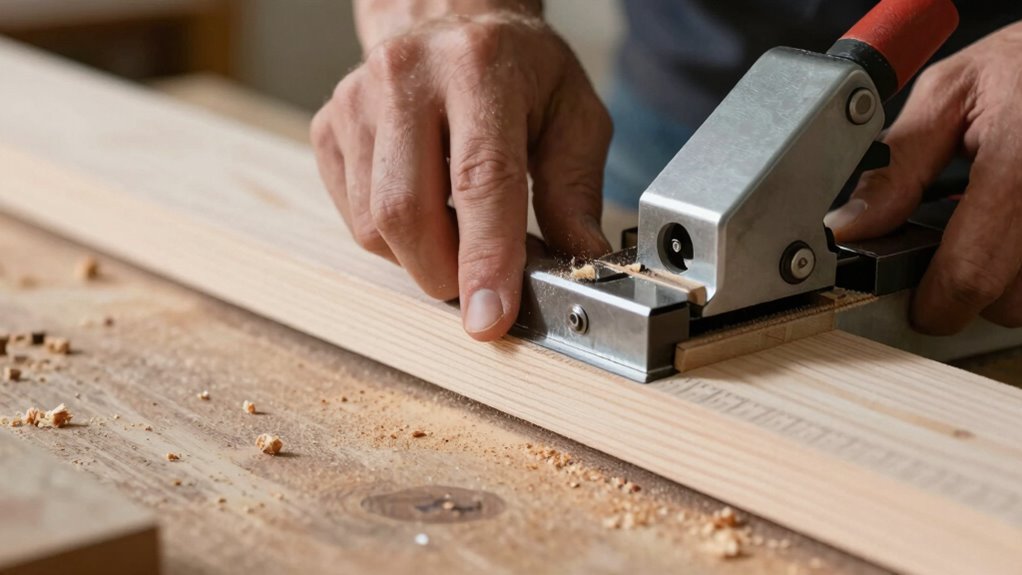
Secure the Board Properly
Securing the board firmly is essential to achieve accurate jointing results. Properly clamping your board ensures it stays stable and aligns correctly with the jointer. Pay attention to grain direction; always place the board so the grain runs in the suitable direction to prevent tear-out. Use appropriate jointing techniques, such as applying even pressure along the reference face, to avoid shifting. Keep the board flush against the fence or guides to ensure consistent cuts. Double-check that the board is securely held before turning on the machine. Remember, a well-secured board minimizes movement, producing a smoother, more precise edge. Proper securing sets the foundation for a successful jointing process, saving time and reducing errors. Incorporating local automation can help streamline your setup and ensure consistent clamping and alignment.
Check for Flatness
Before you begin jointing, it’s essential to check the board for flatness to guarantee a smooth, even surface. Start by examining the surface finish and grain direction. Look across the board for any high or low spots, and feel for irregularities with your hand. Flatness ensures the reference face will be true, making subsequent jointing easier. Use a straightedge or a ruler to test for warps or bows. If the surface isn’t flat, joint the high spots first, always maintaining the correct grain direction to prevent tear-out. Consistent grain direction also helps achieve a cleaner surface finish. Here’s a quick overview:
| Step | What to Check | Tips |
|---|---|---|
| Surface Finish | Smoothness and consistency | Sand rough spots if needed |
| Grain Direction | Parallel to long edge | Prevent tear-out during jointing |
| Flatness | Bumps or dips | Use straightedge for accuracy |
Additionally, checking for flatness is crucial to ensure the reference face remains true throughout your project. Regularly verifying flatness also helps in maintaining accuracy and avoiding rework. Incorporating flatness checks into your routine can significantly improve the overall quality of your woodworking projects.

ProGrip Straight Edge Clamp Guide Tool for Circular Saw, Adjustable Edge Guide for Plywood Cutting and Router Alignment – 36 inch
PERFECT STRAIGHT CUTS – This straight edge cutting tool works as a circular saw straight cut guide, delivering…
As an affiliate, we earn on qualifying purchases.
As an affiliate, we earn on qualifying purchases.
Why the Reference Face Sets the Foundation for Accurate Joints
Establishing a reliable reference face is essential because it determines the accuracy of your entire joint. When you set this face properly, it guarantees consistent grain direction, which is critical for strong, aligned joints. Your reference face guides edge jointing, helping you achieve square, smooth edges that fit perfectly. Without a solid foundation, even minor imperfections can lead to gaps or weak joints. Properly preparing the reference face minimizes tear-out and warping, saving you time and frustration. Remember, a well-established reference face simplifies subsequent steps and guarantees precise, durable results. In addition, understanding the importance of sound therapy techniques, such as auditory processing, can improve your overall communication and craftsmanship skills.
Common Mistakes When Using the Reference Face and How to Avoid Them
One common mistake is relying on a warped or uneven board as your reference face, which can cause inaccuracies throughout your project. If the grain runs unevenly or the surface isn’t flat, your jointed edges won’t align properly. Always check the grain direction before starting, as cutting against the grain can cause tear-out and rough surfaces. Additionally, neglecting safety precautions while adjusting or operating the jointer increases the risk of injury. Keep your hands clear of the blades, and use push blocks when necessary. Ensuring the reference face is flat and free of warps helps produce consistent, accurate cuts. Avoid rushing the setup, and double-check the grain direction to prevent mistakes that compromise your project’s quality and safety. Proper jointer setup and maintenance are crucial for achieving reliable results.
Tips for Consistent Results With Your Jointer’s Reference Surface
To get consistent results, make certain your workpiece makes proper contact with the jointer’s reference surface. Regularly check that the surface stays flat and true, as even slight imperfections can affect your cut. Use steady, consistent pressure to maintain control and ensure uniform results each time. Incorporating smart appliances and connected systems can further enhance your precision and efficiency during setup and operation. Additionally, implementing proper maintenance routines helps keep your jointer’s reference surface in optimal condition for accurate cuts.
Ensure Proper Surface Contact
Ensuring proper surface contact between your board and the jointer’s reference surface is essential for achieving a smooth, even cut. When your board makes full contact, it reduces tear-out and helps maintain consistent grain direction. Always check for any debris or rough spots that could prevent proper contact, and clean the jointer bed thoroughly. Keep safety precautions in mind, such as wearing eye protection and ensuring the machine is off before adjustments. Proper contact also minimizes kickback risks and improves overall safety. To get the best results, use firm, even pressure and feed the board steadily. Remember, a secure, flat surface contact leads to cleaner cuts and less frustration during your woodworking projects. Additionally, understanding the importance of machine setup and calibration can further enhance your jointer’s performance and your safety.
Regularly Check for Flatness
Regularly checking your jointer’s reference surface for flatness is essential to maintaining consistent, accurate cuts. A flat surface ensures your wood grain runs true, preventing uneven or snipe cuts. Over time, small dents or warping can develop, affecting the quality of your work. Use a straightedge or a precision feeler gauge to spot any deviations. If you notice unevenness, recondition the surface or replace it if necessary. Keeping the reference face flat also helps when sharpening blades, as a true surface allows for more precise honing. Dull or uneven blades can cause tear-out, especially with tricky wood grain. Regular checks and maintenance keep your jointer performing at its best, ensuring smooth, professional results every time.
Use Consistent Pressure
Applying consistent pressure during each pass on your jointer is key to achieving smooth, flat edges. Maintaining steady pressure guarantees the wood moves uniformly across the cutter head, reducing ripples or snipe. Pay attention to grain direction; applying more pressure against grain can cause tear-out, so adjust accordingly. Keep your jointing speed steady—rushing can lead to uneven cuts, while moving too slowly might burn the wood. Use your reference face consistently to guide your pressure, avoiding sudden shifts that can compromise flatness. Focus on these tips:
- Match pressure with grain direction to prevent tear-out
- Maintain steady jointing speed for smooth cuts
- Apply even pressure from infeed to outfeed
- Avoid pushing too hard or too soft
- Practice consistent pressure for repeatable results
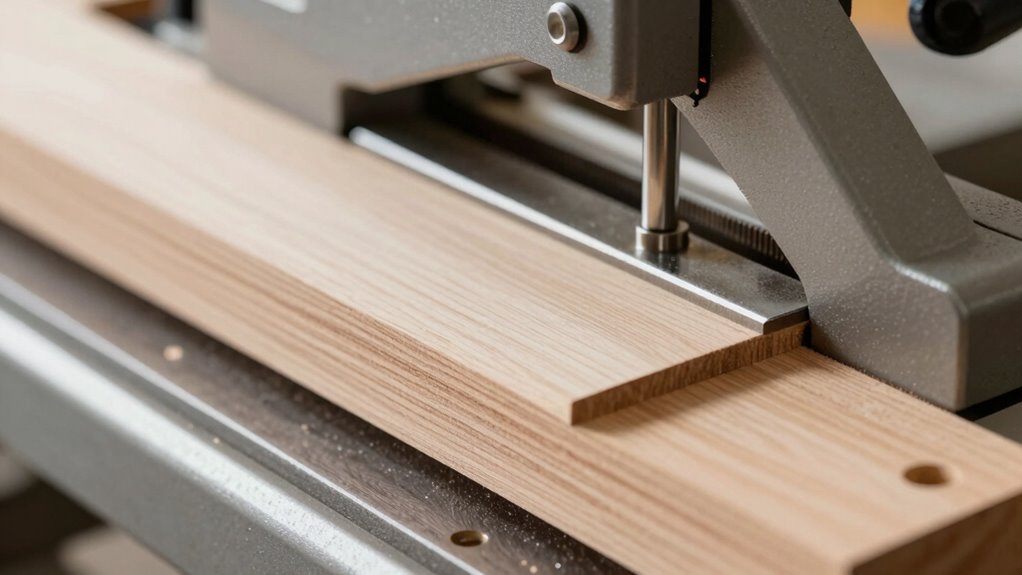
Using the Reference Face for Precise Measurements and Cuts
Using the reference face on your jointer is indispensable for achieving accurate measurements and clean cuts. When you align the board with this face, you guarantee consistent thickness and straight edges. Proper blade alignment is critical here; a sharp, well-calibrated blade produces cleaner cuts and reduces tear-out. Additionally, secure your measurements by checking against the reference face before making cuts. Effective dust collection is also essential, as it keeps your work area clear and your measurements precise. Here’s a quick reference:
| Tip | Benefit |
|---|---|
| Check blade alignment | Ensures smooth, accurate cuts |
| Use the reference face | Maintains consistent measurements |
| Regular dust collection | Keeps workspace clean and safe |
| Measure twice, cut once | Prevents errors and waste |
What to Do When the Reference Face Isn’t Flat or True
When the reference face on your jointer isn’t flat or true, it can lead to inaccuracies in your cuts and measurements. Surface imperfections, warping, or dents can compromise your work. To address this, consider alternative techniques to establish a new, reliable reference. You might:
A warped or imperfect reference face can cause inaccuracies; consider flattening, re-jointing, or using alternative references.
- Use a straight edge or milling guide to flatten minor surface imperfections
- Clamp and joint a thicker piece of wood to create a flat, true reference face
- Sand or plane the surface carefully for a smoother, more accurate surface
- Reassess your jointer’s blades and alignment to prevent further issues
- Use a different workpiece as a temporary reference if your primary face is compromised
These methods help restore accuracy and ensure your projects stay precise despite initial surface imperfections.
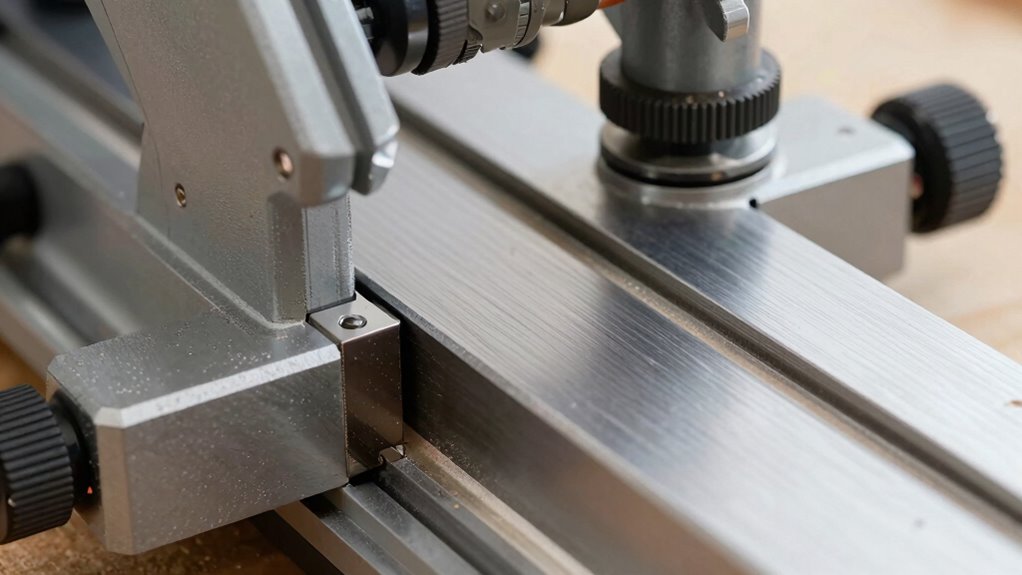
Maintaining Your Jointer’s Reference Surface for Long-Term Accuracy
To guarantee your jointer’s reference surface remains accurate over time, regular maintenance and careful handling are essential. Use proper alignment techniques to check the surface periodically, ensuring it stays true and flat. Keep the surface clean and free of debris or buildup that can cause unevenness or inaccuracies. Avoid dropping or mishandling the machine, as impacts can damage the reference face. Applying surface preservation techniques, like gentle cleaning and proper storage, helps prevent warping or corrosion. Adjustments should be made carefully, following manufacturer guidelines, to maintain proper alignment. Consistent inspection and maintenance will extend the life of your jointer’s reference face, ensuring it remains a reliable guide for accurate woodworking.
Troubleshooting and Fixing Issues With the Reference Face
Even with proper maintenance, issues can still arise with your jointer’s reference face. When problems occur, they often affect the quality of your cuts and surface finish. To troubleshoot, start by checking for dust buildup that can interfere with accurate referencing—regular dust collection maintenance is key. Inspect the blades; dull or improperly sharpened blades can cause uneven cuts, so sharpen or replace them as needed. Also, evaluate the alignment of the fence and table, ensuring they’re square to the reference face. If you notice nicks or warping, lightly sand the surface to restore flatness. finally, verify that the motor and belts run smoothly to avoid vibrations that compromise precision. Addressing these issues promptly keeps your jointer functioning reliably and produces cleaner, more accurate results.
Frequently Asked Questions
How Often Should I Check the Reference Face for Flatness?
You should check the reference face for flatness at least once a month as part of your maintenance schedule. Regular calibration techniques help guarantee accuracy, so if you notice any unevenness or surface irregularities, recheck it sooner. Consistent inspections keep your jointer performing at its best, preventing future issues. Keep an eye on it regularly, especially after heavy use or repairs, to maintain precision and achieve smooth, accurate cuts every time.
Can I Use a Different Face as the Reference?
You can use an alternative face as your custom reference, but it’s not ideal unless that face is perfectly flat and stable. To guarantee accurate results, select a face that’s consistently flat and free of defects. Always double-check its flatness before relying on it as your reference. Using a different face might work temporarily, but for best results, stick with the original reference face that you’ve verified for flatness and stability.
What’s the Best Method to Correct a Warped Reference Face?
To correct a warped reference face, you should carefully plan your approach. Use clamping techniques to hold the wood securely and apply gentle pressure to straighten the warp. Always consider wood grain direction; work with the grain to prevent splintering. You might also remove small amounts of material gradually, rechecking frequently. This ensures a flat, accurate reference face, making your overall project more precise and easier to work with.
How Does the Reference Face Affect Joint Accuracy?
Think of the reference face as the backbone of your joint—its precision alignment and surface consistency directly shape your results. When you keep this face true, it guides the cut with unwavering accuracy, preventing misalignments. A warped or inconsistent reference face introduces errors, making your joints less reliable. By ensuring this face stays flat and true, you set a solid foundation for perfect, stable joints every time.
Are There Specific Tools Recommended for Maintaining the Reference Surface?
You should use specific reference face tools like a straightedge or a precision ruler for jointer maintenance. These tools help you regularly check and true the jointer’s reference surface, ensuring consistent accuracy. Keep your reference face clean and free of debris, and periodically inspect it for wear or damage. Proper use of reference face tools makes jointing more precise and reliable, ultimately improving your woodworking results.
Conclusion
Mastering the use of your reference face can seem intimidating at first, but with patience and attention, it becomes second nature. When you respect its subtle importance, your projects will come together more smoothly and accurately. Think of it as a quiet partner guiding your every cut—unseen but essential. Embrace the learning process, and you’ll find that the foundation of a great project often rests on the simplest, most overlooked details.