Story sticks are a simple, low-tech tool that helps you make precise, repeatable cuts by providing a physical reference for measurements. You can easily customize them with marks for specific lengths, then use them to guide your saws or drills, ensuring consistent results each time. By following a few best practices, such as securing the stick and regularly checking measurements, you’ll achieve better accuracy and save time. Keep going to discover more expert tips and tricks.
Key Takeaways
- Story sticks provide a physical reference for accurate, repeatable measurements in cutting projects.
- Use durable hardwood and clear markings to ensure longevity and precision in your story stick.
- Verify measurements before each cut and secure the stick firmly to prevent errors.
- Adjust marking tools based on material type for clear, lasting marks.
- Regularly inspect the stick for wear or damage to maintain consistent accuracy.
What Are Story Sticks and Why Are They Great for Repeating Cuts?

Story sticks are simple tools that help you mark specific points in your editing process, making it easier to repeat cuts accurately. By crafting story sticks, you create a physical reference for precise measurement, ensuring consistency across multiple cuts. Customizing story sticks allows you to tailor them to your project’s specific dimensions, saving you time and reducing errors. Additionally, understanding layers in project planning can help organize your editing stages for better consistency. Using a contrast ratio to evaluate your tools can also improve the clarity and accuracy of your markings. Incorporating standardized measurements can further enhance the reliability of your markings, especially when working on complex projects. Instead of relying on memory or digital measurements, you simply mark the stick at the desired length. This straightforward approach is especially useful when working on repetitive tasks or large projects, where accuracy is crucial. With a well-made story stick, you can quickly identify where to cut, maintaining precision every time. It’s a low-tech, effective solution that streamlines your workflow and enhances overall quality.
How to Make a Durable, Accurate Story Stick for Your Projects
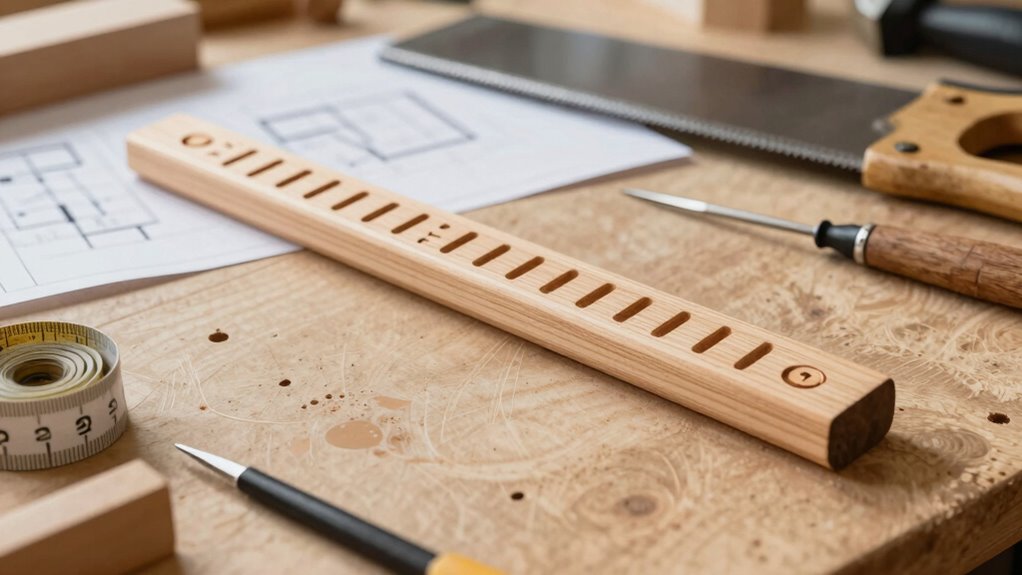
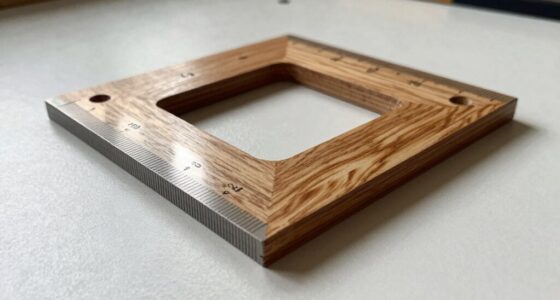
Creating a durable and accurate story stick starts with selecting the right materials. You want something that resists wear and maintains measurement accuracy over time. Here are four key tips:
- Choose a hardwood like maple or oak for durability and stability.
- Use a straight, smooth surface to ensure measurements stay accurate.
- Mark measurements with a fine-tip permanent marker to prevent fading.
- Seal the surface with a clear coat to protect against moisture and wear.
- Incorporate measurement organization techniques to keep your measurements clear and accessible during use. Using measurement organization methods can help you quickly find and verify your markings without confusion. Additionally, selecting the right body jewelry materials can ensure your tools remain safe and durable over time. Material selection impacts the longevity of your story stick, while precise markings guarantee measurement accuracy. Avoid soft woods or rough surfaces that can warp or obscure your measurements. A well-made story stick offers consistent, reliable references for your projects, making your cuts more precise and repeatable. Paying attention to visual cues can further enhance accuracy and ease of use during your projects, especially when aligning measurements with the power tools you use.
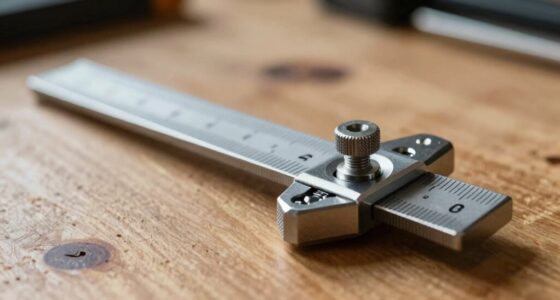
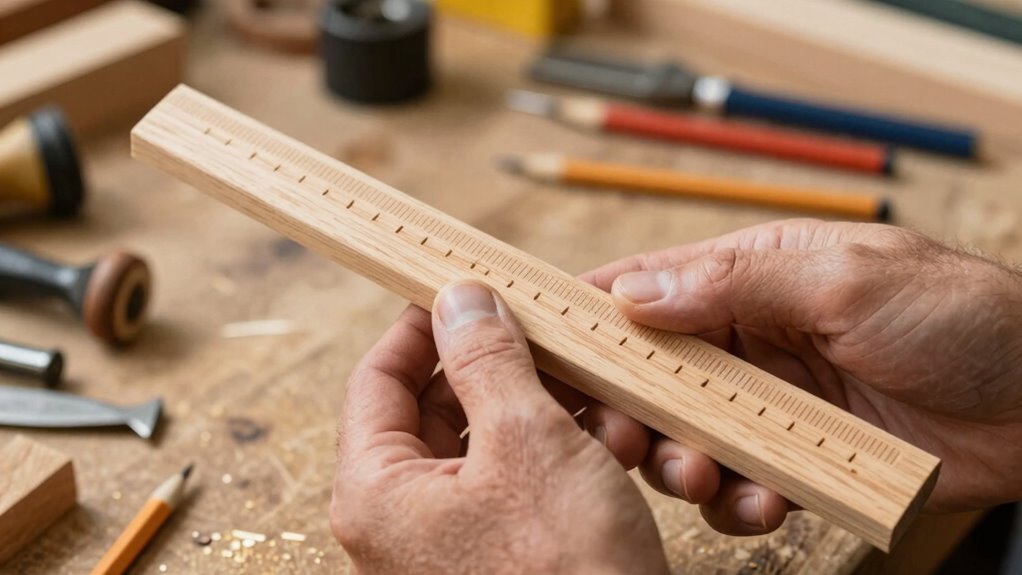
Best Practices for Using a Story Stick to Make Precise, Consistent Cuts

To make precise and consistent cuts using your story stick, verifying measurements beforehand is vital before each cut. Confirm measuring accuracy by double-checking your marks and aligning the stick carefully with your material. This step helps prevent errors and maintains uniformity across multiple pieces. Also, consider material compatibility—some woods, plastics, or metals respond differently to tools, so adjust your technique accordingly. Use the story stick as a physical guide, pressing it firmly against the material to prevent slipping. Keep your hands steady, and mark your cut line clearly. Regularly inspect your story stick for wear or damage, as this can affect measurement accuracy. Additionally, understanding measurement accuracy and environmental factors can also influence your measurements and cutting precision. Being aware of air quality and how it affects your workspace can help you maintain optimal conditions for precise work. Paying attention to tool maintenance ensures your tools stay sharp and accurate, which directly impacts your cut quality. Following these best practices guarantees your cuts are precise, consistent, and reliable every time.
Troubleshooting Common Issues When Using a Story Stick
When using a story stick, common issues such as inaccurate measurements or slipping can disrupt your workflow. To improve marking accuracy and guarantee material compatibility, consider these solutions:
- Double-check measurements before marking to avoid errors caused by misreading the stick.
- Secure your story stick firmly to prevent slipping during marking.
- Use a sharp pencil or marking tool suitable for your material to maintain clarity and accuracy.
- Confirm that your story stick is compatible with the material you’re working with; some surfaces may cause the stick to slide or not mark properly.
- Incorporate stability-enhancing accessories or other connected tools that enhance stability and precision in marking in your marking process.
- Regularly inspect your story stick for wear or damage to ensure consistent performance.
- Understanding creative storytelling techniques can inspire innovative ways to approach your projects and troubleshoot issues effectively.
- Proper technique and handling play a crucial role in achieving consistent results when using a story stick.
Addressing these issues helps you achieve consistent, precise cuts, saving time and reducing mistakes. Proper attention to measurement, stability, and tool choice ensures your story stick remains a reliable guide.
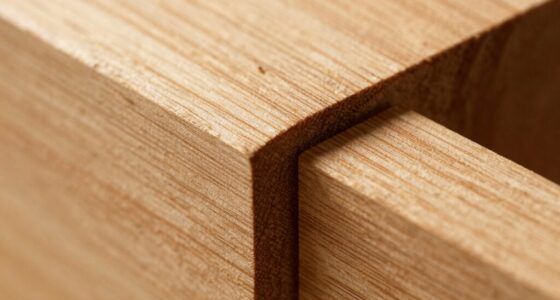
Tips for Using Story Sticks With Different Materials and Projects
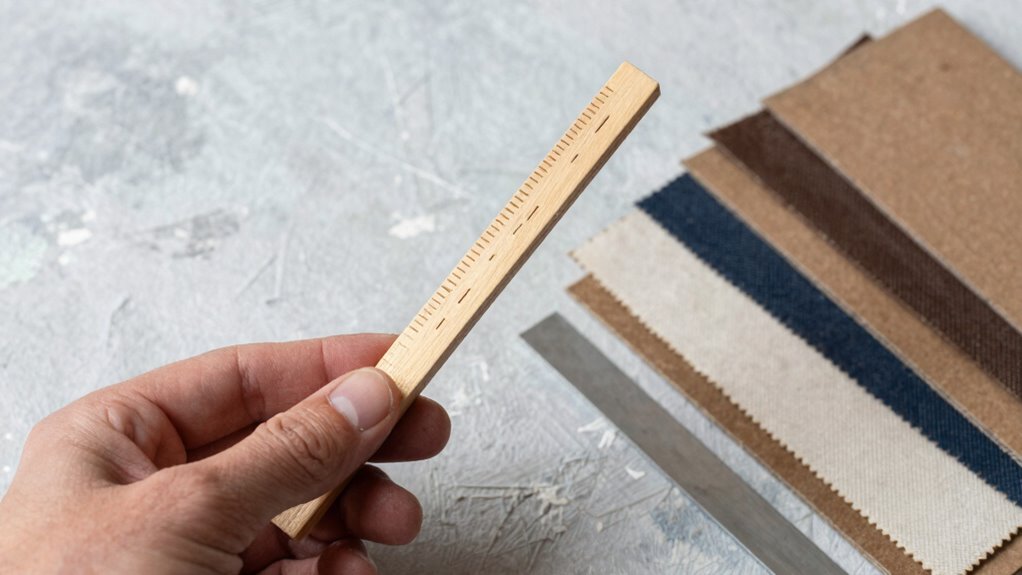
Using a story stick effectively across different materials and projects requires knowing how each surface interacts with your marking tool. For example, smooth wood responds well to pencil marks, while rough surfaces may need a marker or chalk. Adjust your crafting techniques based on the material’s texture and durability, ensuring your marks stay clear and precise. When planning your project, consider the type of material to select the best marking method, reducing errors. Here’s a quick guide:
| Material Type | Best Marking Tool |
|---|---|
| Soft Wood | Pencil or Chalk |
| Hard or Dense Wood | Fine Marker |
| Metal | Scribe or Sharp Tool |
| Plastic | Permanent Marker |
| Fabric or Canvas | Fabric Chalk or Marker |
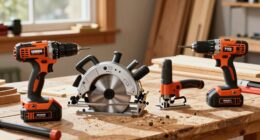
Tailor your approach for consistent, repeatable cuts every time. For electric tools like bikes and generators, choosing the right power source can impact your project’s efficiency and outcome. Additionally, understanding the material properties helps you select the most effective marking technique for each project. Recognizing the importance of marking permanence ensures your lines stay visible throughout the process. Being aware of marking techniques suitable for different surfaces can further improve your results and reduce mistakes. Knowing the proper tools for each material can also streamline your workflow and improve accuracy.
Frequently Asked Questions
Can Story Sticks Be Reused Across Different Projects?
Yes, you can reuse story sticks across different projects. They’re great for project planning and visual communication, helping you keep measurements consistent. Simply reset or modify the sticks as needed, ensuring accurate repeat cuts. Reusing them saves time and maintains precision, especially when working on multiple projects. Just remember to label or update the sticks if measurements change, so you always have reliable reference points for your work.
What Materials Are Best Suited for Making Story Sticks?
Using story sticks is like having a trusty map—you want materials that last. Opt for hardwoods like maple or oak because they offer excellent durability and can withstand repeated use without wearing down. Avoid softwoods that might easily dent or warp. Wood selection is key; choose sturdy, dense materials to make certain your story sticks stay reliable through many projects. This way, you get precise, repeatable cuts every time.
How Do I Store Story Sticks to Prevent Damage?
To prevent damage, you should store story sticks in a dry, flat container or a dedicated drawer to avoid warping. Use protective covers or wraps if they’re made from less durable materials, and keep them away from moisture and direct sunlight. Proper storage methods, like stacking carefully or hanging, help maintain their material durability and make sure they stay in good shape for future use.
Are There Digital Alternatives to Traditional Story Sticks?
Yes, you can use digital templates and virtual markers as alternatives to traditional story sticks. These tools allow you to easily set up and save repeat measurements electronically, making your workflow more efficient. You simply select or customize your digital template, then use virtual markers to mark cut points. This method reduces physical storage needs and damage risk, providing a versatile, high-tech way to achieve precise repeat cuts every time.
What Size Should a Story Stick Be for Small Projects?
For small projects, your story stick should be about 6 to 12 inches long, making it easy to handle and store. Use precise measuring techniques to mark your cuts accurately, ensuring consistency. Regularly calibrate your tool to maintain accuracy, especially if you’re marking multiple pieces. This size allows you to keep measurements clear and manageable, helping you achieve perfect repeat cuts without fuss.
Conclusion
Think of a story stick as your trusty map in the woodworking journey. I once used one to replicate a shelf cut five times—each piece perfectly aligned, saving me hours of re-measuring. Just like a map keeps you on track, your story stick guarantees precision every time. Keep it accurate and durable, and you’ll find that even complex projects become manageable. With this simple tool, perfect cuts become your everyday reality.