To mark a centerline that never lies, start by carefully measuring equal distances from both edges to find the approximate midpoint. Use precise tools like a laser level, chalk line, or plumb bob to transfer and verify the centerline, ensuring it’s straight and aligned. Double-check your measurements from multiple directions and maintain your tools for consistent accuracy. Continue exploring to discover expert tips that keep your centerline reliable over time.
Key Takeaways
- Use high-quality laser levels or digital tools for precise, long-lasting centerline markings.
- Measure equal distances from edges from multiple directions to ensure true midpoints.
- Mark with durable, fine-tip pens or tape for clear, reliable lines that resist fading.
- Double-check measurements and line straightness regularly to prevent deviations over time.
- Incorporate surface assessments and remeasurements to maintain accuracy in challenging conditions.

Laser Level with Tripod, Alloyman 4×360° Self Leveling Laser Level, Green Line Laser 4D Laser Leveler Tool with 2Pcs Lithium Batteries for Picture Hanging, Tile, Home Renovation, Indoor
WARM TIPS: Please press the battery firmly to ensure it is securely installed and to keep the product…
As an affiliate, we earn on qualifying purchases.
As an affiliate, we earn on qualifying purchases.
Why Precise Centerlines Matter in Construction
Have you ever wondered why builders place so much significance on marking a precise centerline? Historically, accurate centerlines have been essential for ensuring stability and symmetry in structures, reflecting the ingenuity of ancient civilizations. They symbolize a foundation of precision that has shaped architectural milestones across centuries. Culturally, a well-marked centerline often signifies harmony and order, embodying societal values of balance and craftsmanship. In construction, this line serves as a critical guide, preventing errors that could compromise safety or aesthetics. By maintaining accuracy from the start, you honor these traditions and ensure your project aligns with both historical standards and cultural expectations. The importance of a precise centerline extends beyond measurements; it’s a proof of craftsmanship that endures through time. Additionally, employing Free Floating techniques can help ensure that the centerline remains unaffected by external forces or shifting ground, maintaining its integrity over the course of the project. Implementing precision measurement tools further enhances the accuracy and reliability of the marked centerline, ensuring it never lies. Incorporating technological integration, such as digital tools and software, can significantly improve the accuracy and efficiency of establishing these critical lines. Understanding the role of contingency planning can also help address unforeseen challenges that might impact line accuracy during construction.

IRWIN Tools STRAIT-LINE COMPACT Chalk Reel, with Blue Chalk, 30 ft. (IWHT48440BC)
COMPACT SIZE – For increased portability & easy storage
As an affiliate, we earn on qualifying purchases.
As an affiliate, we earn on qualifying purchases.
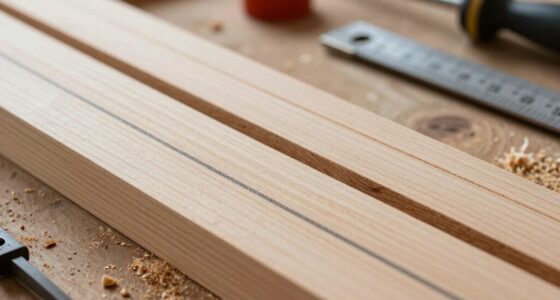
Essential Tools for Marking a Centerline
Marking a centerline accurately requires the right set of tools to guarantee precision and consistency. First, a high-quality marking tape is essential for clear, visible lines that won’t easily smudge or fade over time. It helps you lay out the centerline quickly and accurately across various surfaces. Additionally, laser levels are invaluable for ensuring your line is perfectly straight and aligned. They project a bright, precise laser beam that acts as a visual guide, reducing errors caused by manual measurements. When used together, marking tape and laser levels streamline the process, saving you time and effort. These tools help create a reliable baseline that will stand up to scrutiny and ensure your project maintains structural integrity. Incorporating precision tools like laser levels can significantly enhance the accuracy of your markings, especially when understanding the heat distribution of your workspace. Properly calibrated laser levels are essential for maintaining measurement accuracy, which is crucial for high-quality results in any project. Moreover, using quality measurement instruments can further improve the reliability of your markings, ensuring every line remains true over time. Additionally, selecting the right marking techniques can help ensure your lines stay true even in challenging conditions.
digital plumb bob
As an affiliate, we earn on qualifying purchases.
As an affiliate, we earn on qualifying purchases.
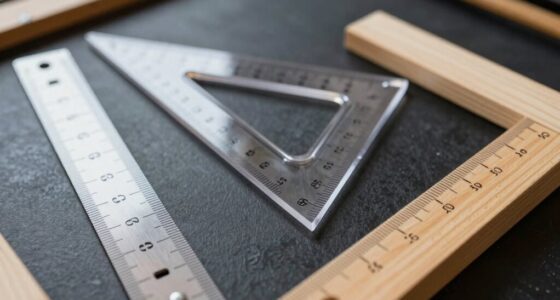
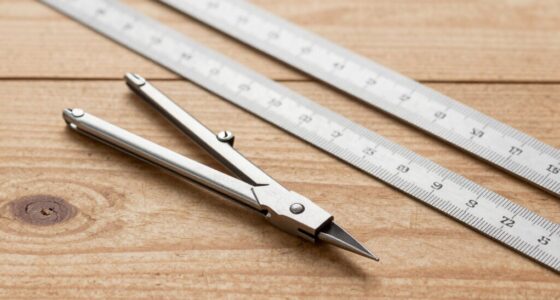
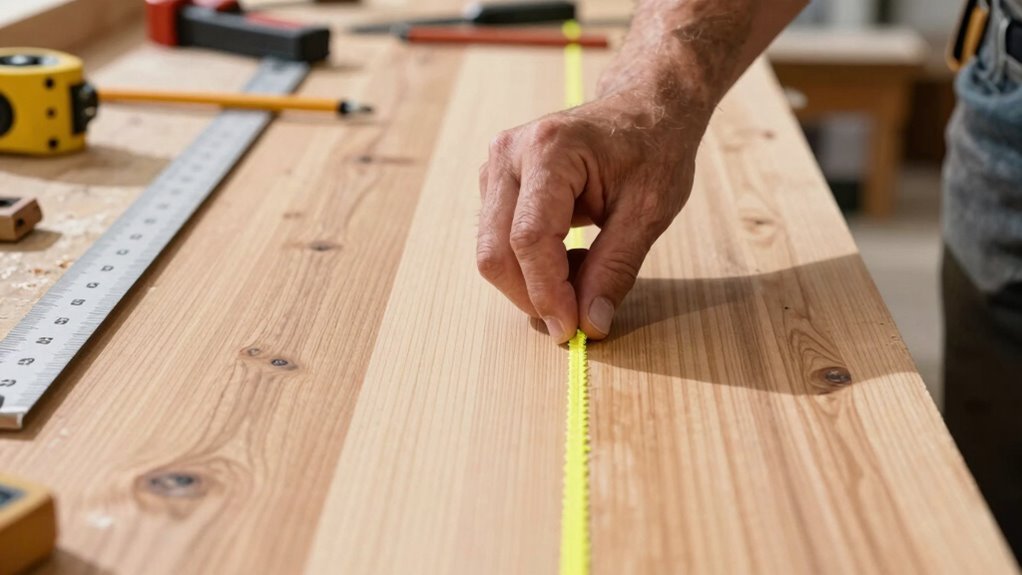
How to Find the Exact Center Using Measurement Techniques
Wondering how to find the exact center of a surface quickly and accurately? You can do this with simple measurement techniques using a measuring tape and marking gauge. Start by measuring equal distances from each edge to locate approximate midpoints. Then, mark these points clearly. Next, connect the marks with a straight line and measure again to find the precise center. To improve accuracy, consider these tips:
- Use a measuring tape to double-check distances from edges
- Mark interim points with your marking gauge for precision
- Cross-verify measurements from multiple directions
- Keep measurements consistent and avoid slack in the tape
- Remember that precise measurements are crucial for an accurate center point. Additionally, understanding measurement techniques can greatly enhance your accuracy and efficiency, especially when working on complex surfaces like those encountered in biography-related projects. Incorporating calibration methods can further ensure your measurements are consistently reliable, making your work more precise.
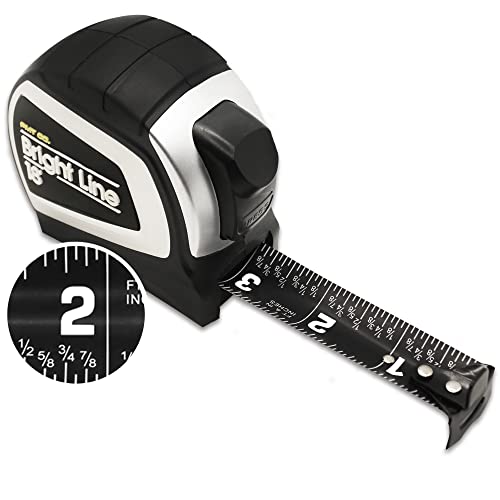
Perfect Measuring Tape – BrightLine High Contrast Dark Mode Easy Read Tape Measure for Low Light Visibility – Heavy Duty Rubber Case 18ft (Inch Fractions) Dual Sided Auto Lock Tape Measure Retractable
HIGHEST CONTRAST TAPE IN ALL LIGHT CONDITIONS: This high visibility easy-to-read black tape measure with fractions is perfect…
As an affiliate, we earn on qualifying purchases.
As an affiliate, we earn on qualifying purchases.
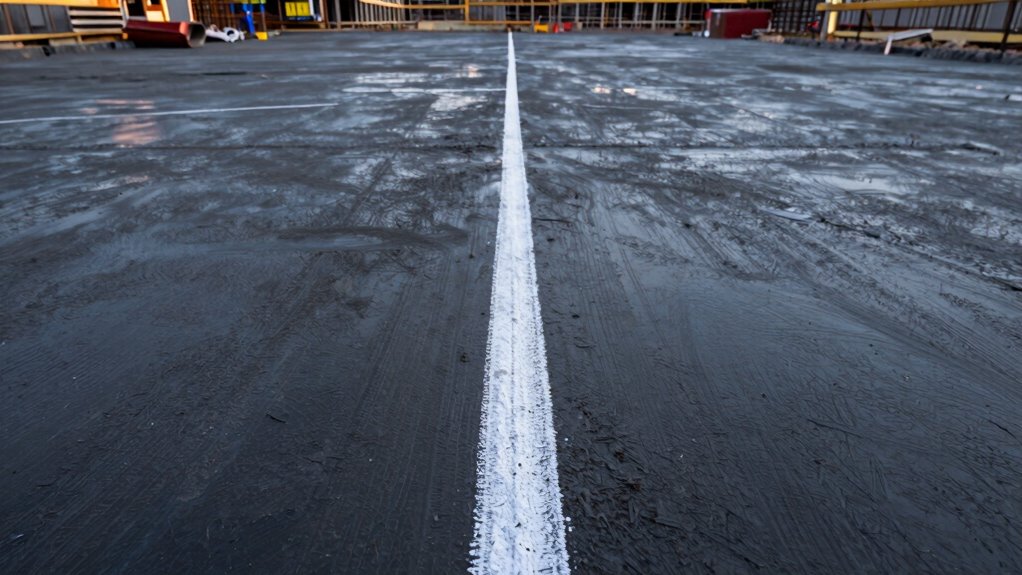
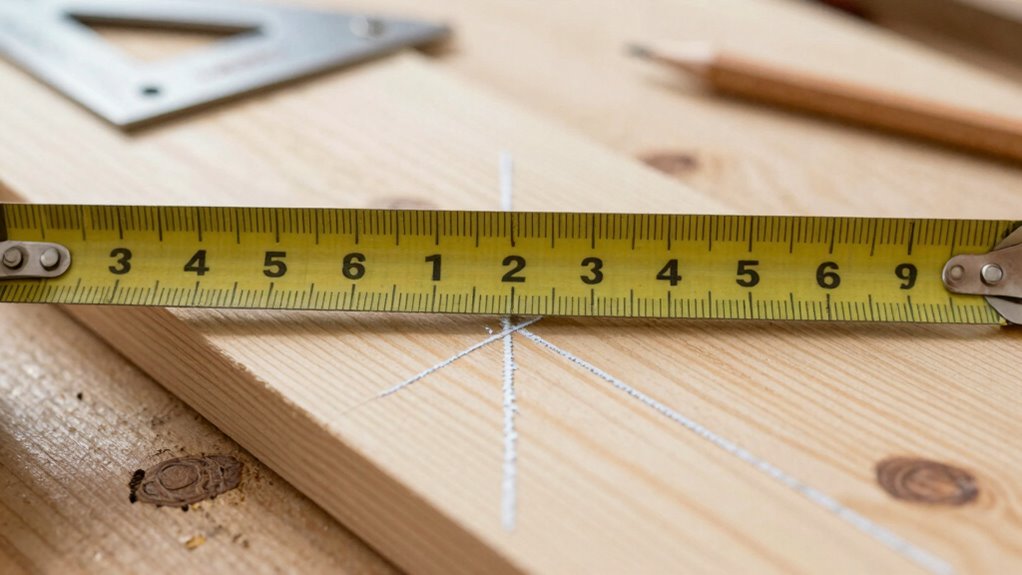
Transferring the Centerline With Chalk Lines and Plumb Bobs

Transferring the centerline onto your surface is straightforward with chalk lines and a plumb bob. Historically, these methods have been reliable tools for marking straight, accurate lines before modern laser levels. To use a chalk line, stretch the string between two points aligned with your center, then snap it to leave a visible chalk mark. A plumb bob, hanging freely, helps you find a true vertical from your center point, ensuring your line stays perfectly perpendicular. These tools are simple yet effective, especially when alternative tools like laser levels aren’t available. By combining the chalk line’s straightness with the plumb bob’s vertical accuracy, you create a precise, dependable centerline that never lies—just like the best traditional methods. Incorporating proper measurement techniques ensures your markings remain accurate throughout your project. Additionally, practicing correct tool usage can improve your accuracy and confidence in your markings. Consistent practice with these tools can also help develop an intuitive sense of spatial awareness, further enhancing your precision.
Double-Check and Correct Your Centerline for Accuracy
After you’ve marked your centerline with chalk lines and verified it with a plumb bob, it’s important to double-check its accuracy before proceeding. Use a contrasting color of chalk or marker to enhance visibility against the surface, ensuring your markings stand out clearly. Compare your original markings with a different measuring tool or reference point to confirm alignment. Check for consistency in your marking patterns, making sure the line remains straight and centered throughout. Look for potential distortions caused by surface irregularities or lighting, adjusting as necessary. Remember, clear color contrast helps you see errors easily, and consistent marking patterns prevent drift. Additionally, understanding measurement accuracy techniques can significantly improve your results. Paying attention to surface irregularities and how they may affect your markings is also crucial for precision. Incorporating proper calibration methods can further ensure your markings are exact. Taking this extra step ensures your centerline remains precise and reliable, avoiding costly mistakes down the line.
Tips to Maintain Accuracy and Avoid Common Mistakes

To keep your centerline accurate, use the right marking tools that guarantee precision. Always double-check your measurements before marking to prevent mistakes. Stick to consistent techniques so your markings stay true and reliable. Using proper tools can further enhance the accuracy of your markings.
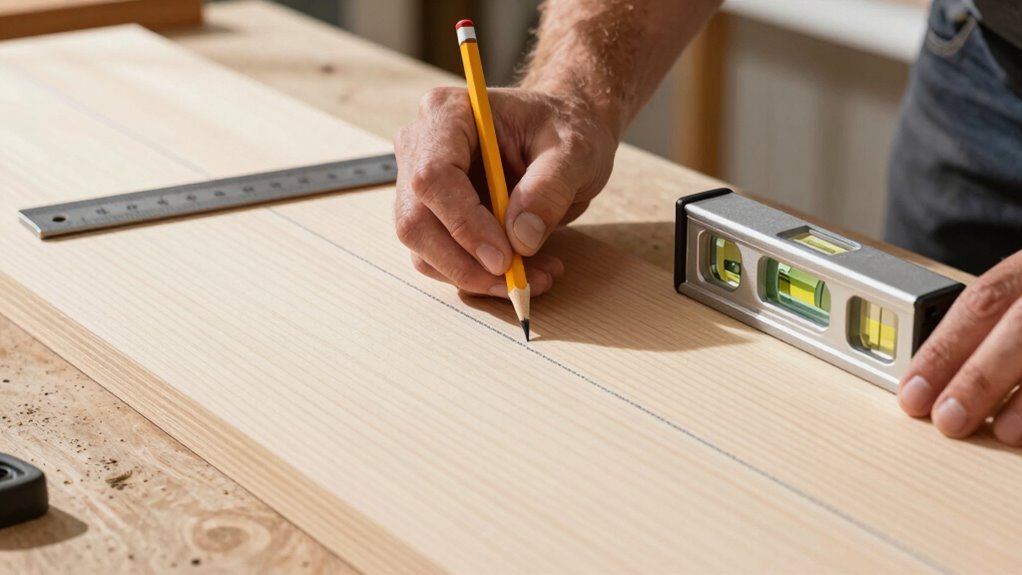
Use Proper Marking Tools
Choosing the right marking tools is essential for accurate centerline marking. Using quality marking tape ensures straight, visible lines that won’t easily smudge or wear away. Marking pens, especially those designed for specific surfaces, provide precision and clarity. To maintain accuracy, select tools suited to the material and environment.
- Use high-quality marking tape for clean, straight lines
- Choose marking pens with fine tips for precision
- Avoid cheap or unreliable tools that can smudge or fade
- Keep tools sharp and in good condition to ensure crisp marks
Proper tools help prevent mistakes and save you time. Always test your marking tape or pens on a scrap surface first to confirm visibility and durability before making your final marks.
Double Check Measurements
How can you guarantee your measurements are spot-on before marking the centerline? Start with measurement verification by carefully rechecking your distances. Use a reliable tape measure or ruler, and ensure it’s free of damage or wear. Confirm the accuracy of your tools through calibration if needed—miscalibrated tools lead to errors. Double check your initial measurements against your planned layout before making any marks. Take your time to compare multiple readings from different angles or reference points. If something doesn’t match, re-measure until you’re confident in your numbers. This extra step prevents costly mistakes later. Remember, accurate measurements and well-maintained tools are essential for precise centerline marking, so don’t rush this process. Double checking keeps your project on track and ensures your centerline truly never lies.
Follow Consistent Techniques
Maintaining consistent techniques throughout your marking process is essential for accuracy. When you stick to reliable methods, you improve survey accuracy and ensure your centerline remains true. To achieve this, consistently use the same tools and measurement procedures, avoiding shortcuts that can introduce errors. Keep your tools calibrated and handle them with steady, deliberate movements. Be mindful of environmental factors like wind or uneven surfaces that can affect marking precision. Regularly double-check measurements to catch discrepancies early.
- Use a single, reliable marking device for all measurements
- Follow the same measurement sequence every time
- Maintain consistent pressure and motion during marking
- Verify your measurements before finalizing the line
Following these techniques helps prevent mistakes and keeps your markings precise, ensuring your project’s foundation is solid.
Frequently Asked Questions
Can Laser Tools Improve Centerline Accuracy in Construction?
Yes, laser tools can substantially improve centerline accuracy in construction. Their laser precision ensures that lines are straight and consistent, reducing human error. With laser tools, you get marking consistency across large surfaces, making your work more reliable. You’ll find it easier to align structures and measurements, saving time and increasing overall project quality. Using laser technology is a smart choice for precise, dependable centerline marking every time.
How Do Weather Conditions Affect Centerline Marking Accuracy?
Weather impact can be like a wild wind that blows your marking precision off course. When it’s rainy, windy, or extremely hot, the accuracy of your centerline markings suffers. Rain can wash away chalk or paint, wind can shift your tools, and heat can cause expansion or contraction of materials, making lines less reliable. To keep your centerline true, consider weather conditions and adjust your process accordingly.
What Are Common Mistakes When Transferring Centerlines?
When transferring centerlines, you might overlook survey accuracy and equipment calibration, leading to mistakes. Always double-check that your survey equipment is properly calibrated before starting. Avoid rushing, which can cause misalignment. Make certain your measurements are precise, and mark the centerline carefully, verifying consistency along its length. Regularly calibrate your tools and cross-check measurements to maintain accuracy, preventing errors that compromise the integrity of your markings.
Are There Alternative Methods for Finding the True Center?
Did you know surveyors often achieve over 99% accuracy using alternative methods? To find the true center, you can use survey markers or perform centerline calibration, which involves measuring from multiple points to pinpoint the exact middle. These methods help avoid common mistakes, ensuring your centerline stays true. Combining survey markers with precise calibration gives you a reliable, alternative way to locate the center, even in challenging conditions.
How Often Should Centerlines Be Rechecked During Construction?
You should recheck centerlines regularly throughout construction to guarantee survey accuracy and marking precision. Typically, verify every few days or after significant activities like excavation or framing. Frequent rechecks catch any shifts early, maintaining alignment and preventing costly mistakes. Always inspect after weather changes or heavy equipment movement, and document each check to keep your project on track, ensuring the centerline remains true from start to finish.
Conclusion
Remember, your centerline is the heartbeat of your project—guiding every step. Like a steady compass, it keeps you true north amid chaos. When you mark it with care and precision, you’re laying a foundation not just for structure, but for trust and quality. So, treat your centerline as a symbol of your craftsmanship—always aiming straight, unwavering, and true. In doing so, you *guarantee* your work stands tall and dependable, just like that unwavering line.