
Understanding the difference between miter and bevel angles is vital to avoid ruining your trim. Miter cuts create corners by slicing at an angle across the face of the material, usually at 45°, perfect for corners and frames. Bevel cuts tilt along the edge, adding decorative or angled details. Confusing these can lead to gaps or misaligned joints. To get it right, learn when and how to use each type—your trim will come out just right.
Key Takeaways
- Miter cuts are angled across the face for corner joints; bevel cuts are tilted along the edge for decorative or angled surfaces.
- Properly distinguishing between miter and bevel angles prevents mismatched joints and trim installation errors.
- Miter angles typically involve cutting at 45°, while bevel angles create sloped edges for decorative or structural purposes.
- Accurate calibration of saws ensures precise miter and bevel cuts, avoiding gaps and misalignments in trim work.
- Confusing miter and bevel angles can lead to improper cuts, ruining the fit and appearance of trim or molding.

Metabo HPT 10-Inch Single Bevel Compound Miter Saw, 15-Amp Power Saw with Xact Cut Shadow Line, Precision Miter Angles, Single Bevel 0-45°, 40T TCT Miter Saw Blade, Lightweight Design, C10FCG2
POWERFUL AND PRECISE: This 10-inch single bevel compound miter saw features a 15-Amp motor delivering high power for…
As an affiliate, we earn on qualifying purchases.
As an affiliate, we earn on qualifying purchases.
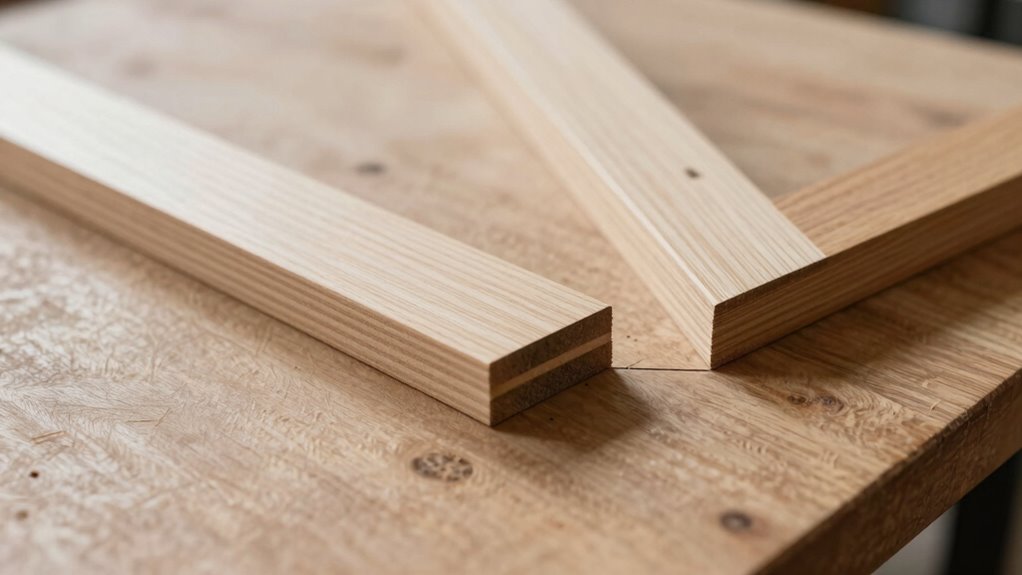
When Should You Use a Miter or Bevel Cut? Practical Tips for Beginners
Knowing when to use a miter or bevel cut is essential for achieving professional-looking results. Use a miter cut when creating corner joints, especially for frames or molding that need to fit seamlessly at 45-degree angles. It’s perfect for achieving clean, sharp corners that look polished. Bevel cuts, on the other hand, are ideal for adding decorative edges or chamfers where you want a sloped or angled surface. They’re useful for accentuating edges or creating a more dynamic look. If your project involves joining pieces at a corner, choose a miter cut for precision. For decorative purposes or angled edges that add visual interest, opt for a bevel cut. [Understanding the angle differences] between miter and bevel cuts can significantly improve your woodworking accuracy and outcome. Properly selecting between these cuts can also minimize material waste, saving you time and resources during your project. A clear understanding of cut applications ensures you choose the most suitable technique for each specific task. Additionally, recognizing the appropriate tools for each cut can further enhance your craftsmanship and efficiency.
Metabo HPT 10-Inch Single Bevel Compound Miter Saw, 15-Amp Power Saw with Xact Cut Shadow Line, Precision Miter Angles, Single Bevel 0-45°, 40T TCT Miter Saw Blade, Lightweight Design, C10FCG2
POWERFUL AND PRECISE: This 10-inch single bevel compound miter saw features a 15-Amp motor delivering high power for…
As an affiliate, we earn on qualifying purchases.
As an affiliate, we earn on qualifying purchases.
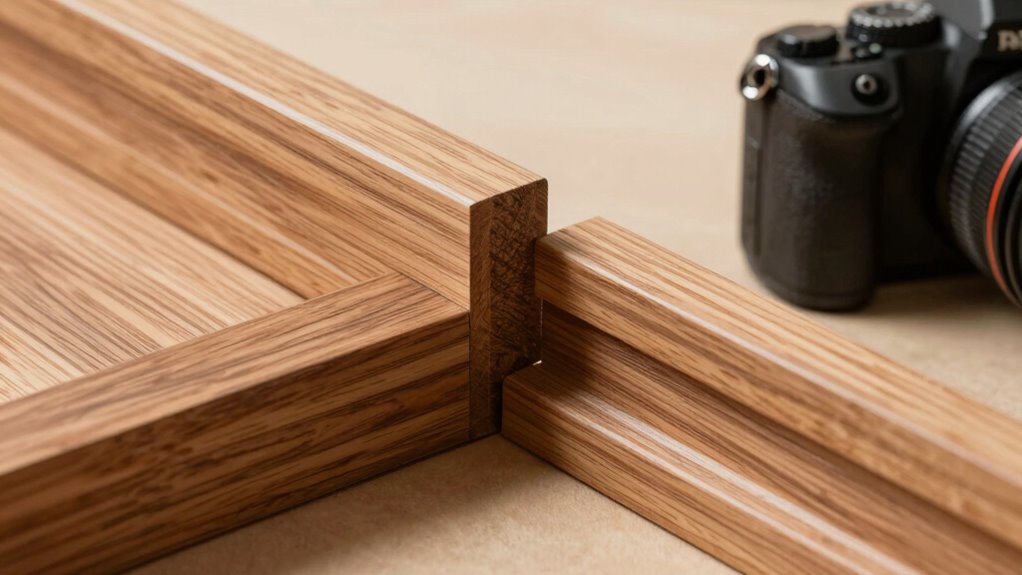
What Are Miter and Bevel Angles? Basic Definitions and Differences
Have you ever wondered what exactly distinguishes a miter angle from a bevel angle? These angles are essential for creating clean corner joints and enhancing decorative molding. A miter angle involves cutting the material at a specific degree, usually to form a seamless corner joint where two pieces meet at an angle, often 45°. It creates a neat, precise joint ideal for trim and molding. A bevel angle, on the other hand, involves tilting the cut relative to the face of the material, resulting in a sloped edge. Bevels are used to add decorative detail or to make angled cuts for more complex joints. Understanding these basic differences helps you choose the right cut for your project, ensuring the best fit and finish for your trim work.

7.3" Aluminum Miter Saw Protractor, Rust-Proof Angle Finder with Precision Laser-Engraved Scales and 360° Rotation for Woodworking & Construction
Accurate Measurement: The protractor features precision laser-etched scales for precise inside and outside corner measurements, ensuring accurate cuts.
As an affiliate, we earn on qualifying purchases.
As an affiliate, we earn on qualifying purchases.
How Do You Make a Miter Cut? Step-by-Step Guide

To make a miter cut, start by setting your miter saw to the desired angle, typically 45° for most corner joints. Make certain the saw’s angle indicator aligns precisely before locking it in place. Next, position your workpiece firmly against the saw’s fence, maintaining proper joint alignment to achieve an accurate cut. Use quality cutting tools with sharp blades to get clean edges and reduce splintering. Before making the cut, double-check your measurement and mark the cut line clearly on the material. Keep your hands clear of the blade and steady the workpiece throughout the process. Once ready, activate the saw smoothly, guiding the material through at a controlled pace to ensure a precise miter angle. Proper setup and careful handling lead to perfect joint alignment. Additionally, understanding the differences between miter and bevel cuts can help prevent angle confusion that might ruin your trim work. Recognizing the cutting techniques involved ensures you select the right method for each project, avoiding costly mistakes. Knowing how to adjust your saw correctly and understanding the angle measurement process are also crucial for accurate cuts.

TRUTOPWAY Multi-Angle Bevel Gauge Block, Universal Miter Angle Finder with 15°-45°Miter Angles, Woodworking Measuring Tool for Router and Carpentry Projects
Accurate Table Saw Angle: This angle finder provides preset 15°/22.5°/30°/36°/45° miter angles and 1:6-1:8 ratios, provided multiple angle…
As an affiliate, we earn on qualifying purchases.
As an affiliate, we earn on qualifying purchases.
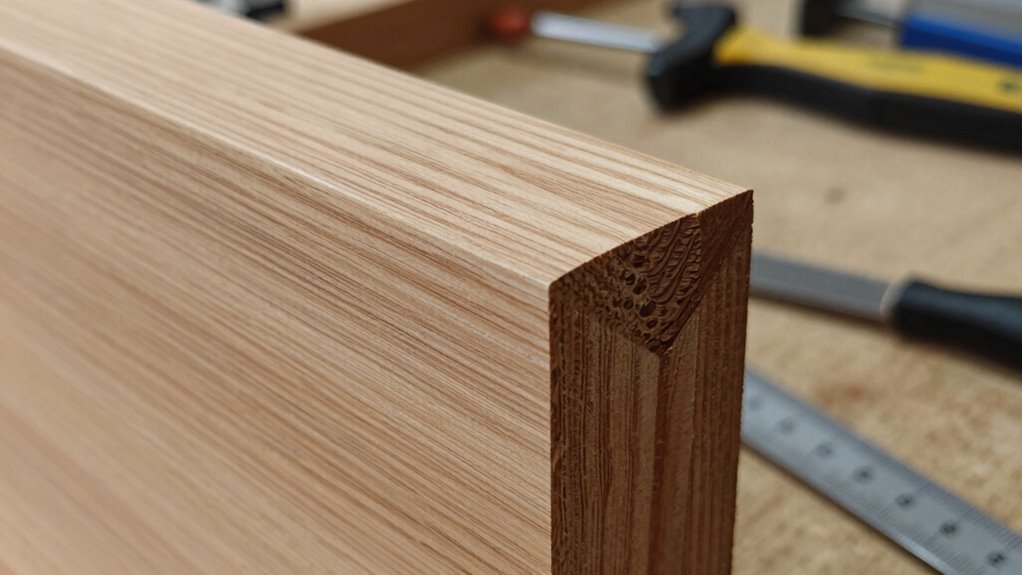
What Is a Bevel Cut? When and Why to Use It
A bevel cut angles the edge of a material, offering a different look and function than a miter cut. You should choose a bevel when creating joints that need to fit together at specific angles or when adding decorative edges. Its benefits include stronger connections and a polished appearance that enhances your project’s overall quality. Additionally, understanding proper safety precautions can help prevent accidents during cutting and ensure a smoother workflow. Incorporating visual and auditory cues can also facilitate learning and improve precision during your project.
When to Choose Bevel Cuts
Choosing a bevel cut becomes essential when you need to create angled joints, add decorative edges, or improve fit and stability in your projects. Use bevel cuts for corner joints that require a slight tilt for a seamless connection or to craft decorative accents that enhance visual appeal. They’re also ideal when you want to achieve a specific aesthetic or structural detail. Here’s a quick guide:
| Purpose | When to Use | Result |
|---|---|---|
| Corner joints | To create angled connections | Strong, precise fit |
| Decorative edges | To add stylish details | Visual appeal, texture |
| Improved fit | When meeting uneven surfaces | Better alignment |
| Structural stability | For angled support in framing | Stronger, secure joints |
| Custom design | When adding unique design elements | Personalized craftsmanship |
Additionally, understanding cut angles can help you select the most appropriate technique for your project’s needs. Properly selecting and applying the right bevel angle ensures your projects are both durable and visually appealing.
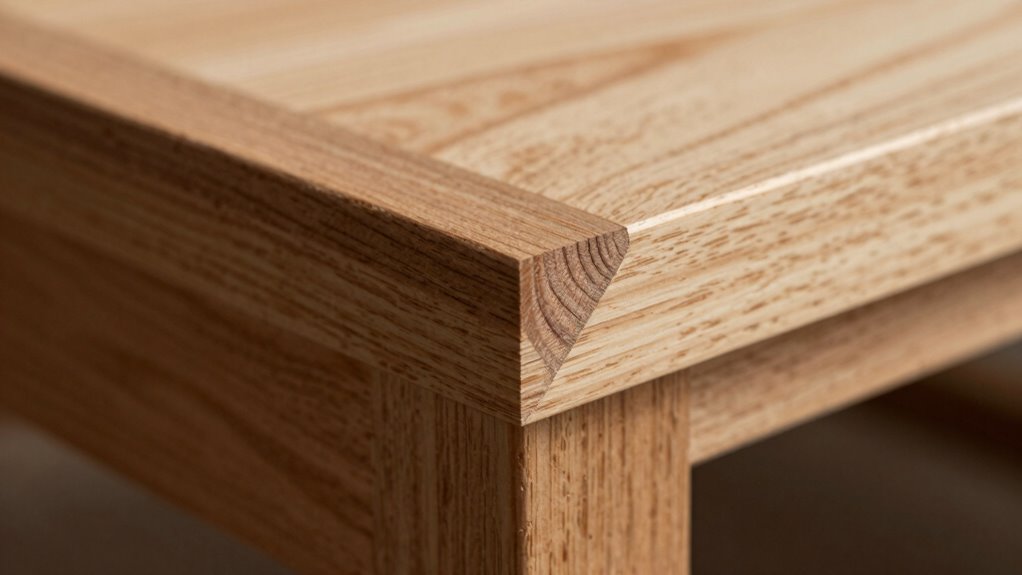
Benefits of Bevel Cutting
Bevel cuts are a versatile technique that involves slicing material at an angle other than 90 degrees, creating a sloped edge. This method enhances joinery techniques by providing tighter fits and smoother progressions. It’s also excellent for adding decorative accents, giving your projects a refined look. Using bevel cuts can simplify complex angles and improve overall craftsmanship. Mastering power tool techniques for bevel cutting can significantly elevate your woodworking projects. Additionally, understanding cutting angles is essential for achieving precise and consistent results.
- Creates seamless corners for professional joinery techniques
- Adds visual interest with subtle sloped edges
- Facilitates intricate framing and trim work
- Improves structural stability through precise fitting
- Elevates the aesthetic appeal of furniture and moldings
Whether for functional joinery or decorative purposes, bevel cutting broadens your design options and enhances the quality of your work. It’s a valuable skill that elevates your craftsmanship and project finish.
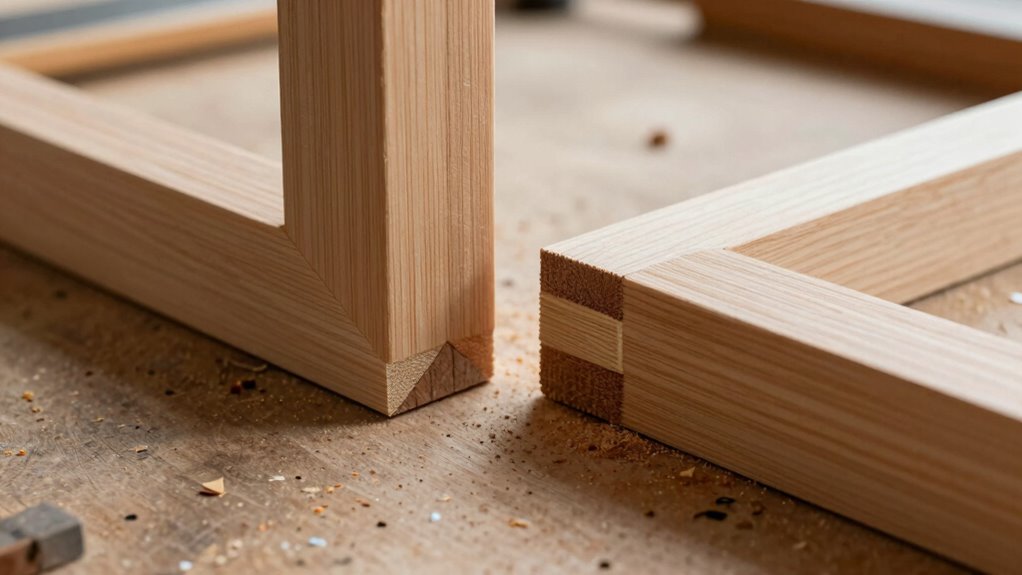
Key Differences Between Miter and Bevel Cuts
Understanding the key differences between miter and bevel cuts is essential for achieving precise and professional results in your woodworking projects. Miter cuts angle the workpiece’s ends, creating clean corner joints perfect for frames and trim. Bevel cuts, on the other hand, tilt the blade along its face, shaping edges for decorative accents or angled joints. Here’s a quick comparison:
| Aspect | Miter Cut | Bevel Cut | Purpose |
|---|---|---|---|
| Angle of Cut | Across the face | Along the face | Corner joints, framing |
| Placement | Ends of pieces | Edges of material | Decorative details |
| Typical Use | Corners, molding | Angled edges | Decorative accents |
| Cut Type | Inclined at an angle | Tilted along the face | Finishing touches |
Mastering these differences helps you achieve seamless corner joints and decorative accents with confidence.
Common Mistakes in Cutting Miter and Bevel Angles: And How to Avoid Them
One common mistake is measuring the wrong angles, which leads to gaps or misaligned joints. Another issue is neglecting to calibrate your saw properly, causing inaccurate cuts. To avoid these problems, double-check your measurements and regularly maintain your equipment.
Incorrect Angle Measurements
Incorrect angle measurements are a common mistake that can ruin your project if not addressed carefully. Poor measurement accuracy often leads to gaps or misaligned joints, wasting time and materials. To guarantee precision, focus on proper angle calibration and double-check your readings. Be mindful of these pitfalls:
- Relying solely on visual estimates instead of using a protractor or digital angle finder
- Ignoring the tool’s calibration settings before cutting
- Forgetting to account for saw blade kerf or blade tilt when measuring
- Using worn or inaccurate blades that skew measurements
- Failing to verify angles on scrap pieces before making final cuts
Poor Saw Calibration
Poor saw calibration is a common mistake that can throw off your entire project, especially when cutting miter and bevel angles. If your saw isn’t properly calibrated, your blade alignment may be off, leading to inaccurate cuts. Before starting, double-check that your saw’s bevel and miter settings are zeroed out and aligned correctly. Regularly calibrate your saw by measuring test cuts and adjusting the blade alignment as needed. Even a slight misalignment can cause angles to be off by fractions of a degree, ruining your trim. Keep your saw’s calibration up to date, and always verify the blade’s alignment before making critical cuts. This ensures your angles are precise, saving you time and materials in the long run.
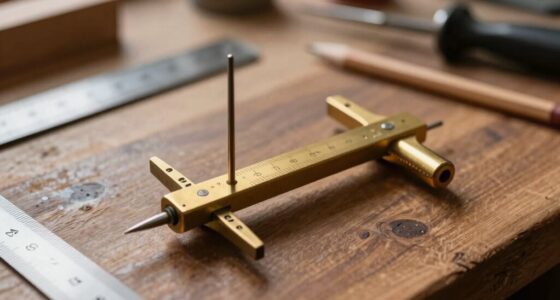
How to Measure and Set Your Cutting Angles Correctly

Accurately measuring and setting your cutting angles is essential for achieving precise miter and bevel cuts. Proper angle measurement guarantees your cuts align perfectly, preventing gaps or misfits. Start by checking your saw calibration to confirm it cuts true. To set your angles correctly:
- Use a reliable protractor or digital angle finder for precise measurement.
- Always verify the saw’s baseline before adjusting.
- Lock the saw at the desired angle firmly to avoid movement during cutting.
- Double-check each setting with a test cut on scrap material.
- Keep tools clean and well-maintained for accurate readings.
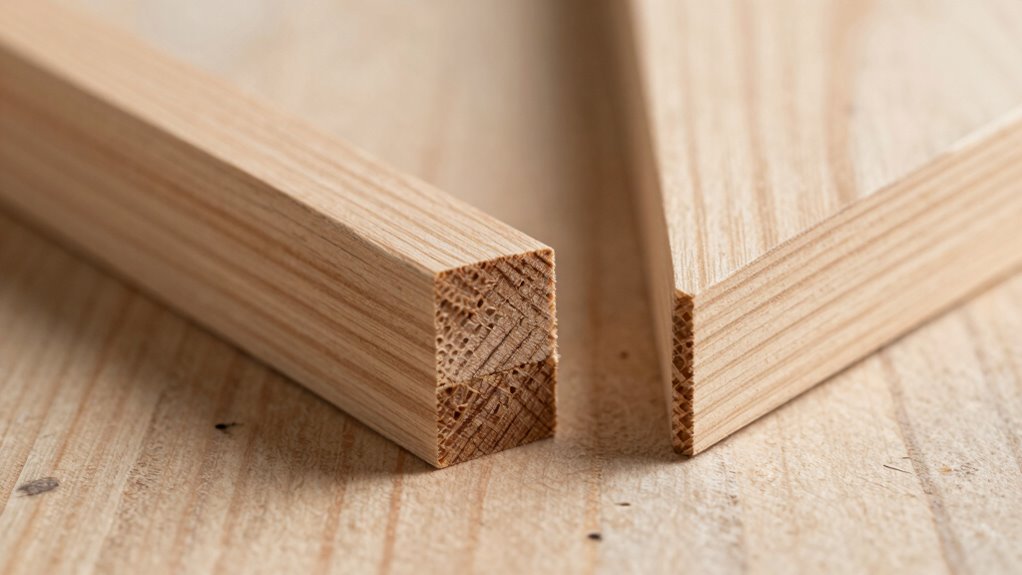
Tips for Achieving Perfect Miter and Bevel Joints Every Time
Achieving perfect miter and bevel joints requires careful preparation and attention to detail. Start by ensuring joint stability; secure your workpiece firmly to prevent shifting during cutting. Proper material selection is essential—choose straight, stable materials with minimal warping to achieve cleaner, more accurate cuts. Use sharp blades and proper saw settings to guarantee smooth, precise edges. Double-check your angles before cutting, and always measure twice to avoid errors. When cutting, support your material fully to prevent vibrations that can cause uneven joints. Sand or smooth the edges if needed, but avoid overdoing it, which can weaken the joint. With these tips, you’ll improve your chances of creating tight, seamless joints every time.
Frequently Asked Questions
Can Miter and Bevel Cuts Be Combined for Complex Joints?
Yes, you can combine miter and bevel cuts for complex joints. Doing so enhances joint stability and allows for more precise angle accuracy in intricate designs. When planning your cuts, guarantee you accurately measure and set your saw for each angle. This combination creates seamless connections, especially in projects like frames or furniture, where precise angles and stable joints are essential for a professional finish and long-lasting durability.
What Tools Are Best Suited for Precise Miter and Bevel Cuts?
For perfect precision cuts, you want precision tools that prioritize cutting accuracy. A fine-toothed miter saw with a dual-bevel feature is your best bet, offering smooth, accurate miter and bevel cuts. Consider a digital or laser-guided saw for even greater precision, and always use a reliable square or protractor for alignment. These tools help you achieve cleaner corners, confident joints, and consistent craftsmanship every time you cut.
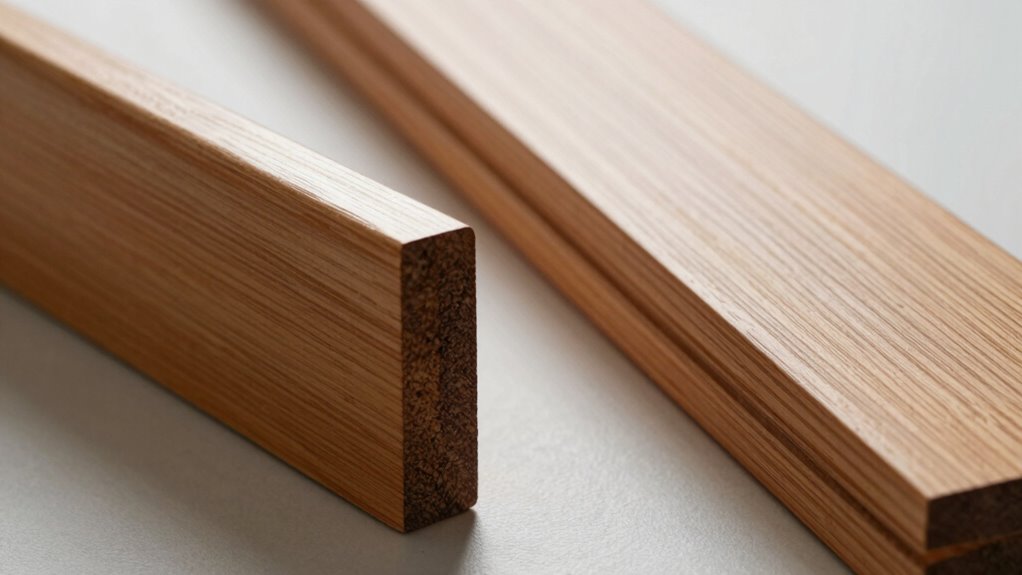
How Does Wood Type Affect Miter and Bevel Cutting Techniques?
You should consider wood type because it affects your miter and bevel cutting techniques. Hardwoods with a prominent grain increase cutting resistance, making precise cuts more challenging. Softwoods are easier to cut but can splinter if you’re not careful. To get clean joints, adjust your saw’s blade speed and pressure based on the wood’s grain and resistance. Always test on scrap wood first to guarantee accuracy and a smooth finish.
Are There Safety Considerations Specific to Miter Versus Bevel Cutting?
Think of each cut like steering a treacherous mountain trail. When working with miter or bevel cuts, you need proper safety gear—gloves, goggles, and ear protection—to shield yourself from flying debris and loud noise. Be mindful of cut accuracy, as misjudged angles can lead to slips or uneven edges. Always double-check your settings and maintain focus, ensuring your journey through woodworking remains safe and precise.
How Do I Correct a Miscut Miter or Bevel Joint?
To correct a miscut miter or bevel joint, start by carefully removing the damaged piece. Use sandpaper or a router to smooth any uneven edges. For joint repair, cut a new piece with the correct angle, making certain your measurements and saw settings are precise. Test fit the new cut, then glue and clamp it securely. Taking your time guarantees a seamless, professional-looking joint.
Conclusion
Understanding the difference between miter and bevel cuts can feel like a coincidence of angles, but with practice, it becomes second nature. When you choose the right cut for your project, every joint lines up perfectly—almost as if the universe conspired to make it happen. So, stay patient, measure carefully, and enjoy the satisfying precision of your work. Before long, you’ll find these angles working together seamlessly, turning your projects into professional-looking masterpieces.