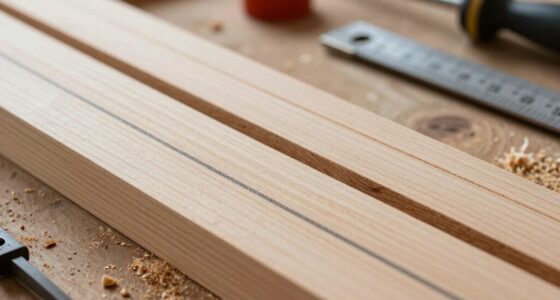
Knife walls are precise, sharp lines carved into wood that act as guides for your chisels and saws. They help you control the cutting direction, resulting in cleaner, more accurate work. Properly creating and maintaining these lines is essential for smooth joinery and fine details. If you keep practicing and paying attention to technique, you’ll master how knife walls improve your woodworking results and learn tips to keep them crisp and reliable.
Key Takeaways
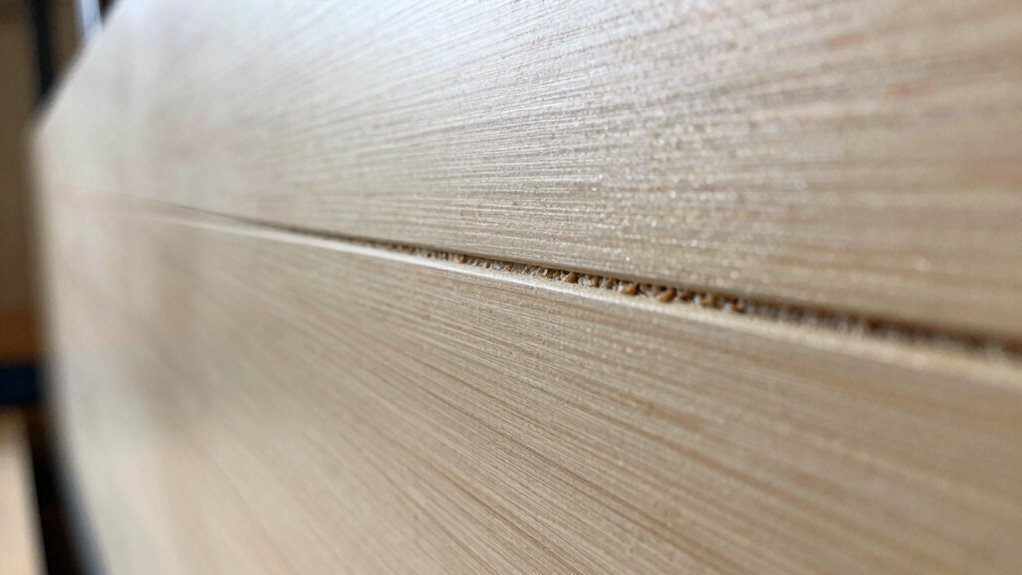
- Knife walls are crisp, precise carved lines that serve as guides for chisels and saws in woodworking.
- Proper technique involves carving with the grain and maintaining sharp tools for clean, accurate lines.
- Creating knife walls requires careful marking, securing the workpiece, and using appropriate tools like routers or marking knives.
- Consistent tool maintenance, including sharpening and cleaning, is essential to keep knife walls effective and long-lasting.
- Well-executed knife walls improve control, prevent splintering, and enhance overall woodworking precision.

HURRICANE 4 Piece Wood Chisel Set for Woodworking. CR-V Steel Beveled Edge Blades with Safety Caps. Durable PVC High Impact Handle, for Precision Carving & DIY Projects (1/4", 1/2", 3/4", 1")
Premium Blades: Drop forged CR-V steel with heat-treated edges ensures sharp precision and long-lasting durability, can be used…
As an affiliate, we earn on qualifying purchases.
As an affiliate, we earn on qualifying purchases.
What Are Knife Walls and Why Are They Important in Woodworking?
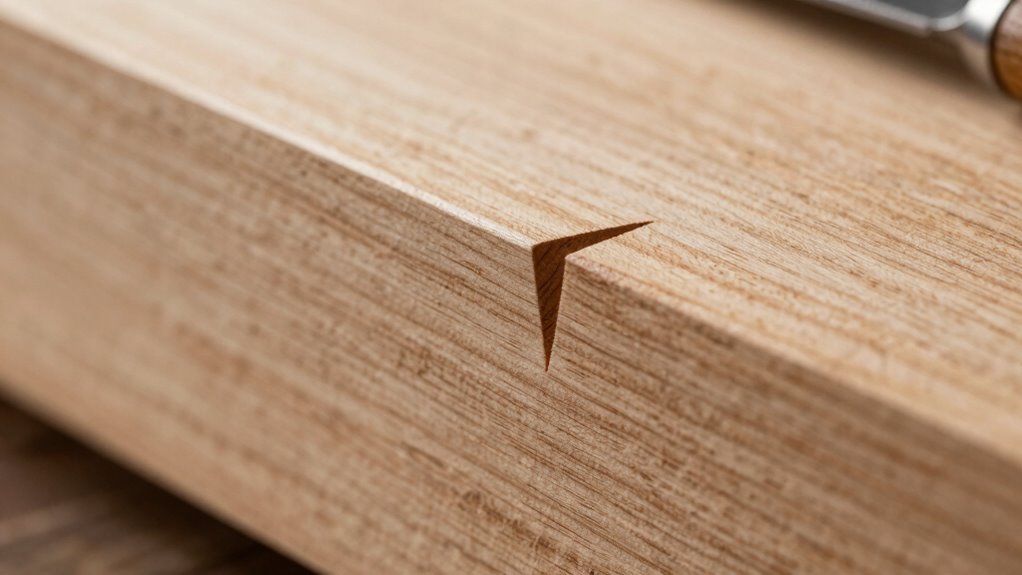
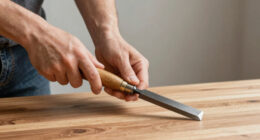
Have you ever wondered how skilled woodworkers achieve such precise and clean cuts? It all starts with understanding knife walls. Knife walls are fine, crisp lines carved into wood that serve as guides for chisels and saws. They’re essential because they help control the cut’s direction, preventing splintering or tearing. To create effective knife walls, you need to contemplate the grain direction, as cutting against the grain can cause chips, while cutting with it produces smoother results. Additionally, different wood species respond differently; hardwoods may require sharper blades and more attention to grain, while softwoods are more forgiving. Mastering how to craft and use knife walls ensures your cuts stay accurate and clean, elevating the quality of your woodworking projects. Deaf Vibes

RUITOOL Profession Marking Knife Set for Woodworking, Ambidextrous Scribe Tool with Bamboo Storage Box, High Carbon Steel Double Beveled Blade with Wooden Handle, Precision for Carpenter, DIY Handyman
【Bamboo Storage Box】The marking knife set includes standard blade and long‑neck thin blade. Meet all your woodworking needs.
As an affiliate, we earn on qualifying purchases.
As an affiliate, we earn on qualifying purchases.
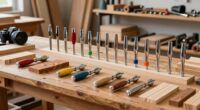
Essential Tools and Materials for Making Sharp Knife Walls

To create effective knife walls, you need the right cutting tools that are sharp, precise, and comfortable to handle. Choosing high-quality materials guarantees your knife walls stay durable and maintain their edge over time. By selecting the proper tools and materials, you’ll set a solid foundation for successful woodworking projects. Incorporating simple organization strategies can help keep your tools accessible and well-maintained, ensuring your knife wall remains functional and safe.
Essential Cutting Tools
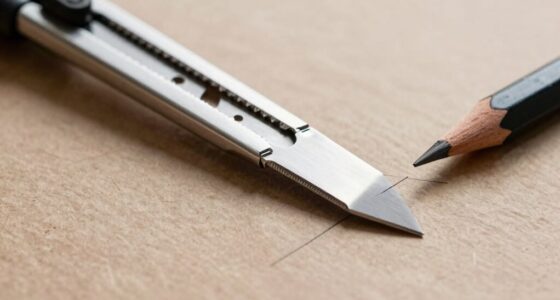
Creating a sharp knife wall requires the right set of cutting tools and materials. Your primary tool should be a quality chisel with a sharp edge, ensuring clean, precise cuts. A utility knife or craft knife can serve as effective substitutes for delicate or detailed work. Always follow safety precautions, such as wearing gloves and eye protection, to prevent injury. Keep your tools well-maintained and sharp for ideal results. Using the correct tools minimizes the risk of slips or uneven cuts. If you lack specific tools, consider suitable alternative tools that can achieve similar precision without compromising safety. Remember, the right tools enhance accuracy and safety, making your work more efficient and satisfying. Proper selection and handling are essential for creating crisp, clean knife walls. Additionally, understanding tool maintenance can extend the lifespan of your tools and ensure consistently sharp cuts.
Quality Material Selection
What materials you choose directly impact the sharpness and durability of your knife walls. Selecting the right wood involves careful grain selection to guarantee a fine, even surface that holds a sharp edge. Additionally, moisture content is critical; wood with high moisture can warp or crack over time, compromising your wall’s integrity. To achieve ideal results, consider these factors:
- Use hardwoods with tight, straight grain for stability and a smooth finish.
- Ensure moisture content is below 12% to prevent warping.
- Avoid softwoods or woods with irregular grain, which may dull your tools quickly.
- Opt for seasoned, dried lumber to maintain consistency and longevity.
- Paying attention to material stability during selection helps ensure your knife walls remain reliable and precise over time.
Choosing the proper materials guarantees your knife walls stay sharp longer and perform better over time.

WORKPRO Premium Utility Knife, Retractable All Metal Heavy Duty Box Cutter, Quick Change Blade Razor Knife, with 10 Extra Blades
Heavy-Duty Utility Knife : Aluminum alloy design with rust-free powder-coat makes the box cutter durable and lightweight (3.2…
As an affiliate, we earn on qualifying purchases.
As an affiliate, we earn on qualifying purchases.
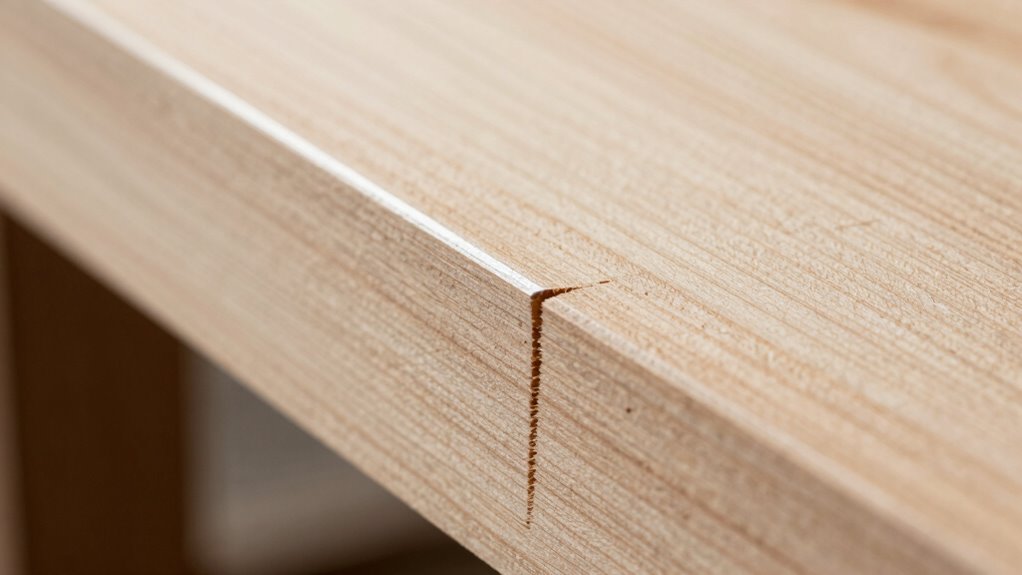
How to Create a Precise Knife Wall for Better Chiseling
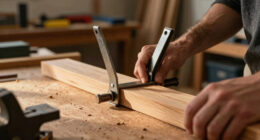
Achieving a precise knife wall is essential for effective chiseling, and the key lies in careful preparation. Start by selecting sharp tools and securing your workpiece firmly. Use a router bit with a fine edge to make clean, controlled cuts along your marked line. For added stability, lightly tap finish nails into the edges, providing a visual guide and preventing splintering. To visualize your process, consider this table:
| Step | Tip |
|---|---|
| Mark your line | Use a sharp pencil for accuracy |
| Secure with finish nails | Keeps the wood stable during cuts |
| Use router bits | For consistent, smooth walls |
| Check your wall | Ensure crispness before chiseling |
With precise setup and attention to detail, you’ll create a clean, crisp knife wall that guides your chisel perfectly. Incorporating wood movement considerations into your process ensures long-lasting accuracy and results.

Wood Carving Kit Whittling Kit: Deluxe Wood Carving Tools Knife Set with Leather Case – Woodworking Hobby Kit for Beginners Adults Kids – DIY Art Craft Gift for Men Teens
[Wood Carving Kit Deluxe Edition] Everything you need to start carving: 4 knives, 4 chisels, 7 basswood blocks,…
As an affiliate, we earn on qualifying purchases.
As an affiliate, we earn on qualifying purchases.
Step-by-Step: Marking and Carving Your Knife Wall

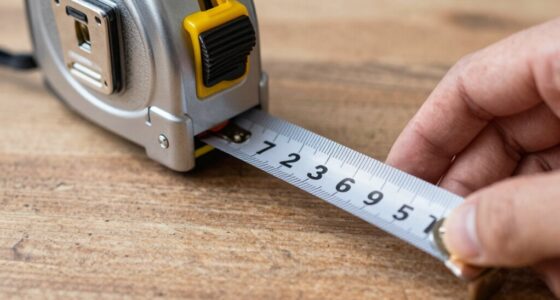
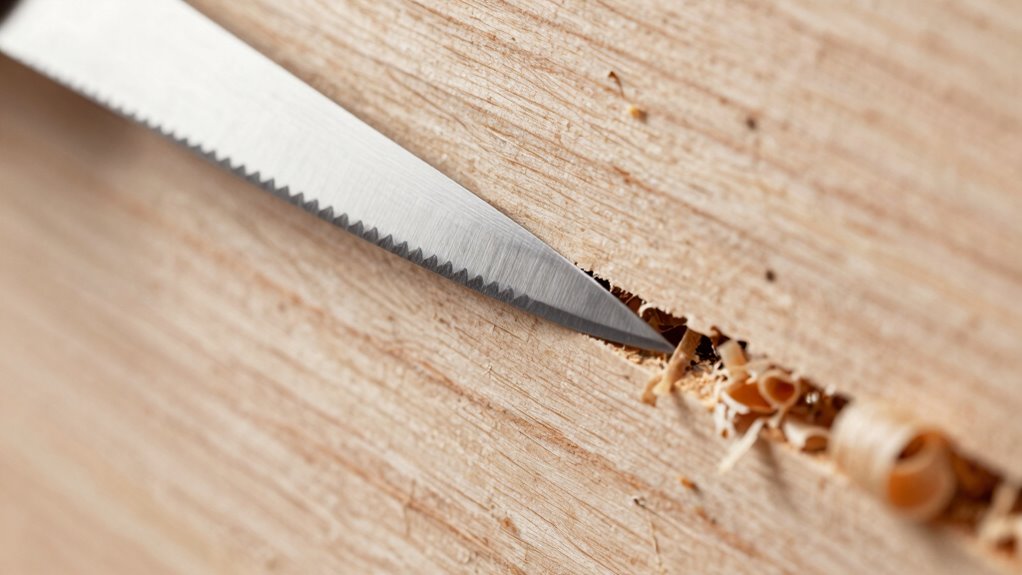
To begin marking your knife wall, start by carefully measuring and transferring your intended line onto the workpiece using a sharp pencil. Accurate marking guarantees proper blade alignment and a clean cut. Follow these steps:
Begin by carefully measuring and transferring your line with a sharp pencil for precise, clean cuts.
- Use a straightedge or marking gauge to establish a precise line, applying firm, consistent pressure.
- Employ marking techniques like scribing or using a marking knife to enhance visibility and accuracy.
- Double-check your measurements before proceeding, ensuring the line is true and aligned with your design.
- Carefully review your markings for any deviations; adjustments at this stage prevent errors during carving.
- Remember that a clear understanding of piercing-Body and proper technique can improve your craftsmanship and precision.
Once marked correctly, you can confidently proceed to carve along this crisp line, knowing your blade will follow the guide perfectly for a clean, crisp knife wall.
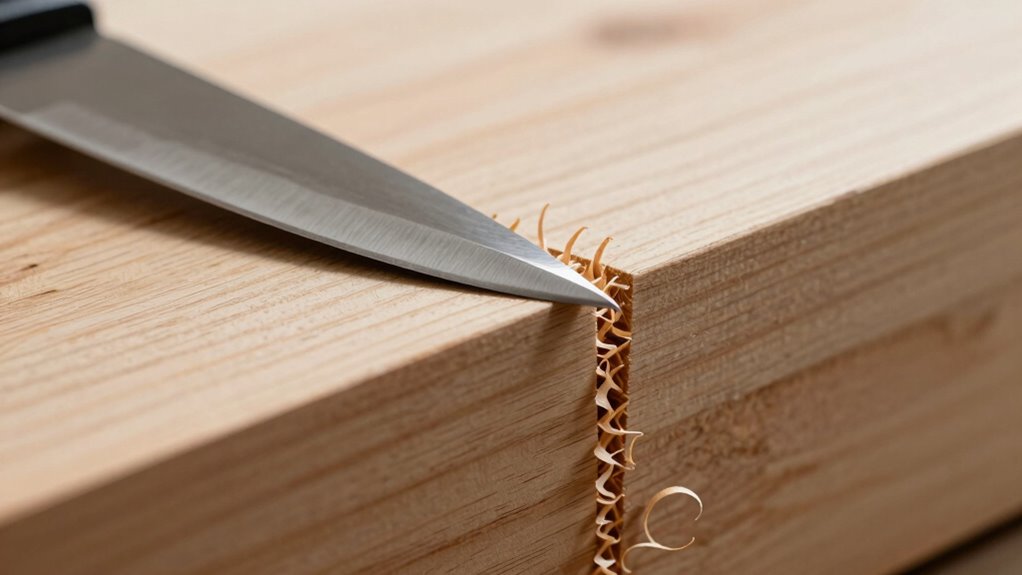
Troubleshooting Common Problems When Making Knife Walls
When making knife walls, you may encounter common problems that can compromise the quality of your work. One issue is uneven or ragged walls, often caused by neglecting grain direction. Always pay attention to the wood’s grain, carving with it rather than against it to prevent tear-out. Another problem is tool misalignment, which results in wobbly or inconsistent lines. Ensure your chisel is sharp and held at the correct angle, and check your tool alignment frequently. If your knife wall isn’t crisp or straight, it’s likely due to inconsistent pressure or movement. Practice maintaining steady pressure and precise control. Correcting these issues involves adjusting your technique to match the grain and double-checking your tool setup before carving. Proper projection technology can help you visualize your work more accurately, leading to cleaner, more precise knife walls. This will help you achieve cleaner, more accurate knife walls.
How to Use Knife Walls to Improve Joinery and Fine Details

Ever wondered how knife walls can elevate the precision of your joinery and fine details? Using knife walls effectively requires attention to grain orientation for cleaner cuts and better finish quality. Here are four tips:
Master the art of knife walls for cleaner cuts and refined details in your woodworking projects.
- Align your knife wall with the grain to prevent tear-out and achieve crisp edges.
- Use the wall as a guide for chiseling, ensuring accurate, straight lines.
- Deepen the wall gradually, maintaining control to enhance detail work.
- Follow the wall with a fine chisel or razor for a seamless progression, improving finish quality.
- Understanding the importance of grain orientation can help you make more precise cuts and achieve cleaner results.
Maintenance Tips for Sharp, Long-Lasting Knife Walls
Maintaining sharp and durable knife walls is key to achieving precise joinery and fine details. To guarantee sharpness maintenance, regularly inspect your walls for dullness or nicks, and sharpen them as needed with a fine file or stone. Proper cleaning after each use prevents debris from dulling the edges and maintains wall durability. Avoid excessive force that could chip or damage the wall; gentle pressure preserves the crispness of the line. Applying a light coat of oil can prevent rust and keep the surface smooth. Store your tools in a dry, secure location to prevent moisture exposure. Consistent upkeep, including sharpening and cleaning, keeps your knife walls sharp and durable, ensuring long-lasting performance and precise work every time.
Frequently Asked Questions
Can Knife Walls Be Used in Materials Other Than Wood?
Yes, you can use knife walls on materials other than wood, like metal surfaces and plastic materials. They help create precise, clean lines, making your cuts more accurate. When working with metal or plastic, verify your knife wall is sharp and well-defined to prevent slipping or damaging the surface. Using knife walls in these materials improves control and results, whether you’re shaping, carving, or detailing.
How Do I Choose the Right Angle for My Knife Wall?
You should choose an angle that balances chiseling precision and control, typically around 30 to 45 degrees. For detailed, delicate work, opt for a steeper angle; for rougher cuts, a shallower one works better. Proper angle selection directly impacts your chisel’s effectiveness and safety, so test different angles on scrap material first. Adjust as needed based on the material and the type of cut to achieve clean, accurate results.
Are There Safety Precautions for Creating Knife Walls?
Creating knife walls can be as dangerous as walking a tightrope over a volcano, so always wear safety gear like goggles and gloves. Use proper technique to control your chisel and avoid slips that could cause serious injury. Keep your workspace clean and well-lit, and take your time to guarantee precision. Staying alert and cautious will protect you from accidents and make your project safer and more successful.
How Often Should I Resharpen My Knife Wall Edge?
You should resharpen your knife wall edge whenever you notice a decline in precision or a dull finish. Regular blade maintenance, including sharpening frequency, depends on how often you work with your chisel and the materials you use. Typically, you might need to sharpen every few sessions or weekly if used intensively. Keeping your edge sharp guarantees clean, accurate cuts and prolongs the life of your tools.
Can Knife Walls Be Customized for Different Woodworking Projects?
Yes, you can customize knife walls for different woodworking projects by adjusting the crisp line to suit your specific needs. By exploring various customization options, you can create project-specific setups that enhance your precision and efficiency. Tailoring your knife wall allows you to better match the requirements of each project, whether it’s fine detail work or larger, more robust cuts, ensuring ideal results every time.
Conclusion
Mastering knife walls transforms your woodworking, turning rough cuts into precise joints and fine details. As you sharpen your skills, you’ll notice how these crisp lines naturally guide your chisel, making your projects smoother and more accurate. It’s almost like the wall itself whispers the right path, ensuring every cut aligns perfectly. With patience and practice, your craftsmanship will flourish—proof that even the smallest details can lead to remarkable results.