
As your glue’s open time nears its end, keep an eye on the timer and watch for signs like slowing activity or reduced engagement. Act quickly by securing clamps, controlling pressure, or of using cooling methods if needed. Prepare your workspace for fast adjustments and consider techniques like gentle heat or slow-curing adhesives to extend working time. To discover advanced tips for a smooth finish, explore further strategies that help manage tight open times effectively.
Key Takeaways
- Monitor visual and auditory cues to identify when open time is nearing its limit.
- Reduce activity and adjust clamps gently to slow curing and extend working time.
- Communicate clearly with team members about remaining open time and upcoming adjustments.
- Use cooling techniques like damp cloths or cold air to temporarily delay drying.
- Prepare for quick final adjustments and cleanup to maximize open time before adhesive sets.

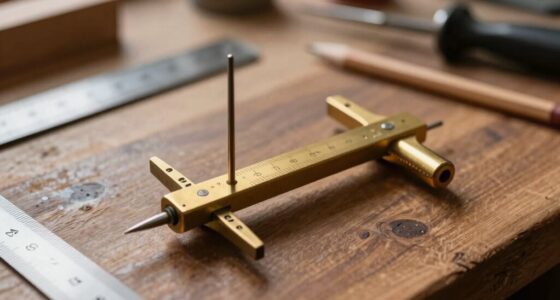
HimaPro 4-Pack 3/4 Inch H-Style Professional Pipe Clamp Set – Designed For Woodworking, Carpentry, Home Improvement, and DIY Jobs
Effortless Clamping: Enjoy swift and secure clamping with the HimaPro 4-Pack 3/4 Inch H-Style Professional Pipe Clamp Set,…
As an affiliate, we earn on qualifying purchases.
As an affiliate, we earn on qualifying purchases.
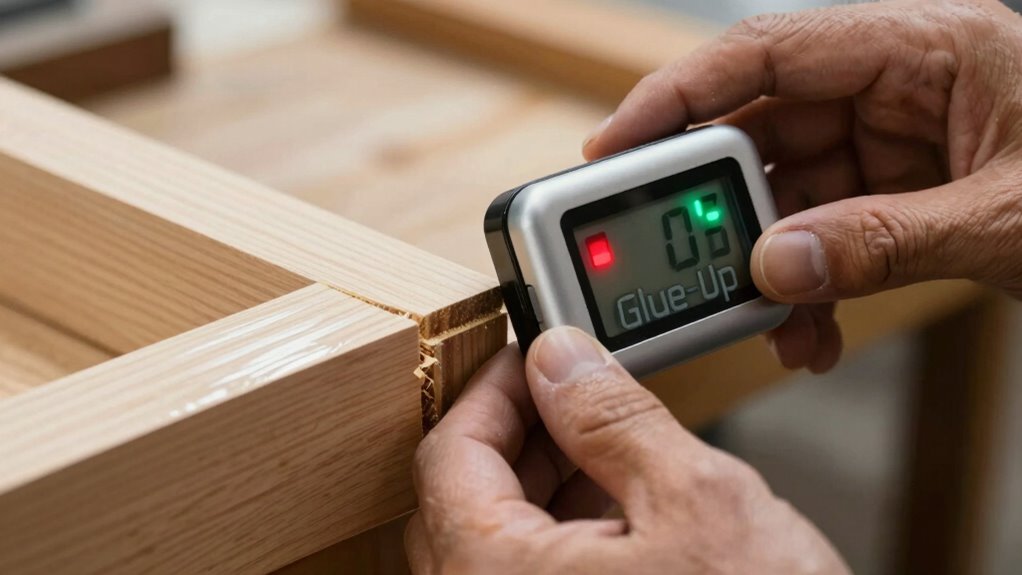
What Open Time Means for Your Glue-Up
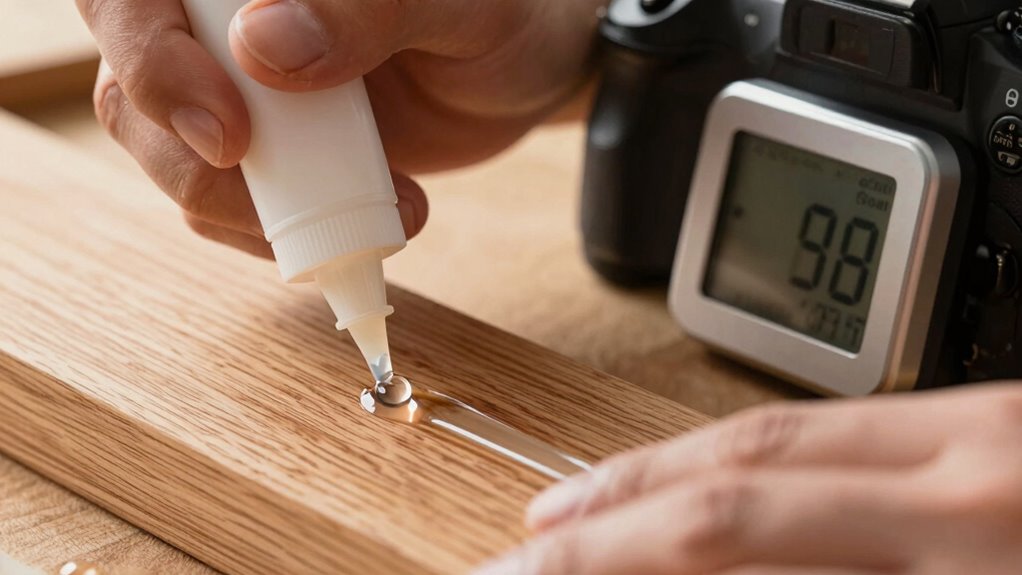
Understanding open time is essential when working with glue because it determines how long you have to assemble your pieces before the adhesive begins to set. During this period, you can adjust your pieces and use effective clamping techniques to ensure a strong bond. Proper clamping distributes pressure evenly and helps maintain alignment, maximizing the open time’s effectiveness. Keep in mind that drying times vary based on the adhesive type and environmental conditions, so plan your work accordingly. If you delay, the glue may start to set prematurely, making adjustments difficult and risking weak joints. Knowing the open time allows you to work efficiently, giving you just enough time to clamp your pieces properly before the adhesive begins to cure. Additionally, understanding the energy-efficient nature of modern adhesives can help you choose products that align with sustainable practices.

EHDIS Hair Extensions Tools Kit Tape in Hair Sealing Pliers Flat Surface Hair Extension Tools with Double Sided Replacement Adhesive Hair Extension Tape Tabs (Black)
What you get from this Hair Extension Tool Kit: you will receive: 1*hair extensions plier +1* hair Comb+…
As an affiliate, we earn on qualifying purchases.
As an affiliate, we earn on qualifying purchases.
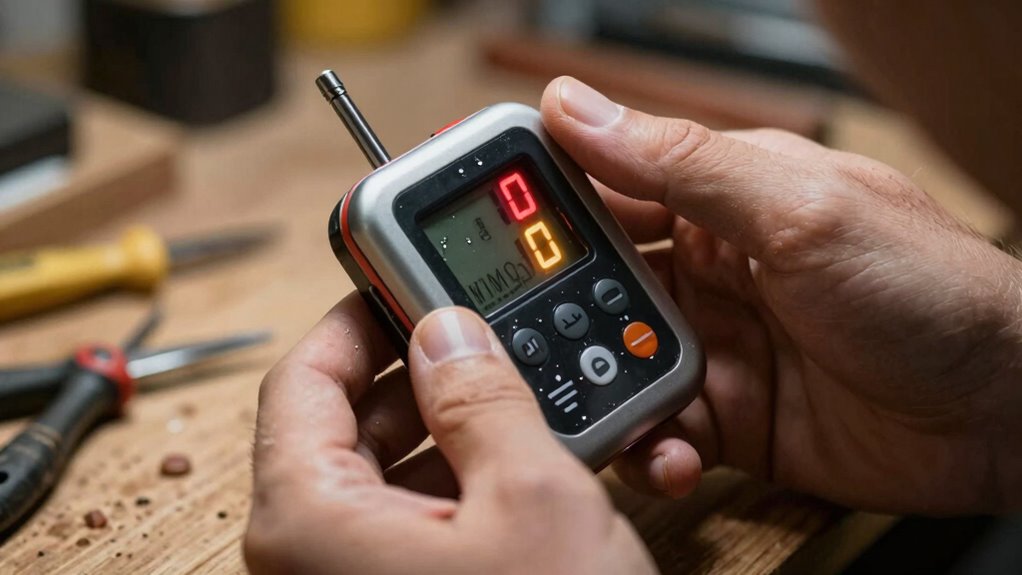
How to Recognize When Open Time Is Running Out

Keep a close eye on the timer so you can spot when open time is ending. Pay attention to participant engagement and notice if activity suddenly slows down. These signs help you guarantee you’re ready to move forward before the open time runs out. Additionally, monitoring smart home automation can provide real-time updates and alerts to assist in managing the session smoothly.
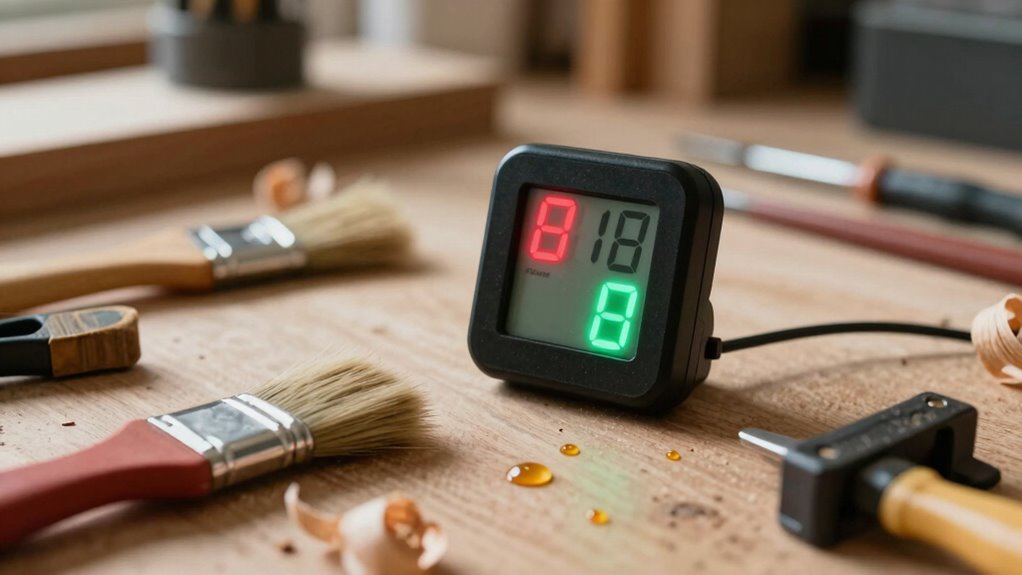
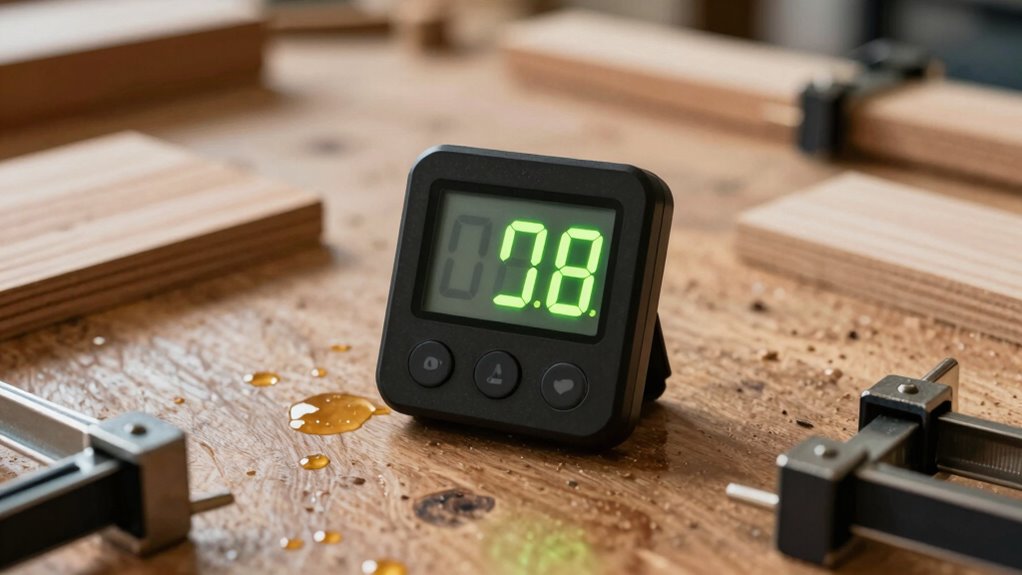
Watch the Timer Closely
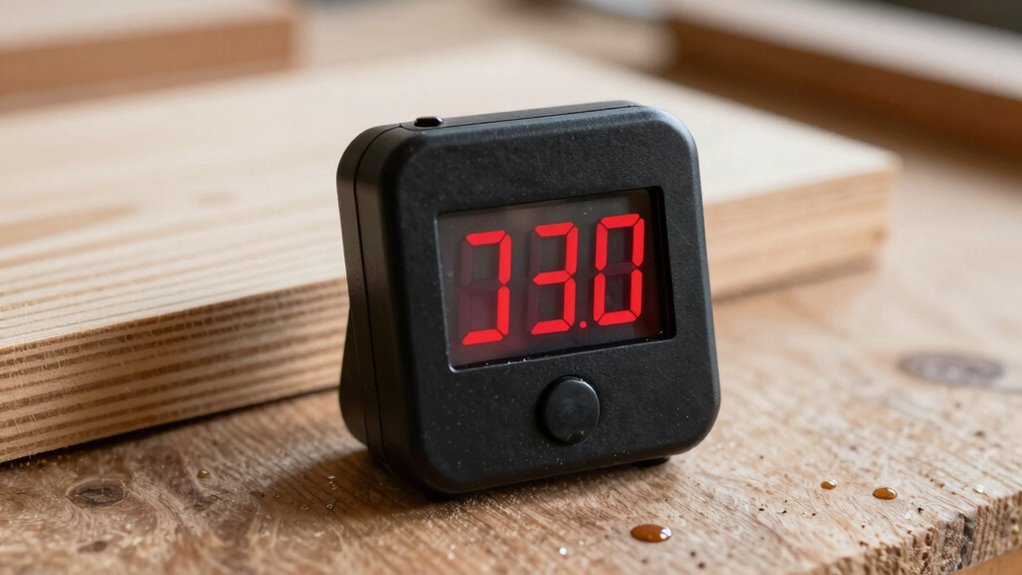
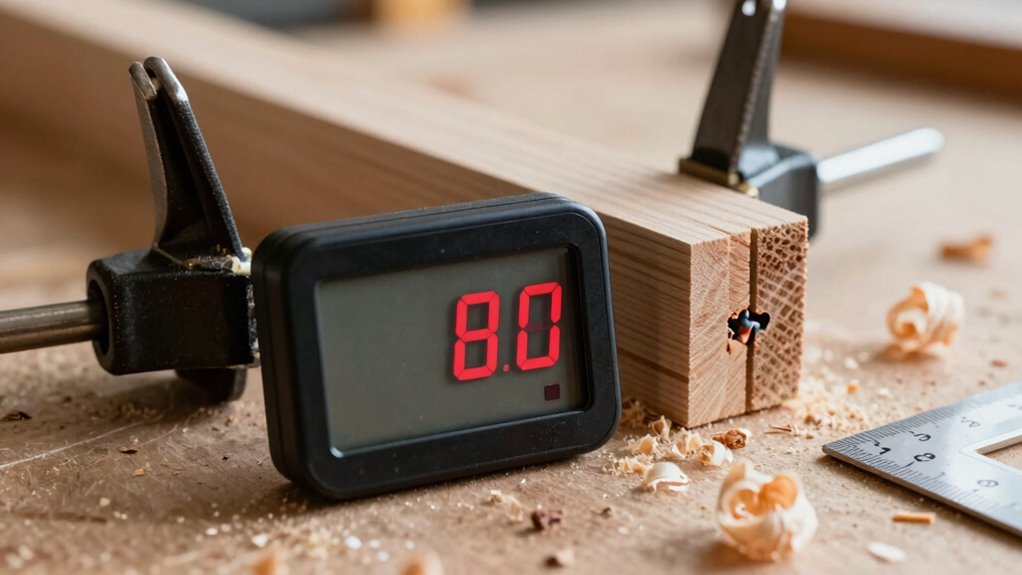
As the open time nears its end, it is vital to stay alert and watch the timer closely. Keep a sharp eye on the countdown, especially if your project requires precise clamp adjustment. When open time gets tight, the drying speed may accelerate unexpectedly, risking compromised bonds. To avoid mishaps, monitor the timer consistently and observe how quickly it’s winding down. Use visual cues like the clock’s diminishing display or an audible alert if available. Being aware of drying times and how they relate to open time ensures you can plan your steps accordingly and maintain bond strength.
Notice Participant Engagement
Monitoring participant engagement during the glue-up process helps you gauge when the open time is nearing its end. When participants become less involved or distracted, it’s a sign that the adhesion strength is reaching its limit, and the drying process is accelerating. You may notice fewer questions, less movement, or a lack of active adjustments. These cues indicate it’s time to prepare for the final steps before the open time expires. Staying alert to these signals allows you to act promptly, ensuring the glue has sufficient time to set properly without rushing. Recognizing changes in engagement helps you avoid premature handling, which could compromise adhesion strength or disrupt the drying process. Effective observation of participant behavior is essential for maintaining safety and project quality, preventing the need for rework or corrections. Trust your observations to keep the project on track.
Detect Sudden Activity Drops
How can you tell when open time is about to end? One key indicator is a sudden drop in activity around your workspace. If you notice fewer hands applying pressure or less movement, it suggests the adhesive’s drying time is nearing completion, and the open window is closing. This drop signals limited adhesive longevity, meaning you have less time to make adjustments before it sets. Recognizing these activity shifts helps prevent mistakes caused by rushing or incomplete bonding. Staying alert to these cues ensures you don’t miss the ideal moment for final positioning. By monitoring activity levels, you can better manage open time and guarantee the adhesive cures properly, avoiding issues stemming from premature handling or insufficient bonding. Additionally, understanding the importance of air quality considerations—such as proper ventilation—can improve the curing environment and reduce the risk of contaminants interfering with the adhesive process.

Visbella UV Resin Making Kit, Fast Curing Hard Type Clear Resin with UV Light Lamp, Molds for Necklace, Keychains, Craft Jewelry
【UV Resin Kit with Light】Economical UV resin kit for craft lovers. Contains 100g transparent UV resin, 1 UV…
As an affiliate, we earn on qualifying purchases.
As an affiliate, we earn on qualifying purchases.
Quick Tips for When Your Glue Is Setting Fast
When your glue sets faster than expected, try cooling it down with cold water to prevent the process. Applying gentle pressure helps keep the pieces aligned without forcing them apart. Working in small sections ensures you can manage the bond before it fully sets, giving you better control. Additionally, understanding the curing process can help you anticipate and better manage setting times.
Use Cold Water
Ever notice how quickly some glues set, leaving you little time to adjust? When that happens, quick cooling with cold water can be a lifesaver. Simply immerse the glued area in cold water or run cold water over it for a few seconds. Cold water acts as an instant temperature drop, slowing down the chemical reaction and giving you extra moments to reposition or fix mistakes. This method is especially useful for fast-setting adhesives like cyanoacrylates. Be careful not to submerge delicate parts that might be damaged by water. Using cold water strategically can help manage air quality by preventing damage to surrounding materials that may emit harmful fumes or particles. Use cold water strategically to buy yourself some breathing room. Remember, the key is rapid, controlled cooling to pause the setting process and avoid ruining your project.
Apply Gentle Pressure
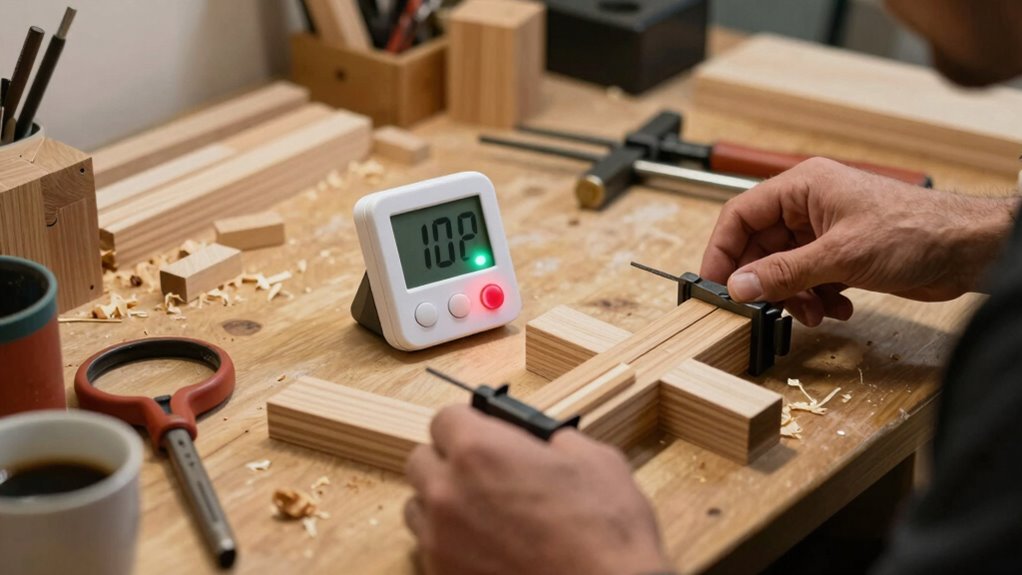
Applying gentle pressure immediately after gluing helps guarantee a strong bond without shifting the pieces out of alignment. Use clamp pressure carefully to avoid applying too much force, which can squeeze out excess glue or cause warping. Since drying speed varies with glue type and environmental conditions, gentle pressure helps assure the adhesive bonds evenly as it sets. If the glue is setting quickly, applying consistent but gentle clamp pressure helps prevent gaps and maintains correct alignment. Check the clamp pressure regularly; too much can damage delicate surfaces, while too little won’t hold the pieces securely. Remember, controlled, gentle pressure supports proper adhesion and prevents misalignment, especially when time is limited. Adjust your clamp pressure accordingly to optimize drying speed and achieve a clean, durable glue-up. Proper clamp pressure ensures the best bond and prevents damage during the curing process.
Work in Small Sections
If your glue sets quickly, working in small sections can help you maintain control and achieve better results. Break your project into manageable parts, so you can focus on one area at a time. Proper workspace setup is key—clear space and organize tools to avoid delays. When working in small sections, adjust clamp pressure carefully to prevent slipping or damage. Use the table below to keep your workflow smooth:
| Step | Tip |
|---|---|
| Prepare workspace | Keep everything within reach |
| Apply glue | Do it quickly and precisely |
| Clamp with pressure | Use appropriate clamp pressure |
| Move to next section | Complete one section before starting another |
This approach guarantees you stay ahead of the glue’s open time and get a flawless finish. Incorporating connected equipment into your workflow can also help monitor drying times and ensure optimal results.

Mr. Pen- Bar Clamps for Woodworking, 6", 2 Pack, Orange, Quick Grip Clamps for Woodworking
Package includes 2 carpenter clamps.
As an affiliate, we earn on qualifying purchases.
As an affiliate, we earn on qualifying purchases.
How to Prepare for the Final Moments of Open Time
As the open time draws to a close, it’s essential to shift your focus to wrapping up effectively. Guarantee all clamps are securely placed, confirming proper clamp placement to maintain even pressure. Check that your workpiece is stable and aligned before finalizing the clamps. Use appropriate drying techniques, such as applying gentle heat or using a fan, to speed up curing if needed, but avoid rushing and risking weak bonds. Keep a close eye on the clock, so you know when open time ends. Prepare your workspace for the final moments by organizing tools and materials for quick removal. This way, you minimize disruptions and ensure a clean, professional finish once the open time runs out. Effective workspace organization can help you stay focused and reduce stress during these critical final steps.
Easy Ways to Extend Open Time When You Can
When you need to extend open time, quick techniques like lightly reworking the adhesive or adding small amounts of glue can buy you extra minutes. Clear communication with your attendees also helps manage expectations and reduces pressure to rush. Together, these strategies keep your project on track without sacrificing quality.
Quick Extension Techniques
Quick extension techniques are essential when you need more open time from your glue without waiting too long. You can subtly manipulate clamp techniques to slow down the curing process, giving you extra working time. Adjusting clamp pressure can prevent premature setting, especially on delicate joints. Cooling the assembly with a damp cloth or applying a brief blast of cold air can temporarily slow drying times. Additionally, using a slower-curing adhesive or applying a thin layer can extend open time without sacrificing strength. Always monitor how these methods affect bond integrity, and avoid rushing the process, which could weaken your seams. These quick tricks help you manage open time efficiently, ensuring precise assembly without unnecessary delays.
Communicating Effectively With Attendees
Effective communication with your attendees can make a significant difference when you need to extend open time during a project. Clear, confident messaging helps manage expectations and encourages cooperation. Use simple language to explain why extra time is necessary and how it benefits the final result. Incorporate visual cues like color coordination to signal upcoming changes, and emphasize the importance of material selection to maintain quality. You might say, “Let’s adjust the color scheme slightly to stay on schedule,” or “Choosing durable materials now ensures a smoother process later.” Here’s a quick reference:
| Signal Type | Method | Purpose |
|---|---|---|
| Visual cues | Color coordination | Clarify timing adjustments |
| Verbal instructions | Clear, concise communication | Minimize confusion |
| Material updates | Quick material selection | Stay on track |
| Timing reminders | Gentle prompts | Extend open time |
| Feedback | Attendee input | Foster cooperation |
What to Do When Open Time Is Nearly Up

Have you checked the timer lately? When open time is nearly up, it’s vital to act quickly to guarantee a smooth changeover. First, assess the current state of your project. Use effective drying techniques to prevent any mess or imperfections. Next, implement cleanup strategies to clear tools and materials efficiently, avoiding delays. Consider these steps:
- Prioritize essential drying processes to speed up curing
- Prepare cleanup supplies in advance for swift action
- Communicate with team members about remaining time
- Adjust your workflow to finish within the remaining open time
Managing Multiple Joints Before Open Time Runs Out
As the open time nears its end, managing multiple joints requires careful coordination to guarantee everything is completed smoothly. You need to monitor clamp tension closely, ensuring each joint has adequate pressure without over-tightening, which could affect bond quality. Simultaneously, consider the drying atmosphere; controlling humidity and temperature can speed up the curing process, especially if multiple joints are involved. Prioritize joints based on their open time and complexity, working efficiently to avoid delays. Use a timer or workflow plan to keep track of each joint’s progress, adjusting clamp tension as needed. Keep a close eye on the environment to prevent premature drying or uneven curing. Staying organized and attentive ensures your project stays on schedule, even when multiple joints are involved.
Common Mistakes to Avoid When Open Time Is Short
When the open time is short, it’s easy to rush and make mistakes that compromise bond strength. Poor timing precision can lead you to apply adhesive too late or prematurely, risking weak joints. Inadequate material selection may cause delays or incompatibility, reducing open time and increasing errors. To avoid costly mistakes:
- Don’t rush the application; plan your steps to stay within the open time.
- Double-check adhesive compatibility to ensure proper curing and bond strength.
- Prepare all materials beforehand to minimize delays during assembly.
- Monitor your timing closely, adjusting your workflow to avoid exceeding open time limits.
Best Practices for Finishing Your Glue-Up Successfully
Once you’ve applied your adhesive correctly and managed the open time effectively, finishing your glue-up properly is key to achieving a strong, clean bond. Clamp management is essential; ensure clamps are evenly spaced and tightened just enough to avoid warping or squeezing out excess glue. Proper workspace organization helps you work efficiently and prevents accidental disturbances during curing. Keep tools, clamps, and excess materials within easy reach to streamline the process. Be patient and avoid rushing the final steps; this ensures consistent pressure and alignment. After clamping, double-check the placement of your pieces and make any necessary adjustments before the glue sets. A tidy workspace and attentive clamp management set the foundation for a successful, professional-looking finish.
Fixing Weak Joints After the Glue Sets
Weak joints that have already set can still be salvaged, but addressing them promptly is crucial to maintain the integrity of your project. A dry joint or uneven bond weakens the overall structure, so you need effective solutions. One approach is to carefully reapply adhesive and clamp the joint again, ensuring proper alignment. If the joint remains loose, consider using epoxy or filler to reinforce the connection. Sanding and smoothing the area can help improve adhesion and reduce stress points. Sometimes, minor cracks or gaps can be filled with wood filler or glue injections. To prevent future issues, ensure proper clamping pressure and surface preparation during assembly. Remember, quick action is key to fixing weak joints after the glue sets, preserving your project’s strength and durability.
Prompt repair with adhesive, epoxy, and proper clamping preserves joint strength after setting.
- Proper surface cleaning and preparation before re-gluing
- Using epoxy or filler for reinforcement
- Sanding to improve adhesion and fit
- Applying additional clamps or mechanical fasteners
Frequently Asked Questions
Can I Reuse Excess Glue After Open Time Expires?
No, you shouldn’t reuse excess glue after the open time expires. Once the glue shelf life has passed, its effectiveness diminishes, and it may not bond properly. Proper storage tips include sealing the container tightly and keeping it in a cool, dry place to prolong its usability. Discard any glue that’s been open too long to ensure strong, reliable adhesion and avoid wasting time on ineffective bonds.
How Does Temperature Affect Open Time?
Temperature effects markedly impact open time; higher temperatures speed up the curing process, reducing open time, while lower temperatures slow it down, extending open time. If it’s hot, you need to work faster, as glue dries quicker. In cooler conditions, you get more working time. Always consider temperature effects when planning your project, so you can adjust your pace and avoid rushing or delays.
Is There a Way to Tell if Glue Is Still Workable?
You can tell if glue is still workable by checking its consistency and adhesion ability. Confirm it maintains proper chemical compatibility and hasn’t been compromised by poor storage conditions. If it’s still smooth, spreadable, and bonds well when tested on a small surface, it’s likely usable. Otherwise, if it’s hardened, separated, or has changed color, it’s time to discard it. Proper storage helps preserve its workability.
Can I Speed up the Curing Process Without Compromising Strength?
Sure, speeding up curing might seem tempting, but it’s a trap. Increasing clamp pressure or applying heat can accelerate the process, but it risks weakening the bond. Instead, focus on proper surface prep and consistent pressure. Ironically, patience often yields the strongest, most durable glue joint. Rushing it may cut corners, but it won’t cut down on future repairs—or your frustration.
What Safety Precautions Should I Take During Open Time?
You should wear safety gear like gloves, goggles, and a mask to protect yourself from fumes and adhesive contact. Make certain proper ventilation by opening windows and using fans to disperse harmful vapors. Avoid inhaling fumes directly, and work in a well-ventilated area to minimize health risks. Always follow manufacturer instructions and cleanup protocols to keep your workspace safe during open time.
Conclusion
As the clock ticks down and your open time slips away, every decision becomes critical. Will you seize the moment to perfect your joints, or let the opportunity slip through your fingers? The next move could determine the strength and beauty of your project. Stay alert, act swiftly, and remember—timing isn’t just about patience, it’s about precision. The final seconds are approaching. Are you ready to make them count?