Using calipers in woodworking allows you to take small measurements with big accuracy, ensuring your joints and cuts fit perfectly. Carefully handle the tool, open the jaws wider than your measurement, and gently close around the workpiece for precise results. Regularly calibrate and clean your calipers for reliability. Whether digital or vernier, choosing the right caliper and technique makes a difference. Keep exploring these tips to master achieving flawless measurements in your projects.
Key Takeaways
- Use digital or dial calipers for quick, precise measurements of small woodworking details.
- Always open jaws wider than the object, then gently close for an accurate reading.
- Keep calipers clean, calibrated, and store properly to maintain measurement accuracy over time.
- Double-check measurements by re-zeroing and verifying with gauge blocks or standard references.
- Handle calipers carefully, ensuring they are perpendicular to the workpiece and free of debris during use.
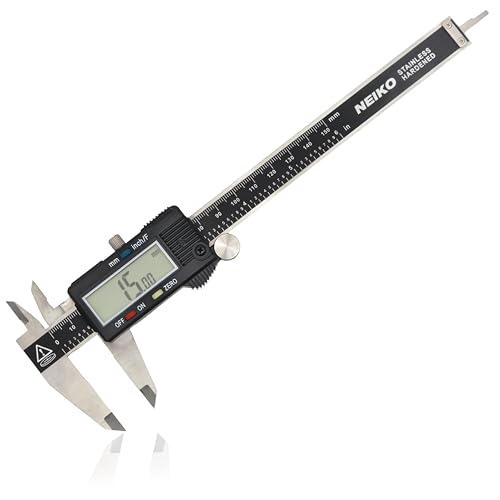
NEIKO 01407A Electronic Digital Caliper Measuring Tool, 0 – 6 Inches Stainless Steel Construction with Large LCD Screen Quick Change Button for Inch Fraction Millimeter Conversions, Digital Caliper Measuring Tool
MULTI-FUNCTION: This measuring tool has a quick-change button that changes between three measuring modes such as inch, fraction,…
As an affiliate, we earn on qualifying purchases.
As an affiliate, we earn on qualifying purchases.
Why Precision Matters in Woodworking Measurements
Accurate measurements are essential in woodworking because even small errors can lead to misaligned joints, uneven surfaces, or pieces that don’t fit together properly. Your measuring techniques directly impact the quality of your work. Using precise tools ensures you capture exact dimensions, reducing the risk of costly mistakes. Tool accuracy is critical, especially when working on detailed projects or custom pieces. When you rely on accurate measurements, your cuts fit perfectly, and your assemblies are seamless. Consistently applying correct measuring techniques, like double-checking measurements and using the right tools, helps maintain precision throughout your project. Remember, precision in measurement isn’t just about accuracy; it’s about creating high-quality, professional-looking results that stand the test of time. Additionally, understanding the importance of contrast ratio can help you choose projectors that deliver clear and vibrant images, enhancing the overall quality of your home cinema setup.

Spurtar Vernier Caliper Measuring Tool 6", 0-6Inch/0-150mm Manual Non Digital Calipers, 0.001"/0.02mm High Precision Durable Micrometer
High Accuracy: Hardened construction vernier caliper with high accuracy for Industrial & Scientific where the highest accuracy is…
As an affiliate, we earn on qualifying purchases.
As an affiliate, we earn on qualifying purchases.
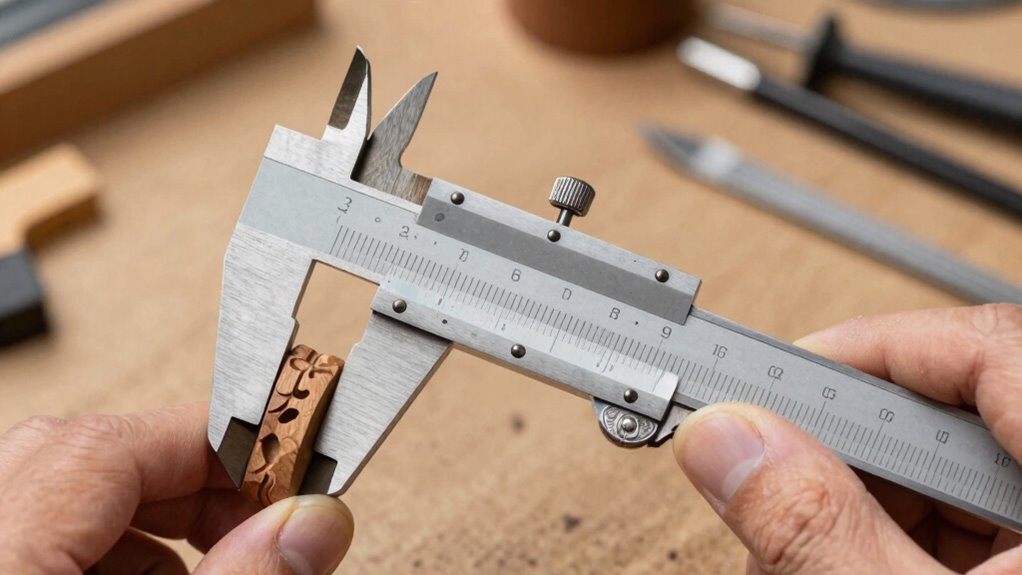
Which Calipers Are Best for Woodworking Projects?
Choosing the right calipers for woodworking projects depends on the level of precision you need and the types of measurements you’ll be taking. For most woodworking tasks, digital calipers offer quick readings and easy measurement techniques, making them ideal for beginners and professionals alike. Vernier calipers are durable and don’t require batteries, perfect for rougher environments. Dial calipers provide a good balance of accuracy and ease of use. To keep your calipers functioning properly, regular caliper maintenance is essential—clean and calibrate them to ensure accuracy. When selecting calipers, consider your project’s detail level and the measurement ranges needed. Remember, mastering measuring techniques and proper caliper maintenance will help you get the most accurate readings for precise woodworking. Additionally, understanding the measurement accuracy of your calipers ensures precise results in your projects.

HFS(R) 0-6" Imperial Calipers; 4 Way Dial Caliper 0.001" Shock Proof New; Plastic Case
[Application]: Stainless steel dial caliper; Home DIY and professional use are both highly recommended.
As an affiliate, we earn on qualifying purchases.
As an affiliate, we earn on qualifying purchases.
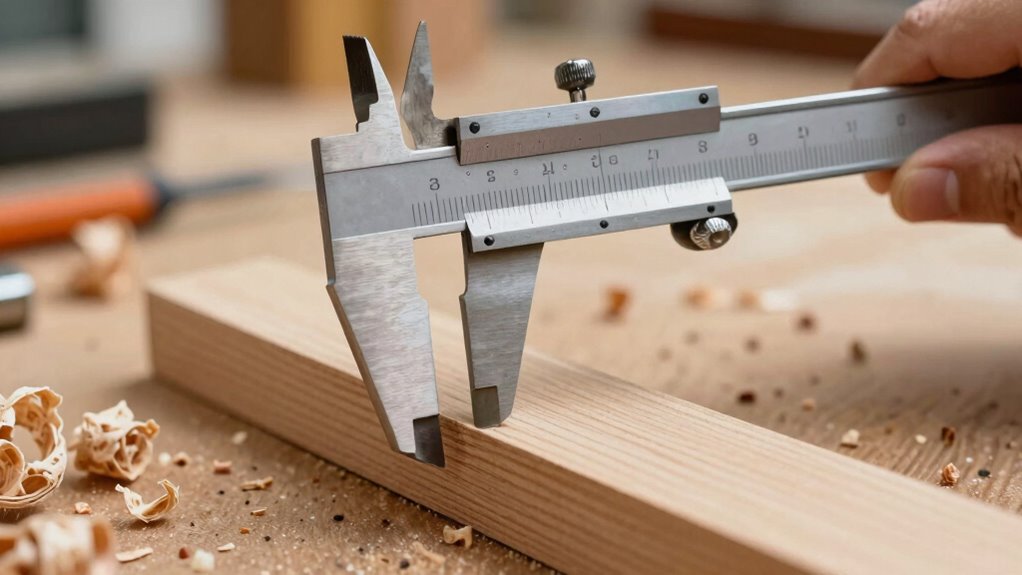
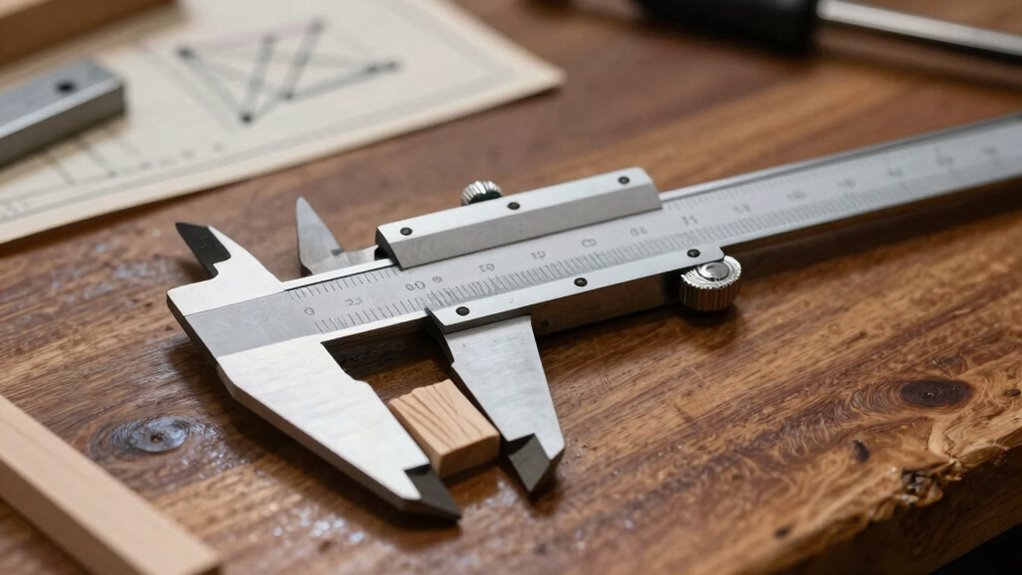
How to Use Calipers Step-by-Step in Your Projects

Using calipers correctly can substantially improve the accuracy of your woodworking measurements. Start by ensuring caliper safety—always handle them carefully to avoid damage or injury. Begin with clean, dry surfaces on your workpiece and calipers. Open the jaws slightly wider than your measurement, then gently close them around the object, applying steady pressure without forcing. Use precise measuring techniques: read the scale carefully, keeping the calipers perpendicular to the object to avoid skewed results. Lock the calipers if necessary to secure the measurement. Double-check your reading for accuracy. Remember, proper technique reduces errors and guarantees your measurements are reliable. Practicing these steps will help you achieve consistent, precise cuts and fits in your woodworking projects. Additionally, understanding auditory processing can enhance your ability to interpret detailed measurements and improve overall craftsmanship.

Digital Caliper, Caliper Measuring Tool with Stainless Steel, Electronic Micrometer Caliper with Large LCD Screen, Auto-Off Feature, Inch and Millimeter Conversion (6 Inch/150 mm)
[INCH/MM Conversion]: One button can quickly convert two measuring unit (INCH/MM). Measuring Range:0 – 150mm (6") / Resolution:…
As an affiliate, we earn on qualifying purchases.
As an affiliate, we earn on qualifying purchases.
Maintaining and Calibrating Your Woodworking Calipers
To keep your woodworking calipers performing at their best, regular maintenance and calibration are essential. Proper caliper maintenance ensures accuracy and extends their lifespan. Use calibration tools like gauge blocks or certified standards to check and adjust your calipers regularly. Always clean your calipers after use to prevent dust and debris from affecting measurements. Store them in a protective case to avoid damage. Additionally, utilizing European cloud innovation can offer advanced calibration solutions for precise measurements.
Common Caliper Mistakes in Woodworking and How to Avoid Them

Many woodworkers make simple mistakes when using calipers that can lead to inaccurate measurements. You might forget to zero the caliper properly, misread the display, or use the wrong measurement mode for your task. Recognizing and avoiding these errors helps make sure your measurements stay precise. Additionally, using proper calibration techniques ensures your calipers provide reliable readings over time.
Improper Zeroing Technique
One common mistake in woodworking is neglecting to properly zero your caliper before taking measurements. This error can lead to inaccurate readings and flawed projects. To avoid this, make sure you follow a proper zeroing technique each time. Before measuring, close the caliper jaws completely and check the display; if it doesn’t read zero, adjust it accordingly. Use the calibration method recommended by your caliper’s manufacturer to set a reliable baseline. Remember, a consistent zeroing process is essential for precise results.
- Always verify zero before starting your measurement
- Use the caliper’s zero button or adjust the display to zero manually
- Re-zero after measuring different materials or if the device is bumped
Misreading Caliper Displays
Misreading the caliper display is a common mistake that can lead to measurement errors in woodworking projects. Caliper misreading often occurs when you misinterpret the digital or analog readout, causing inaccurate measurements. Display errors happen if you don’t pay close attention to the units, decimal points, or whether the caliper is in inches or millimeters. Always double-check the display before recording measurements, especially when switching between modes or measurements. Avoid relying solely on visual cues; instead, verify that the reading matches your intended measurement. Keep your caliper clean and free of debris, as dirt or smudges can obscure the display. Being aware of caliper calibration and ensuring your tool is properly calibrated helps maintain measurement accuracy. By carefully reading the display and understanding how to interpret it, you minimize errors and ensure your woodworking projects stay precise.
Using Wrong Measurement Mode
Using the wrong measurement mode on your caliper is a common mistake that can lead to inaccurate results in woodworking. Caliper measurement modes, such as external, internal, depth, or step measurements, serve specific purposes. If you don’t select the correct measurement mode, your readings will be off, causing errors in your projects. To avoid this, always double-check your measurement mode selection before taking a reading. Be aware that switching modes incorrectly, like using external mode for internal measurements, skews your results. Proper measurement mode selection guarantees precision and consistency. Remember, mastering your caliper’s different measurement modes helps you avoid costly mistakes and improves your woodworking accuracy. Take a moment to verify the mode before every measurement to ensure your results are spot-on.
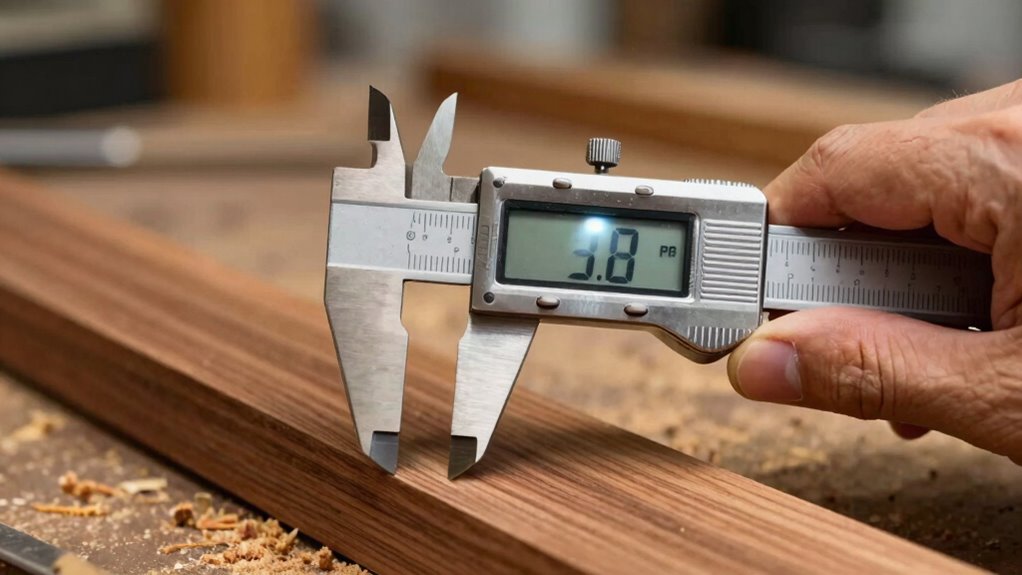
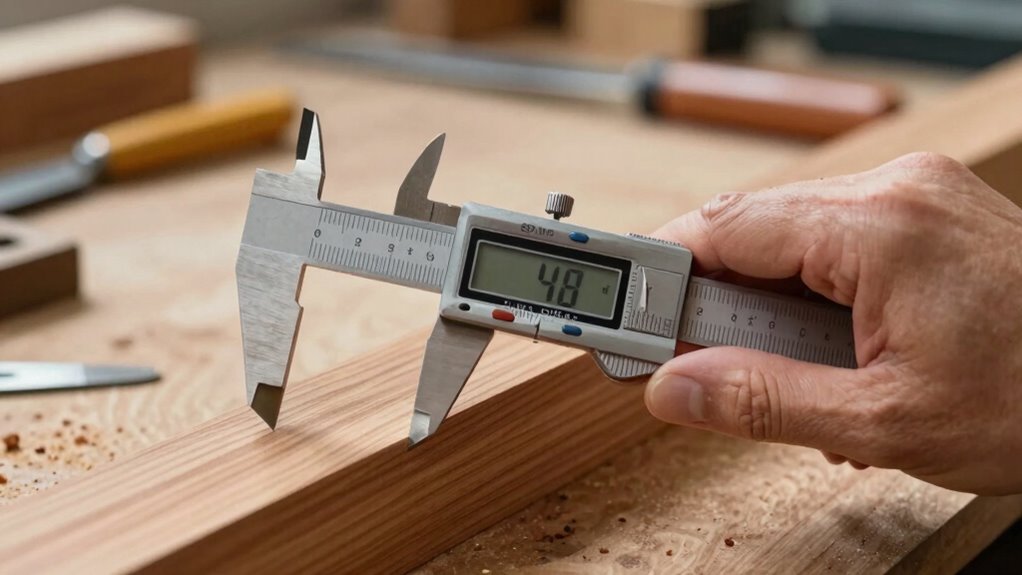
Comparing Digital and Vernier Calipers: Which Is Right for You?

Have you ever wondered which type of caliper suits your woodworking needs best? When comparing digital versus vernier calipers, consider your priorities for measurement accuracy and ease of use. Digital calipers offer quick readings with the push of a button, making them ideal for fast-paced projects. They’re often easier for beginners to read, especially in low-light conditions. Vernier calipers, on the other hand, rely on a sliding scale and require a bit more skill to read precisely. However, they are generally more durable and don’t rely on batteries. When it comes to measurement accuracy, both can be highly precise if used correctly. Your choice depends on whether you value speed and convenience or durability and traditional craftsmanship. Additionally, understanding how to calibrate your tools ensures the most reliable measurements regardless of which caliper type you choose.
How to Choose the Right Caliper for Your Woodworking Needs
Choosing the right caliper for your woodworking projects starts with understanding your specific needs and how you plan to use the tool. Consider the caliper material; stainless steel offers durability and corrosion resistance, ideal for regular use. An ergonomic design ensures comfort during prolonged measurements and provides better control. Think about the type of caliper—digital for quick readings, vernier for simplicity, or dial for precision. Additionally, exploring innovations like nanotech-enhanced materials could further improve caliper longevity and accuracy. Matching these features to your projects guarantees better measurements and more precise craftsmanship.
When and Why to Use Rulers or Tape Measures Instead of Calipers

While calipers excel at measuring small, precise dimensions, there are times when a ruler or tape measure is more practical. When you need to measure longer distances or rough dimensions, a measuring tape is your best choice. Tape measures are flexible, easy to handle, and can quickly cover large spans, making them ideal for marking cuts or verifying overall lengths. Ruler selection also matters; a simple steel ruler can provide accuracy for straight, flat measurements, but it’s less suited for larger or curved surfaces. Use rulers or tape measures when speed and convenience outweigh the need for pinpoint precision. They’re essential tools for initial layout, rough sizing, or checking dimensions before fine-tuning with calipers.
Troubleshooting Accuracy Issues With Your Calipers
If your calipers aren’t providing consistent measurements, it’s important to verify your zeroing technique and calibration process. Proper handling and storage also prevent damage that can affect accuracy. Addressing these points helps ensure your calipers give precise, reliable readings every time. Using a dual-flush toilet system or other modern flushing mechanisms can also contribute to more accurate and efficient measurements when working on bathroom fixtures.
Caliper Zeroing Techniques
Caliper zeroing is a crucial step to guarantee your measurements are accurate, but it can sometimes cause confusion if not done correctly. Proper zeroing ensures measurement consistency and helps prevent errors caused by misaligned readings. To zero your caliper correctly:
- Always clean the jaws with a soft cloth to remove debris and dust, supporting caliper maintenance.
- Close the jaws gently and check if the display reads zero; if not, adjust the zero setting.
- Avoid forcing the caliper beyond its limits, which can damage the mechanism and affect accuracy.
- Regular calibration checks can help maintain measurement precision over time.
Proper Calibration Procedures
Proper calibration is key to guaranteeing your calipers provide accurate measurements during woodworking projects. Regular caliper maintenance helps maintain measurement consistency and prevents errors. To calibrate, start by cleaning the caliper’s jaws with a soft cloth to remove dirt or debris that can affect accuracy. Next, close the jaws gently and check against a known standard, like a certified gauge block or a precision reference. If the readings are off, adjust the caliper according to the manufacturer’s instructions, usually by zeroing or resetting the device. Repeat this process periodically, especially before critical measurements. Consistent calibration ensures your calipers deliver reliable, precise readings, reducing errors in your woodworking projects and improving overall measurement accuracy.
Handling and Storage Tips
Handling and storing your calipers correctly is essential for maintaining their accuracy over time. Proper storage organization prevents damage and keeps your tools ready for precise measurements. When handling calipers, always use gentle handling techniques to avoid dropping or knocking them out of calibration. Keep the jaws clean and free of debris to ensure accurate readings. Store your calipers in a dedicated case or drawer, ideally in a padded compartment, to prevent accidental damage. Avoid exposing them to extreme temperatures or humidity, which can affect their precision. Regularly check for any signs of wear or corrosion, and calibrate if necessary. Proper handling techniques and organized storage are key to ensuring your calipers stay accurate through years of woodworking projects.
Frequently Asked Questions
Can Calipers Measure Interior and Exterior Dimensions Simultaneously?
Yes, calipers can measure interior and exterior dimensions simultaneously with dual measurement capabilities. When you use the calipers, you can set them to take both measurements at once, providing you with a simultaneous reading. This feature is especially useful in woodworking, as it saves time and guarantees accuracy. Simply adjust the jaws for exterior and interior measurements, and the calipers will display both readings clearly.
How Do Temperature Changes Affect Caliper Accuracy?
Temperature changes can impact caliper accuracy profoundly. Did you know that thermal expansion can cause metal parts to expand or contract by up to 0.0001 inches per degree Fahrenheit? You should regularly check calibration frequency, especially if working in varying temperatures. This ensures your measurements stay precise, as even small temperature fluctuations can lead to errors. Keep calipers stored in a stable environment for consistent results.
Are There Specific Caliper Features Suitable for Woodworking?
You should look for calipers made from durable materials like stainless steel for woodworking, ensuring longevity and precision. Digital calipers offer easy-to-read measurements and quick adjustments, which can be especially handy for detailed projects. Analog calipers, on the other hand, don’t rely on batteries and are less affected by temperature changes. Choose based on your comfort with technology and the specific accuracy needs of your woodworking tasks.
How Often Should I Replace or Upgrade My Woodworking Calipers?
You should replace or upgrade your woodworking calipers when you notice signs of wear, damage, or if they no longer provide accurate readings. Regular caliper maintenance and calibration are key—consider calibrating them at least once a year or more frequently if you use them daily. Upgrading might be necessary if your current calipers become imprecise or outdated, ensuring you maintain precision for your woodworking projects.
Can Calipers Be Used for Measuring Angles or Just Linear Dimensions?
Think of calipers as your trusty compass, guiding you through precise measurements. While they excel at linear dimensions, they don’t naturally measure angles or assess bevels. However, with a bit of ingenuity, you can use the caliper’s jaws to compare angles or check bevel accuracy against a known standard. For true angle measurement, a protractor or digital angle finder is your best bet, ensuring your cuts stay sharp and accurate.
Conclusion
Now that you know how to choose, use, and care for your calipers, you’ll find that small measurements lead to big results. Precision becomes second nature, turning every project into a masterpiece. When you trust your tools and avoid common mistakes, accuracy flows effortlessly. It’s almost serendipitous how these tiny tools can make such a huge difference—proving that in woodworking, the details truly matter. Keep practicing, stay precise, and enjoy the craftsmanship.