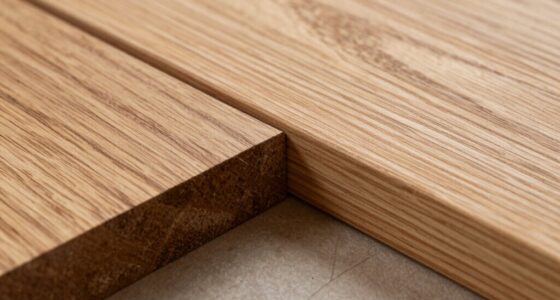
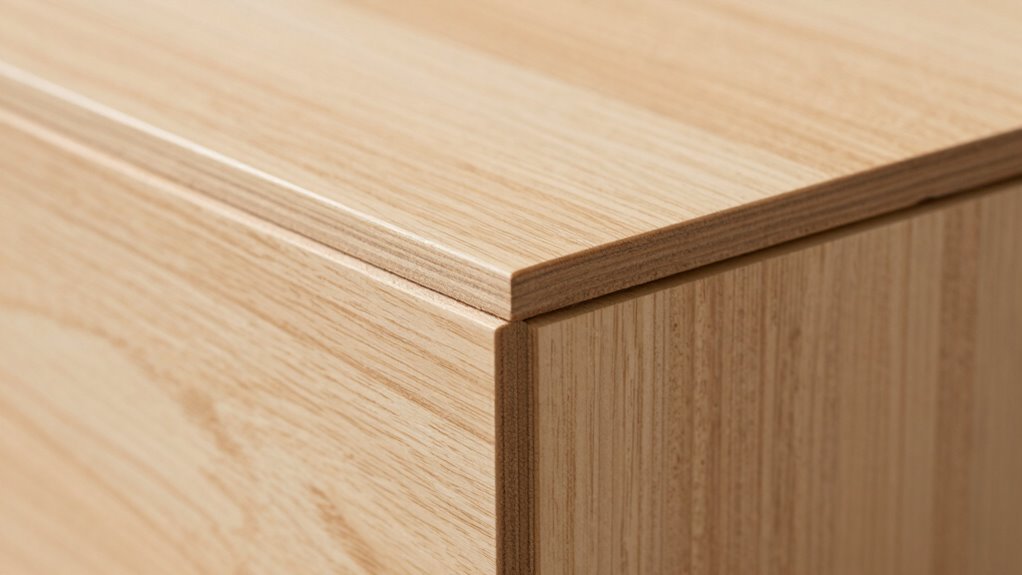
Tongue-and-groove joints connect panels by fitting a protruding tongue into a matching groove, which helps keep everything aligned and secure. This method provides stability, a seamless look, and minimizes gaps, making your project more durable and attractive. Whether you use solid wood or engineered materials, proper installation guarantees a tight fit and a professional finish. Keep exploring to learn how to master this technique and achieve perfect results every time.
Key Takeaways
- Tongue‑and‑groove joints connect panels by fitting a protruding tongue into a matching groove for stability.
- Proper alignment ensures panels stay flush, preventing gaps and maintaining the seamless appearance.
- Using the right tools and techniques during installation helps achieve precise, secure joints.
- Correct panel orientation and careful measurement are essential to avoid misalignment and structural issues.
- Well-executed tongue‑and‑groove joints enhance both the aesthetic and durability of the finished surface.
How Do Tongue-and-Groove Joints Work?

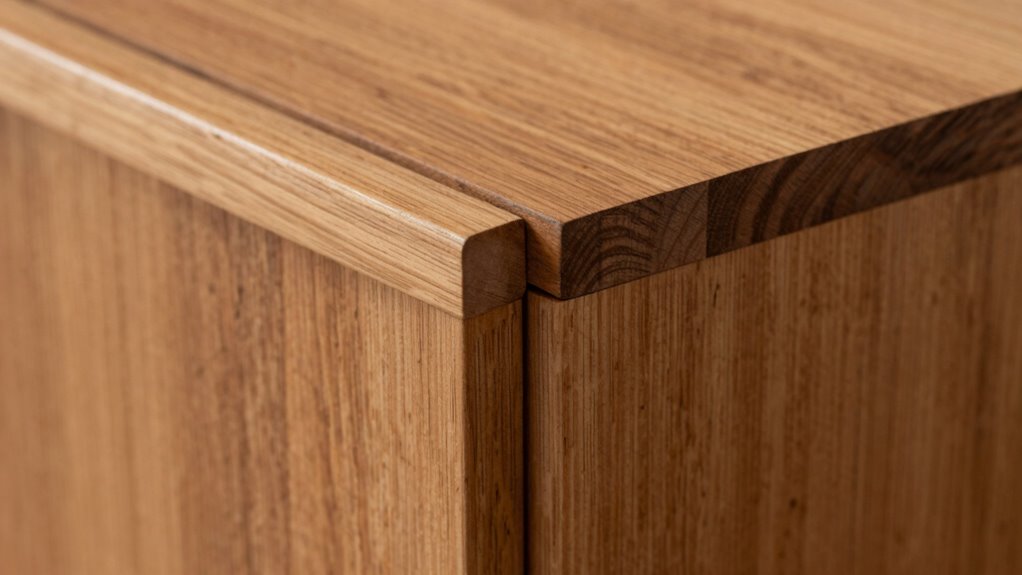
Tongue-and-groove joints work by fitting a protruding ridge, called the tongue, into a corresponding slot, known as the groove. This connection provides stability and helps keep panels aligned. The joint’s durability depends on proper fitting and the materials used; when designed correctly, it resists warping and movement over time. Material compatibility is essential—wood, laminate, or engineered products must expand and contract similarly to prevent gaps or cracks. Choosing the right materials ensures a tight fit and long-lasting connection. Properly crafted tongue-and-groove joints create a seamless appearance while maintaining structural integrity. Whether used in flooring, cabinetry, or paneling, understanding how these joints work helps you select suitable materials for durable, reliable results. Material compatibility plays a crucial role in ensuring the longevity and performance of these joints over time.
What Are the Benefits of Using Tongue-and-Groove Joints?
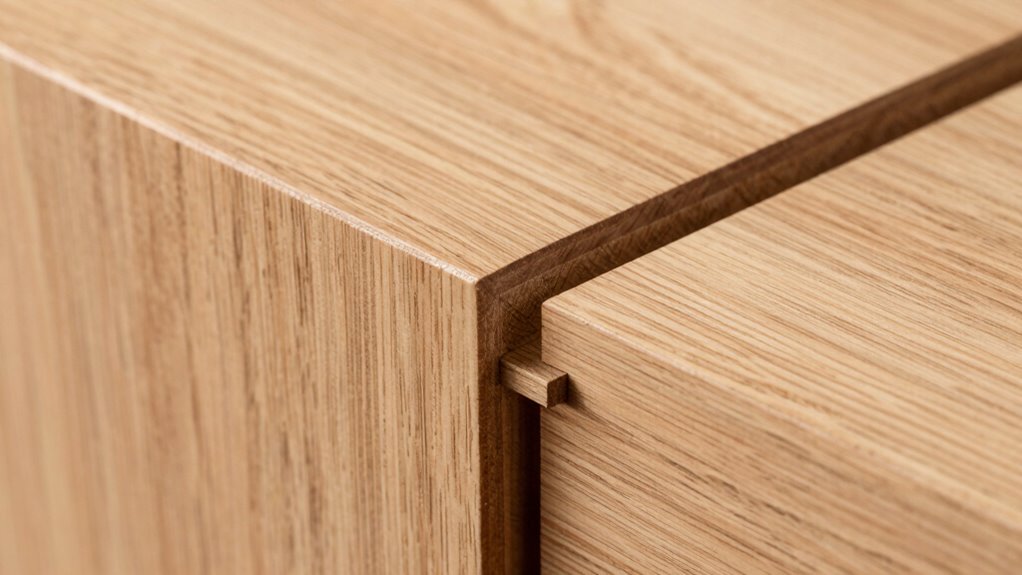
One of the main advantages of using tongue-and-groove joints is their ability to create a strong, seamless connection between panels or planks. This not only guarantees durability but also enhances the overall appearance of your project. Unlike decorative alternatives that may look similar, tongue-and-groove joints provide a precise fit that minimizes gaps and movement. They’re ideal for flooring, paneling, and siding, offering stability over time. Additionally, these joints can simplify maintenance considerations, as the tight fit helps prevent dirt and debris from accumulating between panels. This makes cleaning easier and reduces wear and tear. Moreover, understanding the joint’s role in maintaining alignment is crucial for achieving long-lasting, visually appealing results. Overall, tongue-and-groove joints deliver both functional strength and a clean, polished look that’s hard to match with other joining methods.
What Types of Tongue-and-Groove Joints Are Available?
There are several types of tongue-and-groove joints to contemplate, including solid wood variations and engineered wood options. You can also find specialty joint designs that offer unique features or enhanced stability. Understanding these options helps you choose the right joint for your project’s needs.
Solid Wood Variations
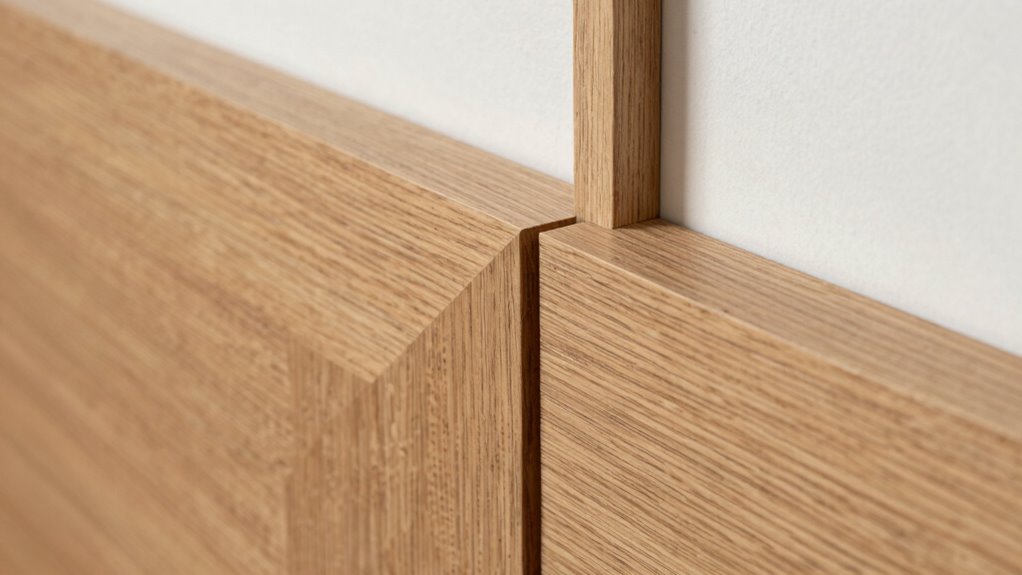
Solid wood tongue-and-groove joints come in various types, each offering different benefits for your project. The choice often depends on the wood’s grain patterns and finish options. Some joints feature a simple, straight profile ideal for flat surfaces, while others may have decorative or beveled edges for aesthetic appeal. Grain patterns influence the joint’s appearance, with straight grains providing a clean look and complex patterns adding visual interest. Finish options vary from natural oils to stains and sealers, which can enhance the wood’s texture and protect it. Additionally, understanding wood grain patterns can help you select the most suitable joint for your desired aesthetic and structural needs. Selecting the right solid wood variation guarantees your panels stay aligned, look great, and age gracefully. Understanding these options helps you achieve the desired style and durability for your project.
Engineered Wood Options
Engineered wood offers a variety of tongue-and-groove joint options designed for strength and stability. These options often feature consistent grain patterns, reducing warping and movement over time. You can choose from laminated, fiberboard, or plywood options, each providing different aesthetic and performance qualities. Finish options vary widely, from smooth, sealed surfaces to textured or stained finishes that highlight the grain. The table below summarizes popular engineered wood choices:
| Material | Grain Patterns | Finish Options |
|---|---|---|
| Plywood | Consistent, layered | Sealed, stained, painted |
| MDF | Uniform, smooth | Painted, veneered |
| Laminated Wood | Varied, decorative | Glossy, matte |
These engineered options guarantee durable, visually appealing tongue-and-groove panels suited for various projects, and understanding the differences can help you select the best material for your needs.
Specialty Joint Designs
When it comes to tongue-and-groove joints, you have several specialty designs that enhance performance and aesthetics beyond standard options. These advanced joints improve joint stability and add unique visual appeal to your projects.
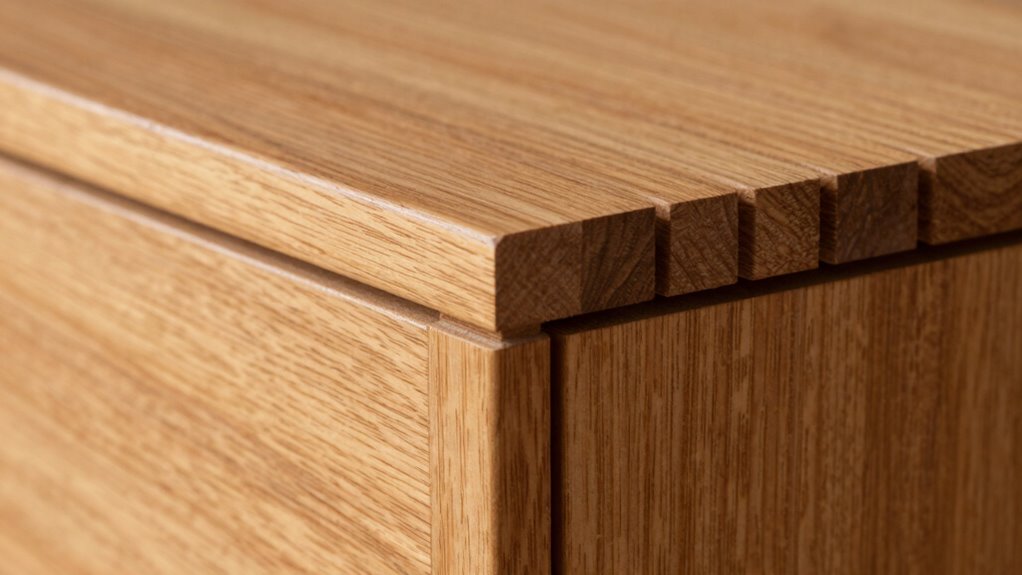
- V-Groove Joints – Create a subtle, clean look while increasing stability with a tapered profile that fits snugly.
- Beaded Joints – Add decorative detail and extra strength, blending aesthetic appeal with improved joint stability.
- Double Tongue Joints – Use two tongues and grooves for maximum stability, ideal for wide panels or high-traffic areas.
Each specialty design serves a specific purpose, elevating the joint’s performance and visual impact while ensuring your panels stay aligned and secure.
How Do You Install Tongue-and-Groove Panels?
Installing tongue-and-groove panels begins with preparing the surface to guarantee a smooth and secure fit. Start with proper panel prep by cleaning the area and ensuring it’s flat, dry, and free of debris. Next, focus on tool selection; a saw with a fine-toothed blade makes precise cuts, while a rubber mallet helps snug panels together without damage. Measure carefully and cut panels to fit the space, maintaining consistent tongue and groove dimensions. When installing, start at one end and work across, inserting the tongue into the groove of the adjoining panel. Use gentle taps with a mallet if needed, ensuring panels lock securely. Proper preparation and the right tools make installation straightforward, resulting in a tight, professional-looking finish.
Common Mistakes When Installing Tongue-and-Groove Panels (And How to Avoid Them)
One common mistake is installing panels in the wrong orientation, which can affect the appearance and stability of your project. Another issue is misaligning the joints, leading to gaps or uneven surfaces. To prevent these problems, double-check your panel direction and make certain each joint fits snugly before securing everything in place.
Incorrect Panel Orientation
Incorrect panel orientation is a common mistake that can lead to gaps, uneven surfaces, or compromised panel integrity. When installing tongue-and-groove panels, verify the panels are aligned correctly to prevent joint misalignment. Misorienting panels can cause difficulty fitting them together and weaken the overall structure. To avoid this, keep these points in mind:
- Verify the panel’s face direction before installation to maintain proper panel orientation.
- Check that the tongue faces the correct direction for seamless joint connections.
- Consistently follow your layout plan to prevent accidental rotation or misplacement.
Proper panel orientation guarantees tight joints and a smooth surface. Ignoring this step can result in uneven gaps and structural issues, making the project less durable and visually appealing.
Improper Joint Alignment
Have you ever noticed gaps or uneven surfaces after installing tongue-and-groove panels? Improper joint alignment is a common mistake that causes panel gaps and misaligned edges. To avoid this, make certain each panel fits snugly into the previous one, checking for consistent alignment. Use a tapping block to gently align panels and keep edges flush.
| Issue | Solution |
|---|---|
| Panel gaps | Adjust panels before fully securing |
| Misaligned edges | Use a straight edge to verify alignment |
| Improper joint fit | Tap panels gently into place during installation |
Pay close attention as you install, and double-check alignment frequently. Proper joint alignment guarantees a smooth, professional finish and prevents gaps that compromise the panel’s appearance and integrity.
Tips for Achieving a Seamless, Professional Finish
Achieving a seamless, professional finish with tongue-and-groove joints requires attention to detail and proper technique. To enhance your results, consider these tips:
- Select materials with compatible properties to prevent warping or gaps, ensuring a smooth look.
- Pay attention to decorative accents by carefully planning their placement to complement the joint without disrupting flow.
- Use the right adhesive and tools to secure panels tightly, avoiding gaps that compromise the finish.
- Incorporate natural elements like native plants or landscaping features to further blend the panels into a cohesive and aesthetically pleasing design.
Frequently Asked Questions
What Tools Are Best for Cutting Tongue-And-Groove Joints?
You should use a tablesaw with a dado blade or a router with a straight bit for cutting tongue-and-groove joints. These tools guarantee panel alignment and joint precision, making it easier to create tight-fitting, strong connections. A dado blade allows for clean, consistent cuts across the panel edges, while a router offers versatility for detailed work. Both tools help you achieve professional results with accurate, well-aligned joints.
Can Tongue-And-Groove Joints Be Used Outdoors?
You can definitely use tongue-and-groove joints outdoors if you choose weather-resistant materials like cedar, redwood, or composite decking. Their durability handles moisture and temperature changes, ensuring long-lasting performance. Proper sealing and finishing boost weather resistance, preventing water infiltration and rot. So, with the right materials and maintenance, these joints work great outside, keeping your panels aligned and protected against the elements over time.
How Do You Repair Damaged Tongue-And-Groove Panels?
If your tongue-and-groove panels are damaged, you should start by removing the affected panel carefully. For panel replacement, guarantee the new piece fits snugly into the joint, then secure it properly. To strengthen the joint, consider applying joint reinforcement like wood glue or nails. This approach restores stability and alignment, preventing future damage. Always check for any further issues and take your time to ensure a seamless repair.
Are Tongue-And-Groove Joints Suitable for Curved Surfaces?
Yes, tongue-and-groove joints can work on curved surfaces, but you’ll face some curved surface challenges. To make it successful, consider using flexible joint solutions like adjusting the joint or using softer materials that bend easily. These adjustments help the panels fit snugly along curves, maintaining alignment and stability. With proper planning and flexibility, tongue-and-groove joints can effectively accommodate curved surfaces without compromising their strength or appearance.
What Are the Environmental Impacts of Using Tongue-And-Groove Materials?
Using tongue-and-groove materials can impact the environment depending on your choices. Opt for sustainable materials like reclaimed wood or bamboo to reduce deforestation. Look for products with recycling options or certifications, such as FSC or PEFC, to guarantee responsible sourcing. By selecting eco-friendly options, you minimize waste and carbon footprint, making your project more environmentally conscious. Always consider the lifecycle and recyclability of the materials you choose.
Conclusion
Now that you know how tongue-and-groove joints work and the best ways to install them, you’re ready to create a professional-looking finish. Think of it like assembling a sturdy ship’s hull in a time before modern tools—precision and patience are key. With careful attention and the tips shared, your panels will align perfectly, giving your project that polished, seamless look. So, go ahead and bring your woodworking vision to life—happy building!