A shooting board is your go-to tool for making perfectly straight, smooth cuts on your woodworking projects. It stabilizes your workpiece and guides your saw or plane, ensuring tight joints and professional finishes. Choosing durable materials and building a sturdy, level surface helps achieve better results. Mastering proper technique and maintaining your board can drastically improve your craftsmanship. Keep exploring more tips and tricks to make your cuts even more precise and reliable.
Key Takeaways
- Use a sturdy, flat shooting board to ensure stability and accuracy during trimming.
- Keep blades sharp and aligned for clean, precise cuts on both edges and ends.
- Support workpieces firmly with clamps or stops to prevent slipping and ensure consistent results.
- Maintain proper grain orientation and controlled strokes for smooth, tight joints.
- Regularly clean and inspect the shooting board to keep surfaces flat and tools in optimal condition.

Woodriver Shooting Board For Hand Planes
For use with woodworking hand planes
As an affiliate, we earn on qualifying purchases.
As an affiliate, we earn on qualifying purchases.
What Is a Shooting Board and Why Do You Need One?

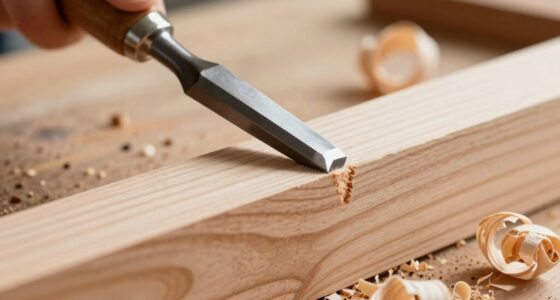
Have you ever struggled to make a perfectly straight or smooth cut on your woodworking project? That’s where a shooting board becomes essential. This simple tool helps you trim and refine the ends of your workpieces with precision, ensuring tight joints and a professional finish. In furniture design, accuracy matters, and a shooting board makes achieving perfect edges easier. Plus, it promotes woodworking safety by stabilizing your workpiece and reducing the risk of slips or uneven cuts. Instead of risking damage or injury with freehand cuts, you can confidently run your project along the shooting board’s guided edge. Whether you’re building a table or a cabinet, having a shooting board keeps your cuts consistent, improves your craftsmanship, and makes your woodworking safer and more enjoyable. Proper technique is key to making the most of this versatile tool.
Woodriver Shooting Board For Hand Planes
For use with woodworking hand planes
As an affiliate, we earn on qualifying purchases.
As an affiliate, we earn on qualifying purchases.
How to Choose the Right Materials and Tools for Your Shooting Board
Choosing the right materials and tools guarantees your shooting board is both effective and long-lasting. You’ll want durable options like hardwood and sharp, reliable blades or planes. Selecting the proper tools makes your work safer and more precise, so it’s worth investing in quality from the start. Additionally, incorporating project management support can help ensure your project stays organized and on schedule throughout the process.
Durable Material Options
What materials will stand up to repeated use and provide accurate cuts? Metal options like aluminum or steel resist wear and maintain precision over time, making them excellent choices. Plastic durability varies; high-quality plastics such as UHMW or HDPE offer good resistance to dents and warping, while cheaper plastics may degrade quickly. Your choice depends on your frequency of use and budget. Here’s a quick comparison:
| Material | Durability | Suitability |
|---|---|---|
| Aluminum | Very high | Frequent, precise cuts |
| Steel | Extremely durable | Heavy-duty use |
| UHMW Plastic | Good, resistant to wear | Hobbyist projects |
| HDPE Plastic | Moderate, affordable | Light, occasional use |
Select the right material based on durability needs and how often you’ll use your shooting board. Choosing the right material ensures your shooting board remains reliable and accurate for years to come.
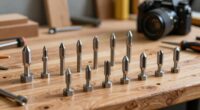
Essential Tool Selection
Selecting the right tools and materials for your shooting board starts with understanding your specific needs and how often you’ll use the jig. Choose sharp, high-quality blades or saws compatible with your woodworking projects to guarantee clean cuts. Safety precautions are essential—always wear protective gear and keep blades sharp to prevent accidents. When selecting materials, opt for stable, durable wood that resists warping. Proper tool storage is vital; keep tools organized and safely stored to avoid damage and maintain their effectiveness. Consider investing in a sturdy clamp or vice to secure your workpiece firmly. Regular maintenance and tool longevity practices can extend the lifespan of your tools and ensure consistent performance. By choosing appropriate tools and maintaining safe storage practices, you’ll improve your accuracy and safety, making your shooting board a reliable, long-lasting tool for perfect end cuts.
Woodriver Shooting Board For Hand Planes
For use with woodworking hand planes
As an affiliate, we earn on qualifying purchases.
As an affiliate, we earn on qualifying purchases.
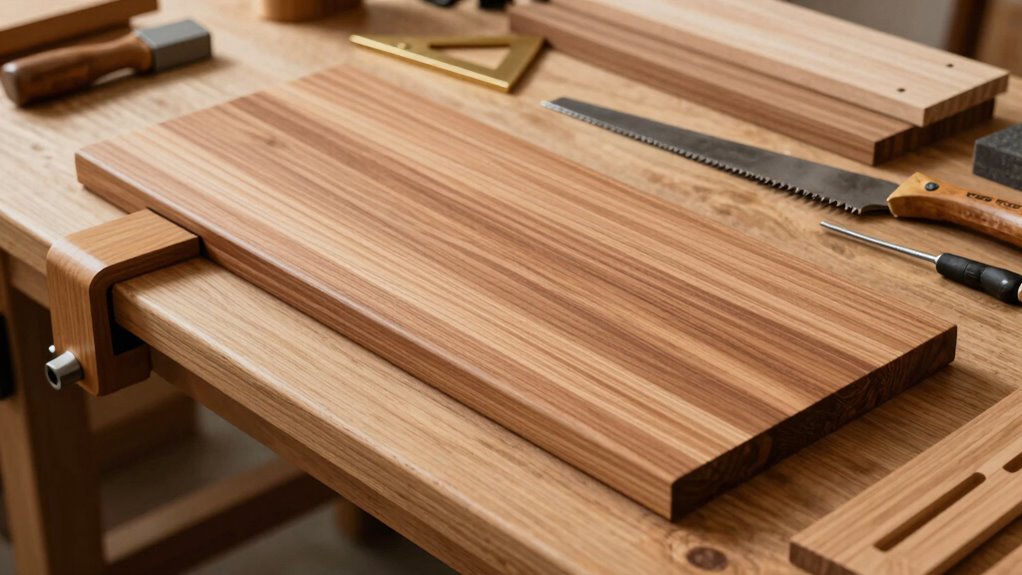
Building a Simple Shooting Board: Step-by-Step

Building a simple shooting board is a straightforward process that can considerably improve your crosscut cuts. Start by selecting a sturdy piece of hardwood for durability and stability. Cut it to your desired length, ensuring the edges are square using a reliable square. Secure the fence to the board at a 90-degree angle with clamps or screws, making sure it’s tight and aligned properly. Sand all surfaces smooth to prevent splinters and promote safety during woodworking. When using your shooting board, prioritize woodworking safety by wearing eye protection and maintaining control of your hand plane. As you refine your technique, remember that a well-made shooting board aids finishing techniques by providing clean, precise cuts, reducing the need for additional sanding or correction. Incorporating energy-efficient tools into your workshop can further enhance safety and precision in your woodworking projects.

Highwild Adjustable Steel Paper Target Stand with 8 Clips
▶ LARGER ADJUSTABLE RANGE: Adjustable top & bottom hotizontal bars fit the target range of 3 to 23…
As an affiliate, we earn on qualifying purchases.
As an affiliate, we earn on qualifying purchases.
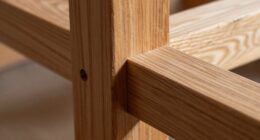
How to Properly Shoot Edges and End Grain for Perfect Results

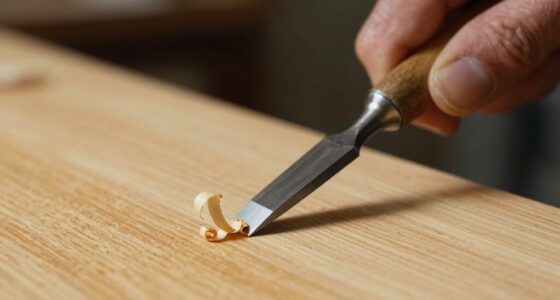
Shooting edges and end grain accurately is essential for achieving tight joints and a professional finish in your woodworking projects. Proper technique ensures grain orientation and edge alignment are maintained, resulting in cleaner cuts. To do this effectively:
- Always check the grain direction; shoot with the grain for smoother, cleaner cuts.
- Keep your workpiece firmly supported and aligned on the shooting board.
- Use consistent, controlled strokes, applying even pressure to maintain edge alignment and avoid tear-out.
- Selecting the right tools, such as a well-maintained shooting board, can significantly improve your results Vetted.
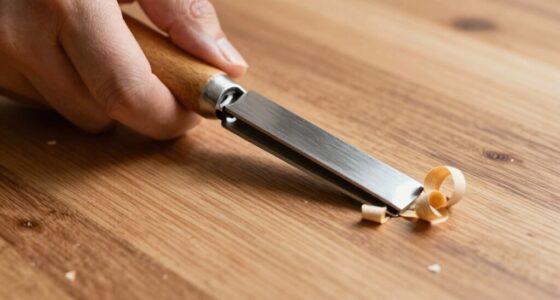
Tips and Tricks for Accurate, Smooth Cuts Every Time

Achieving accurate, smooth cuts consistently requires attention to detail and proper technique. Start by securely clamping your workpiece and using a sharp blade. Maintain consistent pressure and follow through with each cut to ensure clean edges. Safety precautions are essential—wear safety glasses and keep your fingers clear of the blade. For best wood finishing, sand the edges after shooting to remove any tiny misalignments. Use this table to refine your method:
| Tip | Technique | Result |
|---|---|---|
| Check blade sharpness | Dull blades cause rough cuts | Smoother finishes |
| Use proper grip | Firm but relaxed grip | Precise control |
| Maintain steady pace | Slow, even movement | Accurate, clean cuts |
Mastering these tricks guarantees professional results every time. Additionally, understanding the safety protocols involved in power tool use enhances both efficiency and accident prevention.
Common Shooting Board Problems and How to Fix Them

Many common shooting board problems stem from simple issues like misaligned blades or unstable work surfaces, which can compromise cut accuracy and safety. Poor blade alignment causes uneven cuts, while inadequate dust collection can clog your workspace, leading to slips or rough edges. To fix these issues:
- Regularly check and adjust the blade alignment to ensure straight, precise cuts.
- Secure your shooting board firmly to prevent movement during use.
- Improve dust collection by attaching a vacuum or brushing away debris frequently.
- Using appropriate essential oils can help maintain a fresh and clean workspace, reducing buildup and improving overall safety.
These steps help maintain consistent accuracy and safety. Proper blade alignment ensures clean, even edges, while good dust collection keeps your workspace clear, reducing the risk of accidents or mistakes. Addressing these common problems enhances your overall shooting board performance.
Adding Accessories and Jigs to Improve Your Shooting Board
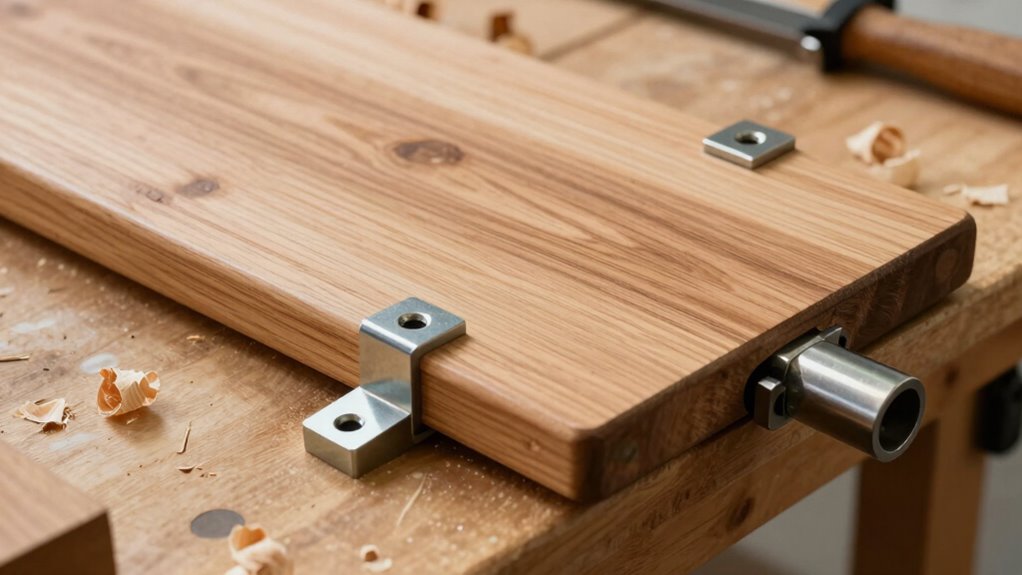
Enhancing your shooting board with accessories and jigs can substantially improve its accuracy and versatility. Adding clamping techniques ensures your workpiece stays secure, reducing errors and improving precision. Jigs can help you make consistent cuts, especially for repeated tasks or complex angles. For finishing touches, consider small guides or stops that assist in fine adjustments and clean edges. Incorporate accessories like featherboards or push blocks to maintain control and safety. These additions streamline your workflow, making setup faster and results more reliable. The use of workholding techniques is essential for achieving professional-quality results. Use the table below to explore some useful accessories and their benefits:
| Accessory | Benefit |
|---|---|
| Clamping Fixtures | Secure workpieces firmly |
| Adjustable Stops | Consistent cuts and angles |
| Featherboards | Enhanced control during cuts |
| Fine-tuning Guides | Precise finishing touches |
How to Maintain and Troubleshoot Your Shooting Board for Long-Lasting Use

Regular maintenance is essential to keep your shooting board accurate and reliable over time. Establish a consistent maintenance schedule to inspect and clean the surface, ensuring it remains flat and free of debris. Sharpen or replace the blade or stop blocks if they become dull or damaged. Troubleshooting techniques include checking for misalignment, which can cause inaccurate cuts, and verifying the surface for warping or wear. If you notice inconsistent results, recalibrate or tighten any loose parts immediately. Regularly lubricate moving components to prevent rust and ensure smooth operation. Keep an eye on the overall condition of your shooting board and address issues promptly to prolong its lifespan. Proper maintenance and troubleshooting will keep your tool precise and dependable for years to come. Understanding how to maintain your tools can significantly improve your woodworking outcomes and reduce frustration.
Frequently Asked Questions
Can a Shooting Board Be Used With Power Tools?
Yes, you can use a shooting board with power tools, but you need to prioritize safety. Make certain you follow power tools safety guidelines to prevent accidents. You might also need shooting board modifications, like adding a fence or clamps, to secure the workpiece when using a power planer or router. These adjustments will help you maintain control and achieve precise, clean cuts while working efficiently and safely.
What Safety Precautions Should I Take When Using a Shooting Board?
Sure, because nothing says “safety first” like winging it without proper setup. You should always wear safety gear, like eye and ear protection, and double-check your shooting board’s stability before use. Keep your fingers clear of the blade and guarantee your workpiece is securely clamped. Following proper setup and safety precautions keeps your woodworking fun and accident-free—because no one wants a “surprise” in the shop.
How Do I Store My Shooting Board to Prevent Warping?
To prevent warping, store your shooting board properly by keeping it in a dry, climate-controlled area. Use clamp storage to secure it flat and avoid stacking heavy objects on top, which can cause warping. Additionally, monitor moisture levels around your workspace, and consider using silica gel packs or a dehumidifier if needed. This guarantees your shooting board stays flat, stable, and ready for accurate cuts every time.
Are There Beginner-Friendly Alternatives to Traditional Shooting Boards?
Yes, there are beginner-friendly alternatives to traditional shooting boards. You can use a miter box, which is simple and portable for small projects. Another option is a homemade guide using scrap wood with clamps to hold your workpiece steady. Both are ideal for beginner projects, helping you achieve accurate cuts without the complexity of a full shooting board. These options make precision accessible and easier to learn.
How Do I Modify a Shooting Board for Irregular or Custom Angles?
To modify a shooting board for irregular or custom angles, start with angle adjustment features like adjustable fences or tilting bases. If your board lacks these, you can create a custom jig fabrication using scrap wood and clamps to hold your workpiece at the desired angle. This allows precise control, ensuring you get perfect ends every time. Just be sure to measure carefully and secure everything firmly for best results.
Conclusion
A well-crafted shooting board is your steady compass on the woodworking journey, guiding your cuts with precision and confidence. Like a trusted anchor, it keeps your work rooted in accuracy amid the chaos of creativity. With patience and care, it becomes more than just a tool—it’s a symbol of mastery, anchoring your skills in tradition while steering you toward flawless ends. Embrace it, and watch your craftsmanship reach new heights.