
To spot grain direction quickly, look for surface clues like tiny ridges, feathered lines, or dark contrast. Feel the surface with your fingertips to detect smooth or rough areas, and observe the grain pattern in different light. Running your hand gently across the wood helps you sense the flow. Recognizing these signs early guarantees you’re planing with the grain, reducing tear-out and achieving a smooth finish. Keep reading to master these quick techniques.
Key Takeaways
- Observe surface markings like ridges, feathered lines, or contrast to identify grain flow quickly.
- Gently run your fingertips across the surface to feel for smooth or rough areas indicating grain direction.
- Look for changes in shading or pattern on the surface to spot shifts in grain behavior.
- Lightly trace the surface with a pencil to visualize and confirm the grain’s flow before planing.
- Check end grain or cut surfaces for clearer grain orientation clues that inform your planing approach.

JORGENSEN No.101 Mini Wood Planer – Mini Hand Planer for Woodworking, Block Plane, Small Hand Plane for Trimming, Wood Planing, Craft, Professional Ductile Iron Body, Adjustable Cutting Depth
Professional Level Blade: The blade is made of professional level O1 tool steel, improving cutting efficiency while minimizing…
As an affiliate, we earn on qualifying purchases.
As an affiliate, we earn on qualifying purchases.
Why Reading Grain Helps Prevent Tear-Out
Understanding the direction of the wood grain is essential because it guides you on how to plane effectively. When you recognize the grain orientation, you can plan your cuts to follow its natural flow, reducing the risk of tear-out. If you plane against the grain, you’ll likely lift fibers and create rough, torn surfaces. Wood movement also plays a role—grain patterns change as wood expands or contracts with humidity, so reading the grain helps you anticipate these shifts. By aligning your plane with the grain, you ensure smooth, controlled cuts that minimize tear-out and damage. Mastering this skill allows you to work efficiently and achieve a fine finish, even on tricky or uneven surfaces. Reading grain is a fundamental skill that enhances your overall woodworking safety and quality. Additionally, understanding wood properties can help you select the best techniques for different types of wood. Recognizing the grain direction also helps prevent common mistakes that can lead to damaged surfaces or wasted material.

lenpestia 4 Pieces Wood Graining Tool Wood Grain Paint Tool Wood Grain Tool Kit Decorative Wood Grain Tools Wood Graining Tool Set Simulated Wood Grain Brushes for Wall Room Decoration
DIY MUST HAVE: With our woodgrain tool kit, you can easily create a variety of beautiful woodgrain patterns,…
As an affiliate, we earn on qualifying purchases.
As an affiliate, we earn on qualifying purchases.
How to Spot Grain Directions and Patterns Quickly
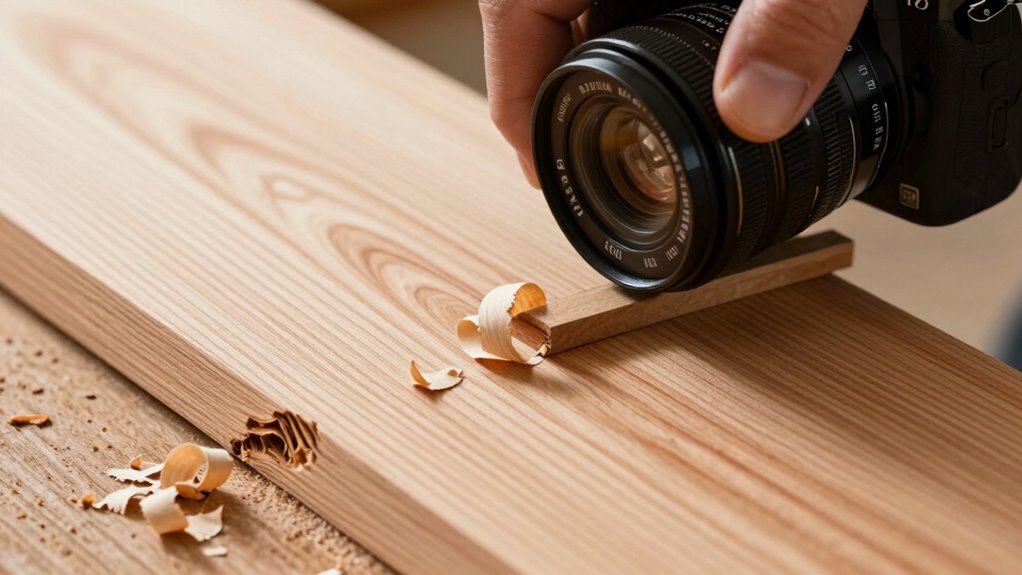
To quickly identify the grain direction, look for visual cues on the wood’s surface. Grain visualization involves observing the patterns, lines, and shading that indicate how the fibers run. Use surface analysis by gently feeling the wood with your fingertips; areas where the grain runs parallel feel smoother, while cross-grain sections may feel rougher or catch your nail. Look for the way the grain shifts or changes direction—this helps you anticipate tear-out risks. Pay attention to the pattern: straight, wavy, or curly grains each behave differently under planing. Recognizing different grain patterns helps you plan your cuts more effectively. By combining visual cues with tactile feedback, you can rapidly determine the grain’s course. Understanding these visual cues allows for better planning and reduces tear-out during planing. Recognizing different grain patterns helps you plan your cuts more effectively. This quick surface analysis empowers you to plan your cuts and planing strokes effectively, reducing tear-out and achieving a cleaner finish. Additionally, being aware of the grain orientation enhances your ability to adapt your technique in real-time. Observing the wood’s natural growth rings can also provide valuable insight into the grain direction and stability of the material.

KingTool 87 Pc. Advanced Wood Chisel Set with Storage Case Including Superior Chisels | Heat-Treated Cr-V Alloy Blades Premium Chisel Set for Carpentry Craftsman
【Upgraded Version Of Wood Chisel Set】6x chisels 1/4", 1/2", 3/4", 1", 1-1/4", 1-1/2" (6mm, 13mm, 19mm, 25mm, 32mm,…
As an affiliate, we earn on qualifying purchases.
As an affiliate, we earn on qualifying purchases.
Signs of Grain That Cause Tear-Out During Planing
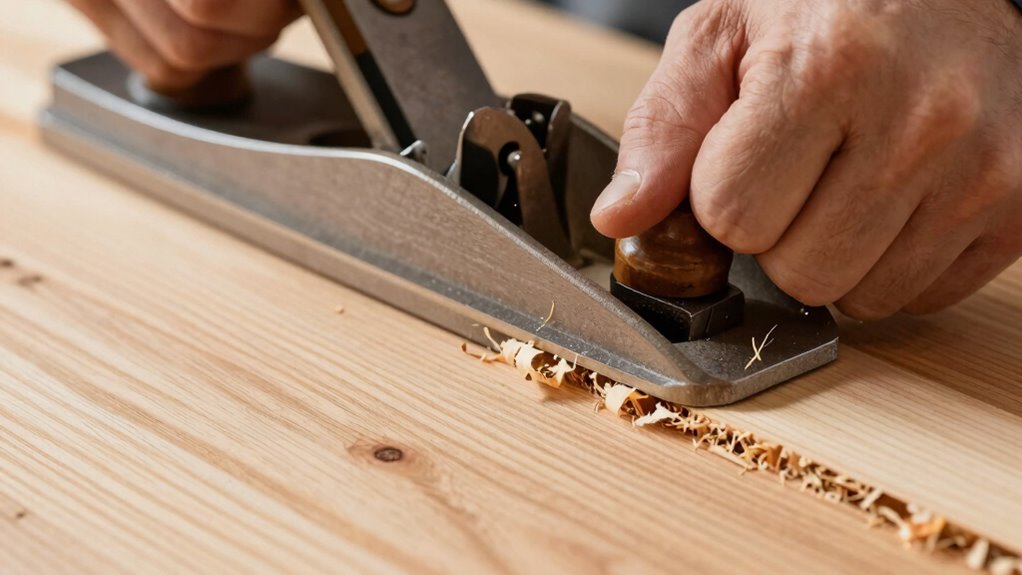
Grain that runs against the direction of your planing stroke often causes tear-out, leaving rough patches on the wood’s surface. Signs include uneven or irregular grain flow, where wood fibers lift or splinter instead of cutting cleanly. Look for areas where the grain appears to change direction or is more prominent, indicating a potential for tear-out. If you notice fibers standing up or curling during planing, that’s a clear sign the grain may cause rough patches. Additionally, tight or cross-grain sections tend to resist smooth cutting, leading to tear-out. Recognizing these signs helps you anticipate trouble spots and adjust your technique or planing direction. Being attentive to the grain flow and how the wood fibers respond is key to achieving a clean, smooth surface. Changes in grain orientation can also signal increased likelihood of tear-out, especially when working with woods that have variable or complex grain patterns. Using adaptive techniques such as adjusting the planing angle or employing sharp blades can further reduce tear-out and improve finish quality. Paying close attention to grain direction helps prevent tear-out before it occurs, as understanding the grain pattern allows you to choose the best approach for each piece, saving time and effort during finishing. Recognizing the signs of grain early can significantly improve your planing results and surface quality.
planing tear-out prevention tools
As an affiliate, we earn on qualifying purchases.
As an affiliate, we earn on qualifying purchases.
Fast Methods to Read Grain Before You Start Planing

Before you pick up your plane, quickly check the wood’s grain pattern to spot potential trouble spots. To do this, examine the surface for visible lines or swirls indicating grain orientation. Different wood species display distinct grain patterns—some with straight, uniform grains, others with irregular or wavy lines. Use these methods:
| Method | How to Use | Best For |
|---|---|---|
| Sight Test | Look across the surface for grain direction. | Fast, initial assessment. |
| Running your hand | Feel the grain’s flow; roughness indicates grain. | Spotting raised grain. |
| Cross-Checking | Check end grain or cut surfaces for grain pattern. | Confirm orientation. |
| Pencil Marking | Lightly mark the grain direction with a pencil. | Visual reference during planing. |
| Visual Inspection | Observe grain alignment in different light. | Recognizing potential tear-out. |
How to Adjust Your Planing Technique Based on Grain
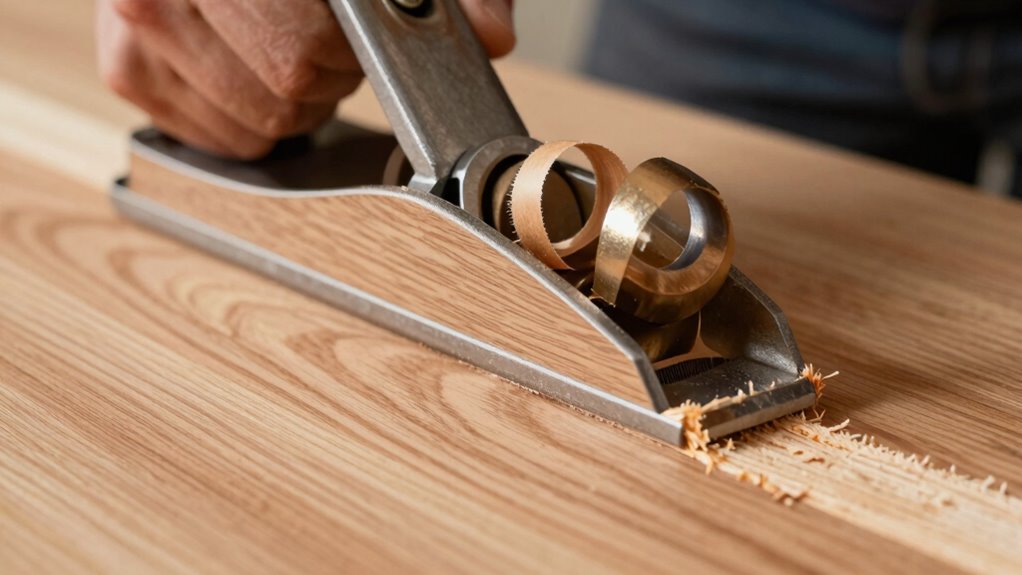
Adjusting your planing technique based on grain is essential for achieving a smooth, tear-out-free finish. First, observe the grain orientation—whether it runs parallel, crosswise, or at an angle to your planing direction. For straight-grain wood species like cherry or maple, plan with the grain, taking light, controlled passes to minimize tear-out. When working with more complex grain patterns or woods like oak or walnut, where grain may be irregular or swirling, adjust your technique by making shallower cuts and working with the grain as much as possible. Using a sharper blade and a lighter touch also helps. Additionally, understanding the grain behavior of the wood can aid in predicting and preventing tear-out, guiding you in modifying your approach for cleaner, smoother results. Paying attention to grain direction can further improve your planing outcomes and reduce the risk of tear-out. Recognizing how grain orientation affects the cutting process allows for better control and a superior finish. Consulting local wood characteristics can provide further insight into how specific woods will behave during planing. Incorporating appropriate tool maintenance, such as keeping blades sharp, will also contribute to more consistent and clean planing.
Troubleshooting Difficult Grain Patterns and How to Avoid Tear-Out
When facing tricky grain patterns, your first step is to recognize the grain direction to plan your cuts accordingly. Properly adjusting your blade angle and plane settings can make a big difference in preventing tear-out. By fine-tuning these factors, you can achieve smoother, cleaner surfaces even with difficult grain. Additionally, understanding sound discrimination principles can help you better interpret subtle cues during your woodworking projects in outdoor environments. Being aware of cultural influences in traditional attire can also inspire techniques for handling complex grain patterns that reflect natural textures and variations. Recognizing wood grain characteristics can further enhance your ability to adapt your approach to different types of wood and grain orientations.
Recognize Grain Direction
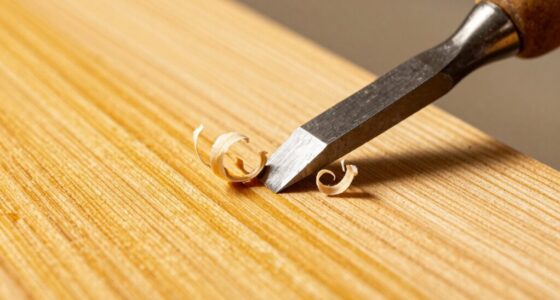
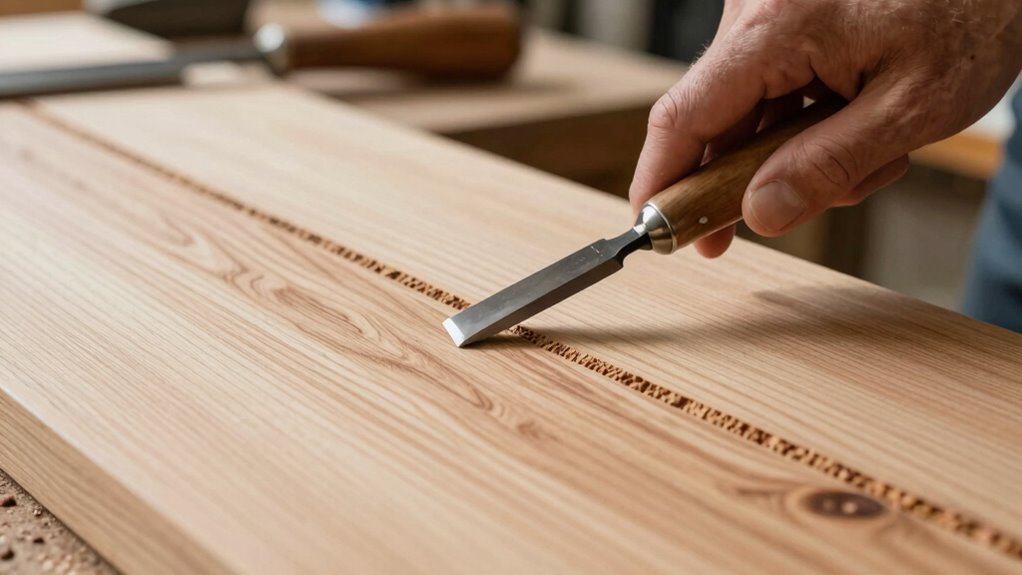
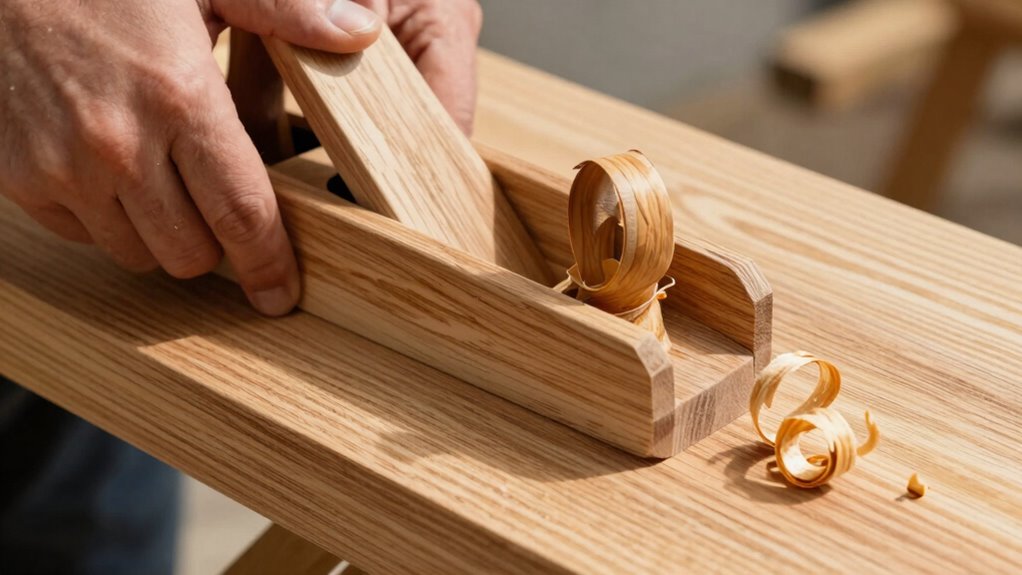
How can you identify the grain direction to prevent tear-out during planing? Look for grain contrast on the surface, which indicates the flow of the wood fibers. Surface markings, such as tiny ridges or feathered lines, reveal the grain’s direction. When you run your hand gently across the surface, you might feel a slight roughness or catch if you’re going against the grain. To confirm, plane a small section lightly; if the shavings curl smoothly, you’re following the grain. If they tear or splinter, you’re going against it. Recognizing these subtle cues allows you to adjust your planing approach instantly. By reading the surface markings and observing the grain contrast, you can ensure your blade glides with the grain, reducing tear-out and achieving a smooth finish. Understanding grain patterns can also help in selecting the appropriate planing technique for different types of wood. Additionally, being aware of grain direction is essential for working with special woods like cotton candy grapes or even traditional confections like dragons beard candy, where texture and flow are key.
Use Proper Blade Angles
Using the correct blade angle is essential for tackling difficult grain patterns and preventing tear-out. When you adjust the blade to match the grain orientation, you reduce the chance of tearing through the wood texture. A steeper angle, around 30°, works well for tricky, interlocked grain, helping the blade slice smoothly without ripping the fibers. Conversely, a shallower angle, closer to 20°, is better for softer, straight-grain wood. Proper blade angles ensure you’re cutting with the grain rather than against it, which minimizes tear-out and produces cleaner results. Pay attention to the grain’s direction and texture as you plane, and set your blade accordingly. This simple adjustment can make a significant difference in how your hand plane performs on challenging wood surfaces.
Adjust Plane Settings
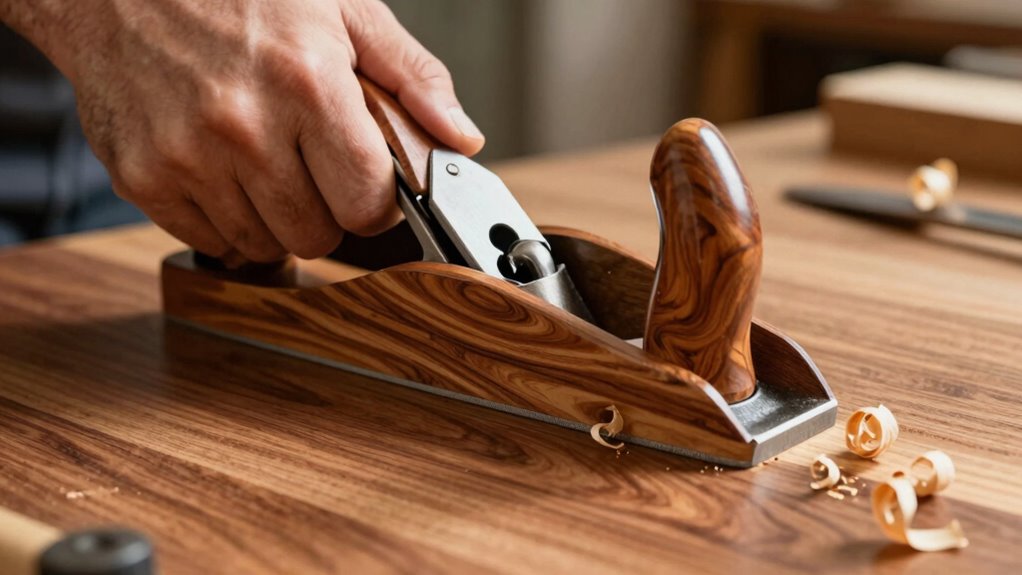
Adjusting your plane settings is essential when dealing with difficult grain patterns that tend to cause tear-out. The key is understanding the grain orientation—whether it runs with or against the blade—and how it varies with different wood species. For difficult grain, try lowering the blade angle or changing the cutting depth to reduce the risk of tear-out. Softer woods may require sharper blades and lighter passes, while harder species benefit from a slightly more aggressive setting. Adjust your lateral adjustment to align the blade precisely with the wood’s grain direction, minimizing tear-out. Always observe how the wood responds and tweak your settings accordingly. Properly setting your plane ensures cleaner cuts, especially on challenging grain, and helps you avoid tear-out before it starts.
Frequently Asked Questions
What Tools Can I Use to Quickly Analyze Grain Direction?
To quickly analyze grain direction, you can use a straightedge or a marking gauge to observe how the grain runs across the surface. A simple tool like a fingernail or a razor blade can also help you feel the grain orientation. For more precise tool selection, consider a marking knife or a chisel to test the grain’s flow. These tools help you determine the best approach to minimize tear-out when planing.
How Does Wood Species Affect Tear-Out Risk?
Wood species can make a big difference in tear-out risk, so don’t judge a book by its cover. Harder species with high density, like maple, tend to have tighter grain contrast, increasing tear-out chances. Softer woods, such as cedar, are more forgiving. You need to read the grain pattern carefully because understanding how species density affects grain contrast helps you plan your cuts and avoid mishaps. It’s all about knowing your wood inside out.
Can Moisture Content Influence Grain Reading Accuracy?
Moisture content considerably influences your grain reading accuracy because moisture variation affects grain visibility. When wood is too wet or too dry, the grain pattern becomes less distinct, making it harder for you to read the grain properly. This obscurity can increase tear-out risk during planing. To improve accuracy, check moisture levels first, then let the wood acclimate to stabilize moisture content before hand planing.
Are There Specific Techniques for Working With Highly Figured Wood?
When working with highly figured wood, you should pay close attention to grain orientation and visual cues. Always plane along the grain, following its natural flow to minimize tear-out. Use sharp tools and light passes, adjusting your technique based on the figure’s complexity. Carefully observe the grain pattern to anticipate problem areas, and consider taking shallow cuts to preserve the wood’s aesthetic appeal and reduce tear-out risks.
How Does Climate Change Impact Grain and Tear-Out Tendencies?
Climate effects can subtly influence your wood’s grain orientation, making tear-out more or less likely. As temperatures and humidity fluctuate, grain tends to shift, and you might notice increased tear-out or irregularities. This isn’t a setback but an opportunity to adapt your technique, perhaps adjusting plane angles or grain reading strategies. Embrace these climate influences as part of your craftsmanship journey, helping you craft even more precise and beautiful projects.
Conclusion
So, now that you’ve mastered the art of reading grain in seconds, you’ll effortlessly glide through your planing projects, avoiding tear-out like a woodworking wizard. Who knew that understanding grain patterns could be so exhilarating? Just remember, every swipe of your plane is a dance with nature’s chaos—so keep your eyes sharp, your techniques sharper, and pretend you’re decoding ancient secrets. Happy planing, and may your wood always cooperate—at least until the next grain twist.