
To chamfer edges by hand quickly and get crisp results, use sharp tools like a chisel or small plane, and carefully mark your angles for consistency. Practice steady strokes with controlled pressure, and sand lightly for a smooth finish. Keep your tools sharp and maintain a consistent angle for clean, professional edges. For more tips and techniques to perfect your hand chamfering skills, keep exploring these expert suggestions.
Key Takeaways
- Use sharp, well-maintained tools like a chamfer plane or chisel for quick, precise edge beveling.
- Mark edges accurately and work slowly for consistent, clean chamfers.
- Apply controlled, steady strokes to prevent splintering and maintain uniform angles.
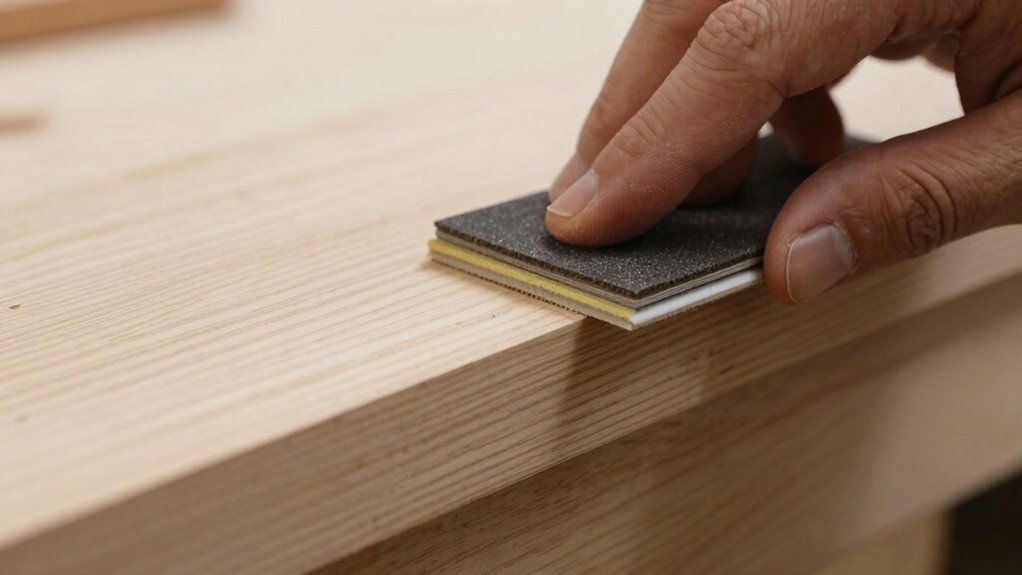
- Sand chamfered edges lightly with fine-grit sandpaper for a smooth, professional finish.
- Protect edges with finishes or wax to maintain sharpness and durability over time.

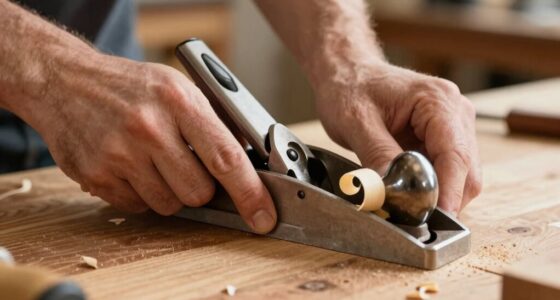
JORGENSEN Chamfer Plane, Edge Corner Plane with 4 Cutter Heads, Storage Space – Hand Plane for Woodworking, Carpenter Woodworking Tools for Edge Trimming of Wood, Edge Corner Flattening
Professional Level Blade: The blade is a professional level O1 tool steel, improving sanding efficiency while minimizing blade…
As an affiliate, we earn on qualifying purchases.
As an affiliate, we earn on qualifying purchases.
Tools Needed for Hand Chamfering Wood Edges
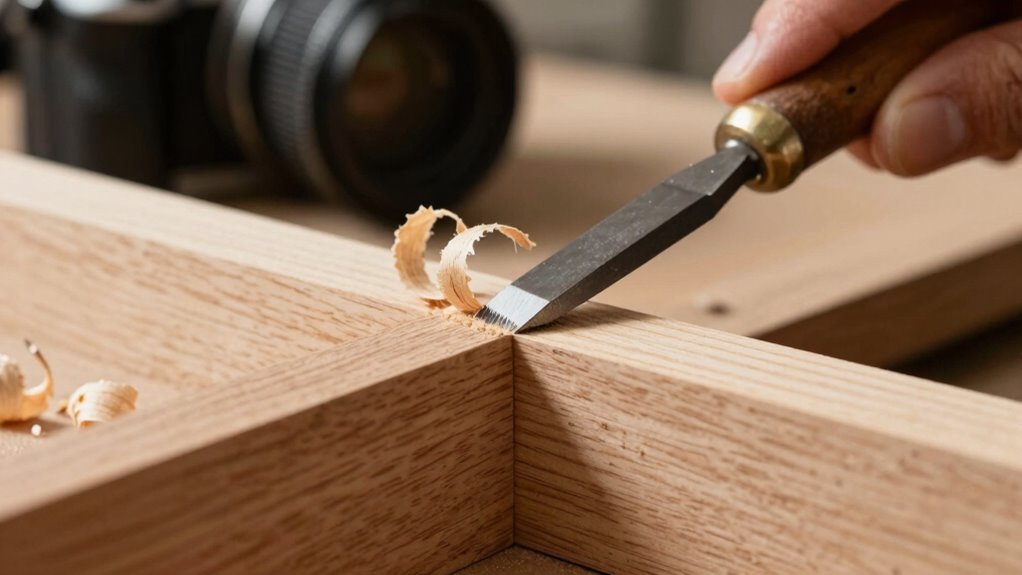
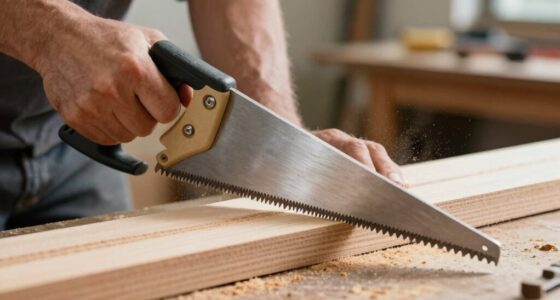
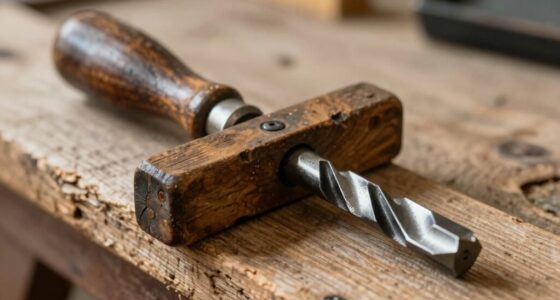
To successfully chamfer wood edges by hand, you’ll need a few essential tools. First, gather chamfer tools, such as a dedicated chamfer plane or a small, sharp hand plane, to create clean, precise angles. These tools allow you to carve the edge smoothly and accurately. Additionally, hand sanding is vital for finishing the chamfered edge, removing any rough spots, and achieving a polished look. Use fine-grit sandpaper or sanding sticks to refine the shape and ensure a crisp, professional finish. Having a sharp chisel or utility knife can also help if you need to clean up tight corners. Keep your tools sharp and well-maintained for best results, and you’ll quickly master hand chamfering with these basic yet effective tools. Proper tool maintenance is essential for achieving reliable and well-researched results in woodworking.

Saker Chamfer Plane-Woodworking Edge Corner Flattening Tool with Auxiliary Locator,Hand Chamfering Planer Suitable for Quick Edge Trimming of Wood (Combination upgrade-6 Cutter Heads, Black)
🧰More Efficient -Saker chamfer plane can quickly eliminate edges, and can easily and quickly add other drill bits,…
As an affiliate, we earn on qualifying purchases.
As an affiliate, we earn on qualifying purchases.
How to Choose the Right Chamfer Angle and Size

Choosing the right chamfer angle and size depends on matching the material’s properties and your project’s visual goals. Think about how the chamfer will influence both the look and the function of the piece. Striking a balance between practicality and aesthetics ensures your work achieves the desired outcome. Considering the brewing methods you plan to use can also help determine the most suitable chamfer dimensions for durability and style.
Matching Material Properties
Selecting the right chamfer angle and size depends heavily on the material you’re working with. Understanding the grain alignment helps you determine how aggressive your chamfer should be; aligned grains can handle sharper edges without chipping, while uneven grain may require softer angles. Material density also plays a key role: denser materials tend to be more resistant to chipping, allowing for larger or more pronounced chamfers, whereas softer materials benefit from smaller, subtler edges to prevent damage. By matching your chamfer choice to these properties, you guarantee a clean, durable finish. You’ll avoid unnecessary chipping or wear, making your hand chamfering more efficient and precise. Always consider the specific grain direction and density to select the best angle and size for your project. Matching material properties is essential for achieving optimal results and durability.
Considering Visual Impact
The visual impact of a chamfer can greatly influence the overall appearance of your project, so it’s essential to contemplate how the angle and size will complement your design. A well-chosen chamfer enhances visual harmony by guiding the eye smoothly along edges, creating a cohesive look. For smaller, subtle accents, a shallow angle and narrow width work best, maintaining a clean, understated effect. Conversely, larger chamfers with more pronounced angles can add character or emphasis, drawing attention intentionally. Consider the surrounding elements and the overall style you’re aiming for; balance is key. The right combination of angle and size ensures your chamfer supports design harmony, highlighting craftsmanship without overpowering the piece. When selecting chamfer parameters, understanding visual impact can help you achieve the desired aesthetic outcome.
Balancing Functionality and Aesthetics
Finding the right balance between functionality and aesthetics when shaping a chamfer involves understanding how the angle and size influence both form and performance. A proper chamfer enhances edge strength without compromising appearance. Consider grain direction; aligning the chamfer with it can reduce splintering and improve durability. Keep edge symmetry in mind to ensure a consistent, professional look. Smaller angles create subtle transitions, ideal for visual appeal, while larger angles boost protection. Adjust chamfer size based on how much material you want removed and how the piece will be used. Remember, a well-chosen angle and size improve handling, safety, and aesthetics simultaneously. Additionally, understanding projector specifications can help tailor your chamfering process to better suit your intended use and environment.

24PCS Sandpaper Assortment 12 Grits Wet Dry Sandpaper Sheets,Silicon Carbide Sanding Paper 120 to 3000 Grit Fine Sandpapers and Coarse Sand Paper for Metal, Wood Furniture and Automotive (9×3.6 Inch)
Package Contents: 24 pcs sand paper kit measuring 9 inch(L) x 3.6 inch(W),12 grit wet dry sand paper…
As an affiliate, we earn on qualifying purchases.
As an affiliate, we earn on qualifying purchases.
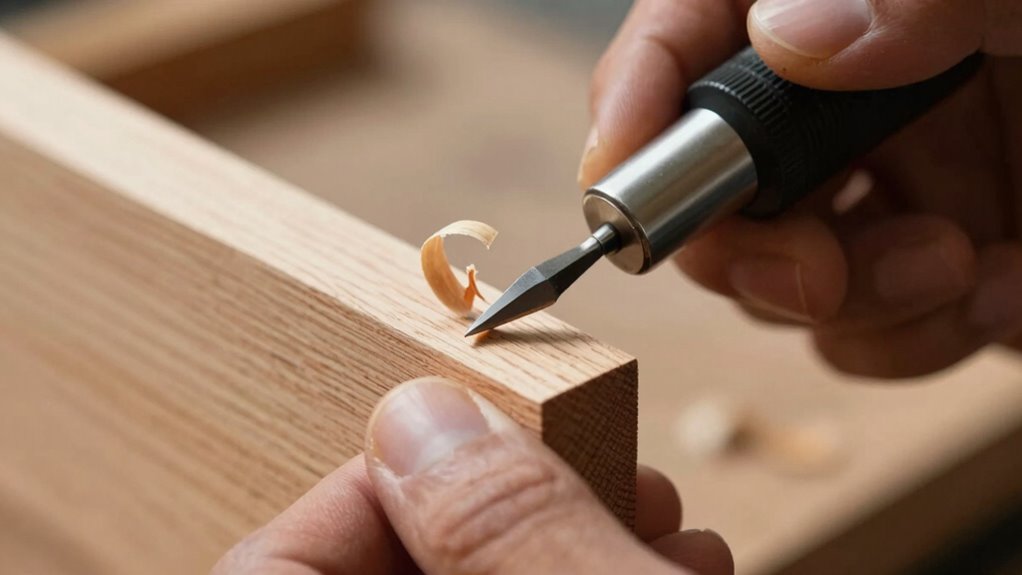
How to Hand Chamfer Wood Edges Precisely
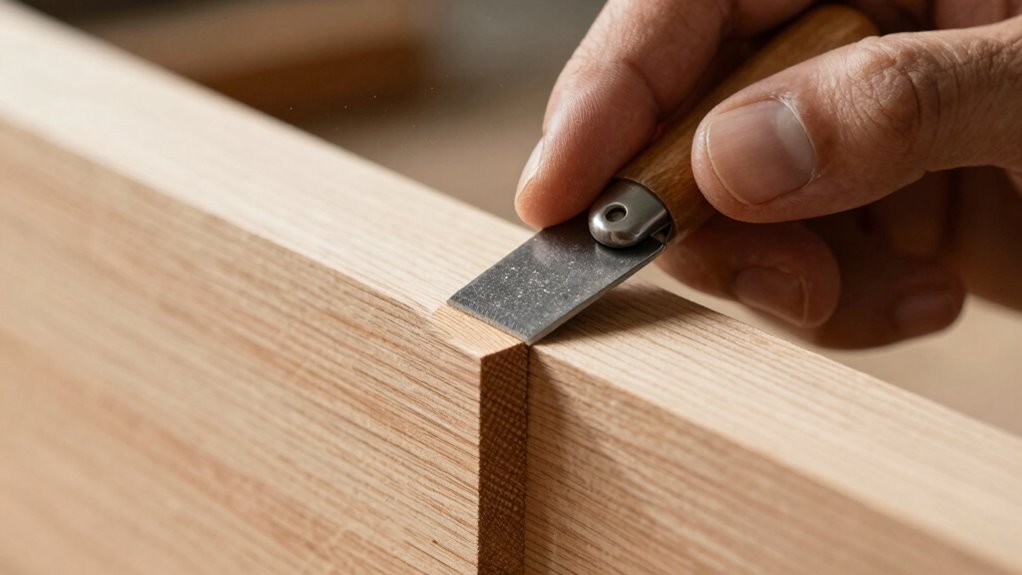
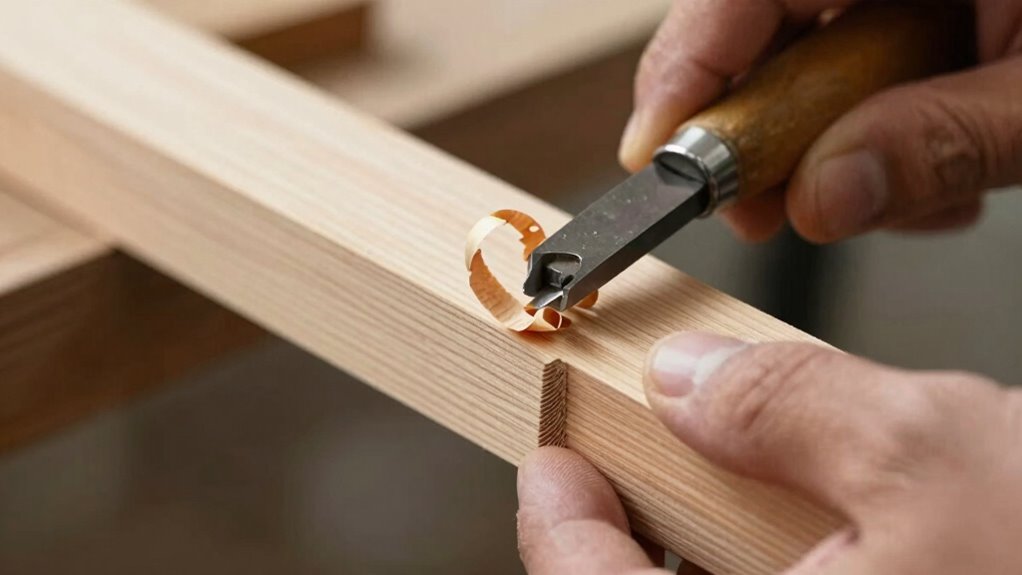
Ever wondered how to achieve a clean, precise chamfer by hand without specialized tools? Start by carefully marking the edge to guide your work. Use a sharp chisel or a fine saw to create a slight bevel, ensuring consistent angle and depth. To refine the chamfer, employ gentle edge rounding with light sanding, focusing on the bevel’s face. Bevel sanding helps smooth out rough spots and creates a crisp, professional look. Keep your motions controlled and consistent, regularly checking your progress against your guide. Patience is key—work slowly to maintain accuracy and avoid removing too much material at once. Developing a steady hand and understanding wood movement are essential for achieving durable, precise results. With practice, you’ll develop a steady hand that produces sharp, precise chamfers, elevating your woodworking projects effortlessly.

NECAMOCU Edge Banding Trimmer – 2025 Upgraded Mini Edge Band Trimmer & Cutter, Stainless Steel Blade Veneer Edge Trimmer for Woodworking, Durable Edgebanding Trimming Tool for Wood, Veneer, PVC, ABS
【Precision & Smooth Trimming】 NECAMOCU upgraded edge banding cutter features thicker blade with larger cutting edges and more…
As an affiliate, we earn on qualifying purchases.
As an affiliate, we earn on qualifying purchases.
Tips for Achieving Consistent, Clean Chamfers

Achieving consistent, clean chamfers requires careful attention to your marking and cutting techniques. Accurate measurements ensure uniform edges that enhance both durability and aesthetic appeal. Use sharp tools to prevent splintering and uneven cuts, which can compromise edge durability. Maintain steady pressure and a controlled motion to create smooth, crisp lines. Consistently check your work against your markings to avoid variations. Here are some tips to help you succeed:
- Mark precise, even lines for consistent chamfer angles
- Use a fine-tooth saw or chisel for cleaner cuts
- Keep your tools sharp and well-maintained
- Practice steady, controlled strokes for uniform edges
- Pay attention to safe installation practices to ensure your work is both durable and secure.
Following these tips will result in chamfers that look professional, boost edge durability, and add a polished aesthetic enhancement.
Troubleshooting Common Problems When Hand Chamfering
When hand chamfering, common problems such as uneven edges, splintering, or misaligned angles often occur if you don’t pay close attention to your technique. Edge distortion can happen if you press too hard or move unevenly, causing the material to deform. Tool chatter is another frequent issue, creating rough, inconsistent surfaces and compromising the crispness of your chamfer. To avoid these problems, maintain a steady, controlled motion and use a sharp, appropriate tool. Keep your angle consistent and avoid applying excessive force, which can lead to edge distortion. Regularly check your progress and adjust your grip as needed. Being mindful of these factors helps ensure clean, precise chamfers without splintering or misalignment. Additionally, understanding the importance of proper tool technique can greatly improve your results.
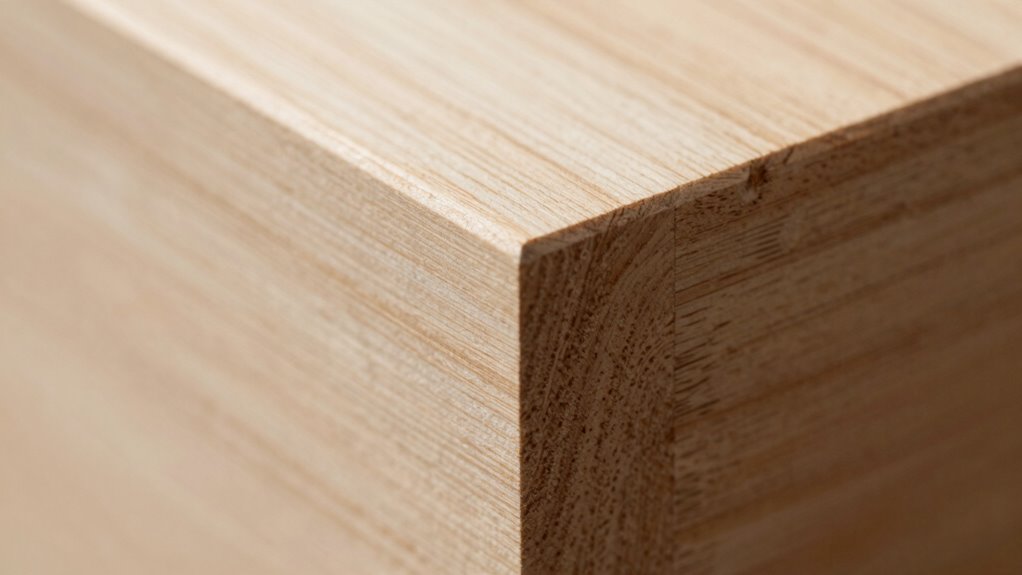
Finishing and Protecting Your Chamfered Edges
Once you’ve chamfered your edges, it’s important to finish and protect them properly. Applying a protective finish helps prevent damage, while sanding smooths out any rough spots. To keep your chamfers looking sharp, you’ll also want to maintain their edge sharpness over time.
Applying Protective Finish
Applying a protective finish to your chamfered edges is essential for guaranteeing durability and maintaining their clean appearance. The right finish safeguards the edges against chips, moisture, and wear, preserving their crisp look over time. To achieve ideal edge durability and finish compatibility, choose a finish suited for your project material, such as oil, varnish, or polyurethane. Proper application ensures the finish bonds well without softening or dulling the sharp edge. Use a small brush or cloth to apply the finish evenly, paying special attention to the chamfered corners. Allow sufficient drying time before handling or further finishing. Remember, a well-chosen and properly applied finish enhances both the appearance and longevity of your chamfers, keeping them sharp and protected. Additionally, consider finishing techniques that ensure the protective layer adheres properly and does not compromise the crisp edges.
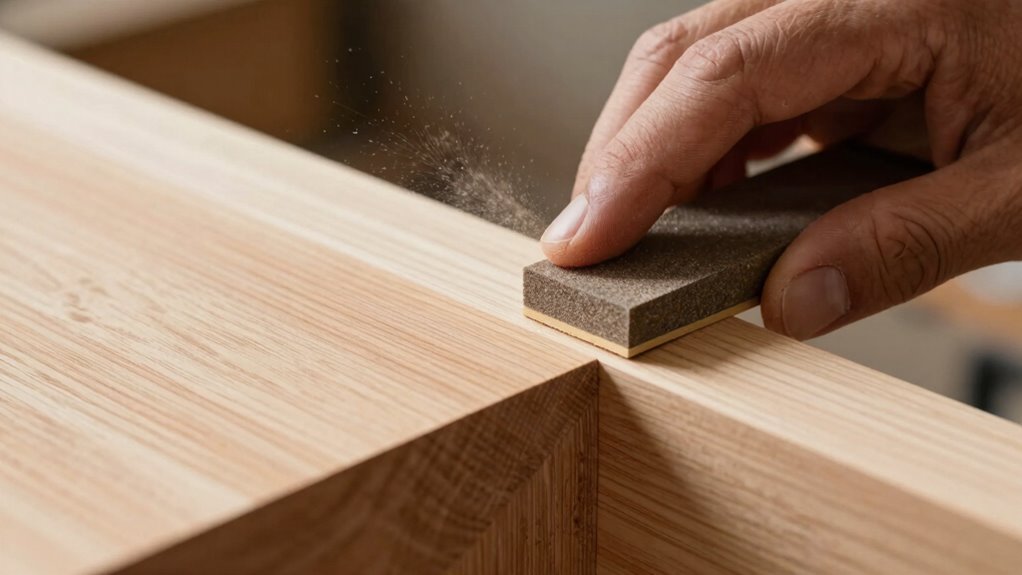
Sanding for Smoothness
To achieve a smooth, professional finish on your chamfered edges, sanding is a crucial step that follows the application of a protective finish. Start by sanding along the grain direction to prevent scratches and ensure an even surface. Use light, consistent pressure and choose a fine-grit sandpaper to gently refine the edges. Maintain a steady hand and focus on the chamfered corners, ensuring you don’t sand through the finish. Sand in small, circular motions if necessary, but prioritize following the grain to avoid unwanted marks. Regularly check your progress to prevent over-sanding. Proper sanding techniques help achieve a polished look and protect your work by smoothing out minor imperfections, leaving your chamfered edges crisp and ready for final finishing or use. Additionally, using appropriate filtration can help keep dust and debris away from the surface during sanding, ensuring a cleaner and more precise result.
Maintaining Edge Sharpness
Maintaining the sharpness of your chamfered edges is essential to preserve their clean, professional look over time. To enhance edge durability, consider applying a clear protective finish or wax that shields against chips and wear. This not only prolongs the edge’s lifespan but also sustains the visual contrast that makes your chamfer stand out. Regularly inspect your edges and touch up any dull or damaged areas promptly. Using a fine abrasive or burnishing tool can also help keep the edge crisp without softening it. Proper protection guarantees your chamfer retains its precise appearance and structural integrity, making your work look sharp and refined longer. Consistent maintenance is key to preserving both the visual appeal and durability of your chamfered edges.
Why Hand Chamfering Is the Fastest Way to Get Sharp Edges
Hand chamfering often proves to be the quickest method for creating sharp edges because it allows you to precisely control the angle and depth without setting up complex tools or fixtures. This direct control speeds up the process, especially when working on irregular or detailed surfaces. Since you’re using your own skill and finesse, you can adapt quickly, reducing missteps and rework. Good tool maintenance ensures your blades stay sharp, making each pass faster and safer. Properly maintained tools also minimize the risk of edge safety issues like slips or uneven chamfers. Unlike power tools, hand chamfering requires minimal setup, making it ideal for quick projects or adjustments. Overall, it’s the most efficient way to achieve crisp, professional edges without sacrificing precision or safety.
Final Tips for Perfect Hand Chamfering Results
Achieving perfect hand chamfering results requires attention to detail and a steady hand. To guarantee your edges are durable and visually appealing, follow these final tips. First, use a sharp tool to keep the chamfer crisp and prevent chipping, which enhances edge durability. Second, lightly sand the chamfered edge for a smoother finish and better aesthetic enhancement. Third, work slowly and consistently, maintaining the same angle to avoid uneven results. Finally, double-check your work from different angles to catch any imperfections. Remember, precise chamfering not only improves the look but also strengthens the edge, reducing the risk of damage over time. With patience and care, you’ll achieve professional-quality, durable, and attractive edges every time.
Frequently Asked Questions
Can I Use Power Tools Instead of Hand Tools for Chamfering?
Yes, you can use power tools instead of hand tools for chamfering, but you need to prioritize power tool safety. A router or a chamfer bit attached to a power tool can speed up the process considerably. However, always follow manual technique principles for better control and precision. Be cautious, keep your workspace safe, and use proper safety gear to avoid accidents while achieving crisp edges efficiently.
What’s the Best Type of Wood for Hand Chamfering?
Think of your wood like a river’s flow—smooth and predictable. Softwoods like pine or cedar are your best bets for hand chamfering because their grain is gentle, making finishing techniques easier and cleaner. Hardwoods like oak or maple are tougher, resisting your chisel’s dance. Choose softer woods for crisp edges and easier carving, so your craftsmanship flows seamlessly, leaving a polished, professional look with minimal effort.
How Do I Prevent Splintering During Hand Chamfering?
To prevent splintering during hand chamfering, you should apply edge protection by sanding the edges lightly beforehand. Use a sharp, fine-tooth chisel or file to make controlled cuts, and work with steady, even pressure. Additionally, chamfer with the grain rather than against it, and consider applying masking tape along the edge for extra splintering prevention. These steps help you achieve clean, crisp edges without damaging the wood.
Is Hand Chamfering Suitable for Large or Thick Wood Pieces?
Hand chamfering isn’t ideal for large projects or thick stock because it can be slow and tiring. You might find it challenging to maintain consistent edges on thick wood, risking uneven results. However, for small to medium pieces, it works well and gives you precise control. If you’re working with large or thick wood, consider power tools to save time and guarantee uniform chamfers, especially on extensive or heavy-duty projects.
How Do I Remove Tool Marks After Chamfering?
To remove tool marks after chamfering, start with fine-grit sanding techniques, like using 220 or 320 grit sandpaper, to gently smooth the edges. Follow up with finish polishing using a polishing compound or fine abrasive pad for a crisp, clean look. Make sure to sand along the chamfer’s direction to avoid rounding the edges, and always check your progress frequently to prevent over-sanding.
Conclusion
Mastering hand chamfering is quick and rewarding, giving your edges a crisp, professional look. With the right tools, techniques, and patience, you can achieve perfect, consistent results every time. Remember, “practice makes perfect”—don’t rush the process. Keep honing your skills, and soon you’ll find hand chamfering becomes second nature. So grab your tools, follow these tips, and enjoy the satisfaction of turning rough edges into polished details.