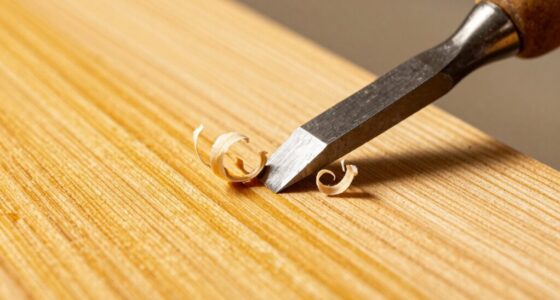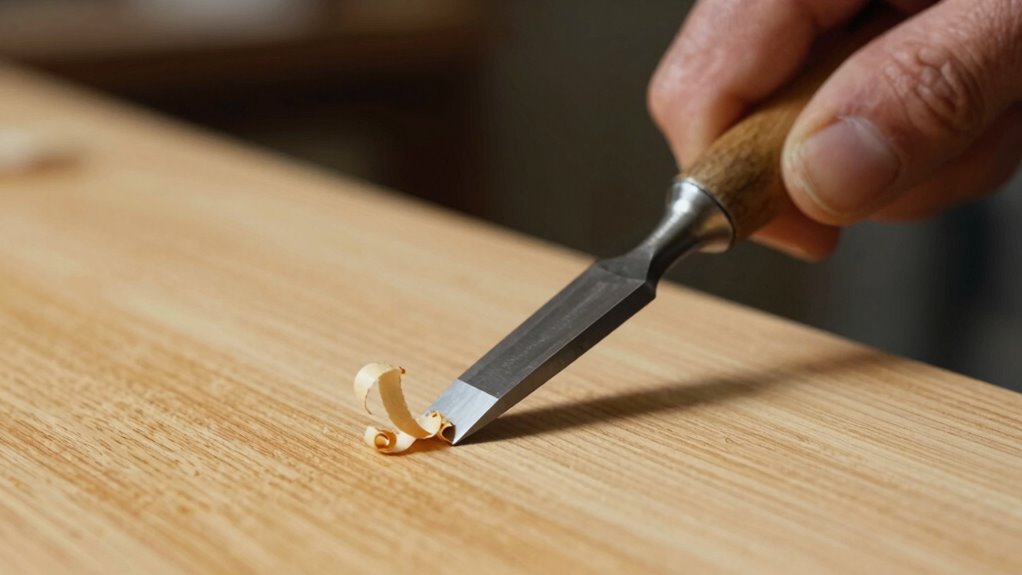

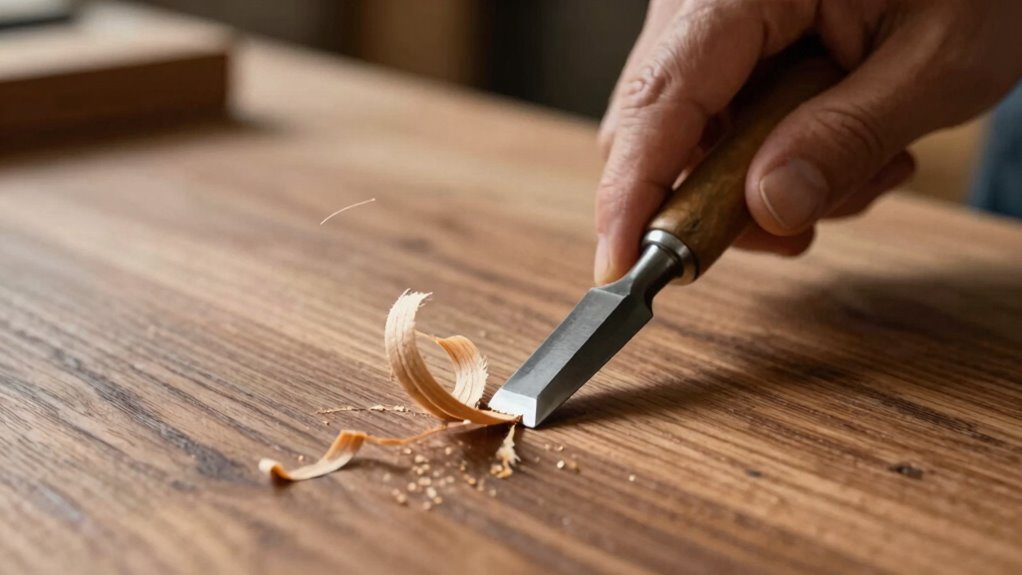
To pare without splitting, focus on proper technique: keep your chisel sharp, use gentle, steady pressure, and follow the wood’s grain at about a 20° to 30° angle. Position your workpiece securely and grip the chisel comfortably with relaxed hands. Avoid forcing the tool—listen for signs you’re applying too much pressure and adjust accordingly. Mastering these skills guarantees clean cuts and prevents splits. Explore more tips to refine your chisel control further.
Key Takeaways
- Maintain a sharp, well-honed chisel to reduce force and prevent splitting during paring.
- Follow the grain direction closely to avoid tearing or splintering the wood.
- Use gentle, steady pressure and avoid brute force to control cuts precisely.
- Properly position and clamp the workpiece for stability and accurate guidance.
- Regularly check moisture content and keep tools well-maintained for optimal control and safety.
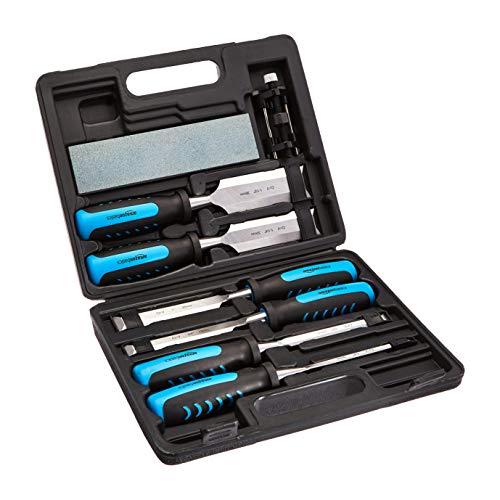
Amazon Basics 8-Piece Wood Chisel Set for Woodworking, with Honing Guide, Sharpening Stone and Storage Case, 1/4" – 1-1/2"
- Set Includes: 8-piece wood chisel set with accessories
- Chisel Sizes: Variety of sizes from 1/4" to 1-1/2"
- Blade Material: Heat treated chrome vanadium steel
As an affiliate, we earn on qualifying purchases.
As an affiliate, we earn on qualifying purchases.
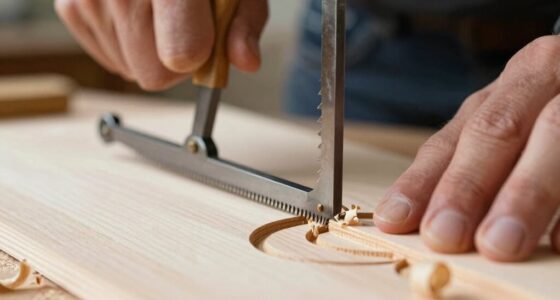
Chisel Paring Basics and Common Mistakes

Mastering chisel paring begins with understanding the proper technique and common pitfalls. One key factor is evaluating wood moisture; overly dry or wet wood can cause splits or dull your chisel faster. Always check the moisture content before starting. Proper chisel storage is also essential—keep your tools sharp and protected from humidity to prevent rust and maintain control. When paring, avoid pressing too hard or using excessive force, which can lead to splits or gouging. Instead, rely on controlled, steady strokes, keeping the chisel bevel aligned with your cut. Remember, patience and preparation are vital. Learning these basics helps you develop parsing precision and avoid common mistakes that can compromise your project. Additionally, understanding wood movement is crucial to avoid unexpected cracking or warping during your work. Being aware of grain direction can significantly improve your control and the quality of your paring. Properly understanding wood properties can further enhance your technique and prevent damage. With the right approach, you’ll improve your control and achieve cleaner, safer paring results.

Buck Brothers 1 Inch Wood Chisel Made in USA for Paring and Finishing Cuts
- Made in USA: Manufactured in the United States with lifetime warranty
- Precise Finishing: Ideal for paring and finishing cuts
- Tempered Steel Blade: Hardened steel for long-lasting sharpness
As an affiliate, we earn on qualifying purchases.
As an affiliate, we earn on qualifying purchases.
Choosing and Sharpening the Best Chisel for Paring

How do you choose the best chisel for paring? Start by considering the chisel material. High-quality steel blades hold an edge longer and sharpen more easily, making your work smoother and more precise. Look for a chisel with a comfortable, well-balanced handle, as this impacts your hand grip techniques. A good handle provides control and reduces fatigue during delicate paring tasks. When sharpening, maintain a consistent bevel angle to keep the edge sharp and durable. Use honing stones or a fine sharpening system to refine the blade regularly. Properly selected and sharpened chisels, combined with confident hand grip techniques, allow you to control your paring with finesse, minimizing splits and achieving clean, accurate cuts. Additionally, paying attention to proper grip and technique can significantly improve your control and results. Being familiar with precise control methods can further enhance your ability to make delicate cuts with confidence, especially when utilizing controlled cutting techniques to avoid splitting or damaging the material. Regular maintenance and understanding of blade sharpness are essential for consistent performance and minimizing material damage. To optimize your control, practicing technique consistency helps develop muscle memory and steadiness during intricate work.

Chisel Sharpening Kit with Honing Guide & 400/1000 Grit Diamond Stone
- Complete sharpening system: Includes honing guide, diamond stone, and accessories
- Precise angle control: Adjustable jig for consistent bevels
- Easy setup for beginners: Secure clamp and angle guide
As an affiliate, we earn on qualifying purchases.
As an affiliate, we earn on qualifying purchases.
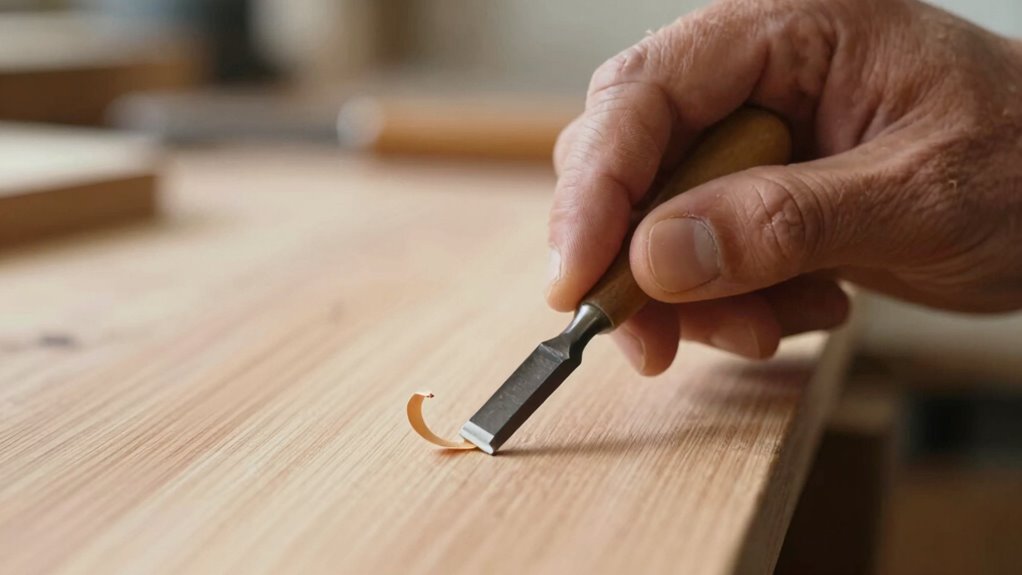
How to Position Your Workpiece and Grip the Chisel

To achieve precise paring, you need to position your workpiece correctly and grip the chisel confidently. Proper workpiece positioning ensures stability and control, preventing slips and splits. Your tool grip should be firm but relaxed, allowing for smooth, controlled cuts. Hold the chisel with your dominant hand near the handle’s end, applying steady pressure. Keep your other hand guiding the workpiece securely. Use the table below to refine your technique:
| Workpiece Positioning | Tool Grip | Chisel Orientation |
|---|---|---|
| Flat on the work surface | Firm but relaxed grip | Edge aligned with cut line |
| Clamped for stability | Grip close to handle end | Slight bevel angle |
| Securely supported | Light touch with guiding hand | Perpendicular to workpiece |
| Clear of obstructions | Maintain control, avoid over-tightening | Correct chisel angle |
Mastering these elements will improve your control and accuracy. Additionally, understanding the importance of proper technique can significantly reduce the risk of splitting your workpiece. Practicing these fundamentals consistently will help develop your chisel control and lead to cleaner, safer cuts. Regular maintenance of your tools, including ensuring you use the appropriate oil, can also enhance performance and longevity. Incorporating technique refinement into your routine will further optimize your paring results.

The Green Wood Carver: A Practical Guide to Carving, Whittling, and Life
As an affiliate, we earn on qualifying purchases.
As an affiliate, we earn on qualifying purchases.
Techniques for Controlled Paring to Prevent Splitting
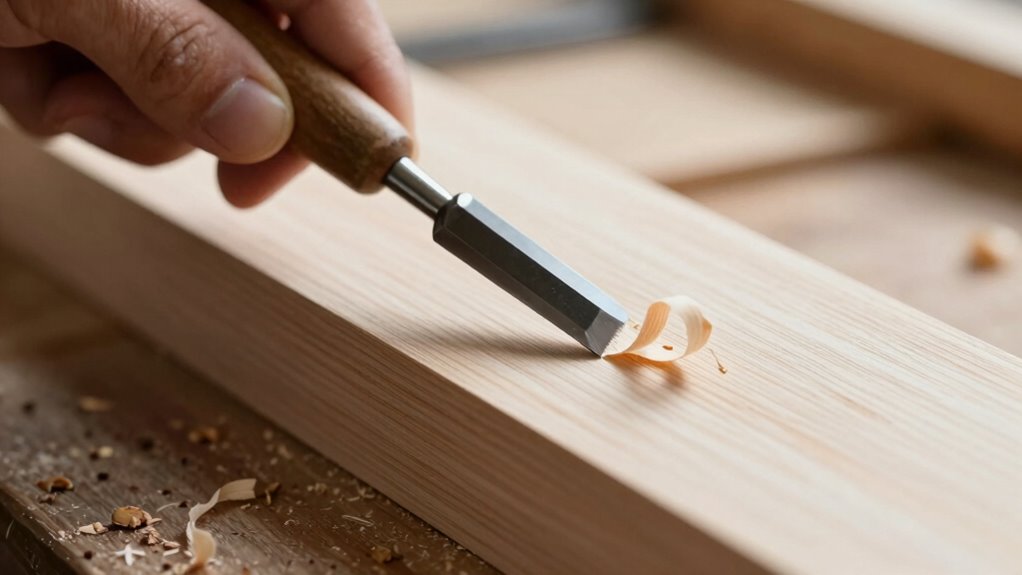
To prevent splitting during paring, you need to maintain consistent pressure on the chisel. Applying the right amount of force helps control the cut and avoids damaging the wood. Also, using the proper chisel angle guarantees your paring is smooth and reduces the risk of splitting. Maintaining proper technique during paring is essential for safe and precise cuts.
Maintain Consistent Pressure
Maintaining consistent pressure while paring is essential to prevent the wood from splitting. Apply steady, even force as you guide the chisel along the grain, avoiding sudden pushes or releases. This control helps produce a smooth cut and reduces stress on the wood, preserving its integrity and finish. Regular tool maintenance ensures your chisel remains sharp and responsive, allowing you to maintain even pressure more easily. A dull tool can cause uneven cuts and increase the risk of splitting, so keep your chisel honed and clean. When paring, focus on gentle, controlled movements rather than brute force. Proper technique and consistent pressure not only prevents splits but also results in cleaner, more precise work, making your woodworking safer and more enjoyable. Understanding wood grain orientation is key to mastering controlled paring techniques effectively. Additionally, being aware of potential risks, such as applying excessive force, can help you adjust your approach to avoid damaging the material. Developing a feel for the tool and material through practice enhances your ability to apply controlled pressure consistently. Incorporating the right techniques can significantly improve your woodworking outcomes and reduce material waste.
Use Proper Chisel Angle
Have you ever wondered why your chisel’s angle affects the quality of your cut? Using the correct chisel angle is key to controlled paring and avoiding splits. Proper chiseling ergonomics means maintaining a shallow, consistent angle—about 20° to 30°—which reduces the risk of splitting the wood fibers. Keep your tool maintenance in top shape by regularly sharpening your chisel; a sharp edge makes it easier to control the angle and apply even pressure. When paring, avoid forcing the tool; instead, use smooth, deliberate motions, adjusting the angle as needed. A well-maintained, correctly angled chisel helps you make cleaner, more precise cuts while minimizing split-outs, ensuring your work stays neat and professional. Proper technique and tool care are essential for ideal results.
How to Recognize Signs You’re Applying Too Much Force
Applying too much force while chiseling can seem subtle at first, but certain signs quickly become apparent. If you notice the chisel gouging deeply or splitting the wood grain instead of peeling it cleanly, you’re likely applying excessive force. Overly aggressive force application causes the chisel to skip or catch unexpectedly, making control difficult. You might also see rough, uneven surfaces or small splinters instead of a smooth cut. When you push too hard, your muscles tense, and your movements become jerky, reducing precision. Recognizing these signs early helps you adjust your technique, letting the chisel do the work without damaging the wood. Proper force control involves understanding the water chemistry and wood properties, which influence how materials respond to pressure. Additionally, auditory feedback can help you gauge the amount of force you’re applying in real-time. Being mindful of your muscle tension allows for smoother, more controlled paring. Developing a technique that emphasizes gentle, controlled strokes will improve your results and reduce the risk of damage. Mastering force control is key to clean, controlled paring and avoiding unnecessary splits. Proper technique ensures consistent results and minimizes damage.
Tips for Safe Chiseling on Different Wood Types
To chisel safely on different wood types, you need to understand how grain patterns influence your cuts. Make sure your chisel is sharp enough to glide smoothly, reducing the risk of slips. Always use gentle, controlled force to prevent damaging the wood or losing control of the tool.
Understanding Wood Grain Patterns
Ever wondered why some wood pieces chisel smoothly while others chip or splinter? It all comes down to the wood grain and its direction. Grain pattern influences how your chisel interacts with the wood. When you follow the grain direction, your cuts stay clean and controlled, reducing the risk of splitting. Conversely, chiseling across the grain can cause splintering or tearing, making your work rougher and harder to control. Pay close attention to the grain pattern before starting, especially on figured or irregular wood. You can test the grain direction by gently running your fingernail along the surface—if it catches, you’re going against the grain. Understanding these patterns helps you make safer, more precise cuts, ensuring a smoother, more professional finish.
Adjusting Chisel Sharpness Properly
Properly sharpening your chisel is key to achieving clean, controlled cuts across different wood types. Good chisel maintenance ensures your tool stays sharp and effective, preventing splits and rough edges. Use proper sharpening techniques, like honing on a fine stone and maintaining consistent angles, to keep the edge precise. For softer woods, a slightly duller edge can reduce tear-out, so adjust your sharpening routine accordingly. Harder woods demand a very sharp, keen edge to avoid splintering. Regularly inspect your chisel for dullness or nicks, and sharpen as needed to maintain ideal performance. Remember, a sharp chisel not only makes your work easier but also minimizes the risk of accidents. Mastering sharpening techniques is essential for safe, efficient, and high-quality chiseling across various wood types.
Applying Gentle, Controlled Force
When chiseling into different types of wood, applying gentle, controlled force is essential to guarantee safety and prevent damage. Wood density varies, so adjust your pressure accordingly—softer woods require less force, while denser woods need a steady, careful approach. Keep your hand positioning proper; grip the chisel firmly but comfortably, maintaining control without exerting excessive pressure. Use your body weight rather than strength, guiding the chisel with smooth, deliberate motions. If you notice resistance, pause and reassess your angle or force. Consistent, gentle pressure reduces the risk of splitting or gouging the wood. Remember, patience is key—rushing can cause accidents or damage. By adapting your force and hand positioning to the wood type, you’ll achieve cleaner cuts safely and efficiently.
Troubleshooting: Fixing Splits and Chips When They Happen
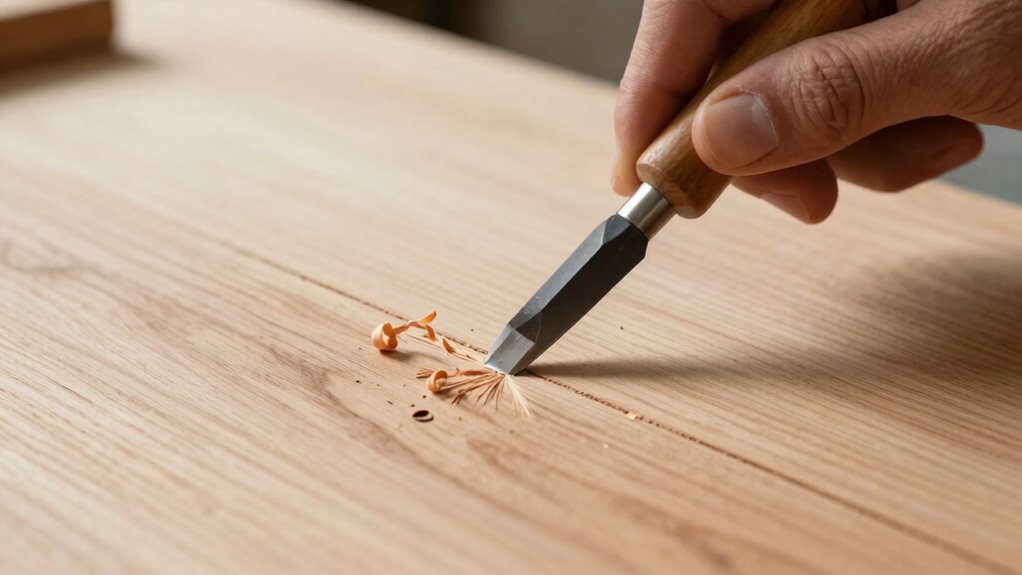
Splits and chips can happen unexpectedly during chisel work, but quick action can save your project from ruin. First, assess whether the split runs along the grain direction or across it; working against the grain increases the risk of chips. If a chip occurs, stop immediately to prevent further damage. Use a fine chisel or sandpaper to carefully smooth the area, but always prioritize chisel safety—wear eye protection and keep your hands clear. To prevent future splits, adjust your technique by applying gentle, controlled force and ensuring your chisel is sharp. Remember, understanding grain direction helps you make cleaner cuts and reduces the chances of splitting. Promptly addressing chips minimizes damage and keeps your project on track.
Frequently Asked Questions
How Do Temperature and Humidity Affect Chisel Paring?
Temperature effects and humidity considerations markedly influence your chisel paring. High temperatures can cause wood to expand, making it harder to pare accurately, while cold conditions make the wood more brittle. Humidity adds moisture, increasing the risk of splitting, especially if the wood is too damp. To get clean, controlled paring, work in a stable environment with moderate temperature and humidity levels, ensuring your wood and tools stay consistent.
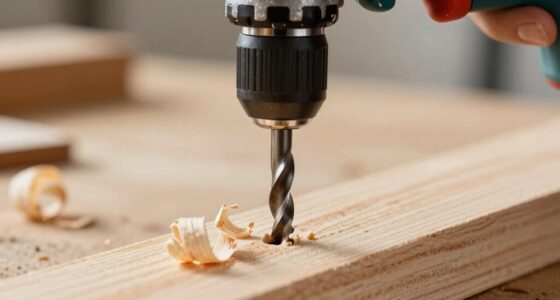
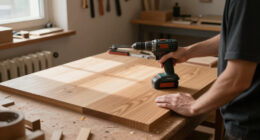
Can Power Tools Be Used Effectively for Delicate Paring Tasks?
While power tools can offer impressive speed, their precision for delicate paring is often limited, making hand tools the preferred choice for finesse work. Using power tools for delicate paring might feel like trying to dance with heavy boots—they can be too aggressive, risking damage. For the best results, rely on your skill with traditional chisels, which provide the control needed to achieve fine, accurate cuts without splitting or tearing.
What Are Eco-Friendly Alternatives to Traditional Chisel Sharpening Methods?
You can choose eco-friendly alternatives like biodegradable oils for sharpening your chisels, which reduce environmental impact compared to synthetic lubricants. Natural sharpening stones, such as water stones or sandstone, offer a sustainable option that’s gentle on the planet. These methods help you maintain your tools effectively while supporting eco-conscious practices, ensuring your work stays precise without harming the environment.
How Does Wood Grain Direction Influence Chisel Control and Splitting Risk?
Grain guides growth, so pay attention to grain orientation to promote proper chisel control and prevent splitting. When your chisel follows the grain, it glides smoothly, reducing the risk of damaging the wood. Conversely, going against the grain can cause splits and slips. Always align your cuts with the grain direction, gently guiding your tool, and you’ll enjoy cleaner, safer results while minimizing split prevention issues.
Are There Specific Safety Gear Recommendations Beyond Eye Protection?
Beyond eye protection, you should wear protective gloves to prevent cuts and respiratory masks to avoid inhaling fine wood dust. Gloves improve grip and safety, especially when handling sharp tools, while masks protect your lungs during prolonged sanding or chisel work. Always choose gloves that fit well and masks with proper filtration. Combining these safety measures keeps you protected and confident, reducing the risk of accidents or health issues during woodworking.
Conclusion
Mastering chisel control is like walking a tightrope—you need precision and patience. By applying the right techniques and paying attention to your force, you’ll pare smoothly without splitting the wood. Remember, practice makes perfect, and even seasoned woodworkers stumble sometimes. Keep honing your skills, stay attentive, and don’t rush. With time, your chisel work will become as steady and reliable as a lighthouse guiding ships safely home.