Glazing involves applying thin, transparent layers of color over dry paint to create depth, luminosity, and vibrancy, all while avoiding muddiness. To succeed, choose suitable mediums, prepare your surface well, and build layers gradually with controlled brushwork. Avoid heavy or uneven coats, and always let each layer dry completely before adding more. Mastering these steps helps you add richness without dulling your colors—discover more techniques to perfect your glazing skills.
Key Takeaways
- Use thin, transparent glazes layered gradually to build depth without overwhelming colors.
- Choose appropriate mediums and brushes to maintain transparency and control over glaze application.
- Avoid applying too much glaze at once; build up layers slowly for vibrant, luminous effects.
- Allow each glaze layer to dry fully before adding the next to prevent muddiness.
- Test glazes beforehand and refine colors to ensure transparency and avoid dull, muddy results.
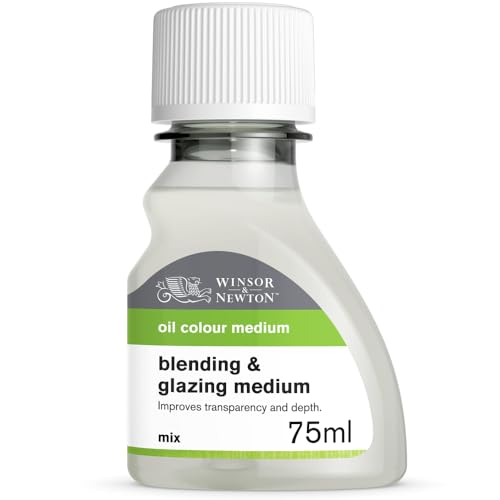
Winsor & Newton Blending & Glazing Medium, 75ml (2.5-oz) Bottle
Winsor & newton blending and glazing medium reduces the consistency and slows the drying rate of oil and…
As an affiliate, we earn on qualifying purchases.
As an affiliate, we earn on qualifying purchases.
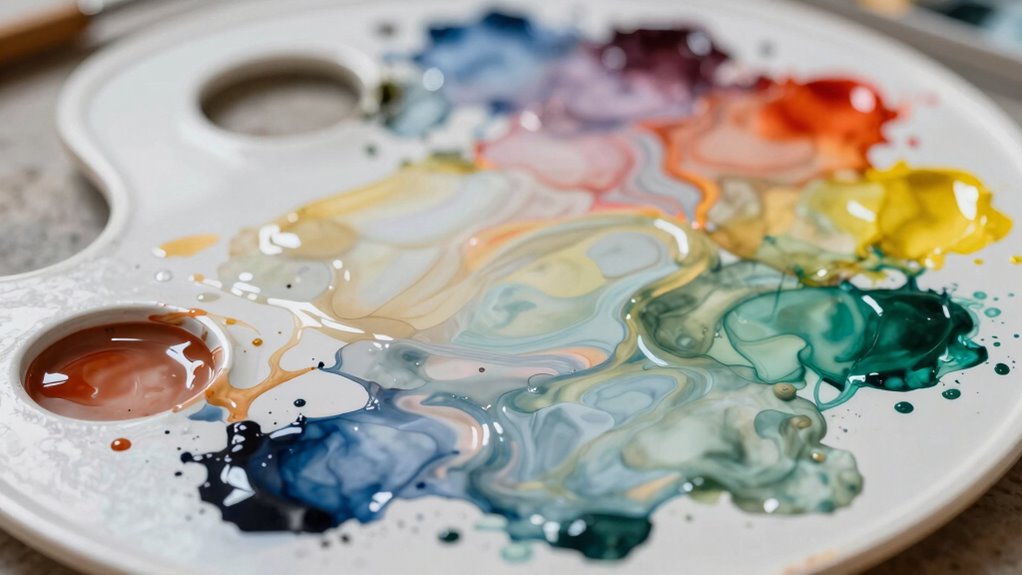
What Is Glazing in Art and Why Use It?
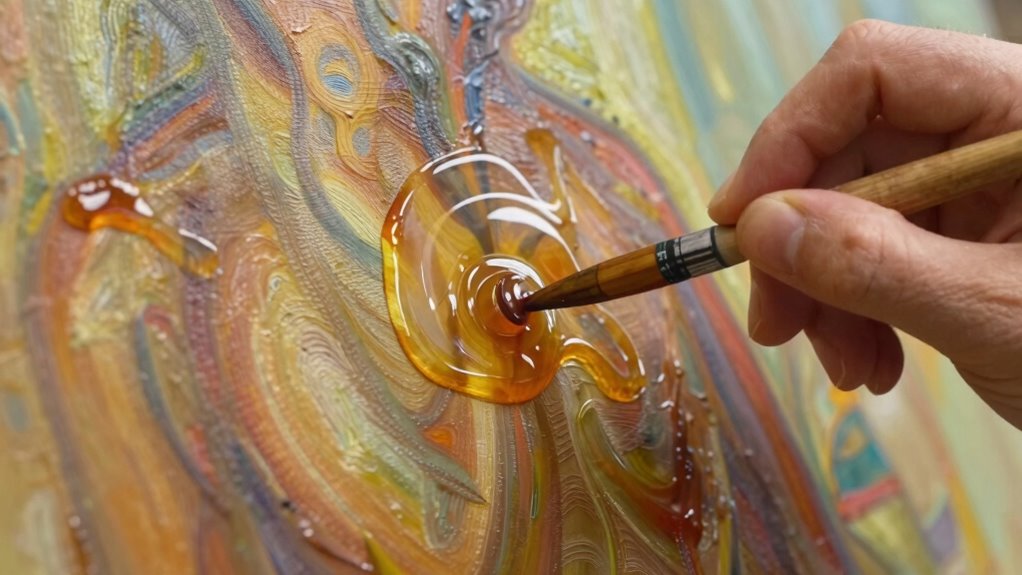
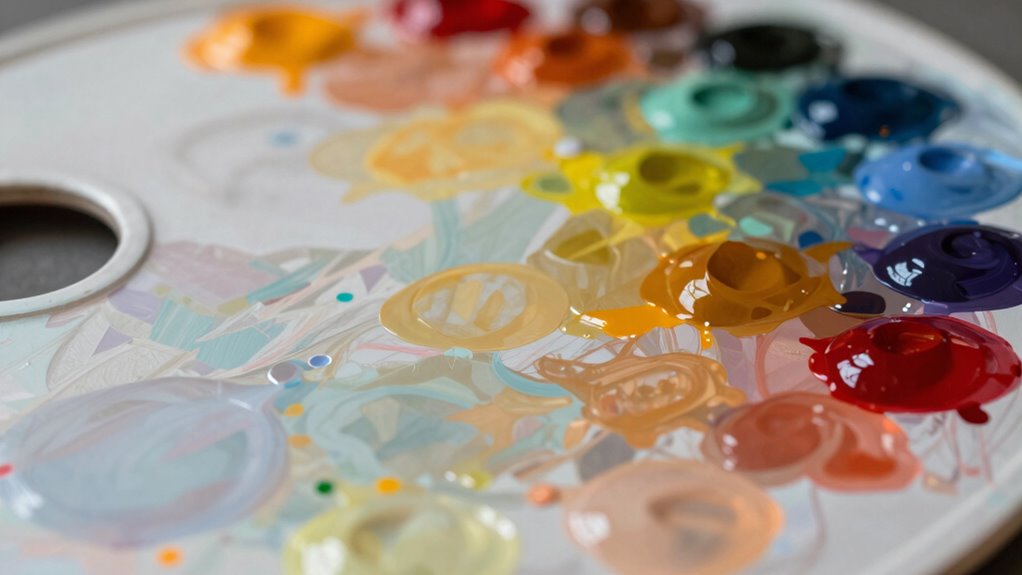
Have you ever wondered how artists achieve those rich, luminous colors in their paintings? It all comes down to glazing, a technique that involves applying thin, transparent layers of color over dry paint. This method relies on color transparency, allowing underlying hues to shine through and create depth. Your brush techniques play a vital role here; using delicate, controlled strokes helps you build up subtle shifts in tone and luminosity. Glazing transforms flat areas into vibrant, glowing surfaces without muddying the colors. It’s a way to add richness and complexity, making your artwork feel alive. By mastering glazing, you enhance your control over color intensity and depth, giving your paintings a luminous quality that’s difficult to achieve with opaque layers alone. Understanding transparency is crucial for artists aiming to create realistic and vibrant effects in their work.

GOLDEN Satin Glazing Liquid, 8 fl. oz. Bottle, Professional Acrylic Medium, Semi-Transparent
Satin Glazing Liquid is a slow-drying extender for acrylic colors
As an affiliate, we earn on qualifying purchases.
As an affiliate, we earn on qualifying purchases.
How to Choose the Best Glazing Medium for Oil, Acrylic, or Watercolor
Choosing the right glazing medium depends on the type of paint you’re using and the effect you want to achieve. For oil paints, a slow-drying medium like linseed oil or layering medium helps create smooth, luminous layers, emphasizing color depth through careful color mixing. Acrylic glazes often require a medium with a slower drying time, such as acrylic glazing liquid, to allow for blending and subtle shifts in hue. Watercolor glazing benefits from a transparent, fluid medium like a glazing medium or adding water to increase transparency. Your brush techniques also influence your choice; softer brushes work well with oil and watercolor glazes for smooth transitions, while stiffer brushes suit acrylics for textured effects. Selecting the appropriate medium enhances your control and allows you to build depth without muddying your colors. Understanding glazing techniques plays a crucial role in achieving the desired luminosity and depth in your artwork.
Winsor & Newton Blending & Glazing Medium, 75ml (2.5-oz) Bottle
Winsor & newton blending and glazing medium reduces the consistency and slows the drying rate of oil and…
As an affiliate, we earn on qualifying purchases.
As an affiliate, we earn on qualifying purchases.
Getting Your Surface Ready for Glazing
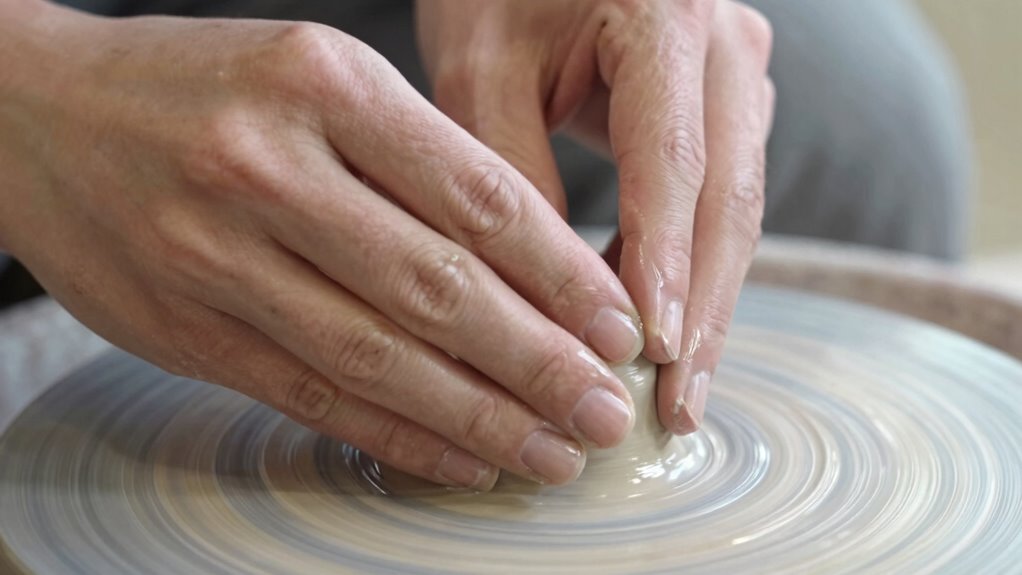
Preparing your surface properly is crucial for successful glazing, as it guarantees the layers will adhere smoothly and dry evenly. Start by cleaning your surface thoroughly to remove dust and grease, ensuring ideal surface preparation. Use gentle techniques to smooth out any texture irregularities, creating a uniform base. Sand rough areas to enhance adhesion, and wipe away debris afterward. Consider applying a primer if needed, especially on porous surfaces. Proper texture smoothing helps prevent unwanted bumps or ridges that can mar the final glaze. When your surface is smooth and clean, the glaze will glide on effortlessly, resulting in a professional finish. Additionally, understanding the importance of Free Floating techniques can help you achieve a seamless glaze application. Remember, a well-prepared surface isn’t just about looks; it’s about making your glazing process easier and more satisfying.
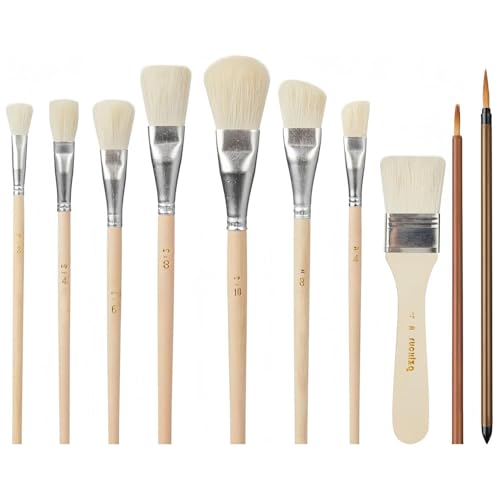
10 Pcs Pottery Glazing Brushes, Goat Hair Mop & Blending Brush Set for Ceramics, Acrylic Painting, Clay – Soft Bristle Artist Tools for Pottery Wheel, Canvas, Kiln Firing
1.【Complete 10-Piece Professional Set】Our premium pottery brush kit includes 2 fine liner brushes for detailing, 5 pure wool…
As an affiliate, we earn on qualifying purchases.
As an affiliate, we earn on qualifying purchases.
How to Apply Transparent Glazes Without Making Things Muddy
To keep your transparent glazes clear and vibrant, start by choosing the right glaze suited for your colors. Apply thin layers carefully, building up gradually to avoid muddiness. Adjust your color choices as needed to guarantee your glaze remains transparent and sharp. Additionally, understanding the importance of layering techniques can help you achieve a more refined and professional finish.
Choose the Right Glaze
When applying transparent glazes, selecting the right one is essential to prevent your work from becoming muddy. Focus on color harmony to ensure your glaze complements underlying hues and enhances depth. Use deliberate brush techniques—light strokes and controlled layering—to build visual interest without overwhelming the piece. Test your glaze on a scrap surface first, so you understand its transparency and behavior. Remember, the goal is to enrich your artwork subtly, not obscure it. Trust your instincts and observe how different glazes interact with your palette. Understanding glaze transparency qualities can help you make more informed choices for luminous effects. With the right choice, your glazing will add luminous depth and harmony, making your work vibrant and cohesive. The perfect glaze transforms flat color into a mesmerizing, layered masterpiece.
Use Thin Layers Carefully
Applying transparent glazes in thin, even layers is essential to prevent muddiness and maintain clarity in your work. When you use delicate layers, you give yourself better control over color mixing, allowing subtle shifts without overwhelming the piece. Focus on brush control to ensure each layer is smooth and uniform, avoiding thick or uneven patches that can obscure the colors. Building up depth gradually helps you see how the glazes interact and prevents over-application, which often leads to a dull, muddy appearance. Remember, patience is key—apply multiple light coats rather than one heavy one. By mastering brush control and working with thin layers, you preserve the transparency and vibrancy of your glazes, resulting in a clear, luminous finish. Additionally, understanding the importance of layering techniques can help you achieve more nuanced and vibrant results.
Adjust Colors for Clarity
Achieving clarity with transparent glazes requires careful color adjustments to prevent muddiness. To maintain color harmony and contrast balancing, tweak your glaze colors to complement each other. Lighten or warm darker hues to keep transparency vibrant, avoiding dullness. Use small amounts of color to build depth gradually, checking for muddiness as you go. Remember, balancing contrast helps your glazed layers stand out and adds visual interest. Avoid over-saturating, which can cloud the underlying tones. Instead, focus on subtle shifts in hue and value to keep your work lively and clear. When you adjust colors thoughtfully, your glazing enhances depth without sacrificing clarity or creating muddy mixtures. Incorporating sustainable materials into your process can also promote eco-friendly art practices. Clear, harmonious color choices elevate your glazing technique and bring your artwork to life.
- Feel the excitement of vibrant, pure colors shining through each layer
- Experience the satisfaction of perfectly balanced contrast
- Discover how harmony transforms your painting into a mesmerizing scene
- Revel in the subtle beauty of well-adjusted, transparent hues
- Enjoy flawless depth that charms without confusion
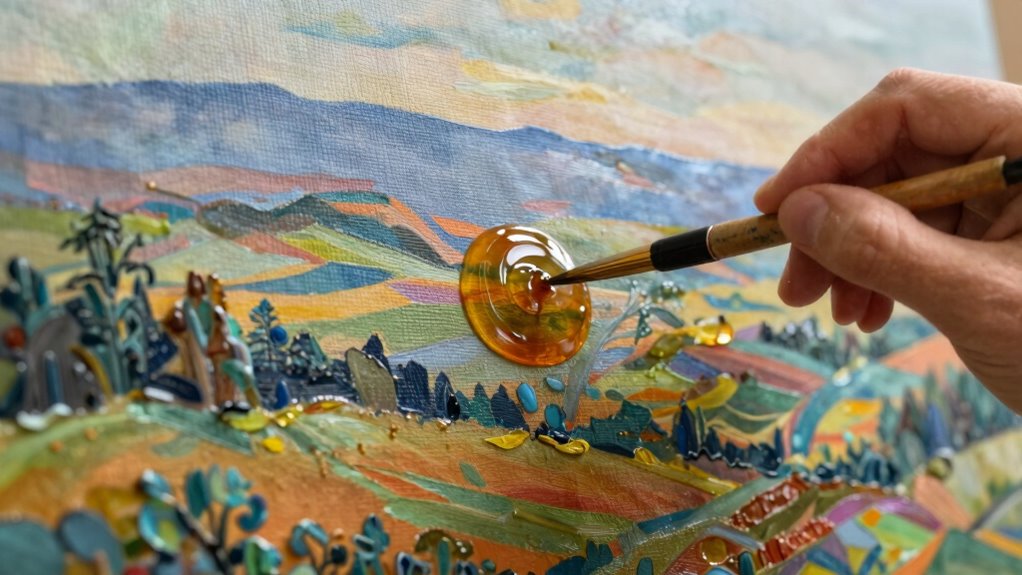
Techniques for Building Depth and Luminosity in Your Glazing

To create depth and luminosity, you should experiment with layering your glazes to build richness gradually. Using glazing mediums can also help you achieve smoother shifts and more vibrant effects. Combining these techniques allows you to control your glazing process and enhance the overall vibrancy of your artwork.
Layering for Richness
Layering for richness involves carefully building up multiple glazes to create depth and luminosity in your artwork. By blending colors subtly, you enhance the vibrancy and complexity of your piece. Texture layering adds physical interest, making surfaces feel alive and engaging. Focus on gradual progressions, allowing each layer to dry before adding the next, which prevents muddiness. Use color blending techniques to create seamless shifts and vibrant contrasts. Remember, each glaze contributes to the overall richness, making your work feel luminous and multi-dimensional. When done thoughtfully, this process transforms flat colors into a compelling visual experience. Incorporating proper layering techniques helps ensure clarity and prevents muddiness, giving your artwork greater depth and vibrancy.
Using Glazing Mediums
Using glazing mediums can considerably enhance the depth and luminosity of your artwork by modifying how glazes interact with your painting surface. They help you achieve smoother color mixing, allowing you to blend hues seamlessly and create subtle progressions. With the right medium, you can also extend the drying time of your glazes, giving you more control over brush techniques. This makes it easier to layer transparent glazes without disturbing underlying colors. When applying, use gentle, controlled brushstrokes to build up depth gradually. Experiment with different mediums to find the right consistency for your style, ensuring your glazes remain translucent and luminous. Proper use of glazing mediums ultimately helps you achieve richer, more vibrant colors without muddying your palette. Additionally, understanding the importance of proper preparation and research can help you avoid common pitfalls and ensure your glazing techniques are successful.
Common Mistakes That Cause Muddiness and How to Avoid Them
One of the most common mistakes that leads to muddiness in glazing is adding too much glaze or applying it unevenly. Poor color mixing can cause dull, murky results, and inconsistent brush techniques can create streaks or blotches that muddy the overall look. To avoid this, practice blending colors carefully and keep your brushwork smooth and controlled. Overworking your glaze can also break down its clarity, so apply thin, even layers and let each dry fully before adding more. Be mindful of your palette—using too many similar hues can unintentionally create a muddy appearance. Focus on building depth gradually, rather than rushing to cover everything at once. Clear, deliberate brush techniques and thoughtful color mixing keep your glazing vibrant and transparent.
Tips for Layering and Drying to Keep Your Glazes Clear
To keep your glazes clear and vibrant, it’s essential to focus on proper layering and drying techniques. Start with good surface preparation; clean, smooth surfaces help prevent unwanted textures that can muddy colors. When applying multiple layers, wait for each coat to dry completely before adding the next, which prevents blending issues and preserves color clarity. This careful drying process allows you to achieve better color blending without muddiness. Use thin, even coats to avoid trapping moisture or creating uneven surfaces. If you notice areas where colors are blending too much, let those sections dry fully before adding additional layers. Proper surface preparation and patience in drying ensure your glazes stay transparent, vibrant, and true to your intended color blending. Additionally, understanding layering techniques can help you control the depth and clarity of your glaze effects.
When to Stop or Add More Layers in Your Glazing Process

Knowing when to stop or add more layers in your glazing process is crucial for achieving the desired depth and clarity. You want to build enough glaze layers to enhance color contrast without losing transparency or creating muddiness. Watch for subtle shifts in glaze opacity; if it starts to feel too thick or dull, it’s time to stop. Conversely, if your colors still lack vibrancy, adding a thin layer can boost contrast without overwhelming the piece. Trust your eye—layer slowly and assess frequently. Remember, patience creates more control over your final result.
Consider these cues:
- The glaze achieves the perfect balance of transparency and depth
- Color contrast becomes more vivid with each layer
- The surface feels smooth and even
- Additional layers don’t obscure underlying detail
- The piece radiates clarity rather than muddiness
Troubleshooting: Fixing Muddy or Overwhelmed Areas

When you notice areas on your piece becoming muddy or overwhelmed, it’s important to act promptly to restore clarity. Start by evaluating your color harmony—sometimes, mixing too many similar shades causes muddiness. To fix this, use a clean brush and gentle, controlled brush techniques to soften or lift excess glaze. Lightly wiping or blending with a damp cloth can help refine the area without adding more layers. Focus on removing excess paint in overlapping zones, which often causes the overwhelmed look. Remember, patience is key; gradually building up glaze with deliberate brush techniques allows you to maintain depth without creating mud. Adjusting your approach ensures your piece retains vibrant, harmonious colors and a sense of depth without losing clarity.
Frequently Asked Questions
Can Glazing Be Used With Mixed Media Artworks?
Yes, you can use glazing with mixed media artworks. Just guarantee your layer consistency is smooth and transparent, allowing underlying textures or materials to show through. Use appropriate glazing mediums to achieve these effects without disrupting other media layers. Carefully build up thin, controlled glazes to add depth and richness, blending seamlessly with your mixed media elements. This technique enhances visual interest without muddying your artwork’s vibrant or textured qualities.
How Does Lighting Affect Glazed Artwork Visibility?
Lighting acts like a spotlight, revealing the hidden layers of your glazed artwork. When you adjust lighting effects, you enhance visibility, making the glaze’s depth and subtle hues stand out. Bright, direct light can create glare, while softer, angled illumination highlights textures and details. By choosing the right lighting, you guide viewers’ eyes, transforming your piece into a mesmerizing visual story with enhanced clarity and depth.
Is Glazing Suitable for All Types of Brushes?
Glazing isn’t suitable for all types of brushes. You should check brush compatibility before starting, as some brushes can’t handle the glaze’s consistency or chemical properties. For effective glaze application techniques, use soft, synthetic brushes or specialized glaze brushes to achieve smooth, even coats. Avoid stiff or natural hair brushes that might trap glaze or cause uneven application. Choosing the right tools guarantees your glazing process is successful and the final look is flawless.
How Long Should I Wait Between Glaze Layers?
Think of waiting between glaze layers like letting a cake cool before frosting—you need patience. Typically, you should wait for the layer drying time to be complete before applying the next, usually around 15-30 minutes depending on thickness and humidity. Rushing can cause muddiness, so don’t rush glaze application frequency. Allow each layer to set properly for a smooth, rich finish that adds depth without making mud.
Can Glazing Techniques Be Adapted for Digital Art?
Yes, you can adapt glazing techniques for digital art by using digital textures and careful color blending. Apply multiple transparent layers to build depth, just like traditional glazing. Use soft brushes and blending modes to mimic the subtle progressions of glaze. Experiment with opacity and layer stacking to create rich, luminous effects. This approach helps achieve a sense of depth and complexity, enhancing your digital artwork without muddying the colors.
Conclusion
Glazing isn’t just about adding shine; it’s about revealing depth without losing clarity. As you master this delicate balance, remember the contrast between chaos and control—muddy areas versus luminous layers. With patience and practice, you’ll transform flat surfaces into vibrant worlds. Embrace the challenge of steering through transparency and opacity, knowing that each layer brings you closer to a masterpiece that’s rich, yet clear—an artful dance between complexity and simplicity.