
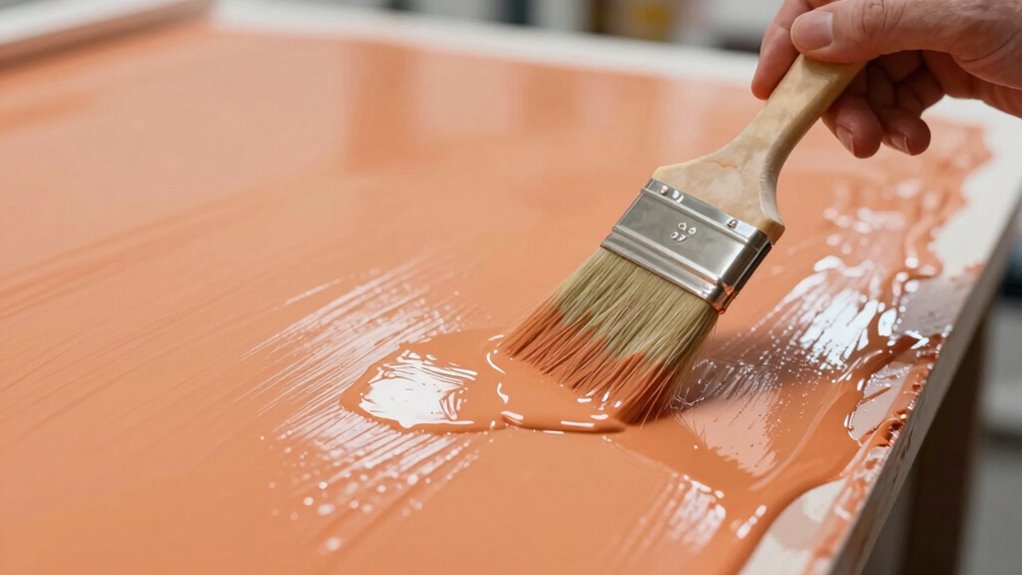
To prevent blotchiness without dulling your colors, focus on applying thin, even washcoats onto well-prepped, smooth surfaces. Use high-quality brushes or spray equipment to guarantee consistent coats, and avoid thick layers that cause pooling. Proper surface cleaning, sanding, and waiting for each coat to dry helps maintain color brightness. If you continue exploring, you’ll discover proven techniques to achieve both a flawless finish and vivid, vibrant colors.
Key Takeaways
- Prepare a clean, smooth surface free of dust, grease, and imperfections before applying washcoat.
- Apply thin, even coats using high-quality brushes or spray to prevent pooling and uneven absorption.
- Ensure proper primer adhesion and compatibility to promote uniform settling of the washcoat.
- Allow each coat to dry thoroughly before applying the next to avoid blotchiness and color loss.
- Use compatible, vibrant washcoat formulations and consider additives to enhance brightness without compromising finish.

Pro Grade 2 Inch Angled Paint Brush (3 Pack) – Professional Angle Sash Brushes for Cutting in Trim, Walls, Cabinets & Detail Work – Works with Latex & Oil-Based Paint
2 Inch Angled Paint Brush for Precision Cutting-In – Designed for clean, sharp lines around trim, baseboards, ceilings,…
As an affiliate, we earn on qualifying purchases.
As an affiliate, we earn on qualifying purchases.
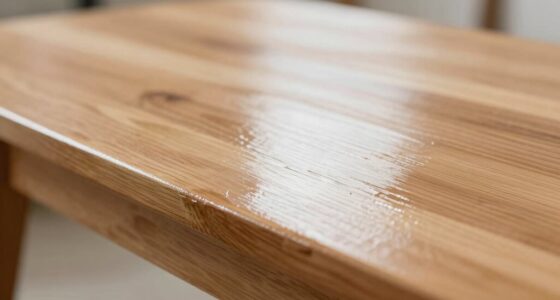
Why Do Washcoats Cause Blotchy Finishes: And How Can You Prevent It?
Washcoats can cause blotchy finishes when they are applied unevenly or too thickly, leading to inconsistent absorption and appearance. Poor primer adhesion is a common culprit, as if the primer doesn’t stick well, the washcoat may not settle evenly. Additionally, using incompatible paint types can worsen the problem, causing uneven drying or absorption. To prevent this, guarantee your primer is compatible with the topcoat, promoting better adhesion and a smoother surface. Applying thin, even coats helps distribute the washcoat uniformly. Always test your primer and paint compatibility beforehand to avoid surprises. When you focus on proper surface preparation and choose the right products, you markedly reduce the risk of blotchy finishes, ensuring your project looks professional and even. Moreover, understanding the importance of AI tools can help streamline your painting process and improve efficiency.

Paint Sprayer Tool 1000W High Power Electric Spray Paint Gun Easy to Clean for Furniture Cabinets House Painting Gold
Adjustable flow control:The paint sprayer boasts an adjustable spray width knob,minimizing overspray and maximizing paint utilization;The flow control…
As an affiliate, we earn on qualifying purchases.
As an affiliate, we earn on qualifying purchases.
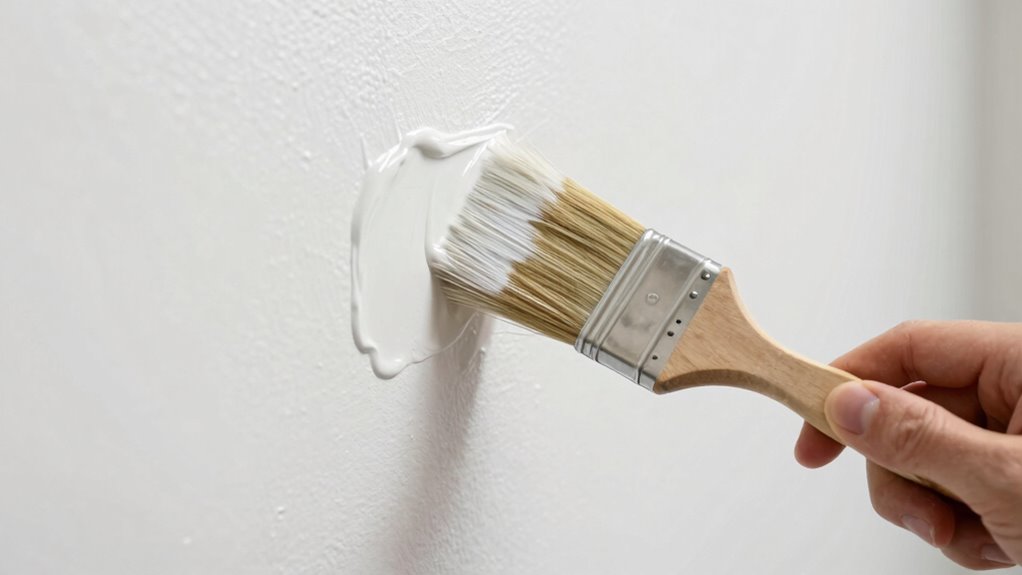
How to Apply Washcoats Properly to Avoid Blotches?
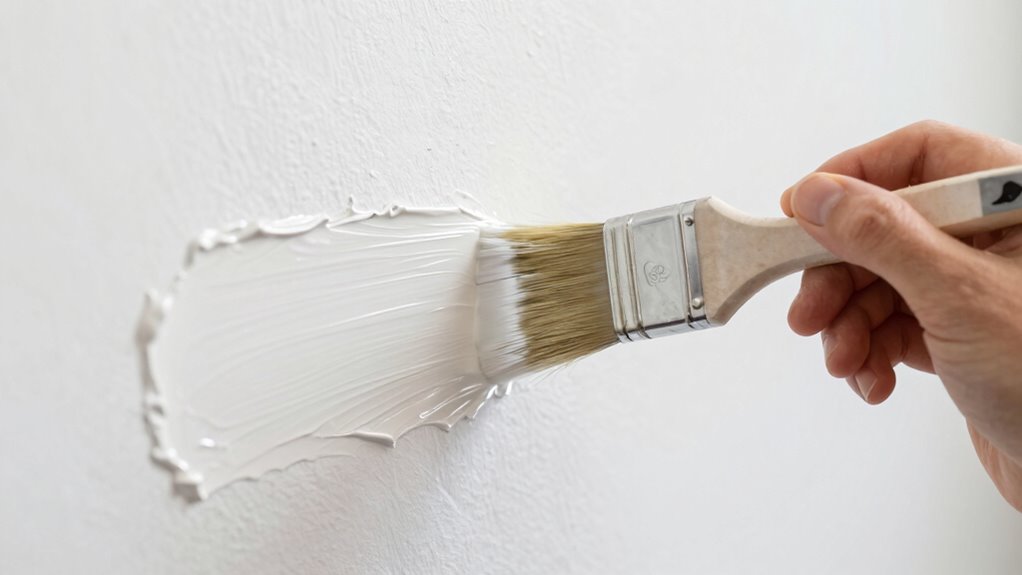
To apply washcoats properly and avoid blotches, start by preparing a clean, smooth surface and ensuring your tools are well-maintained. Proper primer application creates an even base, reducing the risk of uneven absorption. Use a high-quality brush or spray to apply the washcoat in thin, even layers, avoiding excessive buildup. Pay attention to your drying techniques; allow each coat to dry thoroughly before applying the next, following recommended times and conditions. Maintain consistent application speed and pressure to prevent streaks or pooling. Working in a dust-free environment helps ensure a smooth finish. By focusing on proper primer application and controlled drying, you’ll minimize blotches and achieve a uniform, professional-looking result. Incorporating environmentally friendly practices can also enhance the quality and sustainability of your finishing process.
primer compatible with washcoats
As an affiliate, we earn on qualifying purchases.
As an affiliate, we earn on qualifying purchases.
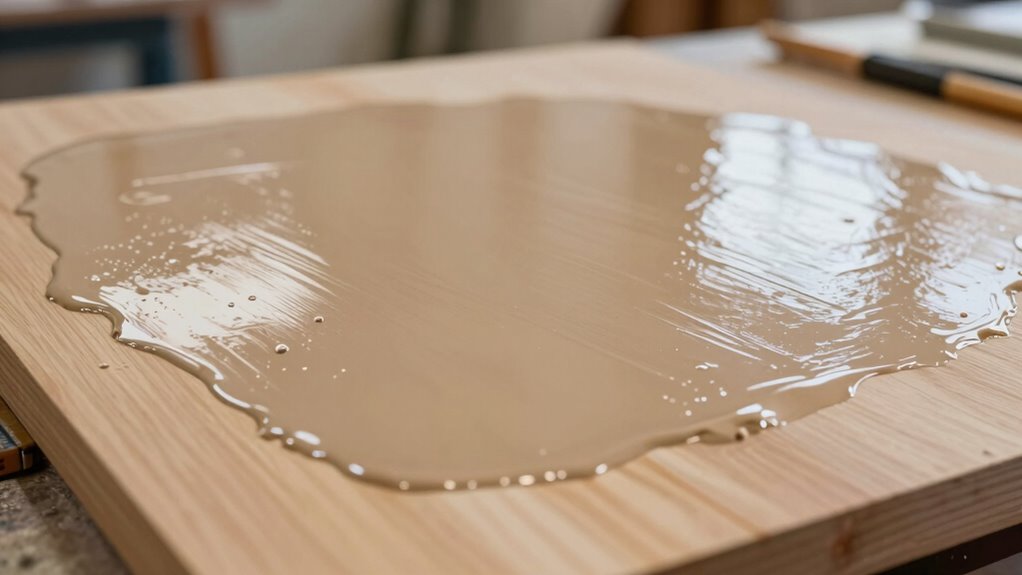
Tips to Keep Your Colors Bright and Vivid During Washcoating

Ensuring your colors stay bright and vivid during washcoating starts with proper preparation. To achieve excellent color preservation, start with a clean, smooth surface free of dust and grease. Use high-quality washcoat formulations designed for vibrant finishes, and apply thin, even coats to prevent dulling the color. Maintaining gloss is also essential; avoid over-application, which can cause a cloudy appearance or loss of shine. Use controlled spraying techniques and consistent pressure to prevent uneven coverage that dulls the color. Additionally, consider adding gloss-enhancing additives if compatible. Proper drying times between coats help preserve brightness and gloss, ensuring your final finish remains vivid and eye-catching. Understanding surface preparation is crucial for achieving long-lasting, vibrant results. With these tips, your colors will stay vibrant and radiant throughout the process.
vibrant washcoat formulations
As an affiliate, we earn on qualifying purchases.
As an affiliate, we earn on qualifying purchases.
Common Mistakes That Lead to Blotchy Washcoats: And How to Avoid Them

One common mistake that causes blotchy washcoats is applying uneven coats, which leads to inconsistent color and texture. Poor surface preparation often worsens this issue, as dirt, oil, or leftover primer issues prevent proper adhesion. To avoid blotchiness, focus on these key points:
- Ensure the surface is thoroughly cleaned and free of contaminants before applying the washcoat.
- Properly sand and smooth the surface to eliminate primer issues that can cause uneven absorption.
- Apply the washcoat in thin, even layers, avoiding thick coats that can pool or dry unevenly.
- Understanding paint adhesion principles helps ensure the washcoat bonds properly and results in a smooth finish.
Skipping surface preparation steps or rushing through primer issues can result in blotchy finishes. Taking time to prep correctly helps you achieve a uniform, professional-looking washcoat.
Troubleshooting: Fixing Blotches and Achieving a Smooth Finish
When you notice blotches or an uneven finish after applying a washcoat, it’s important to act quickly to correct the problem. First, assess your surface preparation; ensure it’s clean, smooth, and free of dust or grease, as poor prep can cause uneven absorption. Next, check paint compatibility—using the right type of washcoat with your existing paint is critical for a smooth finish. If blotches appear, lightly sand the affected areas with fine-grit sandpaper to even out the surface. Remove dust thoroughly before reapplying a thin, even layer of washcoat. Sometimes, applying too much or rushing the process causes blotches. Adjust your technique, maintain proper surface preparation, and verify paint compatibility to achieve a flawless, smooth finish. Additionally, understanding how sound vibrations can influence surface curing might offer innovative ways to improve coating adhesion and finish quality.
Frequently Asked Questions
What Types of Paints Are Best Suited for Washcoats?
You should choose paints with good flow and leveling properties, like alkyd or acrylic-based paints, for washcoats. Understanding paint chemistry helps you select the right type, ensuring even coverage. Proper surface preparation is essential; clean and smooth surfaces allow the washcoat to adhere properly. Avoid thick or overly glossy paints, as they can cause blotchiness. By selecting suitable paints and prepping your surface, you’ll prevent blotch and maintain vibrant color.
How Long Should I Wait Between Washcoat Layers?
You should wait about 1 to 2 hours between washcoat layers, but always check the drying time recommended on your paint’s label. Proper surface preparation is essential—make sure the surface is clean, smooth, and dust-free before applying each coat. Rushing the process can cause blotchiness or uneven color. Patience guarantees each layer dries thoroughly, giving you a smooth, professional finish without damaging the underlying color.
Can Environmental Conditions Affect Washcoat Application?
Environmental factors critically influence washcoat application. You should consider temperature, humidity, and dust in your application environment to attain a smooth, even coat. High humidity or low temperatures can cause uneven drying, leading to blotchiness, while dust can settle on wet surfaces, ruining the finish. Always work in a controlled environment with ideal conditions to guarantee your washcoat adheres properly and maintains a consistent appearance.
Is Sanding Necessary Before Applying a Washcoat?
Did you know that proper surface preparation can increase adhesion by up to 50%? Sanding isn’t always necessary before applying a washcoat, but it’s highly recommended to guarantee optimal paint compatibility. Sanding smooths the surface, removes contaminants, and creates a better bond. If the surface is already clean and smooth, you might skip it, but for rough or glossy finishes, sanding is a vital step to prevent blotchiness and ensure even coverage.
What Tools Are Optimal for Achieving an Even Washcoat Finish?
To achieve an even washcoat finish, you should use the right tools like high-quality spray equipment or brushes suited for your project. Focus on proper brush techniques, such as even strokes and consistent pressure, to prevent streaks. If spraying, maintain steady hand movement and appropriate distance. Both methods require attention to detail, ensuring a smooth, uniform coat that enhances color without blotchiness.
Conclusion
By understanding how washcoats can cause blotchiness—often due to uneven application—you can prevent this issue and guarantee vibrant, smooth finishes. Remember, practicing proper techniques reduces blotch occurrence by up to 50%, according to industry studies. When you take your time, apply thin coats, and address mistakes early, you’ll achieve professional results without sacrificing color brightness. Keep these tips in mind, and you’ll enjoy flawless finishes that truly stand out.