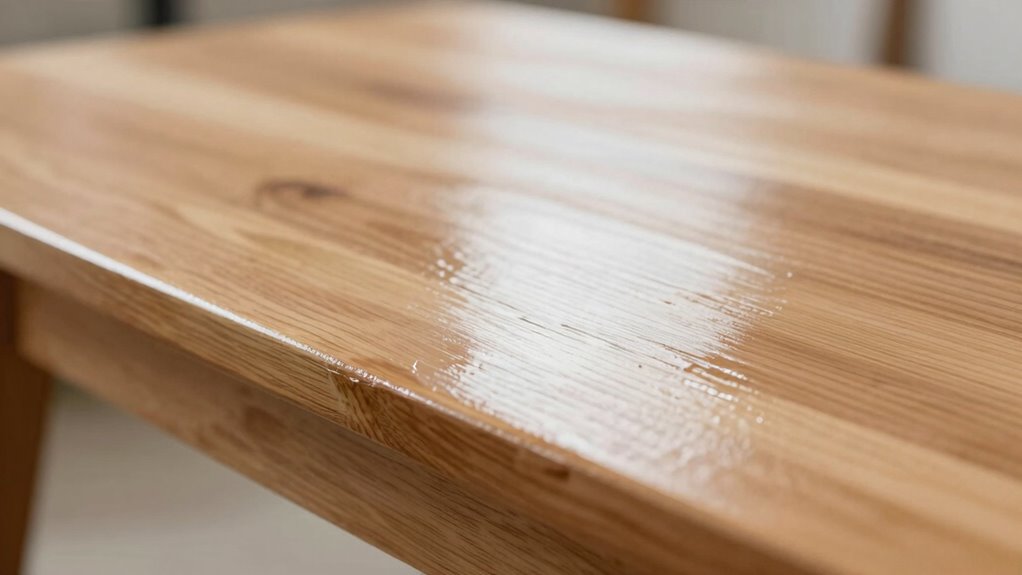

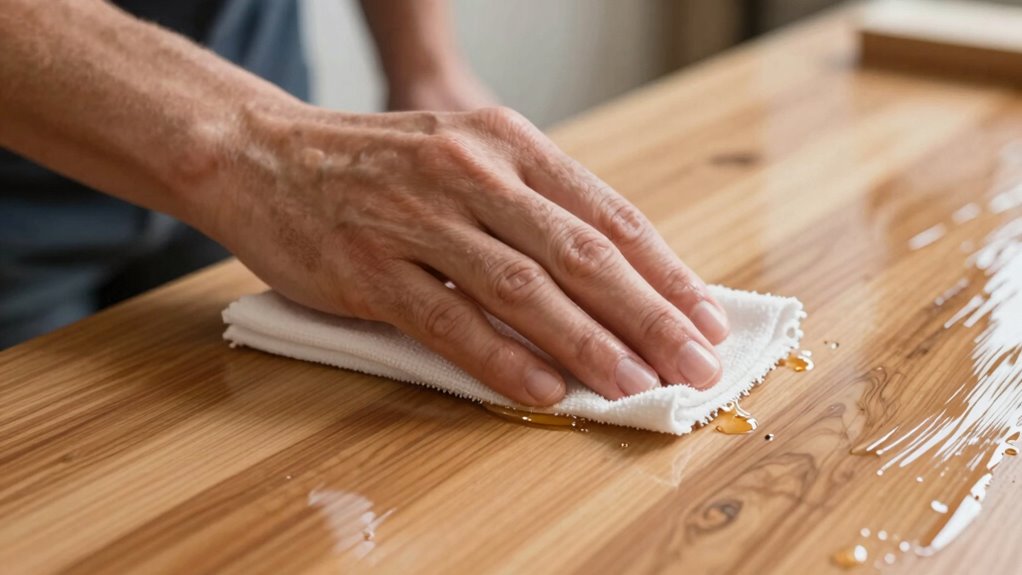
A wipe-on finish is one of the easiest ways to achieve a smooth, clean look on your wood projects. It’s simple: you apply a thin coat with a cloth or pad, letting the natural wood grain show through. This method dries quickly and minimizes brush marks or drips. With proper technique, you’ll enjoy a professional-looking finish. Keep going to find out how to choose the right product and master flawless application techniques.
Key Takeaways
- Wipe-on finishes are easy to apply with a cloth, providing a smooth, clean look with minimal effort.
- Thin, even coats help achieve a glossy, professional appearance and enhance wood grain.
- Proper surface preparation and light sanding between coats ensure a flawless, streak-free finish.
- Working in small sections with long, consistent strokes prevents lap marks and unevenness.
- Maintaining clean tools and controlled environment helps achieve a crisp, polished result effortlessly.
Minwax Water-Based Wipe-On Polyurethane, Satin, 1 Pint
Excellent Durability
As an affiliate, we earn on qualifying purchases.
As an affiliate, we earn on qualifying purchases.
What Is a Wipe-On Finish: and Why Is It So Easy?
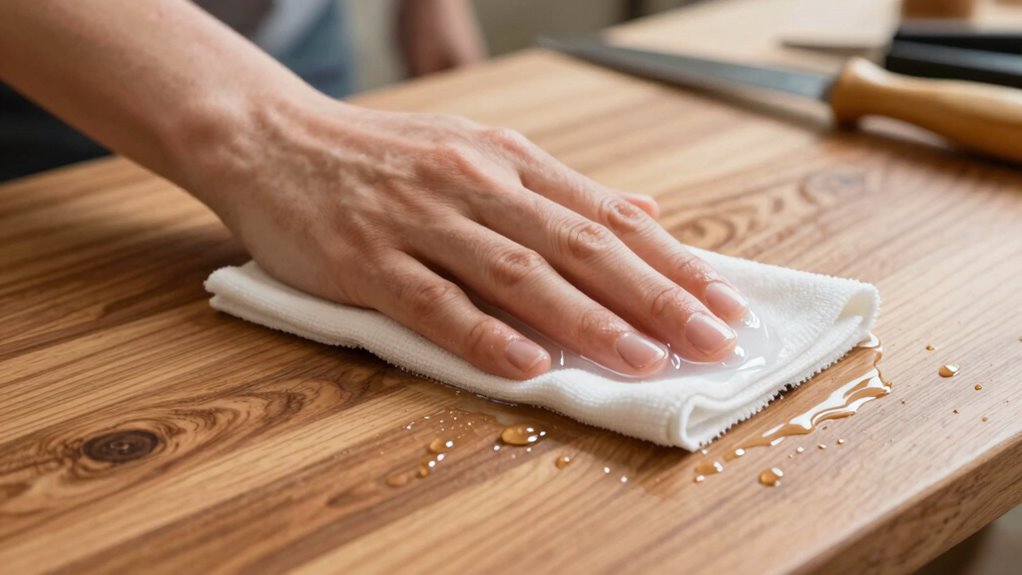
A wipe-on finish is a simple and effective way to protect and enhance wood surfaces. It’s applied with a cloth or pad, making it easy to control and smooth out. This finish highlights the natural wood grain, giving your project a rich, attractive look. It penetrates the wood fibers, creating a thin, even layer that enhances the grain’s beauty. Because it’s applied in thin coats, it tends to dry quickly and reduces the risk of drips or brush marks. The finish’s durability is impressive, providing good resistance to wear and moisture when properly applied. Plus, you don’t need special tools or extensive sanding, which makes wipe-on finishes especially user-friendly. Additionally, choosing eco-friendly and sustainable finishes can further reduce environmental impact and support environmentally conscious woodworking. For best results, understanding the properties of different finishes helps in selecting the right product for your project. Overall, they offer a simple way to achieve a professional-looking, long-lasting result.
Minwax Water-Based Wipe-On Polyurethane, Satin, 1 Pint
Excellent Durability
As an affiliate, we earn on qualifying purchases.
As an affiliate, we earn on qualifying purchases.
How to Choose the Best Wipe-On Finish for Your Project
Choosing the right wipe-on finish depends on your project’s specific needs and your desired outcome. Consider how you want to highlight the wood grain; some finishes enhance natural patterns, while others add a subtle sheen. If you need a finish with high durability, especially for furniture or high-traffic pieces, opt for a product formulated for strength and resistance. For a more natural look that preserves the wood’s character, choose a finish that penetrates deeply without clouding the grain. Think about the environment where the piece will sit—outdoor projects require finishes with weather resistance. Your choice should balance aesthetic preferences with practical requirements, ensuring the finish not only looks great but also stands up to daily use. Sound fundamentals are essential for achieving a smooth, professional result with wipe-on finishes. Additionally, understanding wood properties can help you select a finish that works best with the specific type of wood you’re working with. Being aware of wood grain patterns can also influence how the finish interacts with the surface, affecting the final appearance and longevity. Paying attention to application techniques can further improve your results and ensure even coverage, especially when combined with consistent feedback during application.

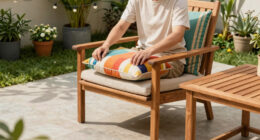
NiHome 5-Inch Wood Conditioner, Wax & Oil Applicator 4-Pack, Reusable Microfiber & Sponge Pads for Scratch-Free Cutting Board Maintenance & Versatile Home Polishing, Machine Washable for Long-Term Use
Convenient and Easy to Use: The gray microfiber cloth, sized at a moderate 5 inches, fits perfectly in…
As an affiliate, we earn on qualifying purchases.
As an affiliate, we earn on qualifying purchases.
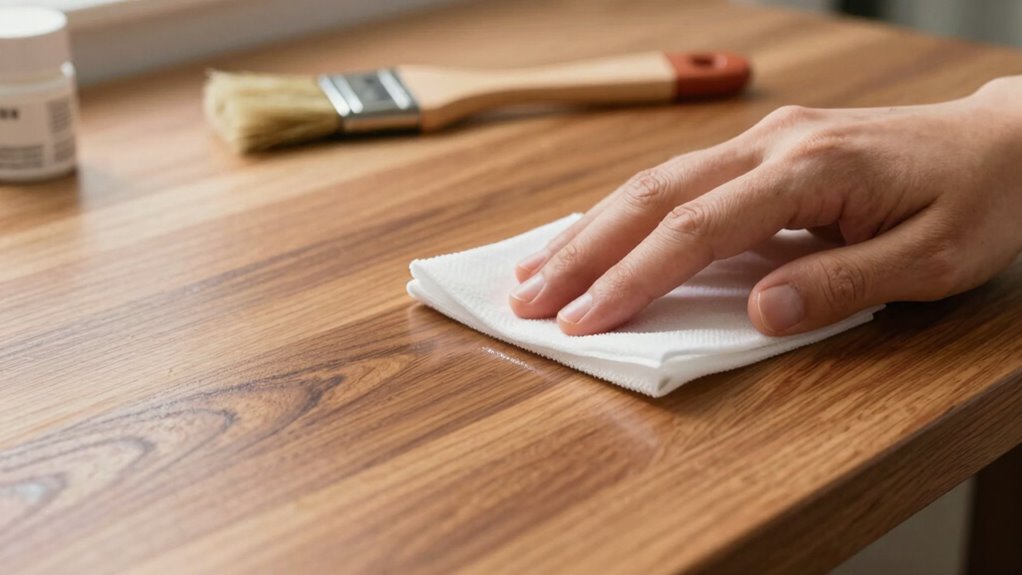
Applying Wipe-On Finishes Step-by-Step for a Flawless Look
To achieve a flawless finish with wipe-on products, proper application technique is essential. Begin by using smooth, even brush techniques to apply the finish, working along the grain to avoid streaks. Dip your brush lightly and wipe off excess finish before applying, ensuring a thin, uniform coat. Allow adequate drying times between coats—usually 2 to 4 hours—so the finish cures properly and doesn’t become tacky. Lightly sand with fine-grit paper after each coat to remove any imperfections and promote adhesion for subsequent layers. Keep your workspace well-ventilated to speed up drying and prevent dust from settling on the surface. Patience and consistent technique are key to achieving a smooth, professional-looking result with wipe-on finishes. Paying attention to application techniques can make a significant difference in the final appearance. Understanding the proper drying times helps prevent issues like tackiness and uneven curing, leading to better results. Additionally, ensuring your paint thinning is appropriate can improve flow and reduce the risk of streaks.

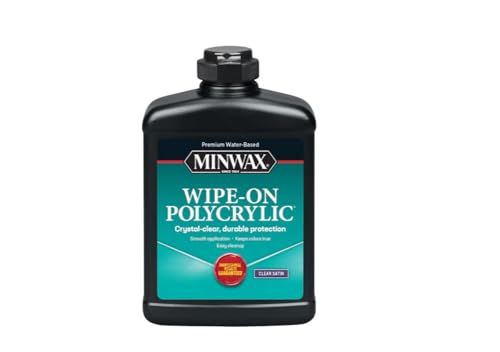
Minwax 233334444 Polycrylic Protective Wood Finish, Clear Satin, ½ Pint
PROTECT WOOD SURFACES – Minwax Polycrylic Protective Finish protects and adds beauty to your interior wood projects, including…
As an affiliate, we earn on qualifying purchases.
As an affiliate, we earn on qualifying purchases.
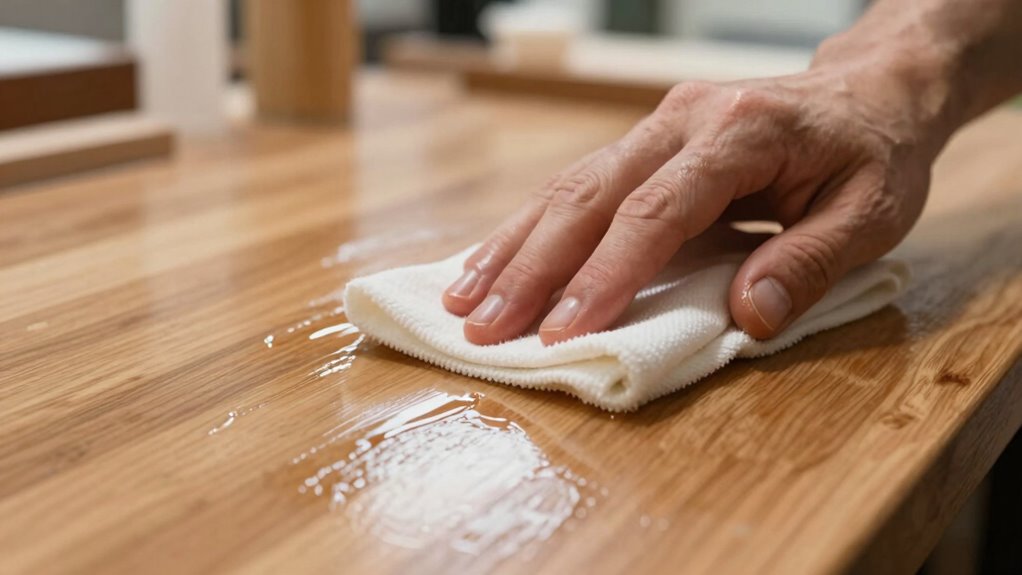
Expert Tips for a Smooth, Professional Wipe-On Finish
Achieving a smooth, professional wipe-on finish hinges on paying close attention to detail and maintaining consistent technique throughout the process. To enhance your results, focus on mastering your brush techniques—use long, even strokes and avoid overworking the surface. Keep your tools clean and free of debris to prevent imperfections. Applying thin, even coats ensures better finish durability, reducing the risk of runs or uneven spots. Work in a dust-free environment, and maintain a steady hand for uniform application. Always test your finish on scrap wood first to gauge flow and drying time. Properly sanding between coats and using quality products further boost the finish’s longevity. Additionally, understanding the properties of Free Floating finishes can help you select the best product for a seamless, durable result. Being aware of application techniques can also improve the overall appearance and longevity of your project. To further optimize your process, consider finish flow and drying times for optimal results. Paying attention to environmental conditions like humidity and temperature can significantly impact the drying process and final look. Developing a good understanding of finishing tools can also make a noticeable difference in your results. Remember, patience and precision are key to achieving that flawless, professional look.
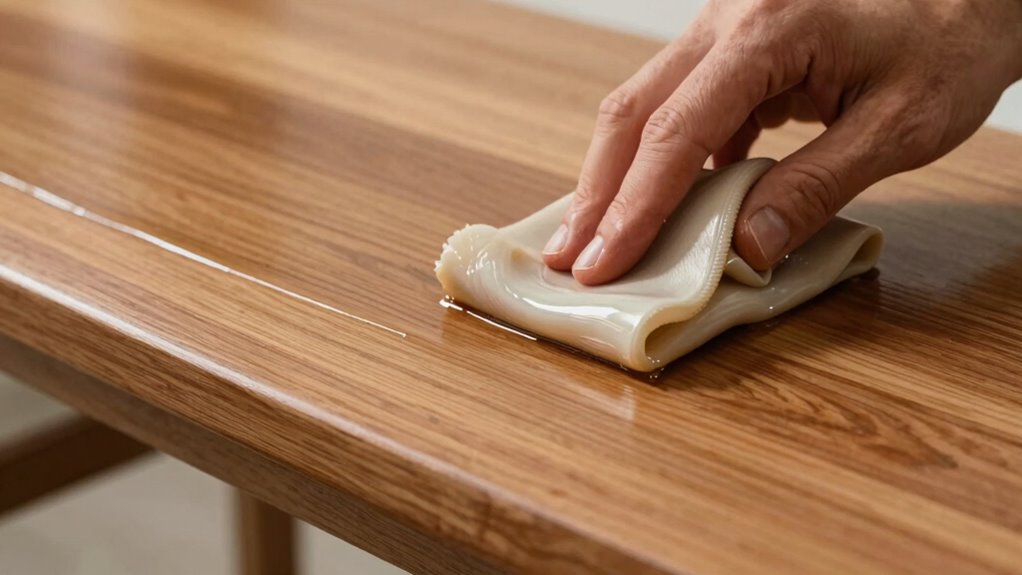
Troubleshooting Common Wipe-On Finish Problems and Fixes
Even with careful technique, you might encounter common wipe-on finish problems that can mar your project’s appearance. One issue is uneven wood grain, which can happen if you don’t apply the finish consistently or rush the drying time. To fix this, sand lightly with fine grit and reapply, ensuring smooth, even coats. Another problem is streaking or lap marks, often caused by applying too much finish at once or not allowing proper drying time between coats. Always follow the recommended drying time and work in thin, even layers. If you notice a cloudy or milky appearance, it’s usually due to moisture or incompatible finishes. In this case, lightly sanding the surface and reapplying can restore clarity and a smooth, professional look. Additionally, understanding the characteristics of different finishes can help prevent issues and achieve optimal results. Being aware of finish compatibility and proper application techniques is essential for a flawless finish. Furthermore, choosing the appropriate application tools can make a significant difference in achieving a smooth, even coat and avoiding common problems. Paying attention to technique can also help prevent problems and enhance the overall quality of your project.
Frequently Asked Questions
Can Wipe-On Finishes Be Used on Outdoor Projects?
Yes, you can use wipe-on finishes on outdoor projects, but choose ones designed for weather resistance and UV protection. These finishes help shield wood from the elements and prevent fading caused by sunlight. Make sure to apply multiple coats evenly and follow the manufacturer’s instructions for best results. With proper application, wipe-on finishes can enhance outdoor furniture and structures, giving them a smooth, clean look while lasting longer outdoors.
How Long Does a Wipe-On Finish Typically Take to Cure?
A wipe-on finish usually takes about 24 to 48 hours to cure fully, but drying time can be shorter, around 1 to 2 hours between coats. Keep in mind, the curing process depends on factors like humidity and temperature. To guarantee proper curing, avoid heavy use or cleaning of the surface until it’s fully set. Patience helps achieve a durable, smooth, and professional-looking finish.
Are Wipe-On Finishes Suitable for Food-Contact Surfaces?
You’ll want to steer clear of wipe-on finishes for food-contact surfaces, as they typically aren’t food safe sealants. Think of it like applying a protective coat over a delicate treasure—only certain finishes guarantee finish durability and food safety. Look for finishes labeled food-safe, specifically designed for surfaces that touch food. This way, you protect your project and keep everything safe for everyday use, like a shield for your masterpiece.
What Safety Precautions Are Necessary When Applying Wipe-On Finishes?
When applying wipe-on finishes, you need to handle flammable materials carefully by working in a well-ventilated area away from open flames or heat sources. Always wear protective gear like gloves, safety glasses, and a mask to prevent skin and inhalation exposure. Keep a fire extinguisher nearby, and dispose of rags properly to avoid spontaneous combustion. Taking these precautions guarantees your safety during application.
Can I Apply Multiple Coats of Wipe-On Finish?
Yes, you can apply multiple coats of wipe-on finish, but you should do so carefully to prevent layer buildup that could affect the finish’s smoothness. Allow each coat to dry thoroughly before applying the next. This process enhances finish durability, giving your project a long-lasting, professional look. Just be mindful not to over-apply, as too many coats can lead to a sticky or uneven surface.
Conclusion
A wipe-on finish offers simplicity and elegance, turning a sometimes tricky task into a straightforward process. While it’s easy to master, don’t mistake simplicity for perfection—each coat requires patience, just like a good conversation. With a gentle touch, you’ll achieve a smooth, professional look that feels as satisfying as the final handshake. So, embrace the process, enjoy the journey, and let your project shine with that flawless, wipe-on glow.