To control color and avoid lap marks with gel stain, apply it in thin, even coats using smooth brush strokes and maintain a wet edge, blending as you go. Use quality tools and work quickly in sections. Keep the stain at a consistent thickness, and control environmental factors like humidity and temperature for even drying. Proper surface prep and technique will help achieve a flawless finish—continue to explore how to perfect your gel staining process.
Key Takeaways
- Use smooth, consistent brush strokes and maintain a wet edge to prevent lap marks.
- Apply thin, even coats and work in sections for seamless blending.
- Keep brushes clean and properly loaded to ensure uniform color application.
- Control environmental conditions like temperature and humidity to promote even drying.
- Correct uneven areas by light sanding and reapplying thin coats for a smooth finish.
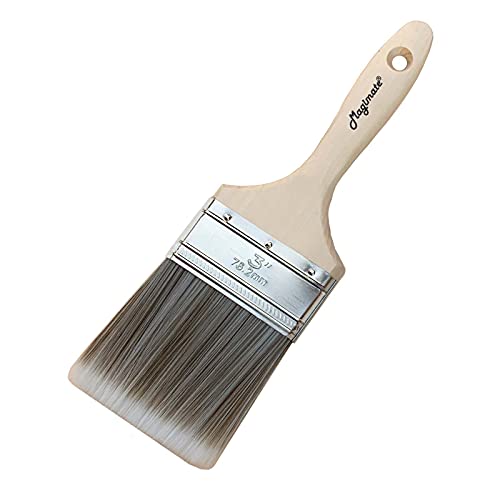
Magimate 3-Inch (76mm) Double Thick Chip Paint Brush – Versatile Stain Brush Wood Handle for Furniture, Walls, Fences, and Murals – Smooth Gesso, Plaster, Polyurethane, and Varnish Wide Paintbrush
- Wide 3-Inch Brush Head: Provides extensive coverage for large surfaces
- Double Thick Chip Bristles: Soft yet firm synthetic bristles for optimal paint pick-up
- Versatile Application: Suitable for varnishing, staining, masonry, and plastering
As an affiliate, we earn on qualifying purchases.
As an affiliate, we earn on qualifying purchases.
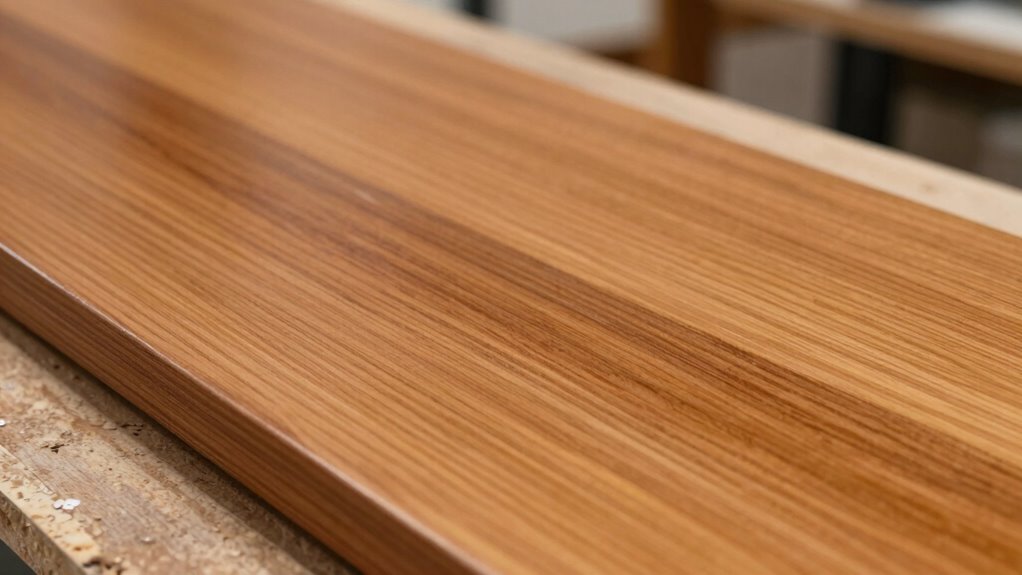
What Is Gel Stain and Why Should You Use It?
Ever wondered what makes gel stain a popular choice for woodworking projects? It’s mainly because of its excellent color consistency and easy stain penetration. Unlike traditional stains, gel stain stays thick, so it doesn’t drip or run, giving you more control. This thick consistency allows you to apply it evenly, reducing lap marks and uneven patches. Plus, gel stain penetrates wood slowly, letting you build up color gradually without blotchiness. This makes it ideal for challenging woods like pine or blotch-prone species. Whether you want a rich, uniform finish or need to touch up small areas, gel stain offers precision and control. Its user-friendly nature helps both beginners and experienced woodworkers achieve professional-looking results effortlessly. Additionally, the high pressure capability of airless sprayers ensures the stain coats surfaces evenly, enhancing the overall finish.
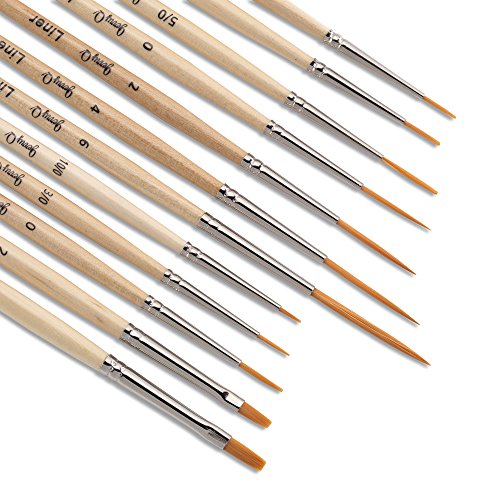
Jerry Q Art 12 Pcs Detail Paint Brushes, Golden Synthetic Hair, High Performance for Oil, Acrylic and Watercolor JQ-503
- High-Quality Synthetic Hair: Golden synthetic hair, no shedding
- Secure Ferrules: No wiggling during painting
- Short Wooden Handles: Comfortable for detailed work
As an affiliate, we earn on qualifying purchases.
As an affiliate, we earn on qualifying purchases.
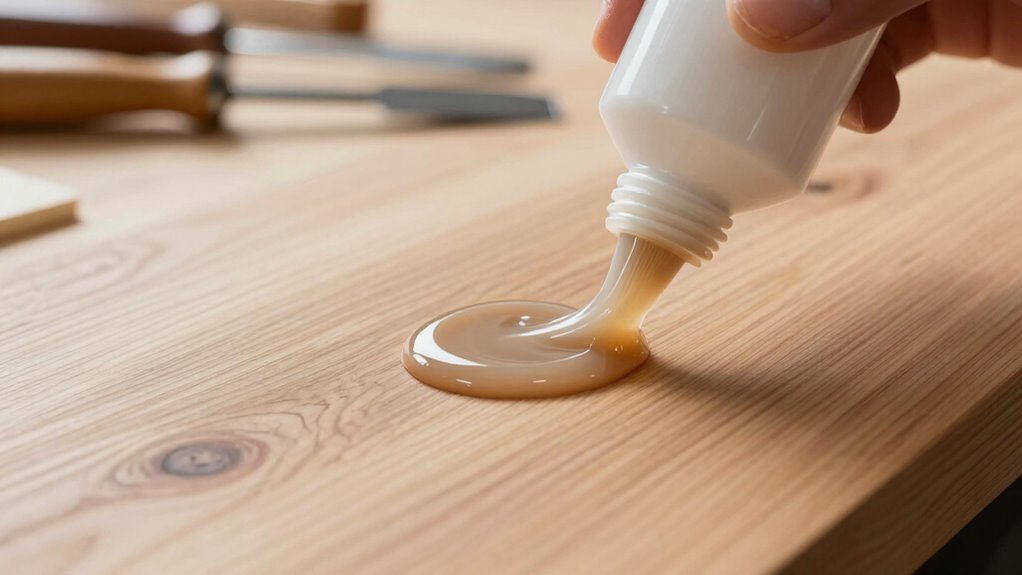
Tools and Materials Needed for Gel Staining
To achieve a smooth and even gel stain application, you’ll need the right tools and materials on hand. A high-quality synthetic brush is essential for mastering brush technique and applying stain evenly. You’ll also need painter’s tape to protect edges and a clean cloth for wiping excess. For stain layering, have several foam brushes ready to build depth gradually. Use a palette knife or stir stick to mix your gel stain thoroughly. Keep a damp rag nearby to correct drips or uneven spots promptly. Additionally, selecting the proper oil-based or water-based stain is crucial for an optimal finish. Here’s a quick overview:
| Tool | Purpose | Tip |
|---|---|---|
| Synthetic Brush | Even application | Use long, smooth strokes |
| Foam Brush | Layering and blending | Avoid streaks |
| Stir Stick | Mixing stain | Ensure consistency |
| Cloth | Clean-up and wiping | Keep it damp |
| Painter’s Tape | Protect surfaces | Apply firmly |
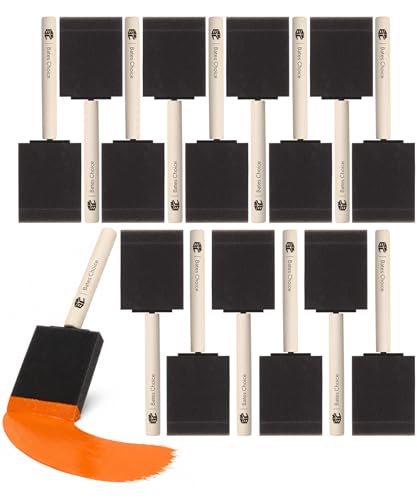
Bates- Foam Paint Brushes, 2 Inch, 16 Pack, Wooden Handle
- Package Includes: 16 foam brushes, 2-inch size
- Even Coverage: Reduces strokes for smooth finish
- Universal Compatibility: Suitable for all paints and varnishes
As an affiliate, we earn on qualifying purchases.
As an affiliate, we earn on qualifying purchases.
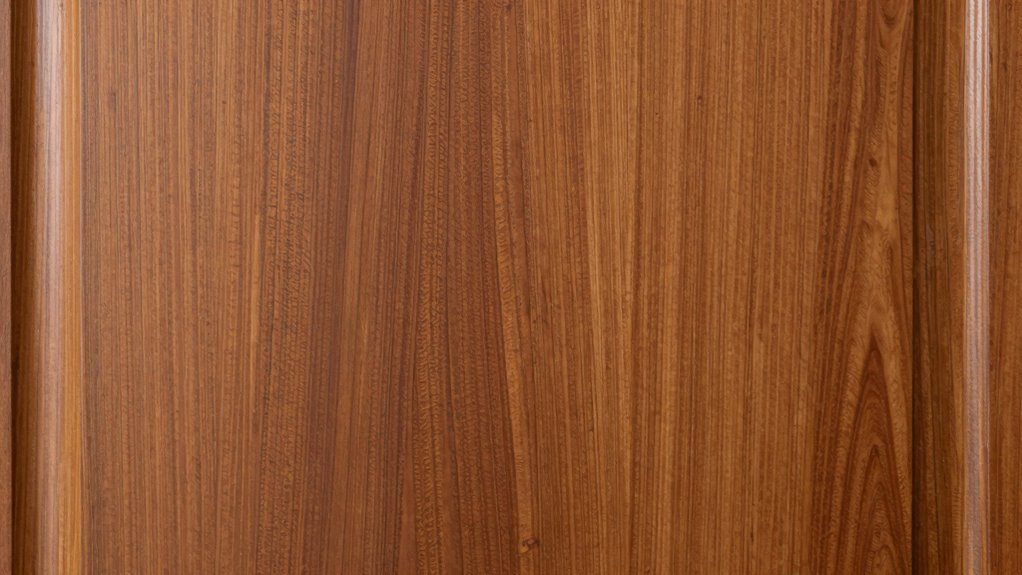
Preparing Your Surface for a Smooth Finish
Achieving a smooth gel stain finish starts with properly preparing your surface. Begin with thorough surface cleaning to remove dust, grease, and debris that could mar the finish. Use a gentle cleaner and a lint-free cloth to guarantee the surface is spotless. Next, focus on sanding techniques; lightly sand the surface to create a smooth, even base. Use fine-grit sandpaper and follow the wood grain to avoid scratches. Remove any dust created during sanding with a tack cloth or vacuum. Proper cleaning and sanding help the gel stain adhere evenly, preventing lap marks and uneven color. Taking these steps assures a professional-looking result and a flawless, smooth finish that highlights the stain’s richness. Additionally, understanding surface preparation is essential to achieve consistent color and prevent common staining issues.

Hand Sanding Block Set of 16,Interchangeable Assorted Contoured Profile Sanding Pad Kit,Hook and Loop Abrasive Sanding Chassis for Sand Wood Furniture, Auto Paint and Crafts,Red
- Set Includes: 16 assorted sanding blocks
- Material: Soft, durable foam PU
- Attachment System: Hook and loop for quick change
As an affiliate, we earn on qualifying purchases.
As an affiliate, we earn on qualifying purchases.
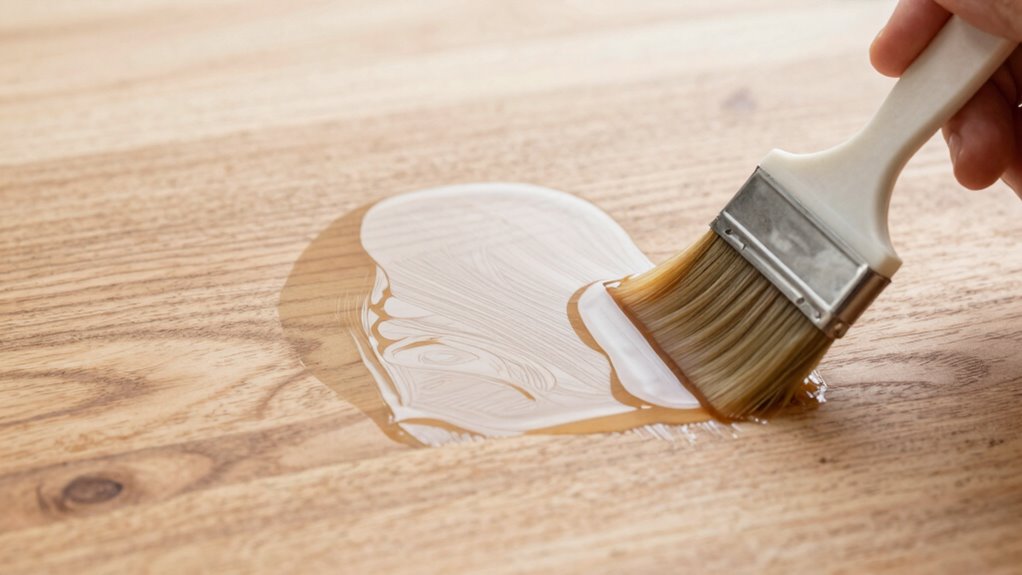
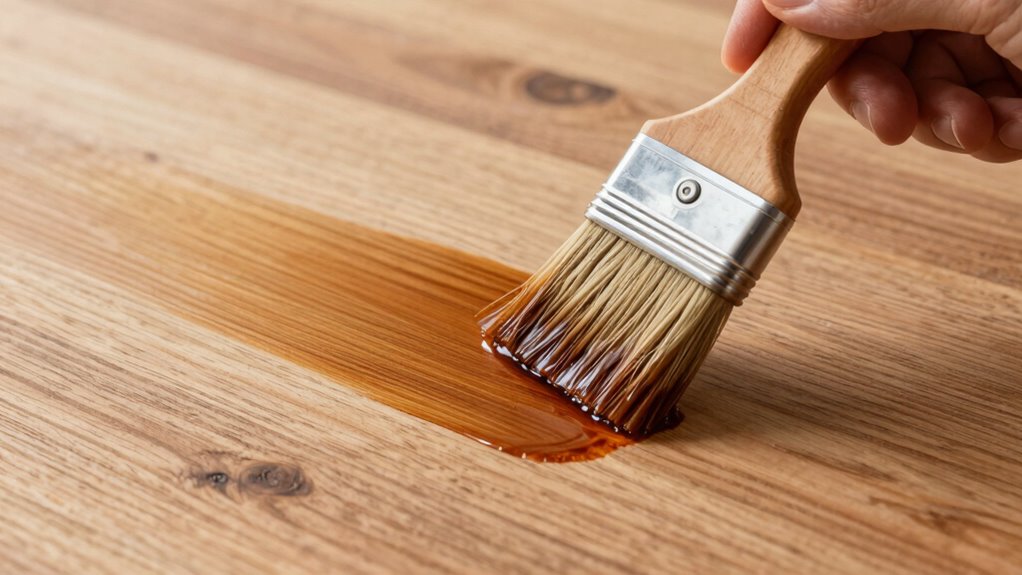
Applying Gel Stain Without Lap Marks: A Step-by-Step Guide
Applying gel stain evenly can be challenging, but with the right techniques, you can avoid visible lap marks. First, use smooth brush techniques, working quickly and consistently to prevent overlaps. Second, blend colors seamlessly by overlapping each stroke slightly and working wet-on-wet. Third, maintain a wet edge to ensure a uniform finish; don’t let the stain dry before blending. Fourth, keep a clean, dry brush handy for feathering out any lines or uneven spots. These steps help you control color blending and achieve a smooth, even coat. Remember, patience and steady application are key. By mastering brush techniques and focusing on blending, you’ll avoid lap marks and get professional-looking results every time. Additionally, understanding color consistency can help you anticipate how the stain will appear once dry, ensuring a uniform look across your project.
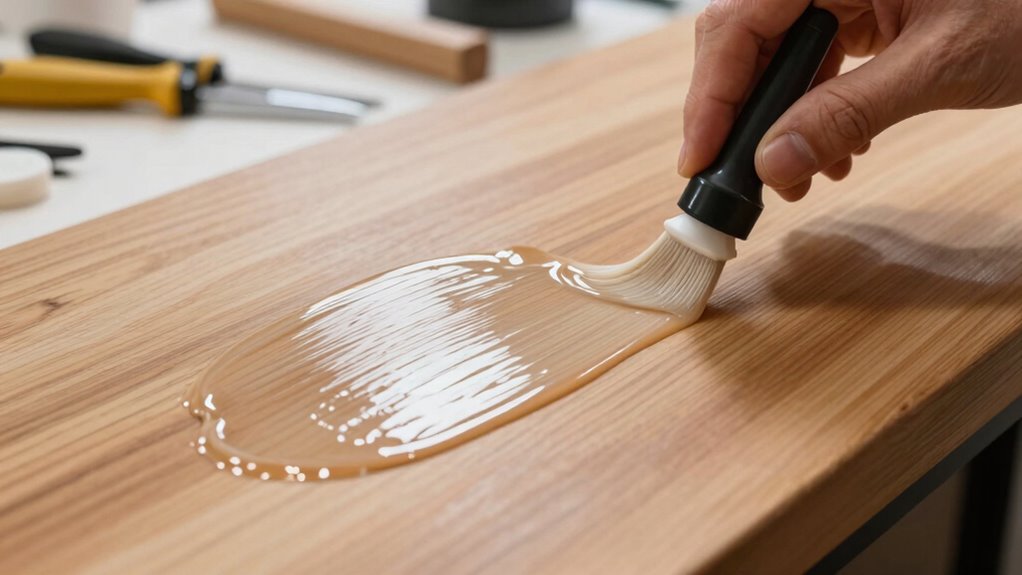
How to Control Color and Achieve a Consistent Finish
Controlling color and guaranteeing a consistent finish with gel stain requires attention to detail and proper technique. Start by practicing color mixing on a scrap piece to achieve your desired hue before applying it to your project. This step helps prevent surprises and allows you to adjust the stain’s tone. When applying gel stain, maintain a uniform thickness to ensure an even finish sheen—whether you prefer a matte, satin, or gloss look. Use a high-quality brush or cloth to spread the stain smoothly, working in manageable sections. Consistent application and thorough blending help avoid streaks and blotches. Always test your color and sheen on a hidden area first, so you can fine-tune your approach for a flawless, uniform result. Leveraging innovative cloud solutions can also assist in planning and documenting your staining process for better results.
Common Mistakes When Gel Staining and How to Avoid Them
One common mistake during gel staining is applying too much stain at once, which can lead to uneven color and drips. To avoid this, focus on proper brush techniques and gradual stain blending. Here are key pitfalls to watch for:
- Overloading your brush, causing uneven application and lap marks.
- Using inconsistent brush strokes, leading to patchy areas.
- Not blending stains properly, resulting in visible lines.
- Applying stain too quickly without allowing it to settle, creating color inconsistencies. Additionally, understanding the art care principles can help you maintain a consistent finish and avoid common staining errors.
Fixing Uneven Stains or Lap Marks After Application
When you notice uneven stains or lap marks after your initial application, it’s important to act quickly to correct these issues. To achieve effective color correction, lightly sand the affected area to smooth out lap marks, then wipe away any dust. If the stain appears uneven, apply a light coat of gel stain over the problematic spot, blending it into the surrounding area. Use a clean cloth or brush to feather the edges, ensuring a seamless progression. For stubborn lap marks, you might need to remove the excess stain with a cloth dampened with mineral spirits, then reapply a thin, even coat. This process helps in lap mark removal and promotes a more uniform finish. Additionally, understanding proper stain application techniques can help prevent these issues from occurring in the future. Patience and precision are key to achieving a professional-looking result.
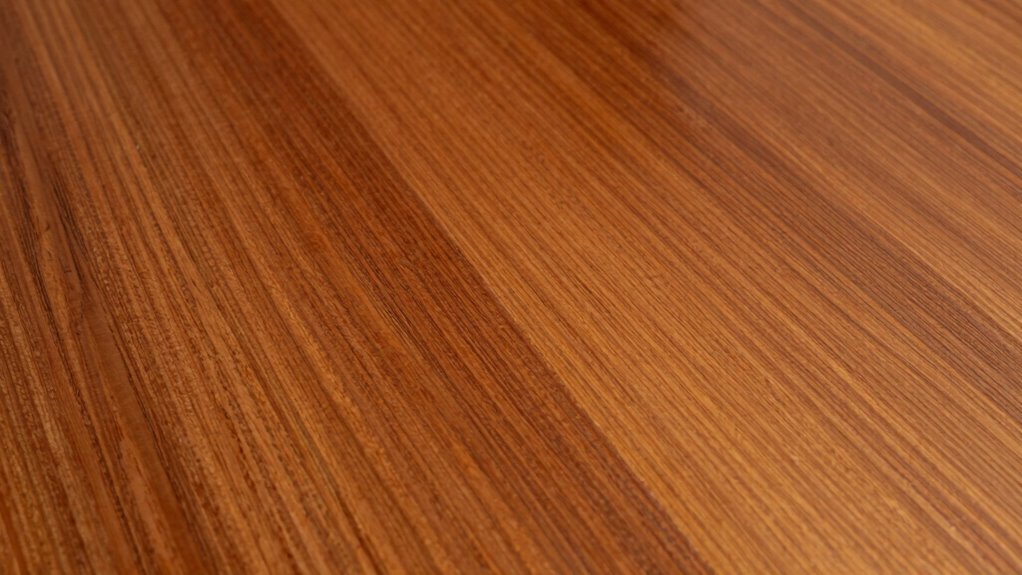
Finishing and Protecting Your Stained Surface
After you’ve achieved the desired stain color and evenness, applying a protective finish is essential to preserve your work. A good finish enhances color consistency and safeguards against damage. To do this effectively:
- Choose a compatible topcoat, like polyurethane or polycrylic, to guarantee finish protection.
- Apply thin, even coats with a brush or cloth, allowing proper drying time between layers.
- Lightly sand between coats to improve adhesion and smoothness.
- Inspect your surface regularly to maintain consistent color and finish quality.
- Incorporate proper maintenance practices to extend the longevity of your finished surface and ensure ongoing protection against environmental factors.
Troubleshooting Gel Stain Results: What to Do When Things Go Wrong
If your gel stain doesn’t look right, start by evaluating how you applied it—was the coat even and thorough? You may need to adjust your technique, such as applying thinner layers or giving it more time to set. To fix uneven color, consider sanding lightly and reapplying the stain for a more consistent finish. Additionally, understanding the application process can help you achieve more uniform results and avoid common pitfalls.
Assess Stain Application
Evaluating your gel stain application promptly helps identify issues early and correct them before they worsen. Check for uneven coverage, streaks, or lap marks that indicate inconsistent brush techniques. Assess the stain consistency; if it’s too thick or thin, it can cause application problems. Consider these factors:
- Are your brush strokes smooth and even, avoiding heavy or light patches?
- Is the stain applied with consistent pressure and direction?
- Does the stain have the right thickness for easy spreading without running or patchiness?
- Are you working quickly enough to prevent dry spots or uneven absorption?
Additionally, understanding application techniques can help optimize results and minimize flaws.
Adjust Technique Properly
When your gel stain isn’t applying as planned, adjusting your technique can often resolve the issue quickly. Focus on your brush techniques—using a consistent, gentle stroke helps prevent streaks and lap marks. For stain layering, apply thin coats rather than thick ones, allowing each layer to set before adding the next. If the stain appears uneven, try switching to a different brush style or adjusting your pressure.
| Technique Adjustment | Effect |
|---|---|
| Use a high-quality brush | Better control and even coverage |
| Light, consistent strokes | Minimize lap marks and streaks |
| Thin coats of stain | Prevents uneven buildup |
| Proper drying time | Ensures smooth, even color |
Correct Uneven Color
Uneven color after applying gel stain is a common issue that can often be fixed with some straightforward adjustments. To improve color consistency and achieve smooth stain blending, start by lightly sanding the surface to remove excess stain and promote even absorption. Next, wipe down the surface with a clean cloth to eliminate dust or residue that may interfere with stain adhesion. If color variation persists, apply a thin, even second coat, blending the edges carefully for uniformity. Finally, consider using a glaze or a compatible topcoat to level out any remaining inconsistencies. Remember, patience is key; allowing adequate drying time helps the stain settle evenly. These steps ensure better control over color and seamless stain blending, giving your project a professional, finished look.
Final Tips for Perfect Gel Stain Results
To achieve perfect gel stain results, start with a properly prepared surface free of dust and grease. Apply the stain evenly using consistent techniques, and make sure to follow the recommended drying conditions. Paying attention to these details helps guarantee a smooth, professional finish.
Proper Surface Preparation
Preparing your surface properly is essential to achieving a smooth, professional-looking gel stain finish. Start by ensuring the surface is clean and free of dust or grease. Use surface sanding to smooth out imperfections, which helps the gel stain adhere evenly. When applying stain, use proper brush techniques to avoid streaks or lap marks. Keep your brush loaded but not overloaded, and work in consistent, even strokes. Here are four key tips:
- Sand thoroughly to create a smooth base.
- Remove all dust before staining.
- Use controlled brush techniques for even coverage.
- Wipe excess stain promptly to prevent blotches.
Following these steps guarantees a flawless result and enhances the natural beauty of your wood.
Consistent Application Techniques
Achieving a flawless gel stain finish depends heavily on maintaining consistent application techniques throughout the process. Use smooth, even brush techniques to prevent streaks and lap marks. Keep your brush loaded with just the right amount of stain—neither too much nor too little—to ensure even coverage. When applying stain, work in manageable sections, overlapping slightly to promote seamless stain layering. Consistent pressure and direction help maintain uniformity, avoiding uneven color buildup. If you need to build depth, apply multiple thin coats rather than one thick layer. Always wipe off excess stain with a clean cloth after each coat to prevent drips and blotches. Staying disciplined with your brush techniques and stain layering creates a smooth, professional-looking finish every time.
Optimal Drying Conditions
Ensuring ideal drying conditions is essential for a flawless gel stain finish. Proper drying techniques help prevent lap marks and ensure smooth color blending. To achieve best results, consider these tips:
- Maintain a consistent temperature and humidity level to promote even drying.
- Use a fan or open windows gently to improve air circulation without causing rapid drying.
- Avoid touching or disturbing the surface during the drying process to prevent streaks.
- Allow sufficient drying time before applying additional coats or a topcoat for seamless color blending.
Frequently Asked Questions
Can Gel Stain Be Used on Non-Wood Surfaces?
Yes, you can use gel stain on non-wood surfaces like metal, glass, or plastic. To get good results, follow preparation tips like cleaning the surface thoroughly and applying a primer if needed. Lightly sanding the area helps the gel stain adhere better and prevents lap marks. Always test on a small area first to ensure compatibility and achieve the desired color, especially when working with alternative surfaces.
How Long Does Gel Stain Typically Take to Dry?
You’ll find gel stain usually dries within 24 to 48 hours, but drying time can vary based on surface factors like thickness, temperature, and humidity. Imagine a thin coat drying faster, like paint in warm weather, while a thick layer or damp environment slows it down. To get the best results, guarantee good ventilation and avoid handling the surface too soon, letting the stain fully cure for a durable finish.
Is Gel Stain Suitable for Outdoor Furniture?
Yes, gel stain is suitable for outdoor furniture because it offers good weather resistance and UV protection. When you apply gel stain, it penetrates the wood, helping to prevent damage from sun and moisture. Just make sure you choose a high-quality product specifically designed for outdoor use, and follow the application instructions carefully. This way, your furniture maintains its color and looks great for years to come.
Can You Mix Different Gel Stain Colors?
Yes, you can mix different gel stain colors to achieve custom shades. When doing color mixing, start by blending small amounts to test the resulting shade. Use gentle shade blending techniques to guarantee a smooth, even color. Mix thoroughly to prevent streaks, and always apply a test patch before committing to your project. This way, you can control the final look and create unique, personalized finishes.
How Do I Remove Excess Gel Stain Safely?
Did you know that removing excess gel stain can improve your finish by up to 50%? To do this safely, start by wiping the area with a clean cloth to remove most of the excess. Then, use a cloth dampened with mineral spirits to gently clean any remaining stain. Be sure to work in a well-ventilated area, and avoid soaking the wood to prevent damage.
Conclusion
Mastering gel stain techniques can transform your projects, giving you professional-looking results. Did you know that properly controlling application can reduce lap marks by up to 80%? With the right tools and prep, you’ll avoid common mistakes and achieve a smooth, even finish every time. Keep practicing, stay patient, and use these tips to confidently control color and finish beautifully. Your stained furniture will look stunning—and last for years to come.