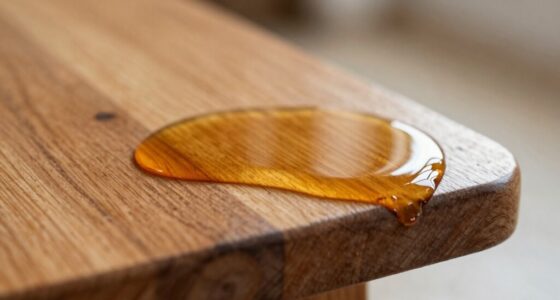
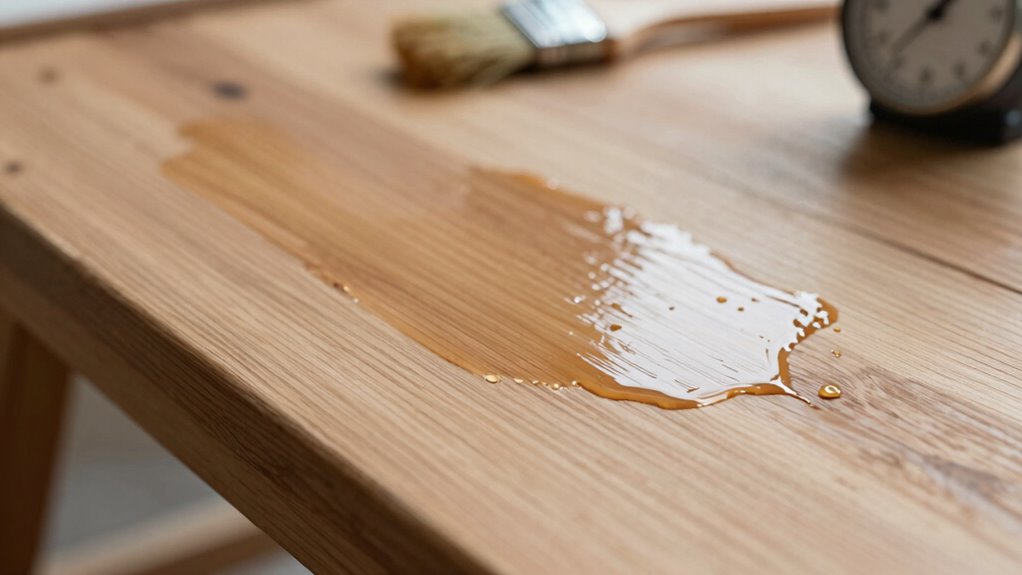
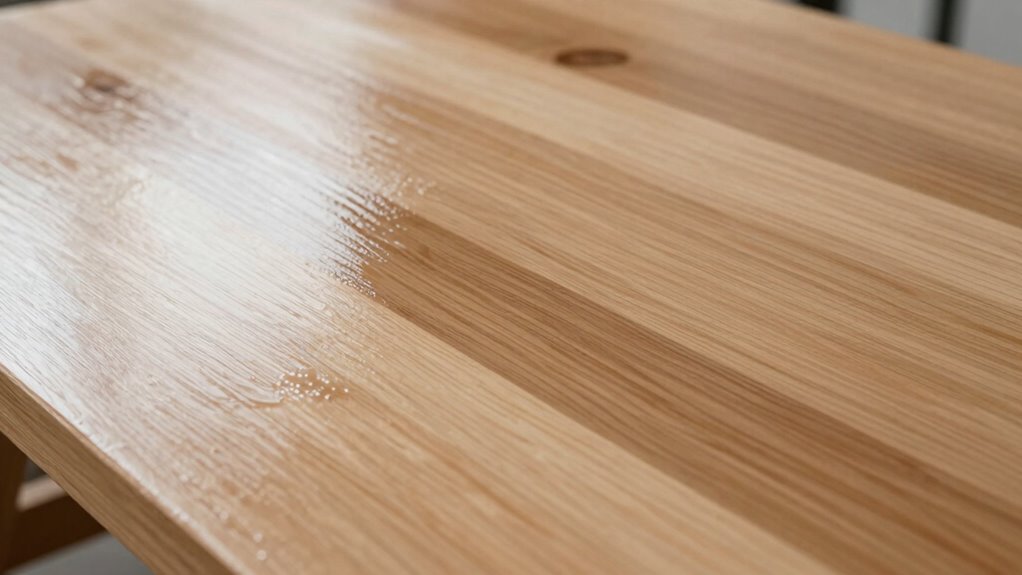
Finish dry time is when the surface feels dry to the touch, mainly due to solvent evaporation, while cure time is when the finish fully hardens through chemical reactions, reaching maximum durability. Rushing the process can cause issues and weaken the surface, especially if environmental factors like humidity and temperature aren’t ideal. To guarantee your finish lasts, it’s essential to understand the proper waiting periods—learn more about how to get it just right.
Key Takeaways
- Drying is the solvent evaporation process, happening quickly on the surface, while curing involves chemical hardening over a longer period.
- The finish is dry when it no longer feels tacky or sticky, but curing may still be ongoing underneath.
- Proper wait times for drying and curing depend on environmental factors like temperature, humidity, and coat thickness.
- Rushing curing can lead to weak adhesion, cracks, or peeling, even if the finish appears dry.
- Always follow manufacturer recommendations for drying and curing times to ensure a durable, fully hardened finish.

Minwax Fast Drying Polyurethane Protective Wood Finish, Warm Satin, 1 Quart
PROTECT WOOD SURFACES – Minwax Polyurethane Wood Finish protects interior projects like woodwork, furniture, floors and cabinets. The…
As an affiliate, we earn on qualifying purchases.
As an affiliate, we earn on qualifying purchases.
What Are Dry Time and Cure Time?
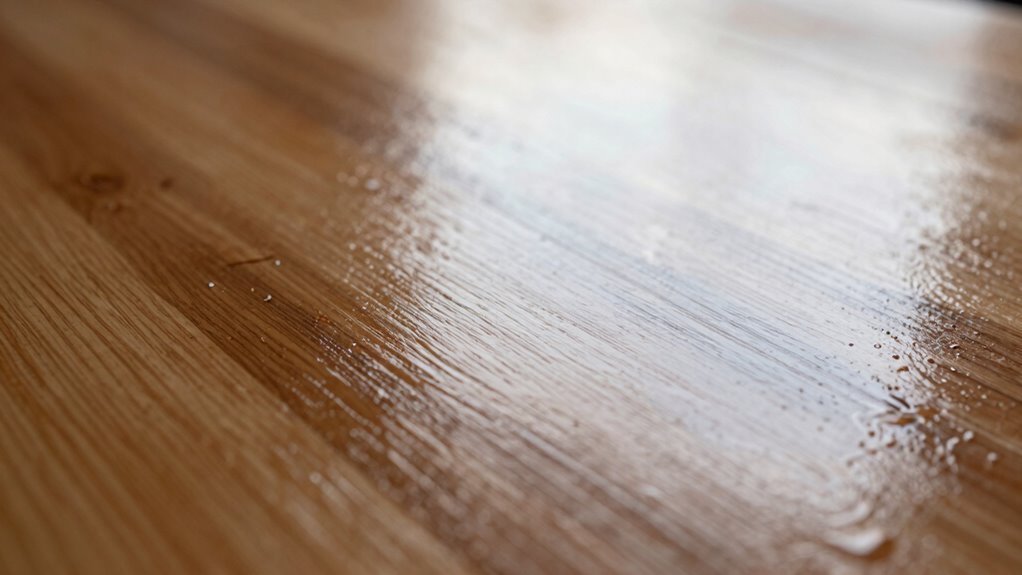
Dry time refers to the period it takes for a finish or coating to feel dry to the touch, while cure time is the longer process during which the finish fully hardens and reaches its maximum durability. During drying, chemical reactions like evaporation and surface penetration allow solvents to escape, creating a dry surface. Surface penetration is essential because it determines how the finish bonds with the material underneath. While a finish may feel dry after the surface appears dry, it can still be curing internally. Cure time involves ongoing chemical reactions, such as cross-linking of polymers, which strengthen the finish and enhance its durability. Understanding these phases helps you know when it’s safe to handle or expose your project to use without damaging the finish. Properly managing dry and cure times ensures the longevity and performance of your finished project. Additionally, environmental factors like temperature and humidity can significantly influence both drying and curing processes, making it important to consider appropriate conditions for optimal results. Recognizing the difference between drying and curing can prevent premature damage or compromised finish quality. Being aware of environmental influences can help you better control the drying and curing process for optimal results.

Polyurethane Resin, 72oz Polyurethane Casting Resin, Rapid Curing White, Low Viscosity Low Odor for Making Prototype Models, Sculptures, Figurines, Special Effects Props and Decorative Jewelry
RAPID CURING CASTING RESIN WHITE: Our polyurethane resin – cures rapidly from liquid to opaque white resin in…
As an affiliate, we earn on qualifying purchases.
As an affiliate, we earn on qualifying purchases.
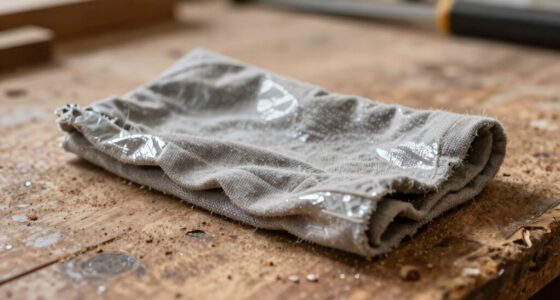
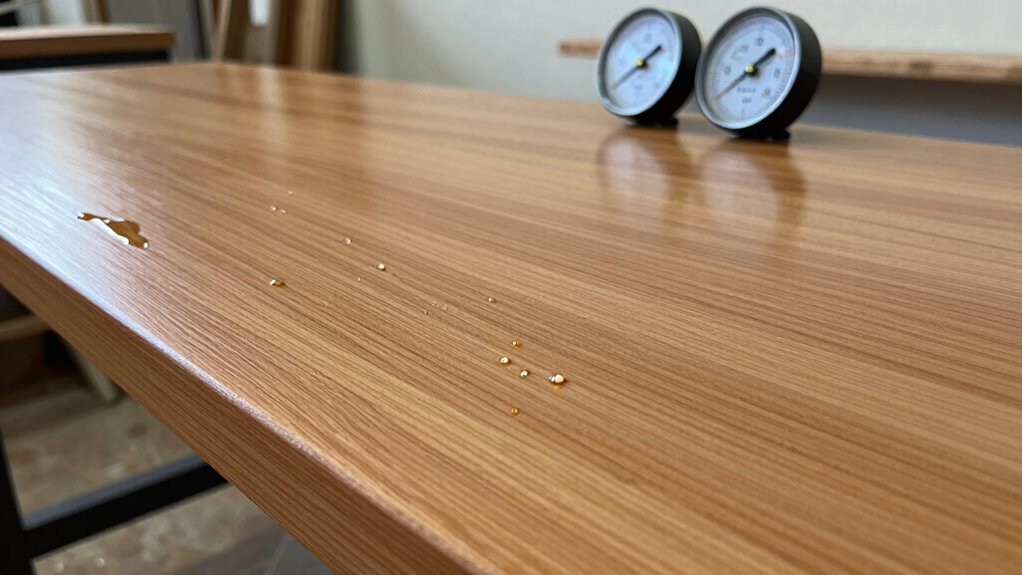
How Do You Know When a Finish Is Dry Enough to Handle or Recoat?
Knowing when a finish is dry enough to handle or recoat is essential to guarantee the durability and appearance of your project. To determine this, rely on your finishing techniques and assess the surface carefully. Gently touch a small, inconspicuous area; if it feels tacky or sticky, it’s not ready. Proper surface preparation helps confirm an even dry time and reduces the risk of damaging the finish. Use your senses: a dry finish typically feels smooth and solid, with no residue or stickiness. Keep in mind that some finishes may appear dry but still need curing time underneath. Always follow the manufacturer’s recommendations for drying and recoat times to avoid smudges, dents, or compromised durability. Additionally, understanding the contrast ratio of your projector can help you evaluate the final image quality once your space is ready. Recognizing the drying process can also help prevent premature handling that might ruin your work. Being aware of curing times and proper filtration ensures you give the finish adequate time to develop maximum hardness and longevity. Monitoring environmental conditions such as temperature and humidity can further influence the drying and curing times, making it crucial to consider your workspace climate.
DATOUBOSS Infrared Paint Baking Lamp 2000w Curing Dryer Shortwave Drying Lamp with Bracket
【SHORTWAVE INFRARED HEATING】 Shortwave infrared has high luminous efficiency and strong penetrating power.Anti-interference. High thermal efficiency penetrates the…
As an affiliate, we earn on qualifying purchases.
As an affiliate, we earn on qualifying purchases.
Why Does Drying Happen Faster Than Curing?
Although drying and curing are related steps in finishing, they happen at different rates because they involve distinct processes. Drying primarily involves the evaporation of solvents or water from the surface, which occurs quickly once the finish is applied. In contrast, curing is a chemical process where the binder hardens and bonds with the substrate, taking longer to complete. Your application techniques influence drying speed; thin coats dry faster than thick ones. Additionally, the finish sheen affects drying time—glossy finishes tend to dry quicker than matte types due to their composition. Proper curing is crucial for achieving maximum durability and performance of the finish over time. Understanding the chemical reactions involved in curing helps in scheduling the project more accurately. Recognizing the drying and curing differences can prevent premature handling or damage to the finish, ensuring a professional result. The drying process can be accelerated with appropriate environmental conditions such as good ventilation and controlled temperature. Recognizing the importance of finishing techniques can also help optimize both drying and curing processes for better results.

General Tools MMD4E Digital Moisture Meter, Water Leak Detector, Moisture Tester, Pin Type, Backlit LCD Display With Audible and Visual High-Medium-Low Moisture Content Alerts, Grays
HUMIDITY SENSOR: Our handy meter tool can quickly determine what level of remediation is needed to keep your…
As an affiliate, we earn on qualifying purchases.
As an affiliate, we earn on qualifying purchases.
How Do Temperature and Humidity Affect Dry and Cure Times?
Temperature and humidity levels play an essential role in determining how quickly your finish dries and cures. Higher temperatures accelerate evaporation, leading to faster drying times, but they can also cause finishes to cure improperly if too hot. Conversely, low temperatures slow down both dry and cure processes, extending wait times. Humidity influence is equally significant: high humidity hampers evaporation, prolonging drying, while low humidity speeds it up. Excess moisture in the air can cause finishes to remain tacky longer, delaying curing, and potentially affecting adhesion and durability. Maintaining ideal temperature and humidity levels helps you control drying and curing times effectively, ensuring your finish sets properly without defects. Being mindful of these factors allows for better project planning and a superior final result. Additionally, using proper ventilation can help regulate these conditions, promoting optimal drying and curing. Regularly monitoring climatic conditions during your project helps you make timely adjustments to maintain the best environment for finishes. Proper environmental control is crucial for a successful finish, and understanding how climate factors impact drying and curing can help prevent common issues.
Why Is Proper Curing Essential for Durability and Adhesion?

Proper curing guarantees your coating retains the right moisture levels, which is key for long-lasting durability. It also strengthens the bond with the surface, making it less likely to peel or come loose. Without proper curing, you risk cracking, warping, and reduced overall performance. Additionally, understanding the science behind curing can help ensure you follow the best practices for your specific material. For instance, selecting the appropriate UV lamps for resin crafting can significantly improve curing efficiency and final quality. Knowing the proper curing times for different products ensures optimal results and minimizes the risk of defects.
Proper Moisture Levels
Maintaining the right moisture levels during curing is crucial because it directly impacts the concrete’s strength and bond quality. Proper curing involves using effective finishing techniques to guarantee the surface retains adequate moisture, preventing premature drying. Applying moisture barriers, like plastic sheets or curing compounds, helps lock in moisture and protect the concrete from rapid evaporation caused by wind or sun. If the concrete dries too quickly, it can develop surface cracks and weaken overall durability. Consistent moisture levels promote proper hydration, which is essential for achieving ideal strength and adhesion. Additionally, using UV filters in curing environments can help protect the concrete surface from sun damage that accelerates drying. Proper moisture management during curing is vital for preventing surface defects and ensuring a long-lasting, durable finish. By carefully managing moisture through proper finishing techniques and moisture barriers, you ensure that your concrete cures evenly and reaches its full potential.
Enhanced Bond Strength
When moisture levels are properly managed during curing, the concrete’s surface remains moist enough to facilitate strong chemical bonds between the cement particles and aggregate. Good surface preparation before applying coatings or overlays ensures these bonds can form effectively. Proper curing allows the cement hydration process to continue, resulting in a denser, stronger matrix. This enhances bond strength, making the surface more durable and resistant to delamination. Additionally, selecting the right products tailored for curing conditions improves adhesion, preventing issues like peeling or cracking later on. Skipping proper curing or rushing the process compromises these bonds, reducing the concrete’s longevity. Ultimately, paying attention to surface preparation and product selection during curing promotes excellent bond strength, ensuring your concrete remains durable and well-adhered over time.
Prevents Cracking and Warping
If you neglect adequate curing, your concrete is much more likely to develop cracks and warping over time. Proper curing guarantees the finish drying phase progresses smoothly into the curing process, maintaining moisture for strength and stability. Without it, you risk:
- Cracks forming, weakening your structure and causing costly repairs.
- Warping, which distorts the shape and compromises aesthetics.
- Reduced durability, making your concrete vulnerable to weather and wear.
- Poor adhesion, leading to delamination and surface failures.
Common Mistakes That Shortchange Drying or Curing

One common mistake is rushing the drying or curing process, which can compromise the final quality. Ignoring environmental factors like humidity and temperature also leads to problems, as they directly affect how well the coating sets. To get the best results, you need to pay close attention and give each step the time it requires.
Rushing the Process
Rushing the drying or curing process is a common mistake that can seriously compromise the quality of your finished product. When you hurry, you interrupt essential chemical reactions and moisture evaporation, leading to weak bonds or trapped moisture. This can cause long-term issues, like cracking or mold. Consider these mistakes you might make:
- Skipping recommended wait times, risking incomplete chemical reactions.
- Increasing temperature to speed up drying, which can trap moisture.
- Ignoring the importance of gradual moisture evaporation.
- Handling or moving your project prematurely, disturbing the curing process.
Ignoring Environment Factors
Ignoring environmental factors can substantially hinder proper drying or curing, even if you’ve followed all the necessary steps. Poor environment conditions, such as high humidity, low temperatures, or poor airflow, can slow down or prevent the process from completing correctly. It’s vital to evaluate these factors before starting, as they directly impact surface preparation and the effectiveness of drying or curing. Failing to adjust for environment conditions can lead to surface imperfections, prolonged wait times, or compromised results. Make sure the area is well-ventilated, temperature-controlled, and free from excessive moisture. Proper surface preparation also involves cleaning and priming, which are critical to ensuring the environment doesn’t undo your efforts. Ignoring these factors ultimately shortchanges your drying or curing process.
How Long Should You Wait Before Applying Additional Coats or Using the Surface?
Waiting the right amount of time before applying additional coats or using the surface is crucial to guarantee a durable and smooth finish. Rushing this step can compromise the finish drying and disrupt the curing process, leading to imperfections. To ensure proper results:
- Check the finish drying time—don’t accelerate, even if it feels dry.
- Observe surface feel—it should be firm and not tacky.
- Follow manufacturer instructions—they specify recommended waiting periods.
- Allow enough curing time—this ensures the material reaches maximum strength.
Patience during this stage prevents damage and improves longevity. Remember, a little extra wait safeguards your work, giving you a flawless, professional finish. Proper timing respects the finish drying and curing process, making your effort worthwhile.
Tips for Managing Drying and Curing Times Without Rushing
Managing drying and curing times effectively requires setting realistic expectations and staying attentive to the material’s progress. To avoid rushing, monitor the paint sheen regularly, as a proper finish sheen indicates readiness. Use a fan or dehumidifier to promote even drying, but don’t accelerate the process excessively. Plan ahead by scheduling your work so you don’t pressure the drying times. Consider the table below for guidance on different finishes:
| Finish Sheen | Typical Drying Time | Curing Time |
|---|---|---|
| Satin | 2-4 hours | 7 days |
| Semi-gloss | 4-6 hours | 14 days |
| High-gloss | 6-8 hours | 21 days |
Staying patient ensures quality results and a smooth, durable finish.
Frequently Asked Questions
Can I Speed up Drying or Curing Without Compromising Quality?
You can speed up drying or curing without sacrificing quality by using accelerated drying techniques or curing accelerators. Applying fans or dehumidifiers helps remove moisture faster, but be cautious not to cause cracks or imperfections. Curing accelerators can also hasten the process, ensuring a strong finish. Just follow manufacturer instructions carefully, and avoid rushing the process, as proper curing is essential for durability and a flawless finish.
What Are the Signs That a Finish Has Fully Cured?
You’ll notice your finish has fully cured when it feels hard and solid to the touch, showing finish hardness. Additionally, the odor dissipates completely, indicating the chemicals have evaporated and the curing process is complete. You might also see the finish no longer tacky or sticky. Once these signs appear, it’s safe to handle or use the surface without risking damage or imperfections.
How Do Different Types of Finishes Affect Drying and Curing Times?
You might notice that oil-based finishes take longer to dry and cure than water-based ones. Oil-based finishes often need several days or even weeks to fully cure, giving you a richer, durable finish. Water-based finishes dry quickly, usually within a few hours, but still need time to cure fully for lasting protection. Your choice impacts how long you wait before using or touching the surface, so plan accordingly.
Is It Safe to Expose a Drying Finish to Light or Air Flow?
You should avoid exposing a drying finish to direct light or strong air flow, as it can compromise finish safety and affect the curing process. Light exposure can cause uneven drying or discoloration, while excessive air flow may lead to dust settling on the surface or uneven drying. For best results, keep your project in a controlled environment, minimizing light exposure and air movement during the drying and curing stages.
How Does Re-Coating Too Early Impact the Finish’s Durability?
Re-coating too early risks damaging your finish’s durability because the previous layer hasn’t fully cured. When you apply a new coat prematurely, it can cause adhesion problems, leading to peeling or uneven surfaces. This shortens your finish’s lifespan and compromises its protective qualities. To avoid these re-coating risks, wait until the finish is properly dry and cured, ensuring maximum durability and a smooth, long-lasting result.
Conclusion
Understanding the difference between dry and cure times ensures your finish lasts. Did you know that improperly cured finishes can fail up to 50% faster? By paying attention to temperature, humidity, and proper waiting periods, you can avoid costly mistakes. Patience is key—rushing these stages compromises durability and adhesion. Take the time to let your project fully dry and cure; it’s the best way to guarantee a professional, long-lasting result.