Blotch-prone woods, like cherry, maple, and birch, absorb stain unevenly due to their grain and cellular structure, causing discoloration. To prevent this, you should apply a sealer or pre-stain conditioner before staining. This step evens out the wood’s absorption, reducing blotchiness and ensuring a smooth, professional finish. Mastering this simple prep can save you time, frustration, and costly mistakes—continue to discover how proper sealing transforms your project.
Key Takeaways
- Proper sealing with a compatible pre-stain conditioner evens out grain absorption and prevents blotchiness.
- Inspect wood for grain patterns and natural differences to anticipate and address blotch-prone areas early.
- Use high-quality, even application of sealers and primers to create a uniform base for stain absorption.
- Sand surfaces thoroughly after sealing to smooth out grain and reduce uneven stain penetration.
- Avoid rushing or uneven application during finishing to ensure a consistent, blotch-free final appearance.

Varathane 381123 Water Based Pre-Stain Wood Conditioner, Quart
Pre-stain wood conditioner preps wood for even color
As an affiliate, we earn on qualifying purchases.
As an affiliate, we earn on qualifying purchases.
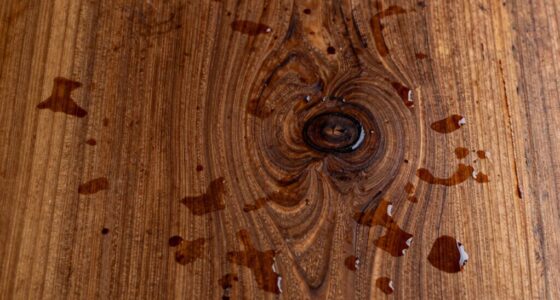
Why Some Woods Are Prone to Blotchiness
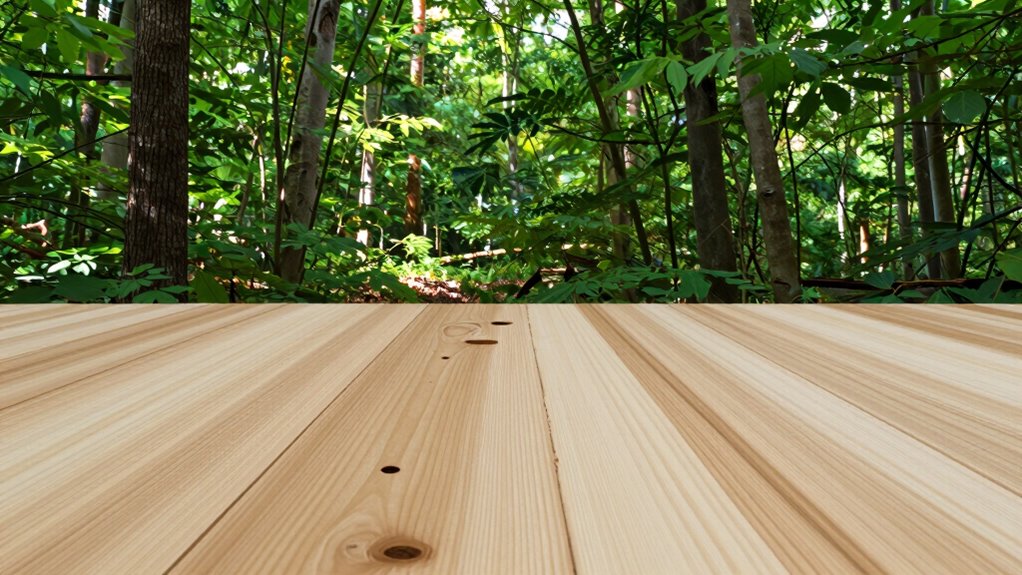
Some woods are naturally more prone to blotchiness because of their unique chemical composition and cellular structure. The grain pattern plays a significant role in how the wood absorbs stains and finishes, influencing blotch development. Woods with irregular or open grain patterns tend to absorb moisture unevenly, which can lead to blotchiness. Moisture content also impacts this process; woods with higher moisture levels are more susceptible, as they allow staining agents to penetrate unevenly. When you work with these woods, understanding their natural tendencies helps you anticipate potential blotch issues. By recognizing how grain pattern and moisture content interact, you can take steps to prepare the wood properly, reducing the chances of blotchiness and achieving a more even finish.

SEAL-ONCE Marine Penetrating Wood Sealer and Waterproofer, Clear, 1 Gallon
MARINE SEALANT: Our liquid formula creates a UV-stable coating for protection against the elements, saltwater spray, and water…
As an affiliate, we earn on qualifying purchases.
As an affiliate, we earn on qualifying purchases.
Recognizing Blotch-Prone Woods Before You Work
Before you start working, you need to recognize which woods are prone to blotchiness. Look for common types like cherry, maple, and birch, which often display visible blotches. Spotting these signs early helps you plan your project and avoid surprises later on. Being aware of visual cues can significantly improve your ability to identify potential blotch-prone woods beforehand. Recognizing the significance of storytelling in your planning process can also help communicate expectations clearly with clients or team members. Additionally, understanding Free Floating techniques can assist in managing these woods effectively during finishing. Incorporating knowledge about wood characteristics can further enhance your ability to anticipate and address blotch issues proactively. Staying informed about market trends can also help you adapt your techniques to evolving industry standards.
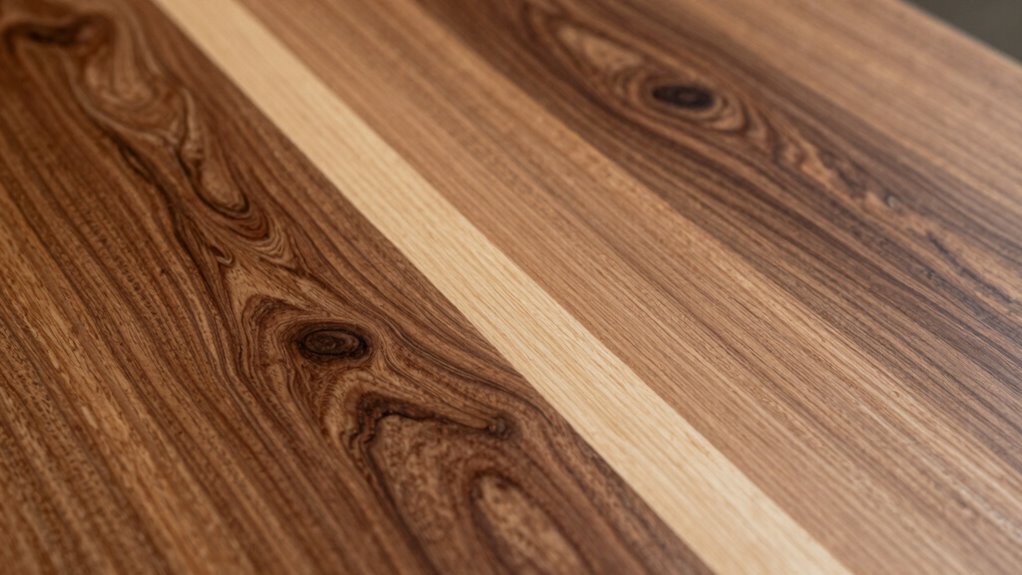
Identifying Common Wood Types
How can you identify blotch-prone woods before starting your project? Pay attention to the wood grain; blotch-prone woods often have irregular, wavy, or uneven grain patterns that hint at potential color issues. Look for noticeable color variation within the same piece—some areas may be darker or lighter, indicating uneven staining or finishing. Hardwoods like cherry, mahogany, and walnut are common blotch-prone types, especially if they display inconsistent grain or color. When selecting wood, inspect the surface closely for natural differences and grain patterns that suggest a higher likelihood of blotching. Additionally, understanding wood grain patterns can help you choose the right wood and plan your finishing process, ultimately preventing surprises and ensuring a more even, professional-looking result.
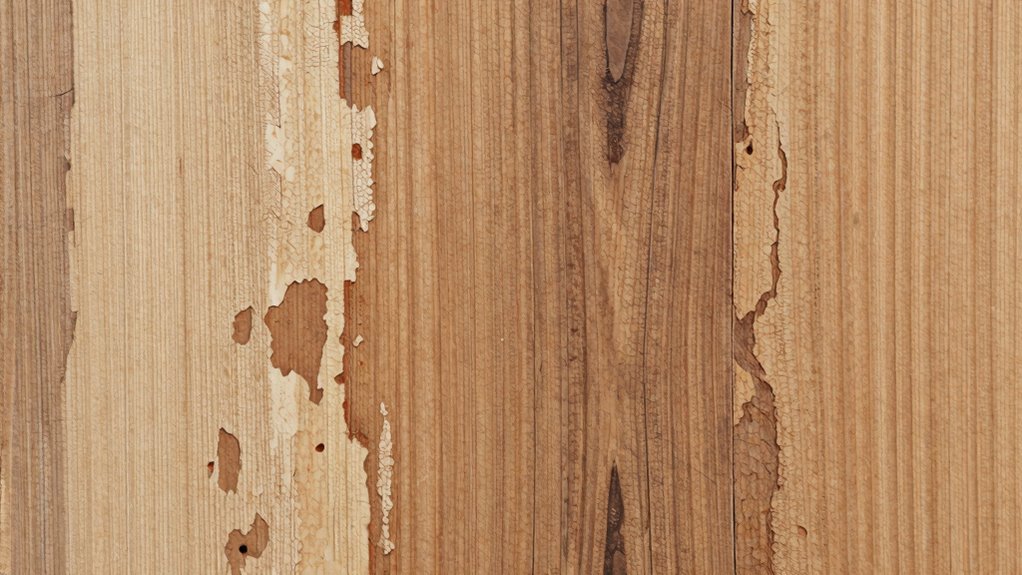
Spotting Visible Blotches
Once you’ve examined the wood for grain patterns and color variations, the next step is to look for visible blotches that indicate blotch-prone areas. These blotches often appear as irregular patches or uneven coloration, signaling inconsistent stain absorption. Pay close attention to the grain orientation, as blotch-prone woods tend to absorb stains unevenly along certain grain directions. Areas with a more open or porous grain are especially susceptible to blotching, showing darker or lighter patches after staining. Spotting these visible blotches early allows you to plan treatment strategies, like preconditioning the wood or choosing appropriate finishes. Recognizing these signs before you work helps prevent surprises, ensuring a more uniform finish and reducing the risk of disasters during your project. Additionally, understanding the energy-efficient properties of sustainable woods can further aid in selecting the best material for your application.
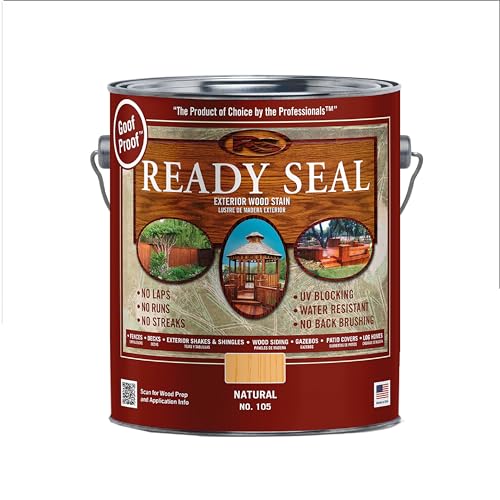
Ready Seal Exterior Wood Stain | Semi-Transparent Oil-Based Formula | Professional Grade Stain and Sealer in One | Ideal for Decks, Fences, Pergolas, Wood Siding & More | Gallon | Natural Light Oak
NO LAPS, RUNS OR STREAKS: Goof Proof formula with no back brushing required; ideal for exterior wood projects
As an affiliate, we earn on qualifying purchases.
As an affiliate, we earn on qualifying purchases.
The Simple Prep Step to Prevent Blotchiness (and How to Do It)

To prevent blotchiness on your wood, the most effective simple prep step is to properly seal the surface before staining. This helps even out the wood grain and ensures consistent stain absorption across the entire piece. When you seal the wood, you create a barrier that minimizes uneven stain penetration, which is often the root cause of blotches. Use a compatible sealer or a pre-stain conditioner designed for your wood type. Apply it evenly with a brush or cloth, following the wood grain, and allow it to dry thoroughly. This step prepares the surface, promoting uniform stain absorption and preventing dark or light patches. Incorporating a quality air purifier in your workspace can also improve indoor air quality, making the staining process safer and more comfortable. Selecting a proper sealing product that suits your wood and project will further enhance the results. Additionally, choosing a sealer with bonding properties can improve adhesion and durability of the stain. Taking this simple precaution makes a significant difference in achieving a smooth, professional finish.

Water-Based Wood & Grain Filler (Trowel Ready) – Maple/Birch/Pine – 1 Quart by Goodfilla | Replace Every Filler & Putty | Repairs, Finishes & Patches | Paintable, Stainable, Sandable & Quick Drying
⚒️ HIGH QUALITY & MONEY SAVING: Save time and money with this wood filler that does not shrink,…
As an affiliate, we earn on qualifying purchases.
As an affiliate, we earn on qualifying purchases.
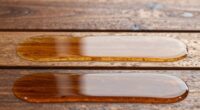
How to Apply a Seal Coat to Stop Blotch Before It Starts
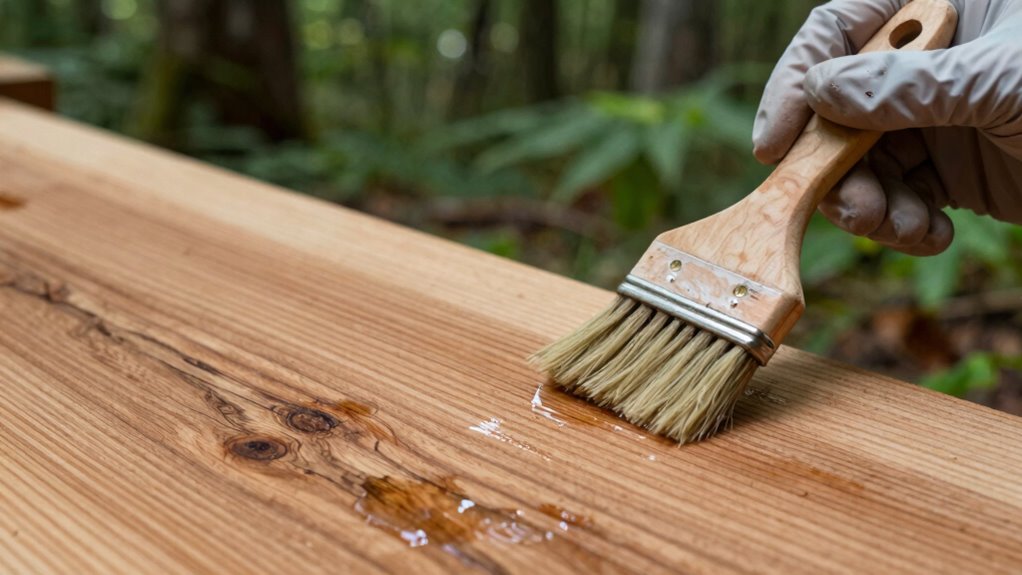
Applying a seal coat correctly is your best defense against blotchiness before it even appears. Start by ensuring the wood’s grain is aligned properly, as inconsistent grain directions can cause uneven absorption. Use a high-quality brush or sprayer to apply the seal coat evenly, maintaining a wet edge to prevent lap marks. Focus on color matching by selecting a seal coat compatible with your finish, which helps minimize color variation across the surface. Work in manageable sections, applying thin coats and avoiding over-application. Let each coat dry thoroughly before proceeding. This careful application helps create a uniform base, reducing the risk of blotchiness later. Proper grain alignment and color matching during the seal coat prepare your wood for a smooth, even finish. Understanding wood absorption is essential for achieving professional-looking results. Additionally, being aware of wood type and age can influence how the seal coat behaves and should be considered during preparation. Recognizing the grain pattern of the wood can also help in planning the most effective application technique. Paying attention to climate conditions can also impact how well the seal coat adheres and dries. Knowing the security features of your chosen sealant may also contribute to better protection against blotchiness over time.
Common Mistakes That Worsen Blotchiness

Many common mistakes can make blotchiness worse instead of preventing it. One mistake is rushing finishing techniques without considering the wood grain. Ignoring the grain direction can lead to uneven stain absorption, deepening blotches. Using overly wet or dry application methods amplifies the problem. Applying stain or finish inconsistently creates a patchy look. Here’s a visual to help you see the impact:
| Wood Grain Direction | Common Mistakes | Result |
|---|---|---|
| Along the grain | Skipping seal coats | Increased blotchiness |
| Against the grain | Overworking the surface | Uneven finish |
| Random directions | Using harsh brushes | Visible streaks |
| Overly wet stain | Ignoring drying time | Streaks and uneven tone |
| Hasty application | Not prepping the wood properly | Amplifies blotches |
Avoid these mistakes to keep blotchiness at bay.
Tips for Getting a Smooth, Even Finish on Blotch-Prone Wood
To achieve a smooth, even finish on blotch-prone wood, start with proper surface preparation by sanding and cleaning thoroughly. Then, apply sealers or primers designed to block uneven absorption and create a uniform base. Using a sealer helps prevent blotchiness by providing a consistent surface for the topcoat. Properly selecting finishing products compatible with the wood and sealing agents will also help prevent blotchiness and guarantee a professional look. Additionally, understanding wood characteristics can guide you in choosing the most effective sealing and finishing options for optimal results. Recognizing wood grain patterns can further influence the choice of sealing and finishing techniques, ensuring a more uniform appearance. Being aware of sustainable practices can also help you select environmentally friendly sealing options that do not compromise quality.
Proper Surface Preparation
Preparing the surface properly is essential for achieving a smooth, even finish on blotch-prone woods. Start by inspecting the wood grain, ensuring it’s free of rough spots or splinters that could cause uneven absorption. Controlling moisture content is vital—you want the wood to be as close to its equilibrium moisture level as possible. If it’s too wet, stain absorption becomes uneven, leading to blotches. Use a damp cloth to wipe down the surface or lightly sand to open the grain without damaging it. Always sand with the grain to avoid creating scratches that can trap stain. Clean off dust thoroughly before applying any finish. Proper preparation creates a uniform surface, helping you achieve a consistent, professional-looking result on blotch-prone woods. Additionally, understanding the best surface preparation techniques can further improve your finishing outcomes.
Use of Sealers and Primers
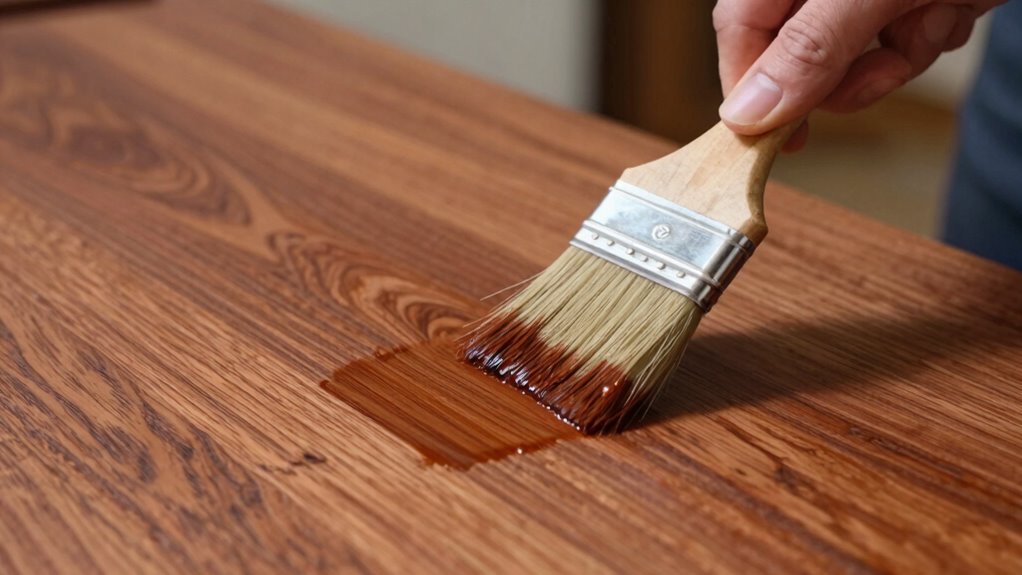
Applying sealers and primers is an essential step in achieving a smooth, even finish on blotch-prone woods. These wood treatments help create a uniform base, reducing the uneven absorption that causes blotching. By applying a high-quality sealer or primer, you improve the effectiveness of your finishing techniques and prevent unsightly discoloration. Make sure to choose a sealer compatible with your final coat, and apply it evenly with a brush or spray. Allow it to dry completely before sanding lightly to smooth out any raised grain. This step not only enhances adhesion but also ensures a more consistent surface, making subsequent coats easier to apply. Proper use of sealers and primers is your best defense against blotchiness and uneven finishes.
Choosing Compatible Finishes
Choosing the right finish can make a significant difference in achieving a smooth, even look on blotch-prone woods. To do this, select finishes that complement the wood grain and prevent uneven blotching. Oil-based finishes often work well, but water-based options with compatible primers can also minimize discoloration. Always test your chosen finish on a scrap piece first. Use quality finishing tools like brushes, foam applicators, or rags to ensure smooth application, avoiding streaks or bubbles. Pay attention to how the wood grain reacts; some finishes may highlight or obscure it. Properly compatible finishes will penetrate evenly, reducing blotchiness and creating a uniform appearance. With careful selection and the right tools, you can achieve a professional, polished finish on blotch-prone woods.
What to Do If Blotch Still Appears Despite Preparation
Even with careful preparation, blotchiness can still appear on your wood surface. When this happens, it affects the wood grain and hinders finish adhesion, leaving uneven patches. To fix this, start by sanding lightly to smooth out the surface and remove any uneven stain buildup. Then, wipe with a damp cloth to eliminate dust and residue. Consider applying a stain conditioner or pre-stain wood conditioner to even out absorption before restaining. Using a high-quality brush or cloth for application can help achieve a more uniform finish. Ultimately, allow adequate drying time between coats to prevent further blotching. Proper wood surface preparation is essential for a professional-looking result. These steps help address residual blotch issues, improve the wood grain appearance, and ensure your finish adheres properly, giving you a professional-looking result. Additionally, choosing the right finishing products can further reduce the likelihood of blotching and enhance the longevity of your project. Being aware of piercing aftercare can also prevent issues like infection or irritation that might affect your results.
How This Easy Prep Saves You Time, Money, and Frustration

By taking a few simple preparatory steps before staining, you can considerably reduce the time, money, and frustration involved in achieving a smooth, professional finish. Understanding your wood’s grain pattern helps you apply stain evenly, preventing blotchiness and uneven color. Checking the moisture content guarantees the wood is properly dried, which minimizes the risk of uneven absorption. When you address these factors upfront, you avoid costly mistakes like re-staining or sanding down blotches. This prep work streamlines the entire process, saving you from wasted materials and hours of frustration. Ultimately, investing a little time beforehand leads to a beautiful, consistent finish that looks professional and lasts longer, making your project more satisfying and cost-effective.
Frequently Asked Questions
How Does Wood Species Influence Blotch Susceptibility?
You should know that wood species greatly influence blotch susceptibility because different species have varying susceptibility levels. Species susceptibility depends on wood properties like tannin content, extractives, and density, which can either resist or promote blotch development. By choosing less susceptible species with favorable wood properties, you markedly reduce blotch risks. Understanding these differences helps you select the right wood for a smooth, blemish-free finish.
Can Environmental Factors Affect Blotch Development During Finishing?
Yes, environmental factors like humidity fluctuations and sunlight exposure can substantially impact blotch development during finishing. Sudden changes in humidity cause the wood to expand or contract unevenly, making blotches more likely. Excessive sunlight exposure can accelerate drying in some areas, leading to inconsistent coloration. To minimize blotch risks, maintain stable humidity levels and limit direct sunlight during the finishing process, ensuring a more even and professional finish.
Are There Specific Sealers Best Suited for Blotch-Prone Woods?
You should choose sealers designed specifically for blotch-prone woods, like shellac or oil-based sealers, which offer better sealer compatibility. Imagine applying a smooth, even coat that sinks into the grain, preventing uneven absorption. Use careful application techniques—thin coats, even strokes—to guarantee consistent coverage. This approach minimizes blotchiness, letting your wood’s natural beauty shine through without surprises, creating a flawless finish every time.
How Long Should You Wait After Prep Before Applying Finish?
You should wait at least 24 hours after prepping before applying finish, but drying time varies based on humidity and temperature. During this period, the curing process continues, ensuring the wood is properly prepared. Rushing this step can cause uneven absorption and blotchiness. To get the best results, check that the surface feels dry and lightly tacky before applying your finish, giving it enough time to cure fully.
What Are Signs That Blotch Is Likely to Reappear After Sealing?
If you notice uneven moisture content or surface unevenness after sealing, blotch might reappear. These signs are like warning signals on a map, indicating hidden trouble ahead. You’ll see areas that look darker or more saturated, suggesting uneven absorption. Keep an eye on these clues, as they show the wood’s moisture isn’t balanced. Addressing these issues early prevents blotch from resurfacing, ensuring a smooth, even finish that lasts.
Conclusion
By mastering this simple prep step, you’re like a skilled captain steering clear of stormy seas. It’s your secret weapon to keep blotchiness at bay, turning potential disasters into smooth sailing. With a little foresight, you’ll transform your woodworking journey into a clear, calm voyage—saving time, money, and frustration. Remember, a smart prep is the lighthouse guiding your project safely to perfect finish shores.