Breaking down plywood solo can be tricky, but the “first cut” strategy helps you save panels and reduce waste. It involves carefully planning, aligning, and securing the panel before making your initial cut to guarantee precision, minimize splintering, and maximize material use. Using the right tools and safety measures makes the process safer and more accurate. If you focus on this first cut technique, you’ll improve your efficiency and get professional results every time. Keep going to learn how to master this method.
Key Takeaways
- Properly support and align plywood panels to ensure accurate, stable cuts when working solo.
- Plan and visualize the initial cut to maximize material efficiency and reduce waste.
- Use the right blades and secure clamping for clean, splinter-free cuts and safety.
- Make the “First Cut” along the grain for increased strength and minimized splintering.
- Troubleshoot and adapt techniques to panel size, grain, and project complexity for optimal results.

Kreg KMA2685 Rip-Cut Circular Saw Guide – Cutting Tool – Guide is Best for Regular (Side-Blade) Circular Saw – Ensure Compatibility Before Use – Woodworking Tools for Home Improvement
Saw Guide Compatibility: This saw guide turns your circular saw into a precision edge-guided tool; works best with…
As an affiliate, we earn on qualifying purchases.
As an affiliate, we earn on qualifying purchases.
Why Breaking Down Plywood Solo Can Be Challenging
Breaking down plywood solo can be challenging because the panels are often large and heavy, making them difficult to handle alone. Proper panel orientation is vital to guarantee stability and control during the process. If you don’t position the plywood correctly, you risk slipping or causing uneven cuts, which can lead to waste or injury. Cutting safety becomes a major concern, especially when managing heavy sheets without assistance. It’s essential to secure the panel firmly and plan your cuts carefully to avoid accidents. Without proper preparation, handling large plywood sheets can quickly become unsafe, increasing the chance of slips, splinters, or damage. Being aware of panel stability and how to maintain it can significantly reduce risks during the process. Maintaining proper lighting conditions can also improve visibility and precision during cuts, further enhancing safety. Paying attention to cutting techniques and employing appropriate tools can help you work more efficiently and reduces the risk of injury or mistakes. Additionally, understanding sustainable practices in handling materials can contribute to more eco-friendly and efficient woodworking. Staying mindful of panel orientation and prioritizing cutting safety helps you work more efficiently and reduces the risk of injury or mistakes.
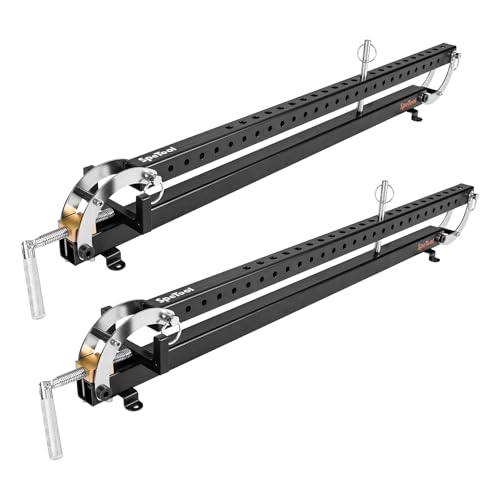
SpeTool 24 inch Panel Clamp 2 Pack, 4-Way Pressure Steel Parallel Clamp For Board Cabinet, Tabletops, Woodwork, Adjustable parallelogram Couplers, Cutting Board Clamps For Precision Projects
The 4-Way Panel Clamp:With parallelogram couplers, our 2 pack panel clamps are very convenient to use. It clamps…
As an affiliate, we earn on qualifying purchases.
As an affiliate, we earn on qualifying purchases.
What Is the “First Cut” Technique and Why It Saves Material
The “First Cut” technique helps you minimize material waste and make the most of each plywood panel. By planning your cuts carefully, you can optimize your panel layout and reduce leftover scraps. This approach saves you both time and money on your project. Incorporating free floating principles can also help you visualize and arrange panels more efficiently, further reducing waste.
Minimizes Material Waste
To minimize material waste when working with plywood, mastering the “First Cut” technique is essential. By carefully planning your initial cut, you can align pieces with the grain orientation to maximize strength and reduce splintering. This approach helps prevent unnecessary scrap, especially when considering panel thickness, as thinner sections may easily crack if not cut properly. Starting with a precise first cut ensures your remaining panels are used efficiently, reducing offcuts and leftovers. By paying attention to grain direction, you avoid damaging valuable material and optimize each sheet’s potential. Incorporating material properties can further improve your cutting accuracy and long-term durability of your projects. Understanding cutting techniques and how they affect the final product is also crucial for achieving clean, professional results. Incorporating proper tool maintenance also plays a crucial role in achieving clean cuts and preventing damage to panels. Additionally, using sharp blades enhances cut quality and minimizes tear-out, further reducing waste. Being mindful of cutting technique can help you achieve cleaner edges and extend the lifespan of your blades, ensuring consistent performance.
Optimizes Panel Layout
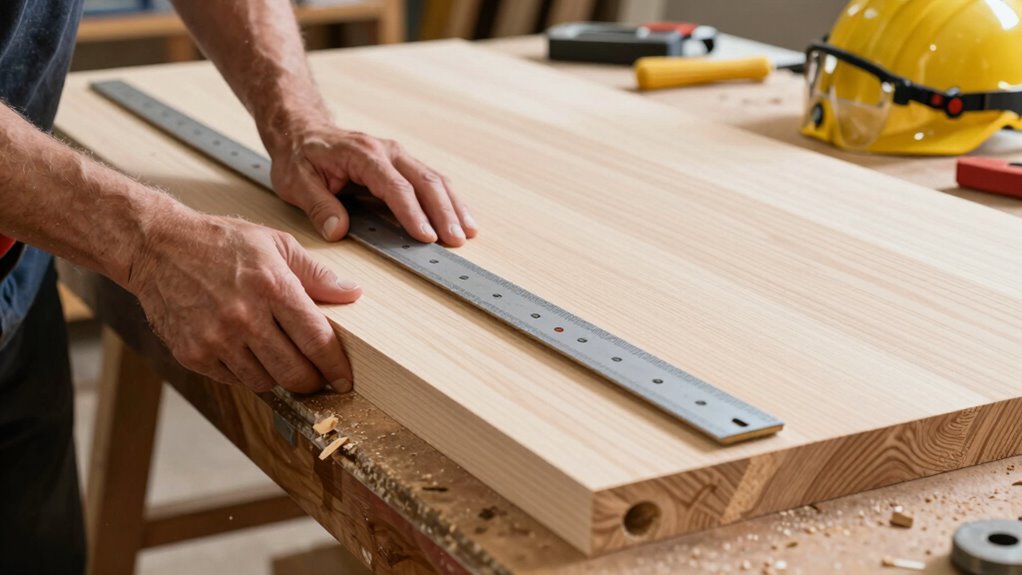
Optimizing your panel layout starts with the “First Cut” technique, which involves planning your initial cut to make the most efficient use of your plywood sheet. Proper panel alignment ensures you maximize material by arranging cuts strategically, reducing waste. When you focus on precise cutting accuracy from the start, you prevent misaligned edges that could lead to scrap. Visualize your layout before making the first cut, considering how each piece fits together. By doing so, you not only save material but also streamline the entire process. Careful planning allows you to make clean, accurate cuts, ensuring your panels fit perfectly and minimizing errors. This approach ultimately saves time, effort, and material, making your project more efficient and cost-effective.

CRAFTSMAN 7-1/4 Inch 140 Tooth Fine Finish Carbon Circular Saw Blade for Plywood, OSB, and Plastic (CMAS2725140)
MAINTAIN CUTS: Fully-hardened plate to help maintain true cuts
As an affiliate, we earn on qualifying purchases.
As an affiliate, we earn on qualifying purchases.
The Best Tools and Setup for a Safe, Accurate First Cut
Getting a precise, safe first cut into plywood starts with choosing the right tools and setting up your workspace properly. Make certain your saw’s blade selection matches the thickness and type of plywood—sharp, fine-tooth blades provide cleaner cuts and reduce splintering. Proper panel alignment is vital; secure the plywood firmly to prevent shifting during the cut. Use clamps or a sturdy work surface to keep everything stable. Adjust your saw’s fence for an accurate, straight cut. Keep your workspace clear of obstructions and make sure good lighting to see your cut line clearly. Always follow safety protocols, such as wearing eye protection. With the right tools and setup, you’ll make a clean, accurate first cut that sets the stage for smooth panel breakdowns.

Cabinet Door Mounting Jig, Cabinet Door Installation Positioner for Easy Door Support & Alignment Tool, Hinge Installation Jig for Base Cabinets, Clamps up to 1 9/16", Perfect for DIY & Professionals
Work Alone, Work Smart: Hold, drill, and secure – all with one tool. No need for a second…
As an affiliate, we earn on qualifying purchases.
As an affiliate, we earn on qualifying purchases.
How to Make Your First Plywood Breakdown Step-by-Step
Start by gathering all the tools you’ll need, like a saw, measuring tape, and safety gear. Next, carefully mark your cut line on the plywood to make certain of accuracy. Once everything is ready, you’re set to make your first cut confidently. Remember, visualization techniques can help you imagine the process and ensure precision in your cuts. To enhance your confidence, understanding load calculations can help you plan your cuts effectively and avoid mistakes. Additionally, practicing on scrap pieces can build your cutting confidence, making the real project smoother and more accurate. Incorporating proper technique can further improve your results and safety during the cut.
Gather Necessary Tools
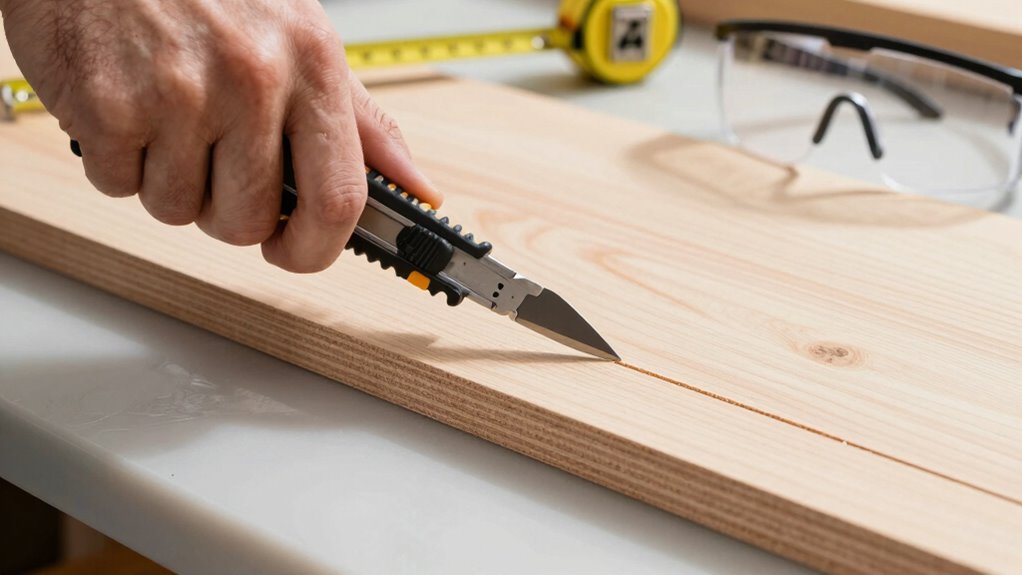
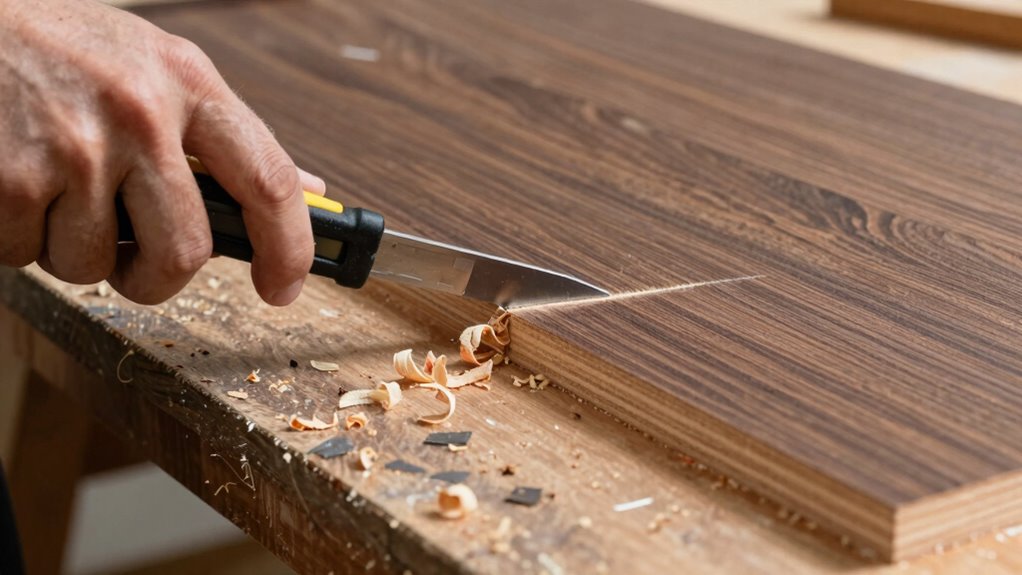
Before you begin breaking down plywood, gather all the necessary tools to guarantee a smooth process. Start with a sharp utility knife to score the panel, reducing splintering. You’ll also need a straightedge or a T-square to guide your cut line accurately. A circular saw or a handsaw is essential for making clean, precise cuts, but always choose the right blade for plywood. Don’t forget safety precautions—wear safety glasses and gloves to protect against splinters and dust. Make certain your work area is clear and well-lit. Tool selection is vital; using appropriate, sharp tools minimizes effort and enhances safety. Taking these steps ensures your plywood breakdown is efficient, safe, and produces quality results. Incorporating connected tools can also streamline the process and improve accuracy. Additionally, understanding Gold IRA markets can provide insights into investing strategies that could fund your woodworking projects.
Mark Your Cut Line
Wondering how to guarantee a straight, clean cut when breaking down plywood? Start by carefully marking your cut line. Pay close attention to the grain direction; cutting with the grain helps produce a smoother edge and reduces splintering. Use a straightedge or a chalk line to draw a clear, precise line along the panel’s surface. Make sure the edge alignment is exact, aligning your marking tool with your desired cut path. Double-check measurements before drawing your line to avoid mistakes. Proper marking ensures your first cut is accurate, setting the stage for a clean, controlled breakdown. Taking this step seriously prevents wasted material and makes subsequent cuts much easier. A well-marked cut line is the foundation for a perfect, single-pass plywood breakdown. Additionally, understanding cut line accuracy and practicing precise measurements can significantly improve your results.
How to Align and Secure Plywood for a Clean Cut
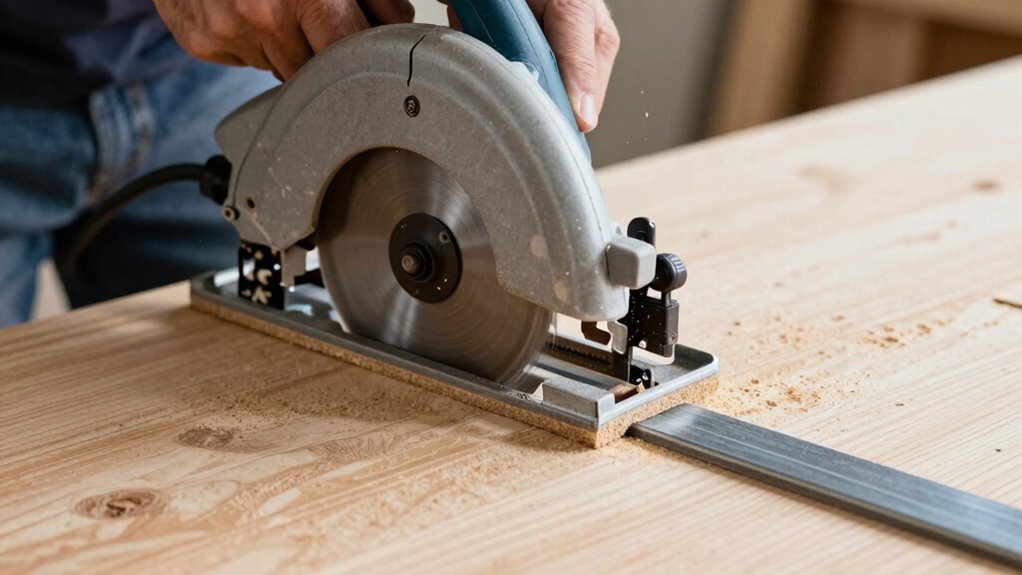
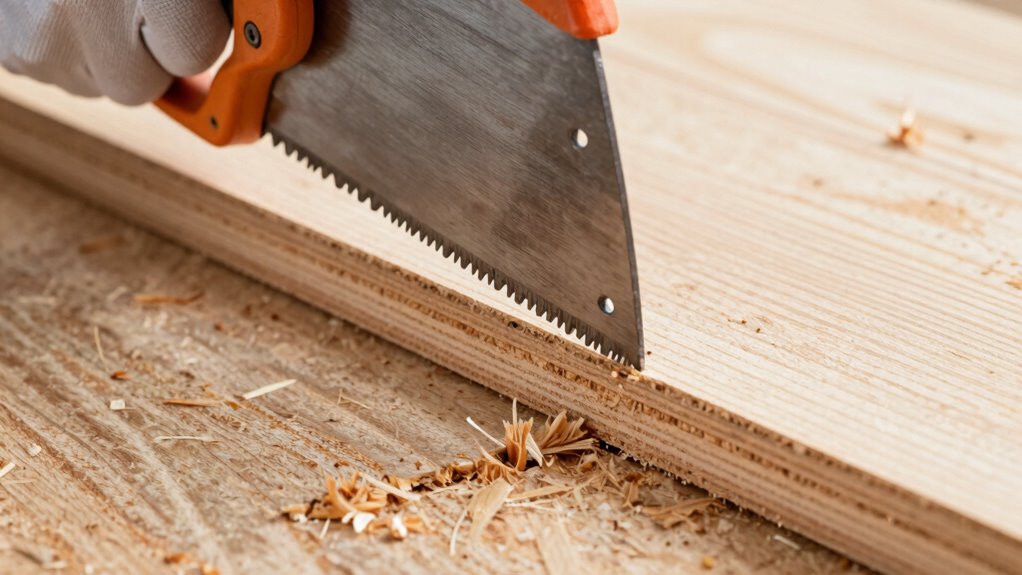
To achieve a clean cut when working with plywood, you need to carefully align and secure the panel beforehand. Start by supporting the panel with sturdy sawhorses or clamps to prevent movement during cutting. Proper panel support keeps the plywood flat and reduces vibrations, resulting in a straighter cut. Next, choose the right blade for your saw—something with fine teeth designed for plywood, like a plywood or finishing blade, will give you a cleaner edge. Secure the panel firmly to prevent slipping, using clamps or a straight edge guide. Verify the panel is level and stable before starting your cut. Smart tools and proper setup can further enhance cutting precision. Proper alignment combined with secure support and the right blade selection makes all the difference in achieving a precise, clean cut without splintering. Additionally, understanding classic motorcycle restoration techniques can help you approach your project with the patience and precision needed for quality results. Incorporating cutting safety practices ensures a safer working environment and better cut quality overall. Being aware of industry best practices can also contribute to more consistent and professional results.
Common Mistakes When Breaking Down Plywood Solo: and How to Avoid Them
Breaking down plywood solo can lead to common mistakes that compromise safety and cut quality. One major mistake is panel misalignment, which causes uneven cuts and potential kickback. To avoid this, double-check your setup and clamp the panel securely before cutting. Another frequent error is poor blade selection; using the wrong blade can result in rough edges and increased splintering. Always choose a blade designed for plywood, such as a fine-tooth or plywood blade, to ensure cleaner cuts. Additionally, rushing the cut or applying uneven pressure can worsen misalignment and damage the panel. Take your time, stay focused, and ensure your tools are properly suited for the job. Correct panel alignment and appropriate blade choice are critical for safe, precise solo plywood breakdowns. Moreover, understanding tool safety protocols can significantly reduce the risk of accidents during the process.
How the “First Cut” Technique Reduces Waste and Saves Money

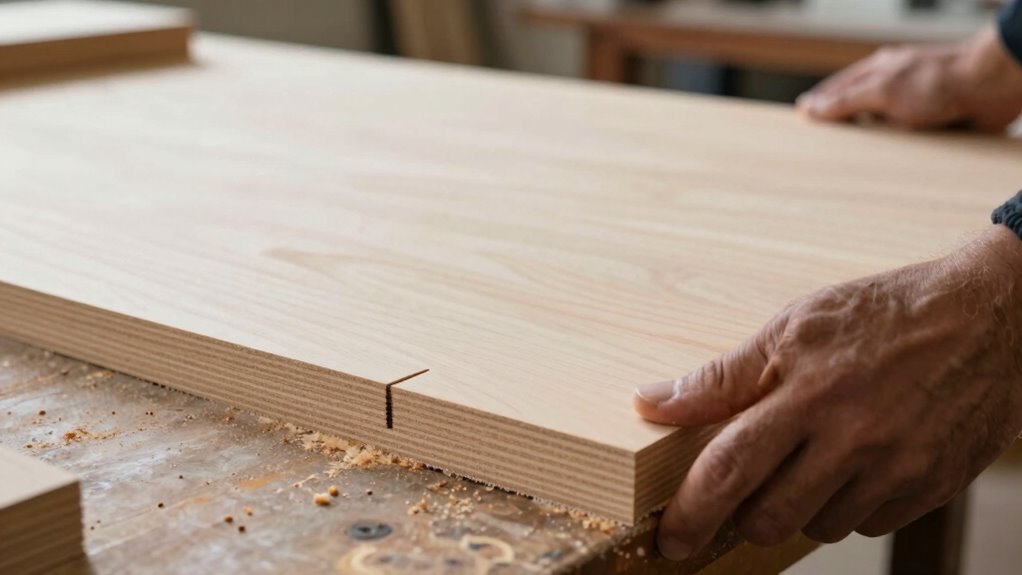
Have you ever noticed how a precise first cut can make a big difference in your plywood project? Starting with an accurate first cut helps guarantee better panel durability, preventing cracks or splinters that weaken the material. When you cut carefully from the beginning, you reduce the need for re-sawing or trimming, which cuts down on waste. This not only saves you money on panels but also minimizes debris and scraps. Plus, a clean, straight cut enhances cutting safety, lowering the risk of slips or accidental damage. By focusing on that initial cut’s accuracy, you maximize your panel’s usable area and avoid unnecessary replacements. Overall, the “First Cut” technique streamlines your project, reducing costs and promoting safer, more efficient plywood breaking down.
What to Do If Your First Cut Isn’t Perfect: Troubleshooting Tips

Even with careful planning, your first cut might not always come out perfect. If you notice issues like rough edges or uneven cuts, check the grain direction—you may have cut against it, causing splintering. To fix edge splintering, gently sand the affected area or use painter’s tape along the cut line before cutting again to minimize splintering. If the cut is uneven, consider using a sanding block or a fine file to even out the edge. For major mistakes, you can trim the damaged section or use wood filler to smooth out small splinters. Remember, a little extra sanding and patience can save the panel from being wasted. Troubleshooting these issues quickly helps keep your project on track.
Applying the “First Cut” Method to Different Plywood Sizes and Projects
Applying the “First Cut” method works effectively across various plywood sizes and project types, but you should adjust your approach depending on the dimensions and complexity involved. For larger panels, plan your cuts to follow the grain orientation to prevent splintering and ensure strength. When working with different panel thicknesses, use a suitable blade height and cutting speed to achieve clean edges without damaging the surface. Thinner plywood may require extra support to avoid warping or bending during the cut, while thicker panels benefit from multiple passes. Always measure carefully, mark your cut lines accurately, and prioritize safety. By tailoring your technique to the specific size and panel thickness, you’ll maximize panel yield and produce precise, clean cuts suited for your project.
Frequently Asked Questions
What Safety Precautions Should I Take When Breaking Down Plywood Alone?
When breaking down plywood alone, you should wear protective gear like safety goggles and gloves to prevent injuries. Make certain your workspace is well-ventilated, clean, and organized to avoid accidents. Use a sturdy, stable work surface, and secure the plywood properly before cutting. Always cut away from your body, keep your hands clear of the blade, and stay alert. These safety precautions help you work efficiently and avoid unnecessary injuries.
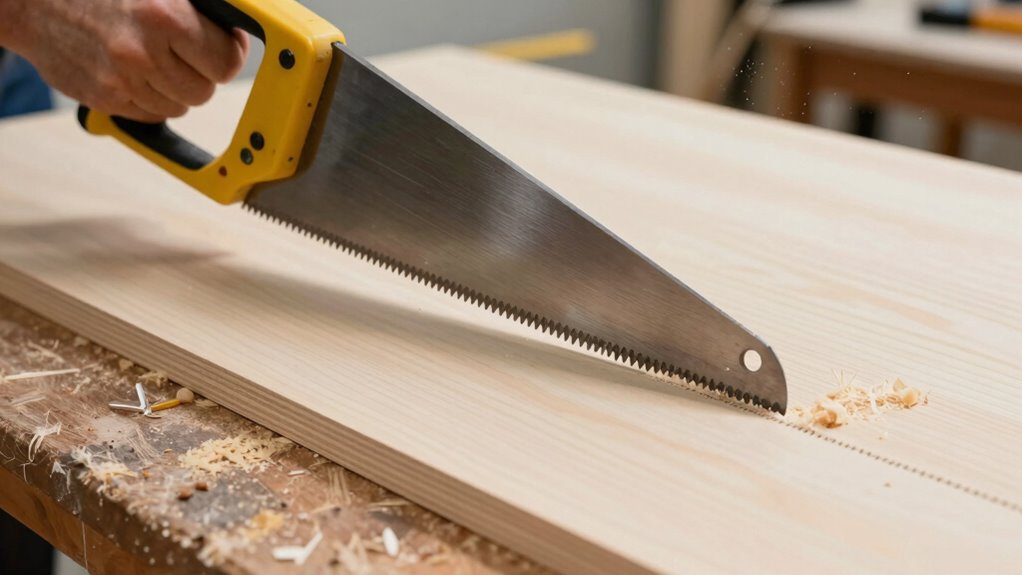
Can I Use Hand Tools Instead of Power Tools for the First Cut?
Sure, you can use hand tools for manual cutting, but don’t expect it to be a walk in the park. While hand tools like a handsaw or a hacksaw give you control, they also demand patience and a steady hand—qualities every DIYer dreams of mastering. Power tools make the first cut faster and easier, but if you’re determined to channel your inner lumberjack, go ahead with manual cutting. Just be prepared for a workout!
How Do I Choose the Right Plywood Thickness for My Project?
You should choose plywood thickness based on your project’s needs and consider grain orientation and moisture content. Thicker panels offer strength and durability, ideal for load-bearing projects, while thinner sheets are easier to handle and cut. Check the grain direction to prevent warping, and make certain the moisture content is appropriate for your environment to avoid expansion or contraction. Tailoring thickness ensures a sturdy, long-lasting result.
What Are the Signs of a Good Initial Cut Versus a Poor One?
Perfect cuts prove precise, with grain alignment aligned and edges smooth, signaling skillful slicing. A good initial cut glides easily, creating clean, consistent lines without splintering or tearing. It feels firm and steady, showing control and confidence. Poor cuts jerk or jag, with rough edges and misaligned grains, indicating a lack of finesse. If your cut’s clean and true, you’re on the right track; if not, adjust your technique.
How Do I Store Leftover Plywood Safely After Cutting?
You should store leftover plywood on a pallet to keep it off the ground and prevent moisture damage. Make certain to cover it with a waterproof tarp or plastic sheeting to protect against moisture. Keep it in a dry, shaded area to avoid warping or swelling. Proper pallet storage and moisture protection ensure your plywood stays in good condition for future use.
Conclusion
Mastering the “first cut” is like steering the Labyrinth with Theseus—precision and focus lead you out of waste and frustration. By applying this technique, you’ll carve your way through projects with confidence, saving time and money. Remember, even Da Vinci’s masterpieces started with that vital first stroke. So, take your time, stay vigilant, and let this strategy be your guiding thread to flawless plywood breakdowns every time.