To clean glue squeeze-out without damaging the finish, act quickly before it dries. Gently wipe wet glue with a damp cloth or sponge, avoiding spreading it further. For dried glue, soften it with a mild solvent that’s safe for your surface, then carefully scrape with a plastic scraper or putty knife. Use patience and gentle motions to prevent scratches. Keep in mind, the right techniques can make cleanup easier—there’s more to discover on how to perfect your process.
Key Takeaways
- Remove wet glue promptly with a damp cloth or sponge to prevent staining or finish damage.
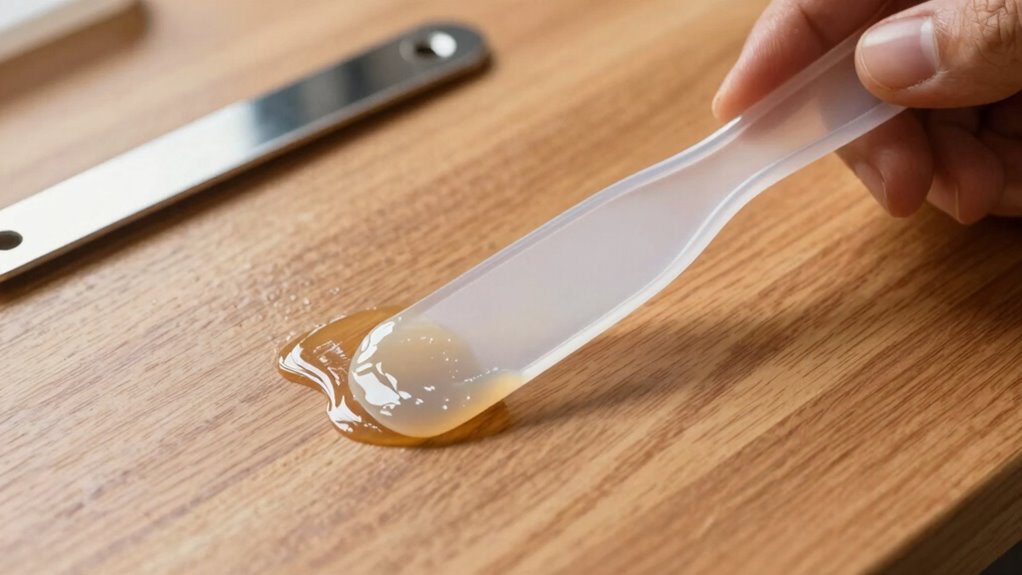
- For dried glue, soften with a mild solvent before gently scraping with plastic tools.
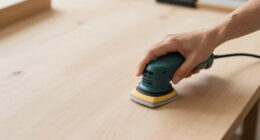
- Use a fine-grit sandpaper to smooth or remove residual glue without harming the surface.
- Select gentle tools like plastic scrapers or putty knives to avoid surface scratches during cleanup.
- Control glue application and clamp pressure to minimize squeeze-out and reduce cleanup effort.
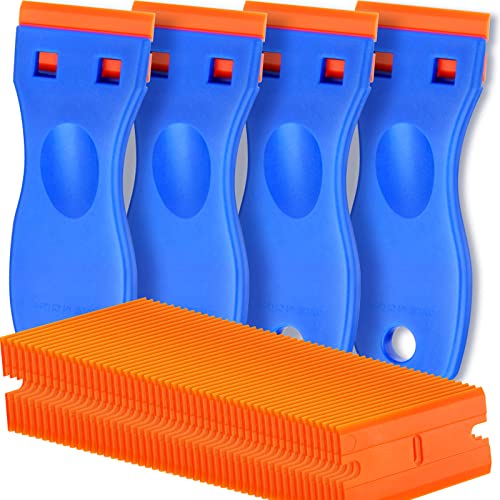
4 Pcs Plastic Razor Blade Scraper and 100 Pcs Blades, Remove Label Decal Tool, Forwithout Scratches Plastic Razor Blade Scraper, Adhesive Remover for Stickers, Gaskets and Paints on Window Car Glass
A VERSATILE TOOL: Scraper tool is ideal for removing vinyl, debris, decals, sign, glue, stickers, labels, grease and…
As an affiliate, we earn on qualifying purchases.
As an affiliate, we earn on qualifying purchases.
What Causes Glue Squeeze-Out and Why It Matters
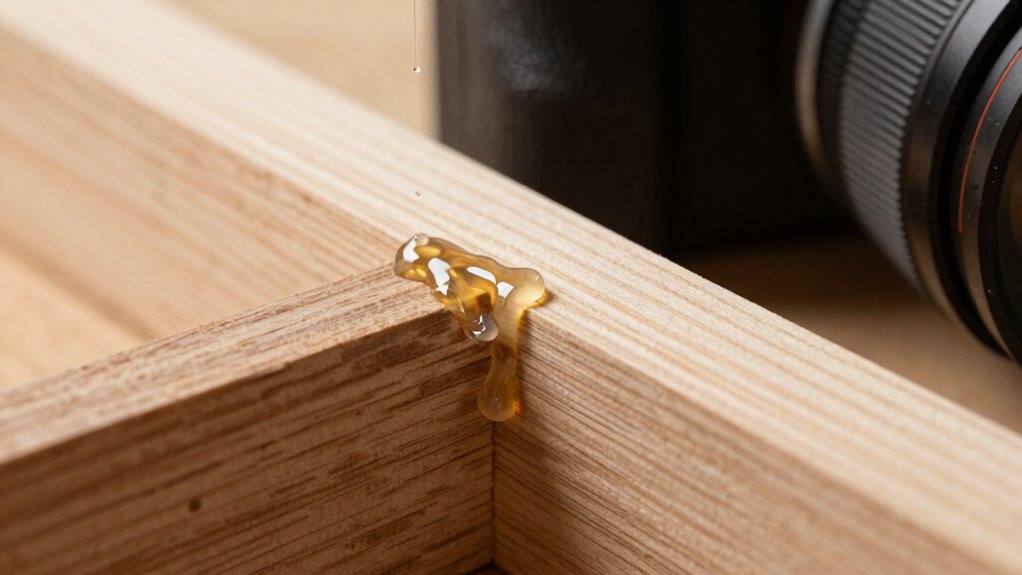
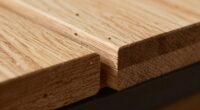
Glue squeeze-out occurs when excess adhesive is forced out of the joint during clamping or pressing. This happens because you apply too much glue during glue application or press the pieces together before the adhesive has evenly spread. Squeeze-out not only creates a mess but also affects drying times. Excess glue takes longer to dry and can weaken the bond if it prevents proper adhesion between surfaces. When you see squeeze-out, it’s a sign that you’ve used more glue than needed. Proper application helps control the amount of adhesive, minimizing squeeze-out and ensuring faster, more reliable drying. Keeping the glue quantity in check improves the overall strength of your project and makes cleanup easier once the adhesive has dried. Additionally, understanding the application techniques can help prevent excess glue and improve your results. Using the right clamping pressure ensures a secure bond without excess squeeze-out, leading to cleaner finishes and stronger joints. Being mindful of adhesive properties can further help you optimize your gluing process and reduce wasted material. Being aware of clamping methods can also aid in achieving a cleaner, more professional look. Being aware of proper joint preparation techniques also contributes to minimizing squeeze-out and achieving optimal results.

VViViD Black True R Carbon Fiber Vinyl Wrap Roll with Air Release Technology (100ft x 5ft (Bulk Wrap Kit))
This premium automotive vinyl by VViViD Vinyls is specially engineered for DIY'ers. This durable film is ideal for…
As an affiliate, we earn on qualifying purchases.
As an affiliate, we earn on qualifying purchases.
Getting Ready: Tools and Workspace for Easy Cleanup
Before you start applying adhesive, gather the right tools and prepare your workspace to make cleanup quick and easy. Keep your workshop organized so you can easily access cleaning supplies like rags, brushes, and solvents when needed. Clear the area of unnecessary clutter to prevent accidental spills or messes. Wearing proper safety gear—gloves, safety glasses, and a mask—protects you from adhesive fumes and skin contact. Set up a designated workspace with good lighting and a protective surface to catch any drips or squeeze-out. Having everything in place beforehand minimizes disruptions and ensures you can act quickly once excess glue appears. Using disposable work surfaces can further simplify cleanup and protect your workspace from adhesive damage. Incorporating proper workspace organization ensures you can efficiently address any messes as they happen, maintaining your project’s finish without stress. Additionally, considering energy-efficient tools can help reduce environmental impact during cleanup and ongoing maintenance. Being aware of best cleanup practices can save time and preserve the quality of your work.

3M Performance 3000 Grit Sandpaper, 3-2/3 in x 9 in, Polish Clear Coat and Paint, Restore Shine, Ideal for Detailed Finishing and Polishing, Very Fine Grade Abrasive for Refined Finishes (03064)
POLISH CLEAR COAT AND PAINT AND RESTORE SHINE – 3000 GRIT is the ideal abrasive for detailed finishing…
As an affiliate, we earn on qualifying purchases.
As an affiliate, we earn on qualifying purchases.
How to Remove Glue Squeeze-Out Without Damaging Your Surface
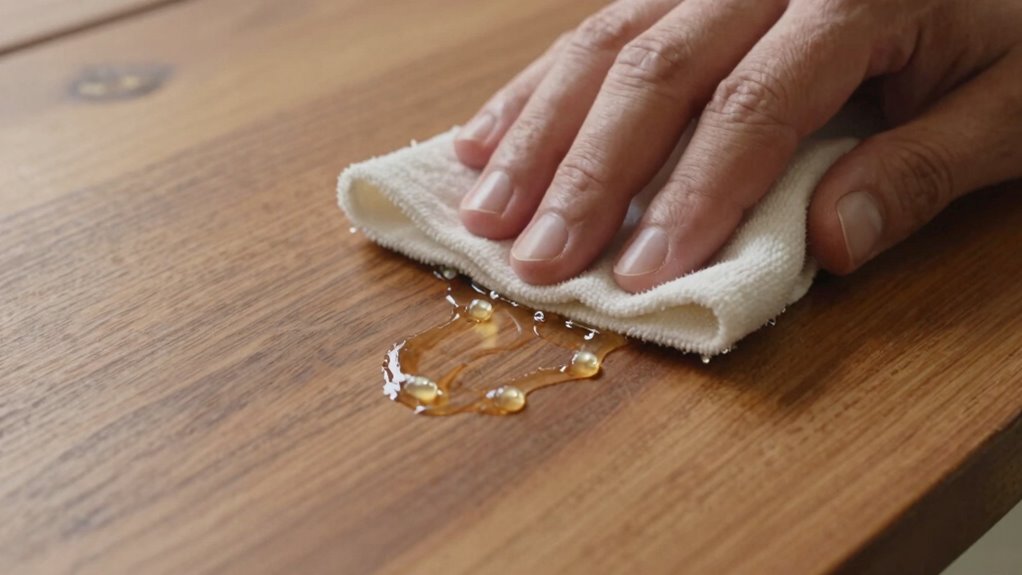
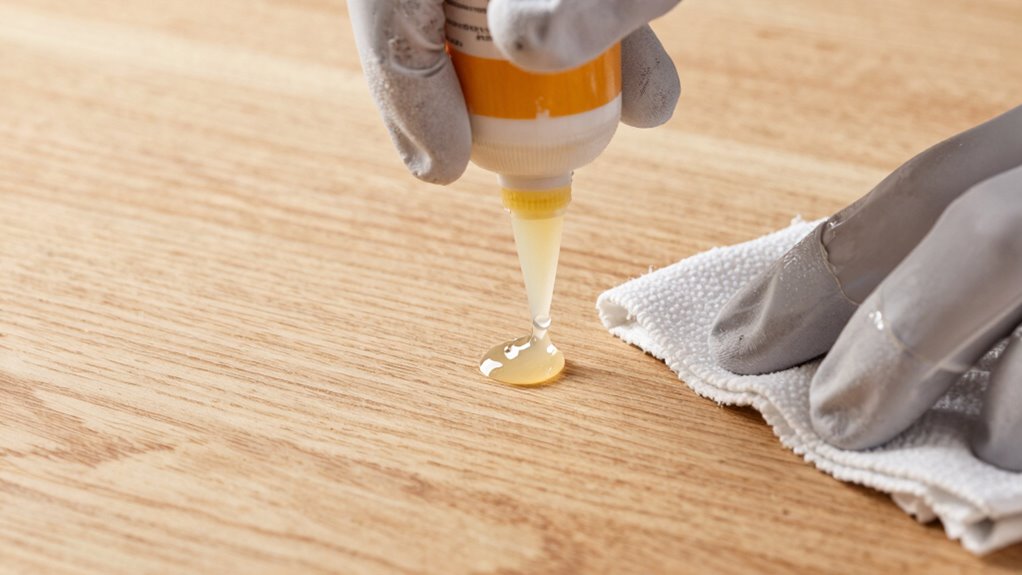
Removing excess glue without damaging your surface requires patience and the right techniques. Start by evaluating the glue application and waiting for the appropriate drying time. If the glue is still wet, gently wipe it away with a damp cloth or sponge, being careful not to spread it further. For dried glue, avoid scraping or harsh tools that can scratch the surface. Instead, soften the squeeze-out by applying a mild solvent suited for your material, then gently lift it with a plastic scraper or cloth. Take your time, working gradually to prevent damage. Rushing or using aggressive methods can mar your finish. Proper timing and gentle removal are key to cleaning up glue squeeze-out while preserving your surface’s integrity.

Sili Non-Stick Silicone Glue Brush Wood Applicator Set, 1 & 1/2 Brush Kit, Easy Clean Brushes for Woodworking, Arts, Hobby, Silicone Spreader Brushes
THE REUSABLE SILI BRUSH – This silicone glue brush allows you to apply yellow wood or white school…
As an affiliate, we earn on qualifying purchases.
As an affiliate, we earn on qualifying purchases.
Choosing the Right Solvent for Wood, Plastic, and Metal
When choosing a solvent, you need to consider how it interacts with your surface to avoid damage. Safety is also key—make sure the solvent is appropriate for your material and won’t cause harm. Additionally, selecting a solvent with appropriate chemical properties can help you avoid unintended reactions or surface degradation. Understanding the chemical properties of solvents can help you select the most suitable option for your project. Being aware of cryptid sightings and other folklore can also help you anticipate unexpected encounters during outdoor work, especially in remote areas. Being familiar with chemical safety guidelines is essential to prevent accidents and ensure proper handling of solvents. Moreover, understanding the 16PF personality traits can assist in selecting the right tools or methods when working with different materials or environments.
Surface Compatibility and Safety
Choosing the right solvent is essential to guarantee compatibility and safety when working with different surfaces like wood, plastic, and metal. Surface compatibility ensures the solvent won’t damage or discolor the material, so always verify its suitability beforehand. Safety precautions are equally important; use gloves, eye protection, and work in a well-ventilated area to avoid harmful fumes. Different surfaces react differently to solvents, so select one specifically designed for your material. For example, some plastics can melt or crack if exposed to harsh chemicals, while certain wood finishes may be ruined. Always read labels carefully and follow manufacturer instructions to minimize risks. Properly selecting and handling your solvent protects both your project’s integrity and your health. Additionally, understanding the piercing healing process can help you choose appropriate cleaning solutions that won’t interfere with recovery.
Solvent Effectiveness and Removal
How well a solvent works depends on the material you’re working with and the type of residue you’re trying to eliminate. To remove adhesive squeeze-out effectively, consider the adhesive properties and how they relate to the material’s surface. Different materials, like wood, plastic, or metal, react uniquely to solvent chemistry. For example, mineral spirits work well on many plastics and metals, but can damage certain finishes on wood. Solvent effectiveness hinges on matching the right chemical to the adhesive’s composition. You want a solvent that dissolves or softens the adhesive without harming the substrate. Proper removal involves applying the right amount of solvent, giving it time to work, and gently wiping away residue. Considering the compatibility of solvents with various finishes ensures you select an option that cleans effectively without causing damage. Additionally, understanding the adhesive properties can help you choose a more precise cleaning method, reducing the risk of substrate damage. Being aware of the material’s surface finish and its durability can assist in preventing unintended damage during cleanup, especially when you select a solvent that aligns with the substrate’s compatibility and safety. This approach ensures clean results without damaging your project’s finish.
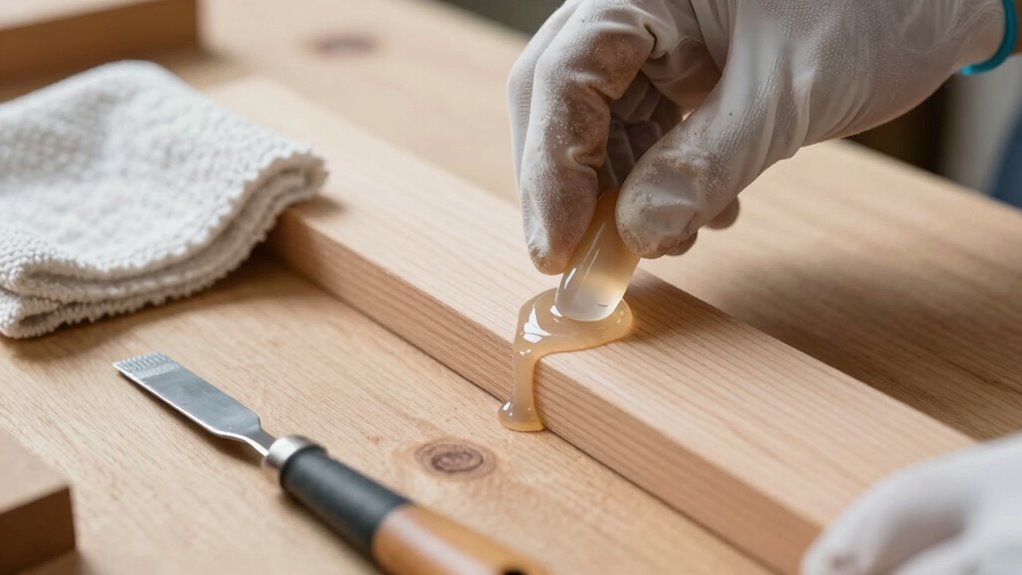
Tips to Prevent Excess Glue During Application
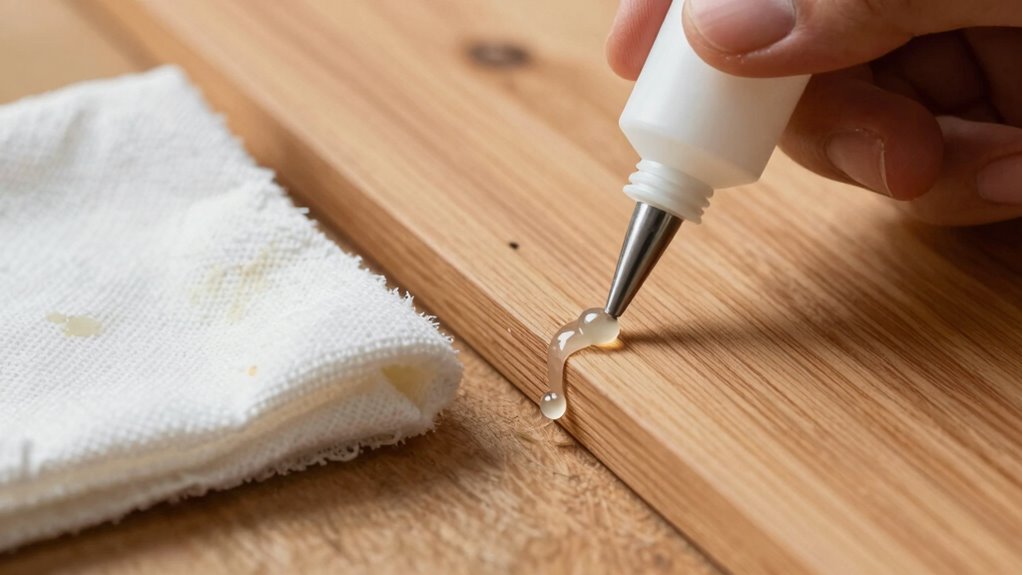
To prevent excess glue during application, it’s vital to control the amount you use and how you apply it. Proper application technique ensures a neat, efficient bond without squeeze-out. First, apply a thin, even layer of glue with a brush or roller, avoiding excess. Second, adjust clamp pressure to secure the joint firmly without forcing too much glue out. Third, use a controlled, steady application to prevent spillage or excess. Fourth, clean any excess glue immediately with a damp cloth before it dries, reducing cleanup later. Additionally, mastering your application technique and managing clamp pressure can significantly reduce squeeze‑out and keep your project looking professional and tidy. Proper surface preparation can also improve adhesion and minimize excess glue, leading to cleaner results. Additionally, understanding connected home fitness technology can help you choose the right tools and accessories to enhance your workspace. Being aware of auditory processing challenges can also help in designing a workspace that minimizes distractions and promotes focus during projects. Incorporating precious metals into your investment portfolio can provide added security and diversification against market fluctuations.
Troubleshooting Stubborn Squeeze-Out and Repair Tips
When you encounter stubborn squeeze-out, gentle removal is key to avoid damaging your project. You’ll also need effective repair and touch-up techniques to restore the surface seamlessly. Ultimately, learn how to prevent future squeeze-out by adjusting your application methods for cleaner results.
Gentle Removal Techniques
Dealing with stubborn squeeze-out can be tricky, but gentle removal techniques help prevent damage to your surface. Understanding adhesive chemistry and application techniques is key. Use soft tools and avoid harsh abrasives that might scratch or mar the finish. Here are some effective methods:
- Dab with a damp cloth — lightly moisten and gently lift the residue, taking care not to spread it.
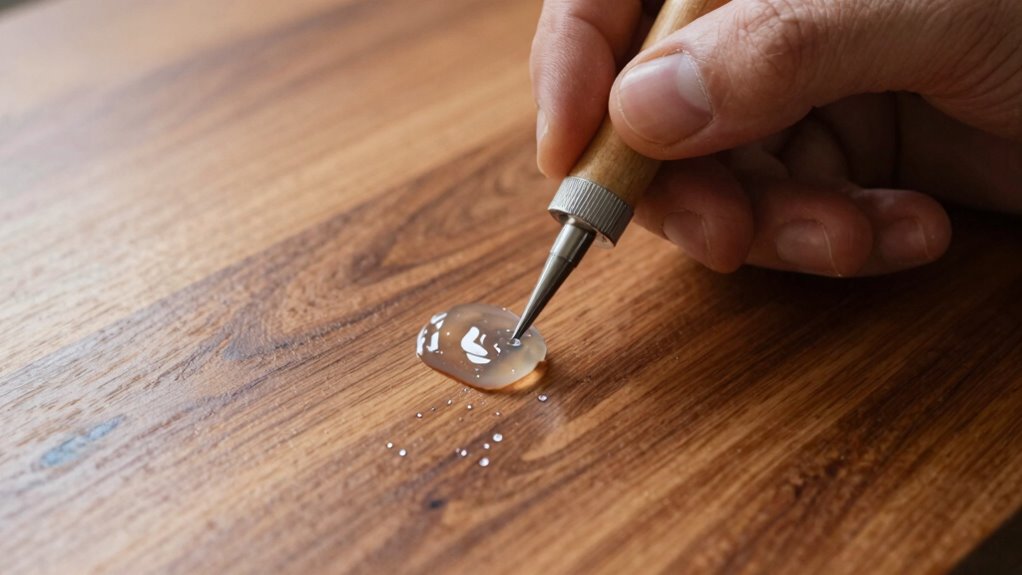
- Use a plastic scraper — gently lift squeeze-out without scratching the surface.
- Apply a solvent sparingly — select one compatible with your adhesive chemistry, then wait briefly before wiping.
- Work in small sections — this minimizes spreading and allows precise control over removal.
Patience and gentle techniques preserve your surface while effectively cleaning up stubborn squeeze-out.
Repair and Touch-Up Tips
Stubborn squeeze-out can be frustrating, but with the right repair and touch-up techniques, you can restore your surface smoothly. First, assess the glue consistency; if it’s too thick, it’s more likely to leave stubborn residue. Wait until the glue has fully dried, respecting the recommended drying time, before attempting repairs. If excess glue remains, gently sand the area with fine-grit sandpaper, being careful not to damage the finish. For small blemishes, use a sharp blade or putty knife to carefully scrape off hardened glue without gouging the surface. After removing the residue, touch up the area with matching stain or finish, ensuring a seamless repair. Patience during drying and precise removal are key to avoiding surface damage and achieving a clean look.
Preventing Future Squeeze-Out
To prevent future squeeze-out, start by applying glue sparingly and precisely, using a controlled amount that covers only the necessary surfaces. Ensuring proper glue consistency helps achieve a manageable flow and reduces excess. Adjust clamp pressure to avoid over-tightening, which forces more glue out than needed. Here are key tips:
- Use minimal glue, aiming for a thin, even layer.
- Maintain consistent clamp pressure to prevent excessive squeeze-out.
- Check glue consistency regularly; too runny or thick glue can cause problems.
- Wipe away excess immediately before it sets to keep surfaces clean.
Following these guidelines helps you control squeeze-out, making cleanup easier and preserving your finish. Proper glue application and clamp pressure are essential for a neat, professional result.
Frequently Asked Questions
Can Using Too Much Glue Actually Weaken the Bond?
Yes, using too much glue can weaken the bond because excess glue can prevent proper contact between surfaces. It may create a barrier that reduces glue strength and compromises bonding integrity. When you overapply, the glue may also take longer to cure, increasing the risk of weak spots. To guarantee a strong, lasting bond, use just enough glue to cover surfaces evenly without excess that could interfere with the adhesive’s effectiveness.
Are There Eco-Friendly Options for Glue Cleanup?
Did you know that biodegradable adhesives are gaining popularity for being eco-friendly? You can use natural cleaning agents, like vinegar or lemon juice, to clean glue squeeze-out without harming the environment. These options break down naturally and are safe for most surfaces. By choosing biodegradable adhesives and natural cleaners, you reduce chemical waste and protect ecosystems, making your DIY projects more sustainable and eco-conscious.
How Long Should I Wait Before Cleaning Excess Glue?
You should wait until the glue is dry enough to handle, usually within the recommended drying time on the label, before cleaning excess. Avoid rushing the process, as cleaning too early can smudge or spread the glue, disrupting the curing process. Once the glue has set but before it fully cures, gently remove squeeze-out with a damp cloth or tools. Patience guarantees a clean finish without damaging your project.
Does Sanding Remove Old Glue Residue Effectively?
Imagine gently sanding away stubborn glue residue as if peeling away layers of old paint. Sanding techniques can effectively remove old glue residue, especially when you use fine-grit sandpaper and light pressure. It smooths the surface without damaging the wood, revealing a fresh, clean finish. Just be patient and steady, ensuring you don’t oversand and create uneven spots. This method keeps your project looking professional and polished.
What Safety Precautions Should I Take When Using Solvents?
When using solvents, you should always wear protective gear like gloves and goggles to prevent skin and eye irritation. Make sure your workspace has good ventilation to avoid inhaling fumes, which can be harmful. Avoid open flames or sparks, and read the manufacturer’s instructions carefully. Taking these safety precautions keeps you safe while effectively cleaning glue squeeze-out without risking health or damaging your finish.
Conclusion
Cleaning glue squeeze-out doesn’t have to be a hassle. With the right tools and techniques, you can keep your project looking professional—without damaging the finish. Did you know that over 60% of DIYers admit to ruining a project’s surface because of improper glue cleanup? By following these tips, you’ll save time, avoid costly repairs, and achieve a flawless look every time. Stay patient and prepared—you’ll master glue cleanup in no time!