Sliding dovetails bind halfway in mainly due to poor joint alignment, mismatched materials, or dull tools. If your cuts aren’t perfectly square, even slight misalignments can create binding issues. Using different wood species can worsen the problem, as they expand and contract at different rates. Dull blades can leave rough edges, complicating the fit. By ensuring precision in these areas, you’ll avoid frustration. Stick around to discover more tips for achieving seamless joints.
Key Takeaways
- Poor joint alignment can cause binding; ensure cuts are perfectly square for a proper fit.
- Differences in wood density and grain can lead to uneven expansion, affecting joint movement.
- Dull tools produce rough cuts, increasing the likelihood of binding; maintain sharp blades for precision.
- Dry-fitting joints allows for early detection of binding issues; adjust before applying glue.
- Grain direction affects fit; ensure proper orientation to avoid binding during assembly.
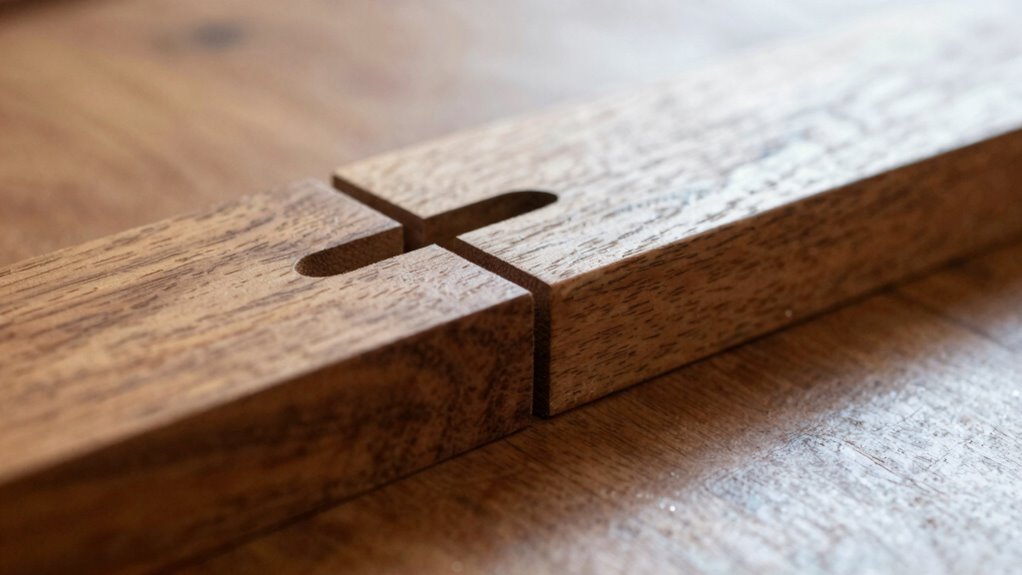
Sliding dovetails are a powerful joint technique that combines strength and aesthetics in woodworking. However, if you’ve ever faced the frustrating issue of your sliding dovetails binding halfway in, you know how essential it is to understand the factors at play. This binding can derail your project and waste precious time. Let’s break down what you can do to avoid this common pitfall in your woodworking journey.
One major reason your dovetail joints might bind is poor joint alignment. If your cuts aren’t perfectly square or if the tails and pins aren’t fitting together as they should, you’ll likely experience resistance when inserting the joint. To combat this, double-check your measurements and confirm your cuts are precise. Using a reliable square can help you maintain accuracy throughout the process. Additionally, joint alignment is crucial, as even slight misalignments can cause binding issues. Ensuring your tools are properly calibrated can also improve your cut quality and alignment. Sometimes, cut precision can be compromised by the quality of your saw blades or router bits, so paying attention to sharpness and setup is essential. Regularly inspecting your tools and replacing worn-out blades can make a noticeable difference in your results.
Poor joint alignment can lead to frustrating binding in dovetail joints. Always double-check your measurements for a precise fit.
Material selection also plays an important role. If you’re working with wood that has varying densities or grain patterns, your sliding dovetail might bind more easily. Different species of wood expand and contract at different rates, so consider using a uniform material for both the tail and the socket to minimize this issue. If you have to mix materials, be mindful of how they’ll interact as they acclimate to changes in humidity and temperature. Additionally, understanding wood movement can help you better anticipate how your pieces will behave over time.
Another factor is tool maintenance. Dull blades or poorly maintained tools can lead to rough cuts and uneven surfaces, which can cause binding. Regularly sharpen your saw blades and check your router bits to confirm they’re in top shape. Clean your tools after each use to avoid buildup that could affect performance. Keeping your equipment in good condition is essential for achieving smooth, precise cuts. Well-maintained tools not only improve safety but also ensure more consistent results.
When it comes to assembly tips, always dry-fit your joints before applying glue. This way, you can detect any potential binding issues early on and make adjustments as needed. If you notice that the joint binds at any point, take the time to identify the cause. Whether it involves refining the joint or adjusting your approach, addressing these concerns upfront can save you headaches later. Additionally, consider grain direction when fitting your joints, as opposing grain directions can sometimes contribute to binding. Being mindful of grain orientation can help you achieve a tighter, more durable fit.
Finally, remember that patience is key. Sliding dovetails are a fantastic technique, but they require careful attention to detail. By focusing on joint alignment, material selection, tool maintenance, and thorough assembly prep, you’ll increase your chances of a smooth, successful fit. Embrace the learning process, and soon you’ll master the sliding dovetail joint without the frustration of binding. Developing a methodical approach and understanding the nuances of your materials and tools will lead to more consistent and satisfying results.
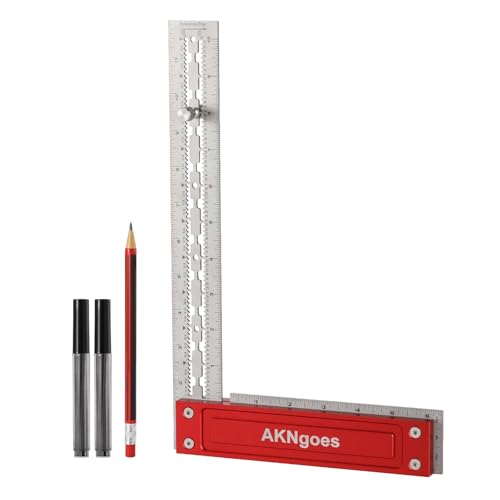
AKNgoes Precision Woodworking Square, Stainless Steel Square with Shoulder Lip, Self Standing for Quick Measurement, Built in Scribe Notches, Framing Tool for Professional Carpentry Use-12 Inch
【Premium Quality】The precision square blade is made of 301 Stainless steel and the handle is high-quality aluminum alloy…
As an affiliate, we earn on qualifying purchases.
As an affiliate, we earn on qualifying purchases.
Frequently Asked Questions
What Tools Are Best for Cutting Sliding Dovetails?
For cutting sliding dovetails, you’ll want to use a combination of dovetail jigs and hand tools. A dovetail jig simplifies the process, ensuring precision and consistency. Pair that with a sharp chisel for fine tuning the joints, and a hand saw to make clean cuts. If you prefer a more traditional approach, hand-cutting with chisels and a dovetail saw can give you great results, allowing for a personal touch in your craftsmanship.
How Can I Prevent Tear-Out When Cutting Dovetails?
To prevent tear-out when cutting dovetails, use tear out techniques like scoring the cut line with a sharp knife. This gives you a clean edge and minimizes splintering. Guarantee proper joint alignment before making cuts, as misalignment can lead to more stress on the wood fibers. Additionally, consider using a backer board to support the material and reduce the risk of tear-out during the cutting process. Happy woodworking!
Are Sliding Dovetails Suitable for All Wood Types?
Sure, sliding dovetails might just be the universal joint of woodworking—if only life were that simple! In reality, they aren’t suitable for all wood types. Some woods, like soft pine, can crush under pressure, while hardwoods offer better joint strength. You’ll need to evaluate wood characteristics, like grain direction and density, to guarantee your dovetails slide smoothly and hold up over time. So, choose wisely, or prepare for a woodworking mishap!
What Is the Ideal Joint Thickness for Sliding Dovetails?
The ideal joint thickness for sliding dovetails typically ranges from 1/2 inch to 3/4 inch, depending on your project’s material selection. You’ll want to take into account the joint dimensions to secure a snug fit without binding. Thicker joints can provide more strength, but they might be harder to align properly. Always test your fit before final assembly to assure a smooth slide and proper connection, no matter the wood type you choose.
How Do I Finish Sliding Dovetail Joints Effectively?
To finish sliding dovetail joints effectively, you’ll want to balance precision with aesthetics. Make certain your joint alignment is spot on before applying any finishing techniques. Start with sanding the joint surfaces to eliminate rough edges, then consider using wood oils or varnishes that enhance the grain without obscuring the joint’s beauty. Finally, apply a wax for added protection and a smooth feel, making sure your hard work shines through beautifully.
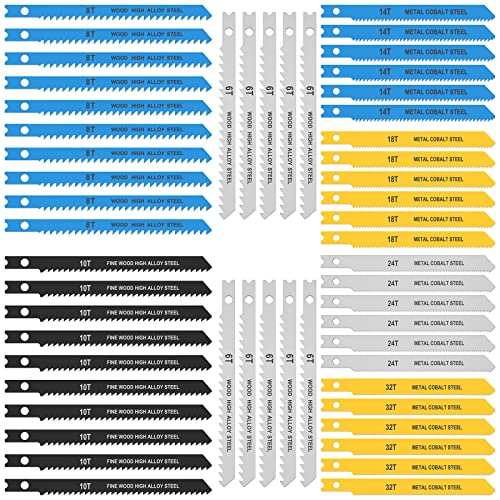
Abizarch 54Pcs Jig Saw Blade Set High Carbon Steel Assorted Saw Blades with U-Shank Sharp Fast Cut Down Jigsaw Blade Woodworking Tool for Wood Metal Plastic Cutting
(*^_^*) [Fast Cutting] Precise polishing of teeth is designed for fast chip removal, speeding up the cutting process,…
As an affiliate, we earn on qualifying purchases.
As an affiliate, we earn on qualifying purchases.
Conclusion
As you slide that dovetail into place, the moment hangs in the air—will it bind, or will it glide? You feel the tension, a whisper of resistance urging you to rethink your approach. What if just a slight adjustment could free it? As you consider the angles, a flicker of hope ignites. With a gentle push, you breathe in deeply, and just as you exhale, it slips effortlessly into position—victory tastes sweet, doesn’t it?

POWERTEC 12 Inch Dovetail Jig with Templates, Router Bits, and Guide Bushing – For Cutting Half-Blind & Through Dovetails, Box Joints, and Dados On Woodworking & DIY Projects (72069)
CREATE FLAWLESS DOVETAIL JOINTS: This 12-inch dovetail jig with a half-blind dovetail and through dovetail template makes it…
As an affiliate, we earn on qualifying purchases.
As an affiliate, we earn on qualifying purchases.
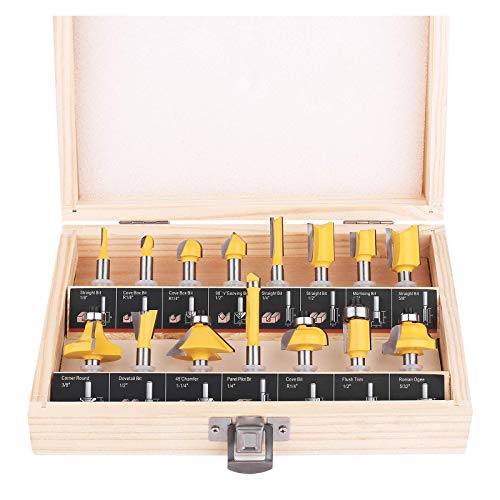
KOWOOD Router Bits Set of 15 Pieces 1/4 Inch Woodwork Tools for Beginners
▲ DURABLE STEEL BODY – Boasting alloy blade, balanced craftsmanship and a solid hardened steel board these woodworking…
As an affiliate, we earn on qualifying purchases.
As an affiliate, we earn on qualifying purchases.