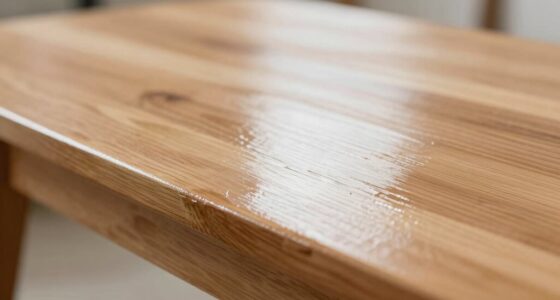

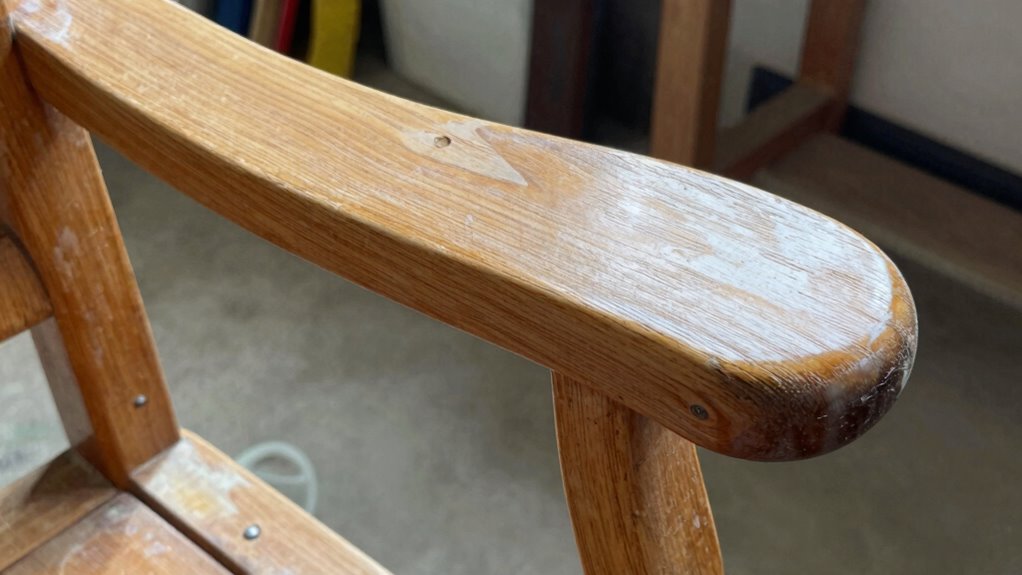
If your furniture has a thin, intact, or well-adhered finish that still shows the wood grain clearly, you can often skip full stripping and opt for light refinishing. Look for peeling, bubbling, or chipping paint or stain, which may require removal. If the surface is just mildly worn, a gentle cleaning and light sanding can refresh it without risking damage. To get the best results and avoid future regrets, explore the key signs and techniques further.
Key Takeaways
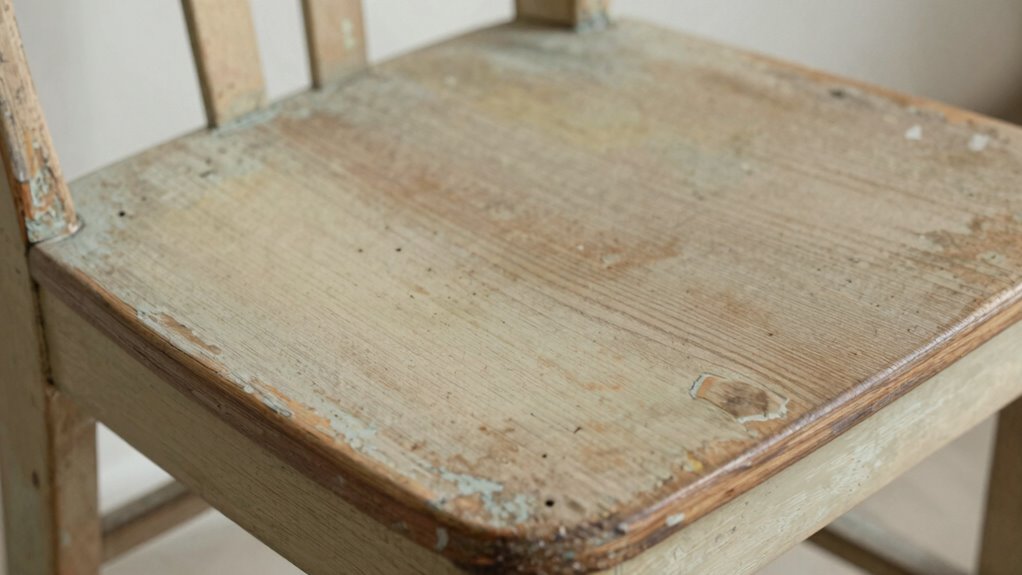
- Assess the existing finish: if it’s thin, intact, and well-adhered, light refinishing can often suffice.
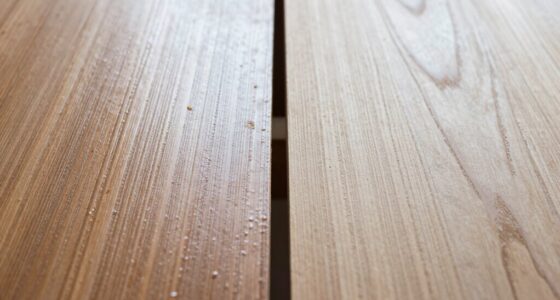
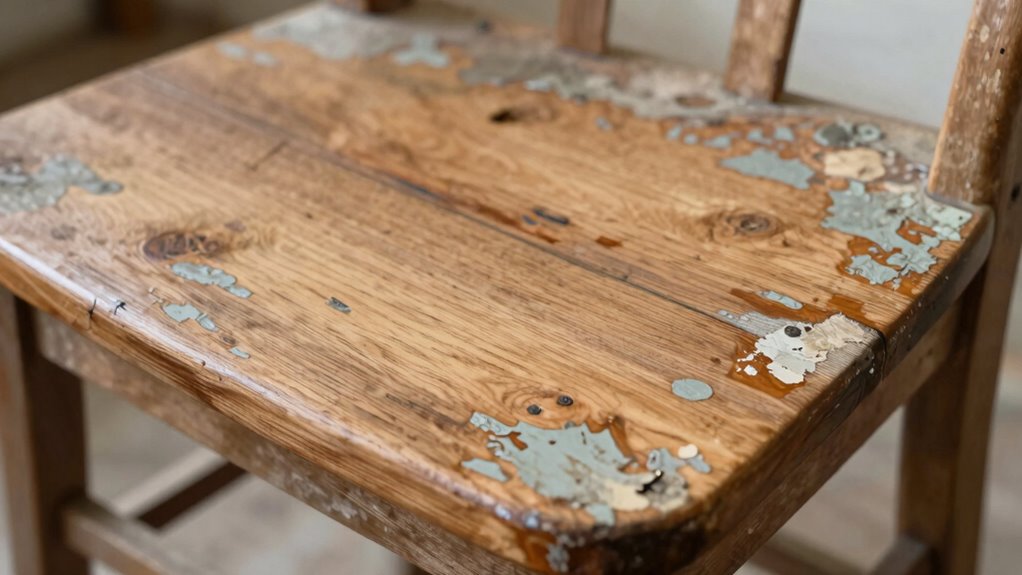
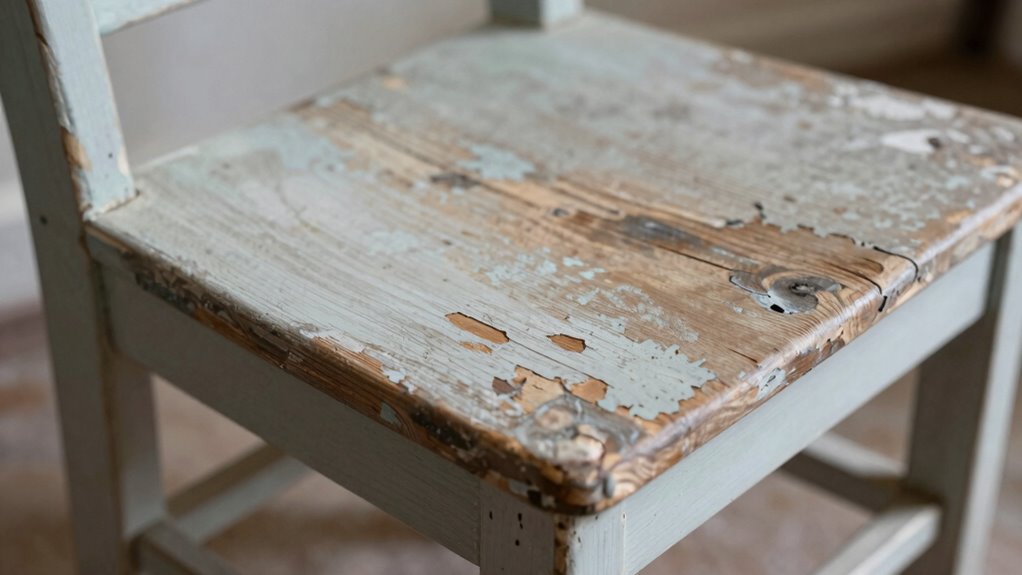
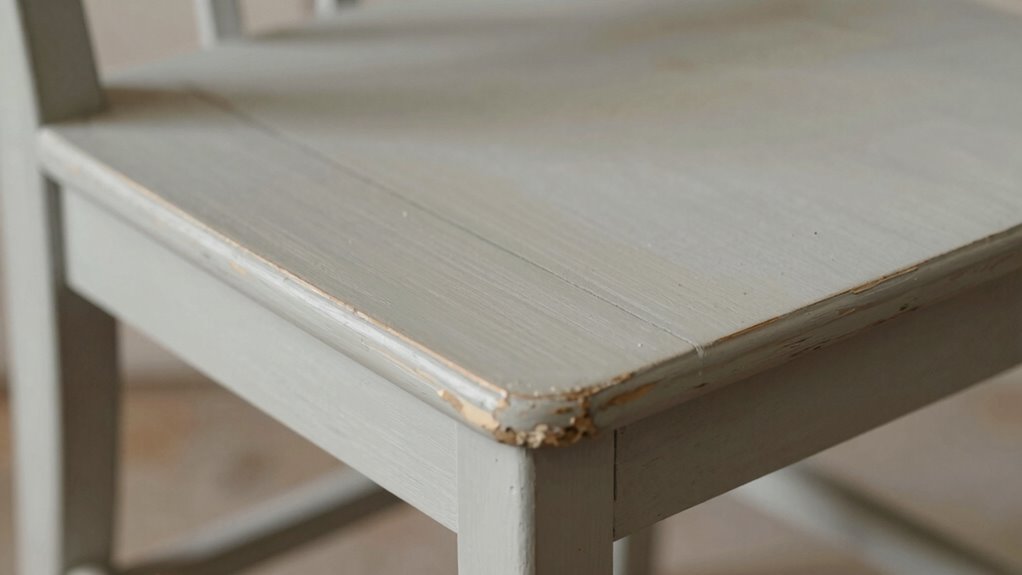
- Look for signs of peeling, cracking, or bubbling paint that indicate the need for full stripping.
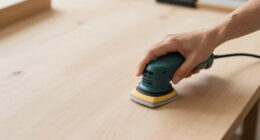
- Use gentle cleaning and light sanding to refresh surfaces without removing the original finish.
- Test small, hidden areas before applying any new product to ensure compatibility and adhesion.
- Preserve the natural wood grain and character when the current finish is in good condition and minimally worn.

Pro Grade Paint Brushes, 5-Piece Paint Brush Set, Flat & Angle Brushes for Walls, Trim, Cabinets, Interior & Exterior Latex and Oil Paints, Stains
COMPLETE 5-PIECE BRUSH SET FOR EVERY PAINTING TASK — Includes 1 Inch Flat, 1.5 Inch Angle, 2 Inch…
As an affiliate, we earn on qualifying purchases.
As an affiliate, we earn on qualifying purchases.
Do You Need to Fully Strip Your Furniture? Key Signs to Watch For
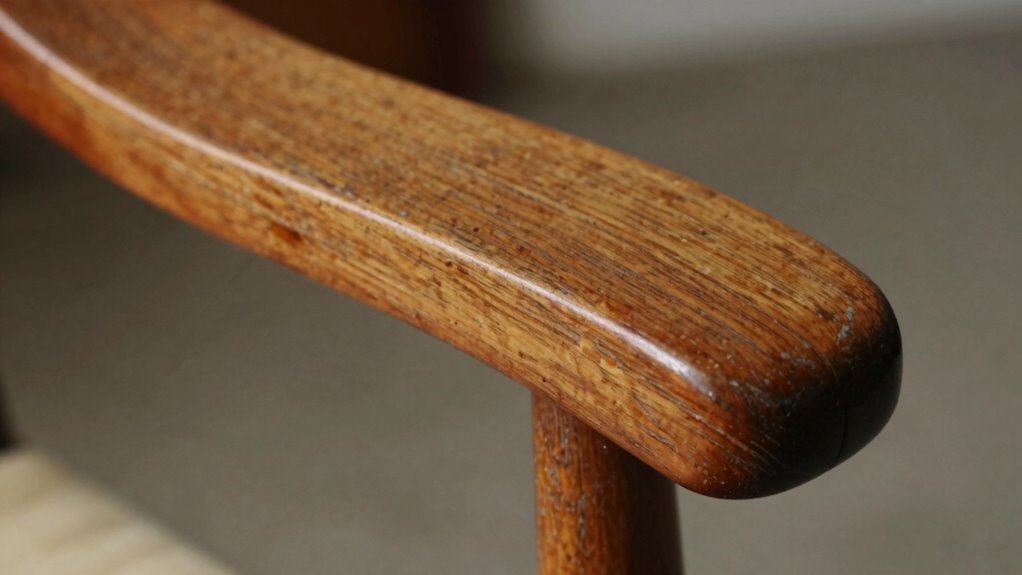
Deciding whether to fully strip your furniture depends on the condition of the existing finish. If the wood grain underneath is still visible and smooth, you might be able to refinish without stripping. However, if you notice thick paint layers that crack or peel, stripping is likely necessary. Multiple paint layers can obscure the natural wood grain, making it hard to achieve a professional look if left intact. Also, if the finish feels rough or uneven, it’s a sign that stripping may be needed to create a clean surface for the new finish. Check for bubbling or chipping paint, which suggests poor adhesion. Ultimately, your goal is to create a smooth, clean surface that showcases the wood grain without interference from old layers. Recognizing proper surface preparation is essential for a successful refinishing project.

YNZDRWA 8 Pack Sanding Sponge, Washable and Reusable Sanding Blocks for Drywall Wood Metal Furniture, 60/80/120/220 Grit Sandpaper Block Assortment
【ASSORTED GRIT SANDING BLOCKS】Includes 8 sanding blocks in 4 grits, from coarse to superfine specifications in 60/80/120/180/220 grit,…
As an affiliate, we earn on qualifying purchases.
As an affiliate, we earn on qualifying purchases.
How to Tell If You Can Refinish Without Stripping
Before you commit to stripping your furniture, it’s important to assess whether the existing finish can be worked with. Start by examining the paint removal process; if the finish is thin or flaking, it might be easier to refinish without full stripping. Look for signs of deep damage or multiple layers of paint or stain, which often require complete removal. Use sanding techniques to test the surface: if you can smooth the surface easily with light sanding, you may not need to strip entirely. However, if the finish resists sanding or reveals uneven patches, stripping might be necessary. Being able to sand and smooth the surface without excessive effort indicates you can likely refinish without stripping, saving time and preserving the original wood. Additionally, understanding the European cloud innovation can be a helpful analogy—just as selecting the right cloud solution depends on assessing existing infrastructure, evaluating your furniture’s finish helps determine the best refinishing approach.

GREENEZ Furniture Strip & Clean | Paint & Varnish Remover | Wood Stain Stripper Gel | Remove Layers of Epoxy, Paint, Varnish Safely | No Harsh Fumes | Soy-Based & Planet-Friendly | 1/2 Gallon
Powerful Paint & Varnish Removal: Efficiently strip away multiple layers of paint, varnish, and epoxy without damaging wood…
As an affiliate, we earn on qualifying purchases.
As an affiliate, we earn on qualifying purchases.
Best Techniques to Refinish Furniture Without Stripping
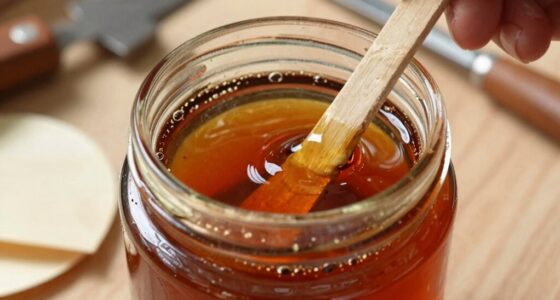
Refinishing furniture without stripping can be straightforward if you choose the right techniques. Instead of full paint removal, consider using chemical paint strippers or heat guns to gently loosen old paint or finish. Sanding lightly with fine-grit sandpaper can also help smooth surfaces and remove surface flaws. For stain correction, try applying a gel stain or wood conditioner to even out discoloration without stripping the original finish. These methods allow you to update the piece while preserving its character. Always test in a small, hidden area first to prevent damage. Using these techniques, you can refresh your furniture efficiently, saving time and effort while achieving a polished look without the need for complete stripping. Proper surface preparation ensures better adhesion and a more durable finish.

Method Daily Wood Cleaner, Almond, Cleans Shelves, Tables and Other Wooden Surfaces While Removing Dust & Grime, 28 oz Spray Bottles, (Pack of 1)
Each spray, in all its lovely non-toxic glory delivers a mighty cleaning punch
As an affiliate, we earn on qualifying purchases.
As an affiliate, we earn on qualifying purchases.
Preparing Your Furniture for a Light Refinish
To guarantee a successful light refinish, start by thoroughly cleaning your furniture to remove dust, dirt, and grease that could interfere with the new finish. If paint removal isn’t necessary, focus on gently sanding the surface to smooth out imperfections and improve adhesion. Proper preparation helps preserve the original wood and prevents peeling or chipping later on. Use a mild cleaner or a mixture of water and vinegar to clean the surface, ensuring it’s completely dry before proceeding. This step is vital for furniture preservation, as it creates a clean base for your finish. Avoid aggressive scrubbing, which can damage the surface and make paint removal more difficult later. Taking the time to prep properly ensures your light refinishing project results in a fresh, attractive finish without unnecessary removal of paint or damage. Additionally, understanding how paint adhesion works can help you choose the right preparation techniques for lasting results.
Common Mistakes to Avoid When Skipping the Stripping Step
Skipping the stripping step can seem like a quick shortcut, but it often leads to problems down the line. Without proper paint removal, old paint or finishes remain, affecting surface preparation. This residue can cause uneven paint adhesion, leading to chips, peeling, or a rough finish. Many overlook that skipping stripping might hide underlying damage or imperfections, which can worsen over time. Surface preparation is essential for a smooth, durable finish, so rushing it risks trapping debris or incompatible layers beneath new paint. Always assess whether skipping stripping saves time or creates more work later. Proper paint removal ensures your surface is clean, smooth, and ready for refinishing. Neglecting this step can ultimately compromise your project’s durability and appearance. Additionally, understanding the importance of proper surface preparation can help you avoid costly mistakes and achieve a professional-looking result.
How to Assess Your Furniture’s Condition to Decide
Before deciding whether to strip your furniture, it’s important to evaluate its current condition. Look closely at the wood grain; if it’s still visible and intact, you might avoid full stripping. Check the paint layers—if they’re thin, cracked, or peeling, stripping may be necessary. However, if the paint is still well-adhered and the wood grain is clear, a light sanding or spot treatment could suffice. Assess any stains, scratches, or damage that might affect the finish. Consider the overall look you want to achieve. If the existing finish isn’t severely damaged and the wood grain shows through, skipping full stripping can save you time and preserve character. Proper evaluation helps you decide whether a simple refresh or a complete removal is the best approach. Additionally, understanding paint adhesion can guide your decision on whether stripping is truly needed.
Tips for Achieving a Beautiful Finish Without Full Stripping
Before you start, carefully assess your furniture’s existing finish to determine the best approach. Use gentle cleaning methods to remove dirt and grease without damaging the surface, and choose high-quality refinishing products for a smooth, durable result. These simple steps help you achieve a stunning finish without the need for full stripping. Incorporating simple, room-by-room solutions can make the refinishing process more manageable and less overwhelming.
Assess Existing Finish Carefully
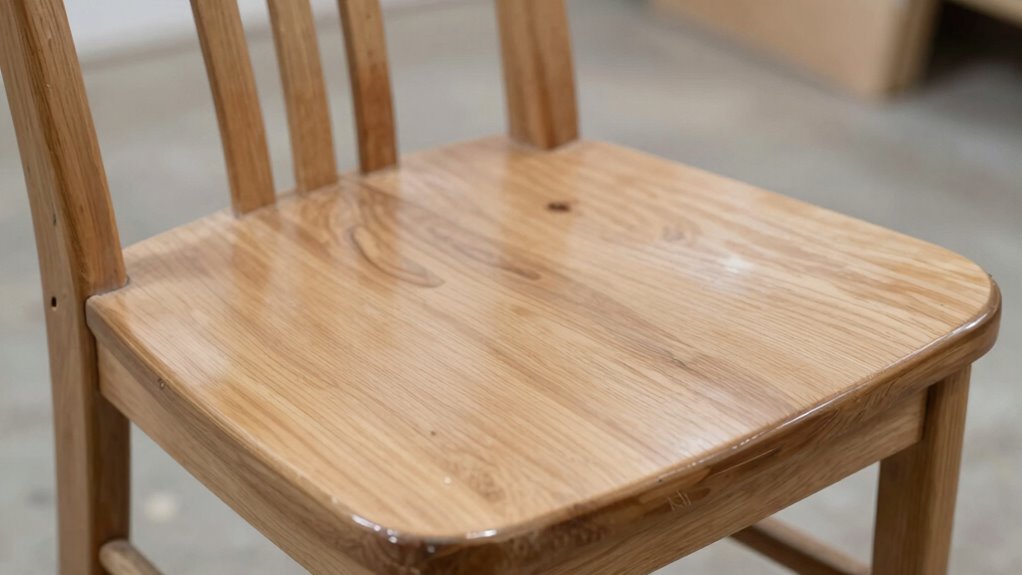
Evaluating the existing finish thoroughly is essential before deciding whether to strip or refinish a piece. You need to assess the paint removal and examine how well the current finish has held up over time. If the finish is intact, durable, and shows minimal chipping or peeling, you can often skip full stripping. A well-preserved finish can serve as a solid base for refinishing, saving you time and effort. However, if the finish is thin, cracked, or compromised, it may affect the finish durability of your new coat. Carefully inspecting the surface helps you determine whether a light sanding or cleaning will suffice or if more extensive removal is necessary. Taking this step ensures you choose the right approach for a professional-looking result. Additionally, understanding the body jewelry measurements and materials can help you select appropriate tools and techniques for surface preparation and refinishing.
Use Gentle Cleaning Methods
Gentle cleaning is often all that’s needed to refresh a piece without the risk of damaging the existing finish. Using natural cleaning agents like a mix of mild soap and water can effectively remove dirt and grime without harsh chemicals. For stubborn spots, gentle sanding with fine grit paper helps smooth the surface without stripping the finish. Always test cleaning solutions on a small area first. Here’s a quick guide:
| Cleaning Step | Tools & Materials | Tips |
|---|---|---|
| Light dust removal | Soft cloth, vacuum | Prevent scratching |
| Natural cleaning solution | Mild soap, water | Use sparingly, avoid excess |
| Spot cleaning | Soft sponge | Gently wipe, no scrubbing |
| Gentle sanding | Fine grit sandpaper | Use light, even strokes |
| Final wipe | Damp cloth | Remove dust before finishing |
This approach preserves your finish while preparing for a beautiful outcome. Additionally, understanding chemical reactions involved in cleaning can help you choose the safest methods.
Apply Quality Refinishing Products
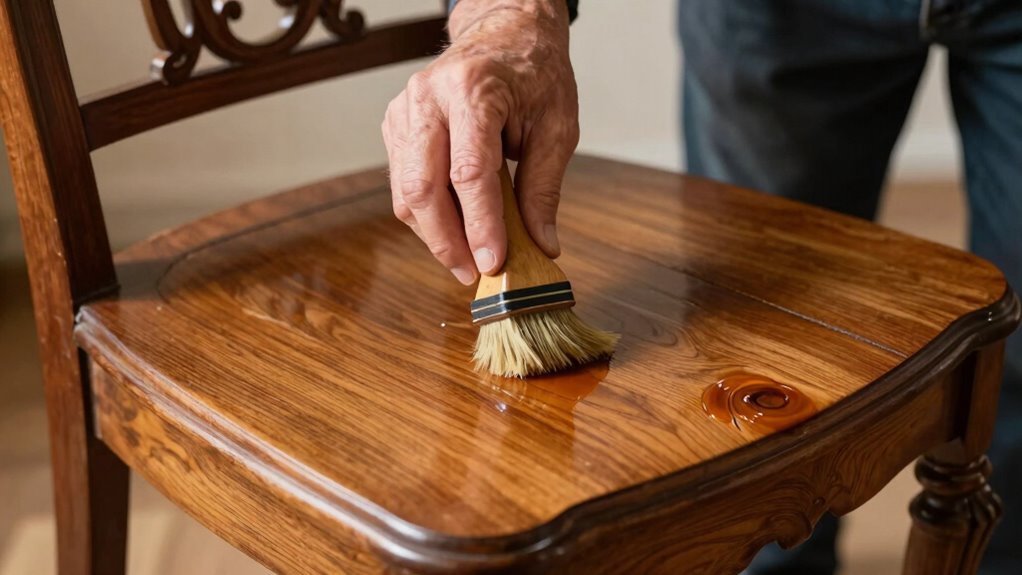
Once you’ve cleaned and lightly prepared the surface, the next step is to apply high-quality refinishing products to achieve a smooth, durable, and attractive finish. Using the right products enhances paint durability and highlights the wood grain’s natural beauty. To guarantee a professional result, consider these tips:
- Choose a premium stain or paint formulated for your surface type to boost durability.
- Use a high-quality brush or roller to evenly distribute the product, capturing the wood grain’s details.
- Apply thin, even coats, allowing proper drying time between layers to prevent runs and uneven finishes.
- Incorporate proper application techniques to ensure consistent coverage and optimal adhesion.
This approach helps you preserve the wood’s character while creating a long-lasting, beautiful finish that resists wear.
Frequently Asked Questions
Can I Skip Stripping on Heavily Stained Furniture?
You can skip stripping on heavily stained furniture if you properly prep the surface. Focus on cleaning thoroughly to remove dirt and grease, then lightly sand to improve paint adhesion. Use a high-quality primer designed for stained surfaces, which helps seal the stains and guarantees your paint sticks well. Skipping full stripping saves time, but proper surface prep is essential for a smooth, long-lasting finish without regrets.
How Long Does a Light Refinish Typically Last?
A light refinish usually lasts 2 to 5 years, depending on the durability of the finish and your maintenance. To extend its lifespan, keep the furniture clean, avoid harsh chemicals, and use protective pads or covers. Regularly dust and wipe spills promptly to maintain its appearance. Proper care and choosing a durable finish can help your furniture stay looking fresh longer, saving you time and effort in the long run.
What Types of Paint or Coatings Are Easiest to Work With?
Think of painting like having a friendly chat—chalk paint and latex coatings make it easy to connect. Chalk paint is smooth, quick-drying, and forgiving if you make mistakes, making it perfect for beginners. Latex coatings are versatile, durable, and clean up easily with water. Both are user-friendly options that cut down on hassle and help you achieve a professional look without sweat. You’ll find them simple to work with and satisfying to use.
Is It Necessary to Use a Primer When Skipping Stripping?
You don’t always need a primer when skipping full stripping, but it depends on your paint’s primer necessity for ideal adhesion. If you’re applying a similar or compatible coating over existing paint, a primer might not be essential, especially if the surface is clean and in good condition. However, for better paint adhesion and durability, using a primer can help, especially on glossy or uneven surfaces.
How Do I Remove Old Wax or Polish Safely Before Refinishing?
Imagine your furniture coated in a thick, stubborn layer of wax or polish like a glacier! To remove it safely, start with a chemical cleaning using a wax and polish remover. Follow up with gentle sanding techniques—light, even strokes—focusing on areas with buildup. This combo breaks down and lifts the old wax, preparing your piece for a fresh finish without damaging the wood.
Conclusion
Refinishing your furniture without full stripping is like gardening—sometimes, a gentle pruning is all it takes to bring new life. Trust your judgment, assess your piece carefully, and choose the right techniques. With patience and a keen eye, you can breathe fresh beauty into your furniture without unnecessary work. Remember, the best results come when you know when to prune and when to let your piece flourish naturally.