If your chisel tip has chips or dings, don’t worry—you can fix it without losing the bevel by using proper honing or grinding techniques. Start by inspecting the damage to determine if small chips can be smoothed out with honing, or if you need to grind larger areas. Use a sharpening guide to maintain the original bevel angle, and work carefully to restore a sharp, even edge. Keep going to learn the detailed steps for a perfect repair.
Key Takeaways
- Use honing with a fine grit stone to smooth minor chips while preserving the bevel angle.
- For larger chips, carefully grind with coarse grit to reshape the edge, then refine with finer stones.
- Maintain the bevel angle by using a sharpening guide or jig during repair.
- Regularly inspect the edge with a magnifier or straightedge to ensure consistent bevel integrity.
- Always prioritize safety by wearing goggles and gloves during honing or grinding processes.
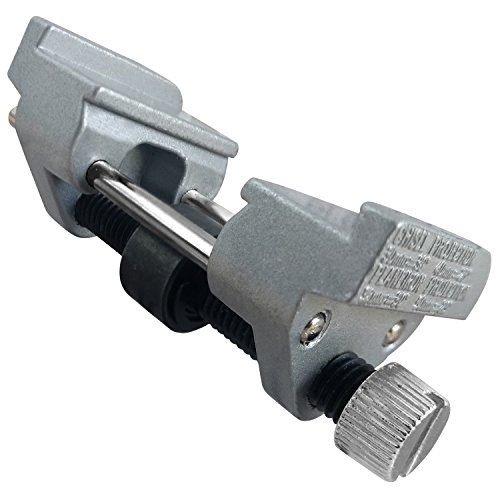
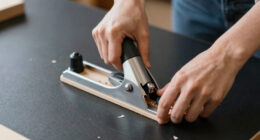
ATLIN Honing Guide – Sharpening Jig for Chisels 1/8” to 1-7/8”, Planer Blades 1-3/8” to 3-1/8”
The ATLIN Honing Guide allows you to easily choose your desired sharpening angle, and consistently achieve the perfect…
As an affiliate, we earn on qualifying purchases.
As an affiliate, we earn on qualifying purchases.
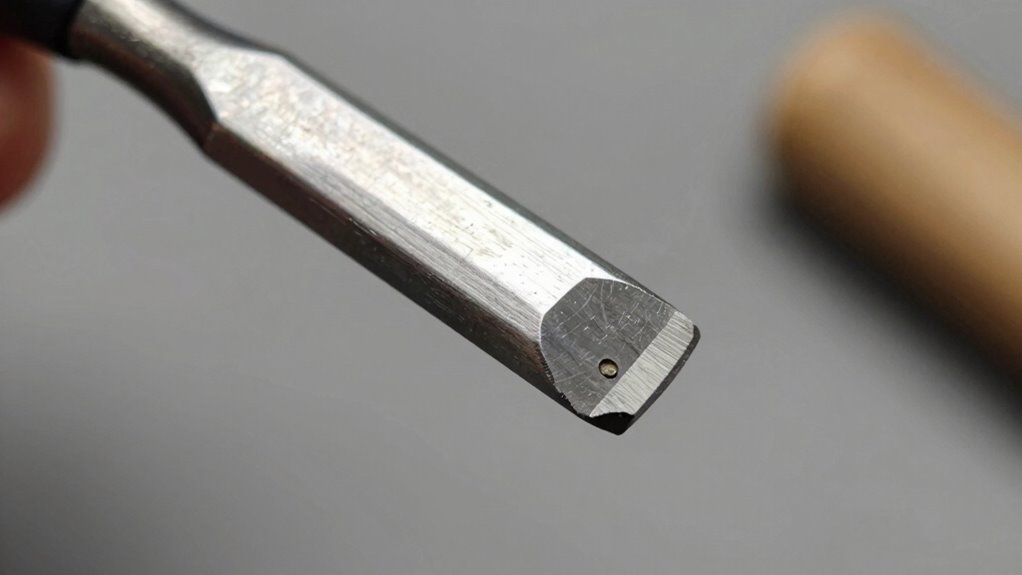
How Do Edge Chips Damage Your Chisel and Impact Your Work?

When your chisel develops edge chips, it immediately compromises the tool’s ability to cut cleanly and accurately. Edge impact from accidental knocks or misaligned strikes often causes these chips, weakening the bevel’s sharpness. Chip causes vary, but most result from applying too much force or hitting hard surfaces unexpectedly. These damaged areas create rough spots that snag on wood fibers, making precise cuts difficult. As chips grow, they can cause the edge to wander or veer off course, leading to uneven or splintered surfaces. The integrity of your chisel’s edge depends on avoiding impacts that cause chips. Recognizing the chip causes helps you prevent further damage and maintain the sharpness needed for clean, controlled cuts. Proper maintenance and careful handling are essential to prolong the life of your chisel’s edge and ensure optimal performance.

Intelitopia Complete Knife Sharpening Stone Set – Dual Grit Whetstone 400/1000 3000/8000 Knife Sharpener with Leather Strop, Flattening Stone, Bamboo Base, 3 Non-slip Rubber Bases & Angle Guide
【Complete Knife Sharpening Stone Kit】You don't need to be a Pro to sharpen your blades, all you need…
As an affiliate, we earn on qualifying purchases.
As an affiliate, we earn on qualifying purchases.
How to Assess Your Chisel’s Damage and Decide Whether to Repair or Replace
When evaluating your chisel, start by checking how deep or widespread the damage is, as this indicates whether repairs are possible. Consider if fixing the edge is practical based on the extent of the harm and the time or cost involved. Ultimately, weigh whether repair costs outweigh the effort of replacing the chisel altogether. Additionally, understanding the upfitting fundamentals can help you determine if repairs will affect compatibility or safety.
Damage Severity Indicators
How can you tell if your chisel needs repair or replacement? Look at the edge severity and damage indicator—these clues reveal the extent of damage. Minor chips or dings suggest repair is feasible, while deep cracks or significant deformation often mean replacement is necessary. Use the following table to evaluate your chisel’s condition:
| Damage Level | Edge Severity | Damage Indicator |
|---|---|---|
| Minor | Slight dullness, small chips | Easy to reshape or hone |
| Moderate | Visible chips, uneven edge | Requires grinding or honing |
| Severe | Deep cracks, bent or deformed edge | Likely need replacement |
Assess your chisel carefully; understanding these indicators helps you decide whether a fix suffices or you should replace it altogether. Recognizing the importance of proper maintenance can also extend your tools’ lifespan and ensure safety during use.
Repair Feasibility Factors
Evaluating whether your chisel can be repaired hinges on carefully examining the damage indicators and edge severity. During damage assessment, look for chips, cracks, or dents that compromise the edge’s integrity. Small chips or minor dents might be suitable for edge repair, while larger or deep damage could make repair impractical. Consider the location of the damage; chips near the bevel’s apex are more critical than those on the side. If the damage affects the edge’s ability to cut smoothly or threatens the bevel’s preservation, repair might be possible. However, if the damage is extensive or affects the core metal, replacement could be the better choice. Your assessment of the damage will guide whether you can restore the chisel or need to replace it entirely. Additionally, understanding edge damage severity can help you make a more informed decision about repair versus replacement.
Cost and Time Considerations
Evaluating whether to repair or replace your chisel requires a clear understanding of the potential costs and time involved. Conduct a cost analysis to determine if repair expenses are reasonable compared to buying a new tool. Repairs might be less costly upfront but could take significant time, especially if you need to wait for parts or professional service. Consider your time management — if you need a quick fix for an urgent project, replacement might be faster. However, if the damage is minor and within your skill level, repairing the chisel can save money and extend its lifespan. Also, assessing your smart home technology can help streamline your workflow and ensure you have the right tools for efficient repairs. Balancing these factors helps you make an informed decision that saves both time and resources, ensuring you get back to work efficiently.

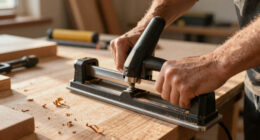
Peachtree Woodworking Supply Pro Grind Sharpening System for 8 Inch Grinders to Sharpen Lathe Turning Tools, Chisels, Skews, Bowl Spindle Gouges •Includes Setup Blocks and Quad Jig for 8 inch Grinders
Sharpen chisels, gouges, bowl gouges, spindle gouges, carving tools, wood turning scrapers, parting tools, block plane irons and…
As an affiliate, we earn on qualifying purchases.
As an affiliate, we earn on qualifying purchases.
Tools and Safety Tips for Repairing a Chipped Chisel

Before repairing your chipped chisel, make sure you have the right tools and wear essential safety gear like gloves and eye protection. Choosing proper tools guarantees a safe and effective repair process, so avoid makeshift solutions. Follow safe techniques to prevent injuries and achieve the best results for your chisel. Additionally, understanding Free Floating concepts can help you better manage your workspace and tools during repairs.
Essential Safety Gear
When repairing a chipped chisel, wearing the right safety gear is essential to protect yourself from potential injuries. Safety goggles shield your eyes from flying debris, chips, or sparks that may occur during filing or grinding. Protective gloves help prevent cuts and abrasions if you accidentally slip or handle sharp tools. Make sure your gloves fit snugly to maintain dexterity while working. Keep your workspace well-lit and clear of clutter to avoid accidents. Using these safety essentials minimizes the risk of injury and ensures you can focus on repairing your chisel effectively. Always double-check your safety gear before starting, and never compromise on protection. Staying cautious and equipped makes the repair process safer and more efficient. Additionally, understanding proper tool handling techniques can further reduce the risk of accidents during repair work.
Proper Tool Selection
Choosing the right tools is vital for effectively repairing a chipped chisel and guaranteeing safety throughout the process. You need tools with excellent blade durability to withstand grinding and honing without wearing out quickly. Select a quality sharpening stone or system suited for precision work, as proper sharpening techniques are essential for restoring the edge without further damage. A stable work surface and clamps help keep the chisel steady, reducing the risk of slips. Avoid cheap or inappropriate tools that may compromise the edge or cause accidents. Investing in durable, well-maintained equipment ensures your repair is efficient and safe. Remember, the right tools not only improve the quality of your work but also protect you from potential injuries during the repair process. Additionally, understanding the basics of wood movement can help prevent future chisel damage caused by seasonal changes in wood.
Safe Repair Techniques
To safely repair a chipped chisel, you must prioritize proper techniques and protective gear to prevent accidents and injuries. Always wear safety glasses and gloves, and work in a well-ventilated area. Use quality sharpening stones and tools designed for maintaining chisel edge durability. Focus on precise sharpening techniques to restore the bevel without compromising the edge. Proper color accuracy and sharpening techniques help ensure your chisel maintains its effectiveness and longevity.

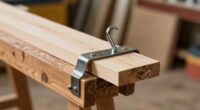
Chisel Sharpening Kit with Honing Guide & 400/1000 Grit Diamond Stone, Woodworking Sharpening Jig for Chisels & Plane Blades, Angle Guide, Non-Slip Base & Bag
【COMPLETE SHARPENING SYSTEM FOR WOODWORKING】 This comprehensive chisel sharpening kit includes a honing guide jig, a double-sided 400/1000…
As an affiliate, we earn on qualifying purchases.
As an affiliate, we earn on qualifying purchases.
How to Fix Chips and Nicks Using Honing and Grinding Techniques
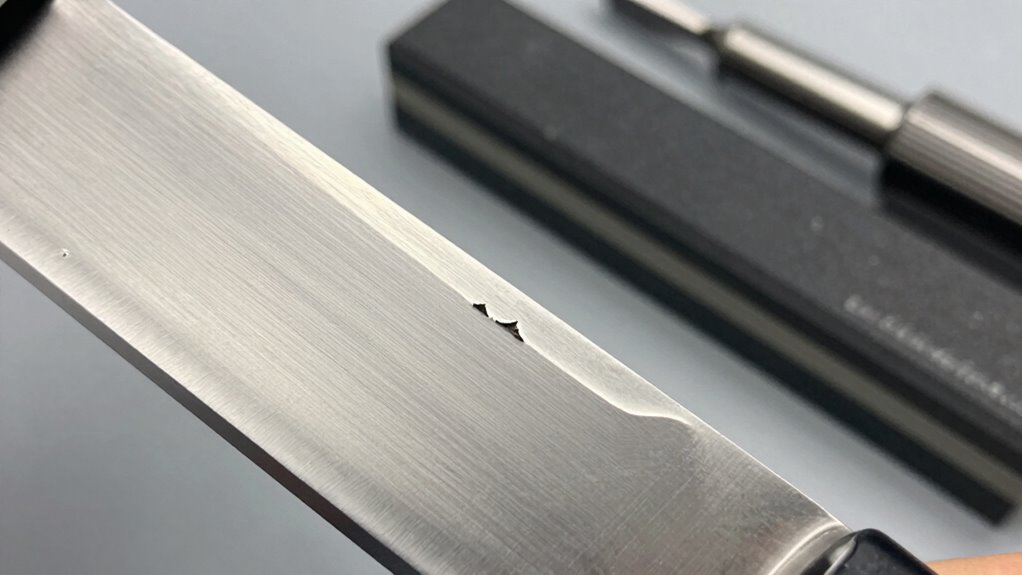
Fixing chips and nicks on a chisel edge requires precise honing and grinding techniques to restore its sharpness and functionality. To maintain chisel edge durability, you need to choose the right method: honing or grinding. Honing is gentler and ideal for minor damage, sharpening the edge without removing much material. Grinding, on the other hand, involves removing larger chips or nicks by carefully grinding the affected area on a coarse stone or wheel. Always start with a coarse grit to reshape the edge, then switch to finer grits for refinement. Proper technique prevents further damage and preserves the bevel angle. Remember, honing maintains the integrity of the edge, while grinding reshapes it. Both methods, when done correctly, help extend your chisel’s lifespan without compromising its bevel.
Restoring the Bevel Without Losing Its Angle: A Step-by-Step Guide

When restoring a chisel’s bevel after damage, maintaining the original bevel angle is essential for performance and durability. To achieve this, focus on edge preservation by carefully grinding or honing the bevel to match the existing angle. Use a sharpening guide or jig to ensure bevel alignment, preventing accidental alteration of the angle. Start by removing any chips or nicks with light, controlled passes, checking frequently for consistent bevel angle. Keep the stone or abrasive flat to avoid uneven edges. Regularly inspect your progress with a magnifier or straightedge. This careful approach helps preserve the bevel’s shape, guaranteeing your chisel performs accurately and lasts longer. Proper edge preservation and bevel alignment are key to restoring your chisel without compromising its cutting efficiency. Paying attention to precision throughout the process ensures the best results and maintains the integrity of your tool.
Final Sharpening and Maintenance to Keep Your Chisel in Top Shape

Maintaining your chisel’s sharpness and overall condition is essential for consistent performance and safety. Regular final sharpening ensures the edge remains precise and ready for detailed work. Use quality sharpening stones suited to your chisel’s material, progressing from coarse to fine grits. Proper chisel maintenance includes checking the bevel angle and cleaning the blade to prevent buildup. Here’s a quick reference:
| Step | Action |
|---|---|
| Inspect the edge | Look for chips or dullness |
| Choose stones | Select appropriate sharpening stones |
| Sharpen gradually | Use consistent angle, move evenly |
| Hone the edge | Finish with fine stones or strops |
| Clean & store | Wipe clean and store in a dry place |
Following these steps keeps your chisel in top shape, ensuring sharpness and longevity.
Tips to Prevent Future Edge Damage and Keep Your Chisel Sharp

To keep your chisel’s edge sharp and prevent damage, adopting proper handling techniques and work habits is vital. Preventing accidents starts with paying attention to your grip and cutting angles, ensuring control during use. Always handle your chisel carefully, avoiding unnecessary impacts or slips that can chip the edge. Storage organization also plays an important role; store your chisels in a designated, padded toolbox or on a magnetic strip to prevent knocks and accidental drops. Keep blades covered when not in use, and avoid stacking tools haphazardly. Regularly inspecting and maintaining your chisels ensures they stay sharp and damage-free. By following these tips, you minimize the risk of future edge damage and extend the lifespan of your tools.
Frequently Asked Questions
Can I Repair a Chipped Chisel at Home Without Professional Tools?
Yes, you can repair a chipped chisel at home with DIY repairs and proper tool maintenance. Start by gently filing the chipped area with a fine-grit diamond file or sharpening stone, maintaining the original bevel. Be careful to avoid removing too much material. Regular honing and sharpening will keep your chisel in top shape. With patience, you can fix minor chips without needing professional tools or assistance.
How Long Does It Typically Take to Fix Edge Chips on a Chisel?
Fixing edge chips on a chisel typically takes about 20 to 30 minutes, depending on the chip size and your skill level. You’ll need to focus on precise edge repair and proper tool maintenance to make sure the chisel’s bevel remains intact. Start by sharpening the edge carefully on a stone, then refine the shape with honing. Regular maintenance prevents future chips and keeps your tools in top condition.
Are Certain Types of Wood More Likely to Cause Chisel Damage?
Yes, certain woods are more likely to cause chisel damage. Harder woods with high wood hardness, like maple or oak, resist chisel cuts but can also chip more easily if you’re not careful. Grain patterns also play a role; irregular or interlocking grains can catch your chisel, increasing risk. To avoid damage, sharpen your tools well and work slowly, especially with tough, dense woods.
What Are the Signs That a Chipped Chisel Needs Replacement Instead of Repair?
When you notice excessive edge wear or a chip severity that hampers precision, it’s time to substitute your chisel. If repairs no longer restore a sharp, clean edge or if chips are deep and widespread, attempting fixes could weaken the tool further. Trust your eye and touch—if the damage feels irreparable or affects your work quality, replacing the chisel ensures safety and accuracy.
How Often Should I Sharpen My Chisel to Prevent Edge Chips?
You should sharpen your chisel regularly based on your usage, typically every 4 to 8 hours of work, to prevent edge chips. Consistent sharpening is key to good chisel maintenance, keeping the edge sharp and sturdy. If you notice dullness or minor chips, sharpen immediately. Proper sharpening frequency minimizes damage risk, ensures cleaner cuts, and prolongs your chisel’s life, making your woodworking safer and more precise.
Conclusion
Just like a master swordsman maintains their blade, caring for your chisel guarantees it stays sharp and precise. By understanding how to fix chips without losing your bevel, you protect your craftsmanship and avoid costly replacements. With proper care and techniques, your chisel will serve you well, ready to carve with the finesse of a seasoned artisan. Keep your tools honed and your skills sharp—your projects will thank you for it.