
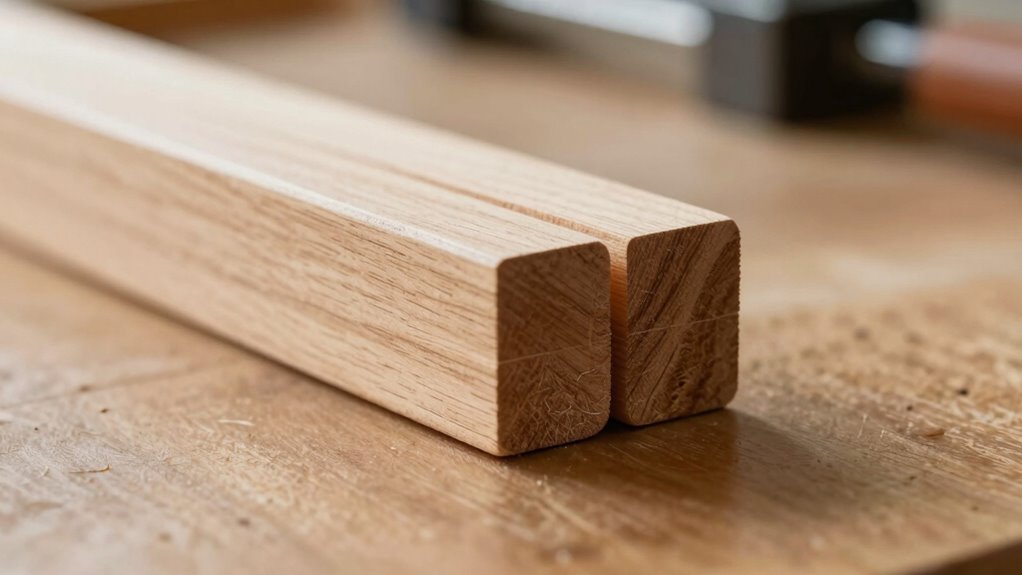
To make glue lines disappear, focus on setting your edge jointing tool correctly. Make certain your router bit or plane blade is sharp, aligned, and adjusted for a very light cut, just enough to smooth the edge without removing too much material. Maintain consistent fence or fence adjustments, press firmly and evenly, and check grain direction. When done properly, your edges will be flat and straight, creating seamless joints—secrets that can transform your woodworking projects. Keep going to discover more tips for perfect joints.
Key Takeaways
- Ensure edges are perfectly flat, straight, and free of grain tear-out before jointing.
- Adjust router bit or plane blade height for a barely-there cut, removing only high spots.
- Maintain consistent pressure and steady movement during jointing to avoid tapering or misalignment.
- Check grain direction and cut with the grain to prevent tear-out and gaps.
- After gluing, sand joints smoothly and test at different angles to confirm the glue line has disappeared.

Newdeli 3PCS 45 Degree Lock Miter Router Bit Set 1/2 Inch Shank for 1/2”, 3/4", 1" Cutting Height Joint Router Bits for Creating Lock Miter Joint
Newdeli Lock Miter Router Bit Set is the ideal way to create an interlocking joint for plenty of…
As an affiliate, we earn on qualifying purchases.
As an affiliate, we earn on qualifying purchases.
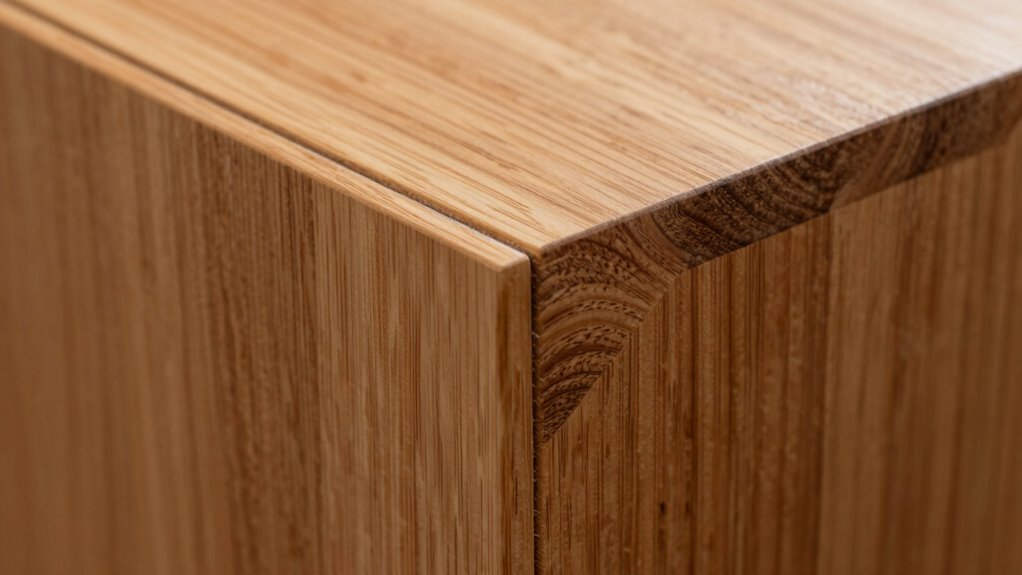
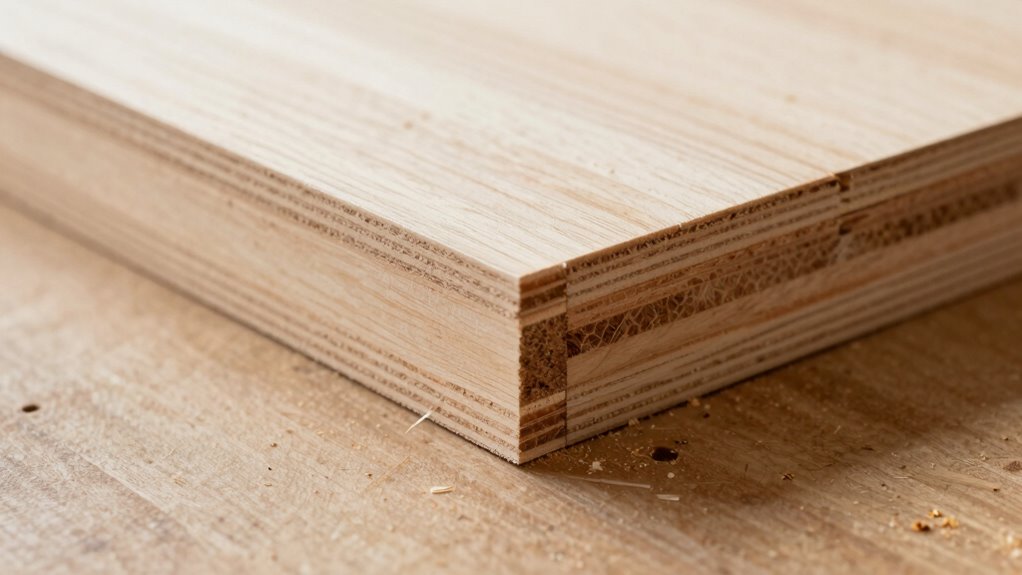
Why Do Visible Glue Lines Happen and How Proper Edge Jointing Fixes Them
Visible glue lines often occur when the edges of boards aren’t perfectly flat or straight before gluing. One key reason is misaligned grain direction, which affects how the wood pieces come together. If the grain runs unevenly or at different angles, it creates uneven joint tension, causing gaps or thin spots where the glue doesn’t fully bond. Proper edge jointing ensures that the edges are smooth, straight, and aligned with the grain direction, reducing the risk of visible glue lines. When your edges are well jointed, the tension across the joint distributes evenly, allowing the glue to spread uniformly. This results in a clean, seamless bond with minimal or no visible glue lines, giving your project a professional finish. Additionally, correctly preparing the edges can help mitigate issues related to uneven grain and improve overall joint strength. Taking the time to align the grain during edge preparation enhances the quality and durability of the joint over time. Ensuring precise edge jointing techniques is essential for achieving consistently clean glue lines and a polished appearance. Properly clamping and pressing the joint during glue-up also plays a crucial role in preventing gaps and ensuring a tight bond. Moreover, understanding how different wood grain patterns influence jointing can help in planning your project for the best results.

JORGENSEN No.101 Mini Wood Planer – Mini Hand Planer for Woodworking, Block Plane, Small Hand Plane for Trimming, Wood Planing, Craft, Professional Ductile Iron Body, Adjustable Cutting Depth
Professional Level Blade: The blade is made of professional level O1 tool steel, improving cutting efficiency while minimizing…
As an affiliate, we earn on qualifying purchases.
As an affiliate, we earn on qualifying purchases.
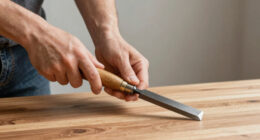
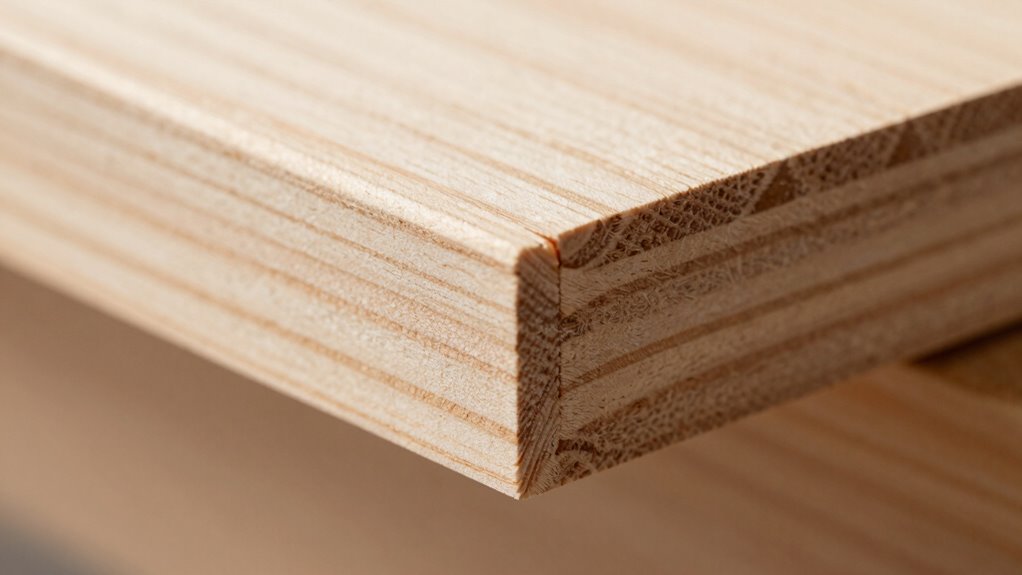
Choosing the Best Edge Jointing Method and Tools for Your Project
Choosing the right edge jointing method and tools depends on your project’s size, type of wood, and desired precision. For small projects or fine furniture, hand tools like a plane or hand-held jointer might suffice, offering control and finesse. Larger projects or thicker materials often benefit from power tools such as a stationary jointer or router with a straight bit. When comparing jointing tools, consider factors like accuracy, ease of use, and setup time. Edge jointing techniques vary from manual planing to machine jointing, each suited for different needs. A thorough jointing tools comparison helps you select the best method—whether hand, power, or a combination—to achieve perfectly aligned edges ready for glue-up, reducing visible glue lines and ensuring seamless joints. Additionally, understanding tool accuracy and proper setup can significantly improve your results. Incorporating free floating techniques can also help accommodate slight irregularities in material edges, leading to cleaner, more professional outcomes.

Bloepum 200Pcs Assorted Wood for Tenon Machine Woodworking Biscuit Jointer No.20 & No. 0
Soaks up water-based glue for a tighter wood joint
As an affiliate, we earn on qualifying purchases.
As an affiliate, we earn on qualifying purchases.
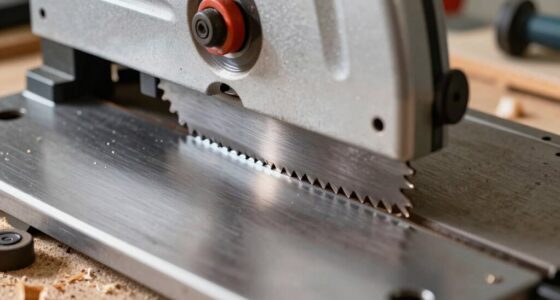
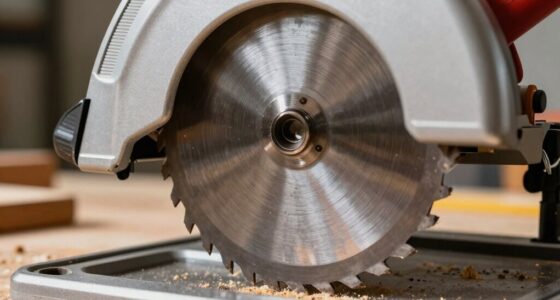
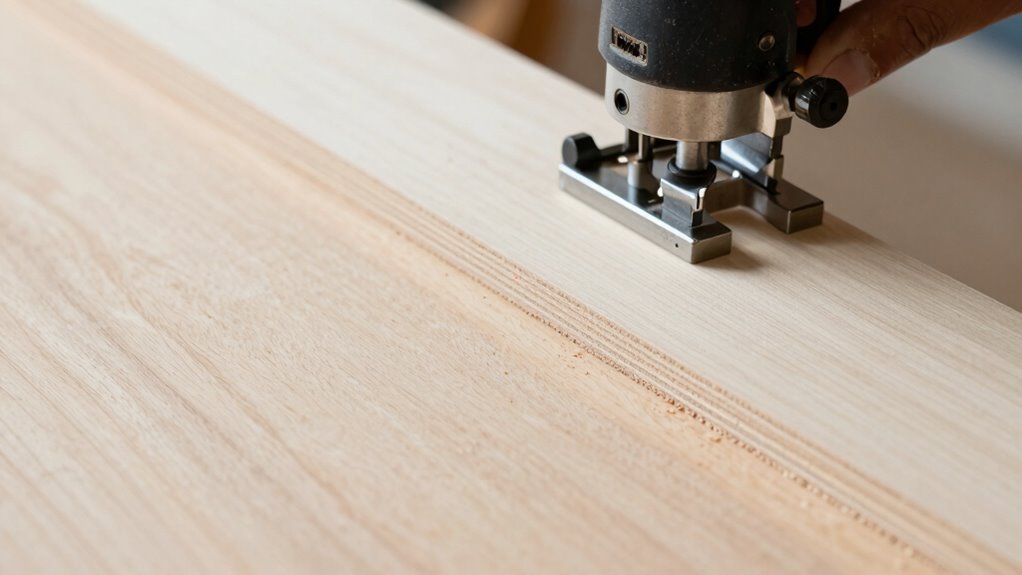
How to Set Up Your Router or Plane for Perfect Edge Joints
Setting up your router or plane correctly is essential for achieving precise edge joints. Start with your router setup by ensuring the bit is sharp and aligned properly. Adjust the bit height so it barely cuts into the wood’s surface, providing a smooth, even edge. For a plane, calibrate the blade so it’s sharp and set to remove just enough material for a clean joint without gouging. Check that your fence or depth stop is secure and parallel to your cutting edge. Consistent pressure and steady motion are crucial during the cut. Proper router setup and planer calibration guarantee clean, uniform edges that fit tightly, reducing gaps and glue lines. Take your time during setup—precision here makes all the difference in your finished joint.
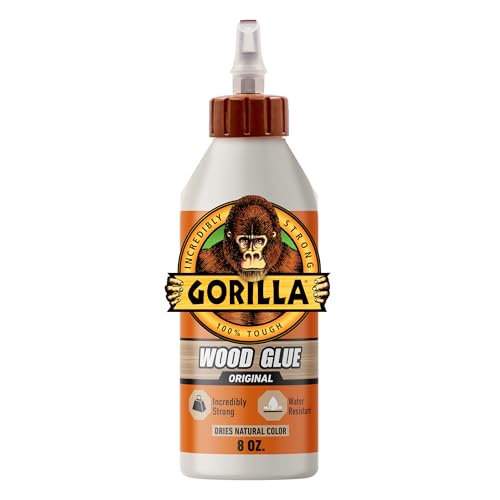
Gorilla Wood Glue, 8 oz., Water Resistant PVA Wood Glue for Indoor & Outdoor Projects, Fast Clamp, Natural Color, Paintable & Sandable
Complete Projects Fast: Requires only 20-30 minutes of clamp time; fully cured in 24 hours. Quickly creates an…
As an affiliate, we earn on qualifying purchases.
As an affiliate, we earn on qualifying purchases.
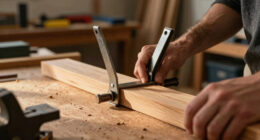
Common Mistakes in Edge Jointing and How to Avoid Them
One common mistake in edge jointing is applying uneven pressure as you cut, which can cause the edges to taper or warp. Paying attention to grain direction is vital; cutting against the grain can lead to tear-out and uneven joints. Misaligned joints happen when you neglect proper joint alignment, resulting in gaps or misfits after gluing. To avoid these issues:
- Always check grain direction to prevent tear-out and ensure smooth cuts
- Use consistent pressure to keep edges straight and true
- Double-check joint alignment before gluing to avoid gaps and weak spots
Proper technique ensures your edges meet seamlessly, making glue lines disappear and creating a flawless finish. Focusing on grain and alignment helps you achieve professional results every time.
Finishing and Testing Your Joints to Ensure Invisible Glue Lines
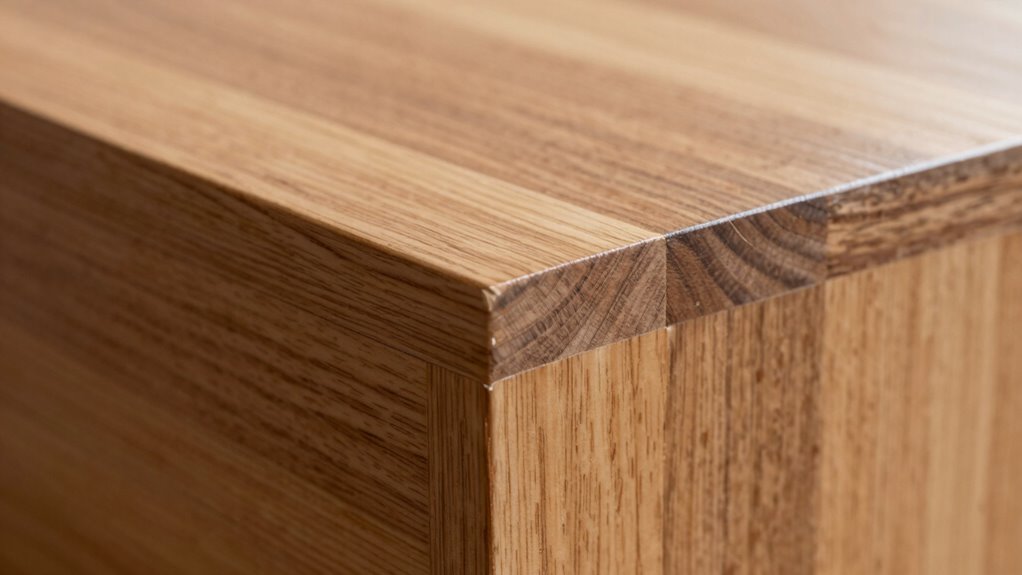
After ensuring your joints are properly aligned and free of gaps, the next step is to finish and test them to guarantee they remain invisible once assembled. Use effective clamping techniques to apply even pressure, preventing gaps and ensuring tight glue lines. Pay close attention to wood grain alignment; matching the grain directions minimizes visible seams and creates a seamless appearance. Once the glue has dried, carefully sand the joint area with fine-grit paper to smooth any minor imperfections without damaging the surface. To test the joint’s invisibility, hold the piece at different angles and look for light reflections or shadows indicating unevenness. Proper finishing and testing confirm that your edges are seamlessly joined, making the glue lines disappear. Additionally, understanding jointing edges and proper finishing techniques can significantly improve the overall appearance of your projects. Maintaining consistent clamp pressure throughout the process helps ensure the best results and reduces the need for additional adjustments later.
Frequently Asked Questions
What Are the Signs of a Poorly Jointed Edge?
If your jointed edge isn’t well done, you’ll notice poor edge alignment, with gaps or uneven surfaces. Glue seepage might also occur, indicating the joint isn’t tight enough. You may see visible glue lines or a rough, uneven seam. These signs show the joint isn’t properly executed, which can weaken your project. Always check for smooth, flush edges and minimal glue seepage to guarantee a strong, clean joint.
Can Edge Jointing Be Done on Curved Surfaces?
Think of curved surfaces as a blank canvas for your woodworking skills. Yes, you can edge joint on curved surfaces using specialized curved surface techniques and the right edge jointing tools. These tools help you follow the curve smoothly, ensuring tight, seamless joints. With patience and precision, you’ll master this skill, transforming even the most rounded edges into perfect, glue-line-free connections that look professional and polished.
How Does Wood Type Affect Jointing Quality?
You’ll find that wood type considerably affects your jointing quality. Denser woods, like hardwoods, often cut cleaner, resulting in smoother edges, while softer woods may tear or chip. Grain pattern also plays a role—straight, tight grains produce better joints, whereas irregular or wavy grains can cause uneven surfaces. To get the best results, adjust your planing technique based on the wood’s density and grain, ensuring tight, seamless joints every time.
Is Special Training Required for Advanced Edge Jointing Techniques?
Imagine you’re crafting a high-end tabletop; you’ll need advanced techniques for flawless joints. Specialized training isn’t strictly required, but it considerably improves your skills with advanced edge jointing. This training helps you understand precise adjustments and ideal settings, ensuring glue lines vanish even on tricky hardwoods. If you aim for perfection, investing in specialized training equips you with the expertise to master these techniques and elevate your woodworking projects.
How Long Should Glue Lines Be Visible Before Re-Jointing?
You should re-joint when glue lines remain visible beyond the typical glue drying time, usually around 30 minutes to an hour. If the joint visibility duration extends past this, it indicates the glue hasn’t set properly, and re-jointing is necessary to guarantee a tight, seamless edge. Keep an eye on the glue line, and don’t wait too long, as delayed re-jointing can compromise the final fit and strength.
Conclusion
Mastering edge jointing is like forging a seamless bridge between planks, where each carefully aligned edge becomes invisible beneath the surface. When you pay attention to proper technique and tools, you create a flawless connection that’s as smooth as a calm lake reflecting the sky. With patience and precision, you’ll craft joints so perfect, they whisper of craftsmanship—transforming your project into a masterpiece where glue lines vanish into the horizon of your skill.