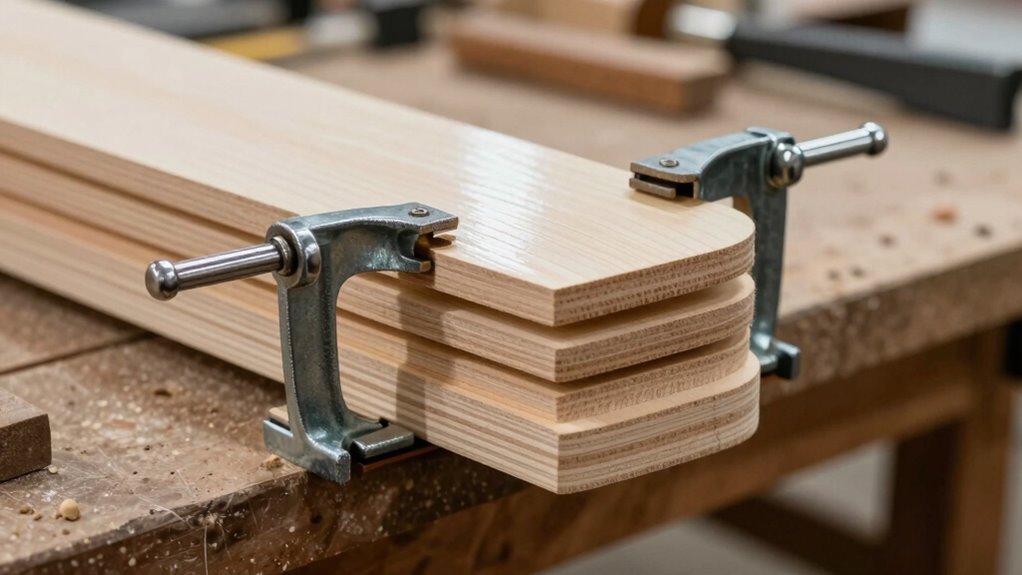
To prevent sliding when clamping curved laminations, make certain you use the right clamps, like strap or flexible clamps, which conform to the shape. Distribute pressure evenly by spacing clamps properly and tightening gradually from the center outward. Use cauls or padding to fit curves and avoid excessive force. Check clamping setup frequently and remove clamps carefully to keep your shape intact. Keep going for detailed techniques to achieve perfect, slip-free lamination.
Key Takeaways
- Use evenly spaced clamps with soft pads or cauls to distribute pressure and prevent slipping.
- Gradually tighten clamps from the center outward to maintain shape and avoid shifting.
- Choose clamps designed for curves, such as strap or flexible clamps, for consistent contact.
- Ensure clamps are properly positioned, parallel, and seated to prevent movement during curing.
- Remove clamps gradually and evenly to avoid distortion and maintain lamination integrity.

The Craft of Veneering: A Complete Guide from Basic to Advanced
As an affiliate, we earn on qualifying purchases.
As an affiliate, we earn on qualifying purchases.
Why Clamping Curved Laminations Properly Matters

Properly clamping curved laminations is vital because it guarantees the layers stay in the correct shape during the bonding process. Applying the right clamping pressure ensures the laminations don’t shift or slip, which could compromise lamination alignment. Consistent force distribution across the entire lamination helps maintain the desired curve and prevent gaps or bubbles. Too little pressure might allow movement, causing uneven surfaces or misaligned layers, while excessive pressure could damage the veneer or cause warping. Proper clamping technique is essential for achieving a smooth, precise bond that preserves the integrity of the shape. Without careful attention to clamping pressure, your laminated piece could end up misaligned or structurally compromised, affecting both appearance and performance.

POWERTEC Strap Clamps for Woodworking – Quick Release Band Clamps with Ergonomic Handle, Adjustable Picture Frame Clamp, 13 ft Strap Belt Clamps for Cabinets and Drawers (71101)
INCLUDES: (1) Strap Clamp with Quick-Release Levers
As an affiliate, we earn on qualifying purchases.
As an affiliate, we earn on qualifying purchases.
Preparing Your Work Surface and Lamination for Clamping
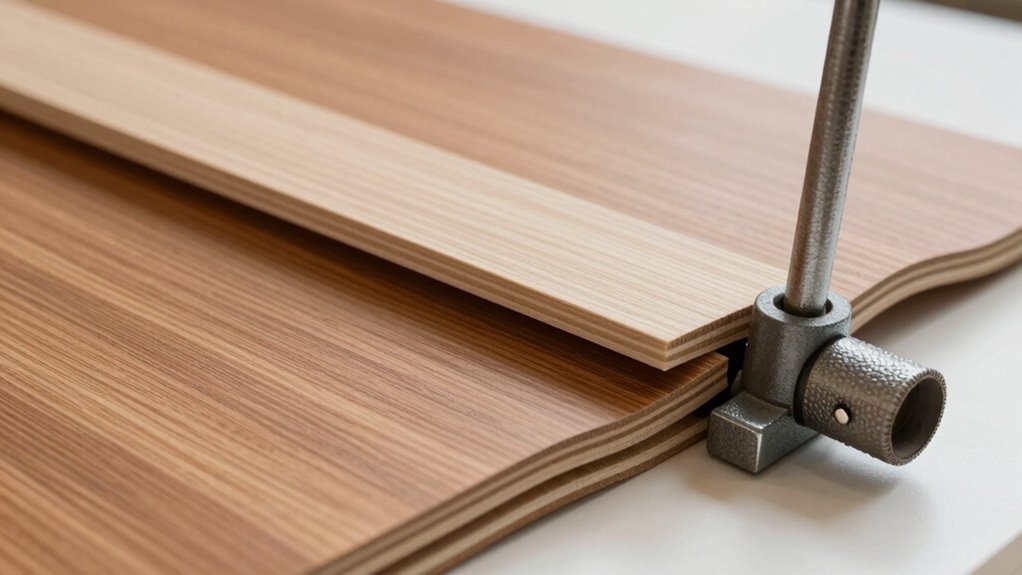
Before you start clamping, make certain your work surface is clean and smooth to prevent any unwanted marks or uneven pressure. Use proper techniques to prepare the lamination, such as applying a release agent or masking tape to protect your material. Then, carefully position the lamination to secure it firmly in place, preventing shifting during the clamping process. Ensuring the color accuracy of your materials can also contribute to achieving optimal visual results once assembled.
Surface Preparation Techniques
Ensuring your work surface and lamination are properly prepared is essential for achieving a strong, even bond during clamping. Start by protecting the edges of your workpiece with edge protection to prevent damage during tightening. Check that your surface is clean and free of debris, dust, or oil, which can weaken adhesion. When placing clamps, consider appropriate clamp spacing to distribute pressure evenly across the lamination. Proper clamp placement prevents uneven force, reducing the risk of slipping or damaging the curves. Use padding or cauls under the clamps if necessary to avoid indentations. Taking these preparation steps guarantees your lamination stays aligned and secure throughout the curing process, resulting in a more reliable, high-quality bond. Additionally, verifying that your adhesion surfaces are properly prepared can significantly improve the overall strength and durability of your laminated piece.
Secure Lamination Placement
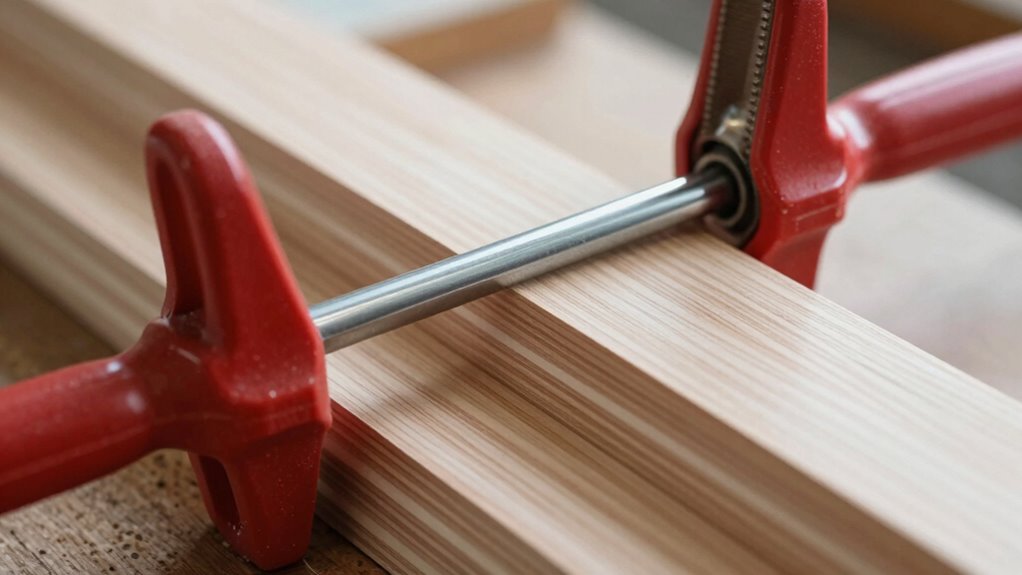
How can you make sure your lamination stays in the right position during clamping? Start by preparing a clean, flat work surface that complements the wood grain, guaranteeing no debris shifts the lamination. Use quality clamp material that distributes pressure evenly, preventing slippage. Position your curved lamination carefully, aligning the grain for aesthetic and structural strength. To prevent movement, place soft pads or scrap wood under the clamp jaws, especially over delicate areas. Secure the lamination with consistent pressure, checking frequently. Proper clamping techniques are essential for achieving optimal results and maintaining the integrity of your work. Here’s a quick reference:
| Clamp Material | Wood Grain Effect | Surface Preparation |
|---|---|---|
| Soft Plywood | Highlights curves | Clean and flat surface |
| Rubber Pads | Ensures grip | Remove debris |
| Clamps with Padding | Protects finish | Level and stable |
This approach keeps your lamination secure and aligned during clamping.
woodworking cauls for laminating
As an affiliate, we earn on qualifying purchases.
As an affiliate, we earn on qualifying purchases.
How to Choose the Right Clamps for Curved Wood
Choosing the right clamps for curved wood is essential to get even pressure and a smooth lamination. You should consider clamps designed to follow curves and provide firm contact without harming the surface. By selecting the proper clamp types, you’ll ensure a stronger, more precise bond in your project. Additionally, understanding the proper clamp application can help prevent slipping and ensure consistent pressure across the entire surface.
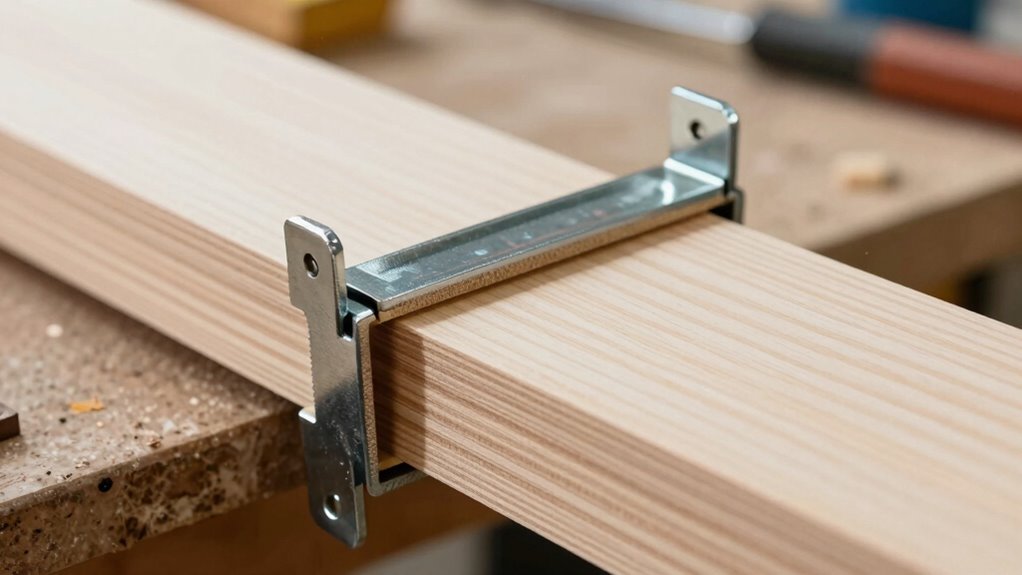
Clamp Types for Curves
When working with curved laminations, selecting the right clamps is vital to hold your wood securely without causing damage. The best clamp types for curves include:
- Steam-Resistant Bar Clamps – Ideal for applying consistent pressure along the curve, with durable clamp materials that resist heat and moisture.
- Corner or C-Clamps – Offer precise clamp positioning in tight or awkward spots, especially near edges or detailed curves.
- Flexible Strap Clamps – Conform to complex shapes, distributing pressure evenly across the lamination’s surface.
Choosing clamps with appropriate materials ensures they won’t mark or indent the wood. Proper clamp positioning is essential to avoid slipping or uneven pressure, ensuring a snug, secure fit during gluing. Additionally, understanding Gold IRA Markets can help investors make more informed decisions about their retirement investments, similar to choosing the right tools for a woodworking project.
Ensuring Firm Contact
To guarantee your curved laminations bond firmly, selecting clamps that apply even pressure across the entire surface is essential. Proper lamination alignment depends on consistent clamp calibration, ensuring uniform contact without gaps. Use clamps with adjustable pressure settings and padded jaws to prevent damage and maintain contact along complex curves. To maximize results, consider this table:
| Clamping Strategy | Key Focus |
|---|---|
| Uniform Pressure | Prevents uneven bonding |
| Adjustable Tension | Ensures proper lamination |
| Padding | Protects curved surfaces |
| Calibration Checks | Maintains consistent force |
Additionally, regularly inspecting and maintaining clamp calibration ensures your setup remains effective throughout the laminating process. Align your clamps carefully and calibrate them regularly to achieve optimal lamination contact. This approach minimizes shifting, enhances adhesion, and guarantees a smooth, durable curve.

VEXTHYX Corner clamps for woodworking, 4Pack 90 degree 5.5"x5.5" clamping squares for right angle positioning, woodworking square clamp tools for cabinet, picture frame, box, drawers
【Widespread Application of corner clamps】The corner clamps set is perfect for aligning, nailing, welding, screwing, woodworking. It's the…
As an affiliate, we earn on qualifying purchases.
As an affiliate, we earn on qualifying purchases.
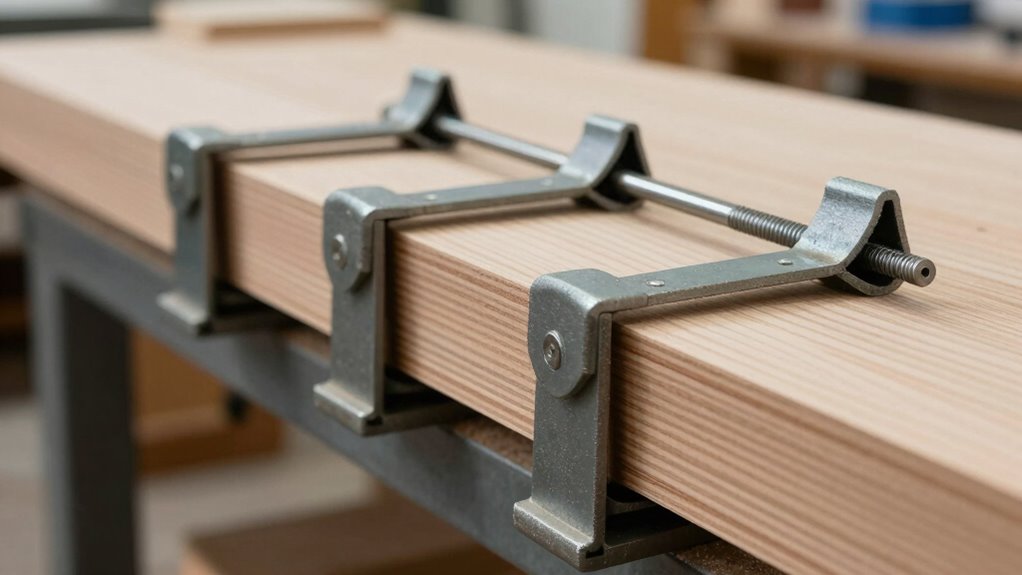
Techniques for Applying Even, Slip-Free Pressure
Applying even, slip-free pressure is essential to make certain your laminated curves maintain their intended shape without damage. Proper clamping pressure ensures consistent lamination alignment across the entire surface. To achieve this, consider these techniques:
Ensure even, slip-free pressure to keep laminated curves perfectly aligned and undamaged.
- Distribute pressure gradually, starting from the center and working outward, to prevent uneven clamping and shifting.
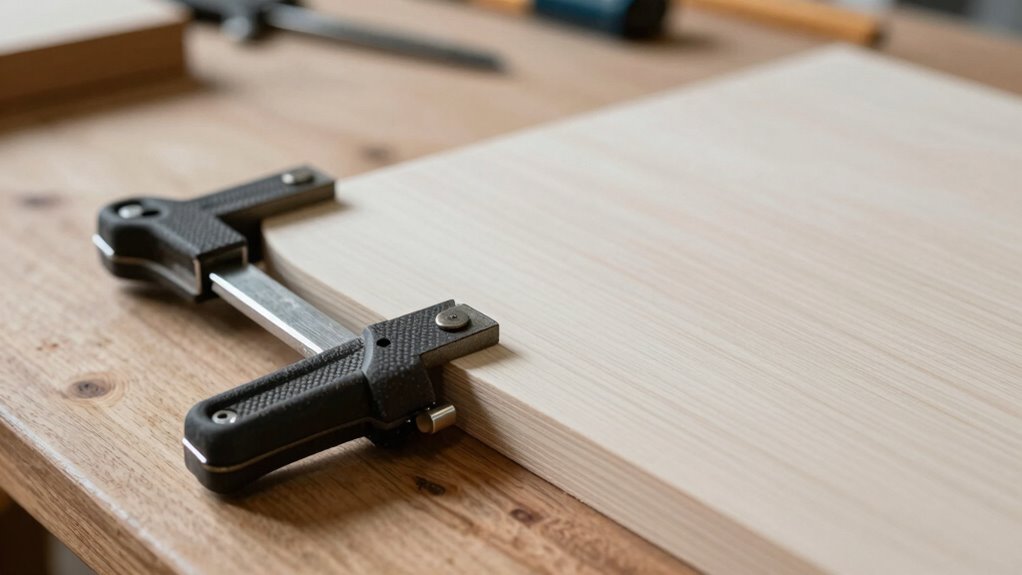
- Use multiple clamps spaced evenly along the lamination to maintain consistent clamping pressure.
- Regularly check and adjust clamps to avoid over-tightening, which can cause damage or misalignment.
- Incorporate clamp pads or cauls to distribute pressure more evenly and protect the lamination surface during tightening.
Using Cauls and Flexible Blanks to Fit Curves
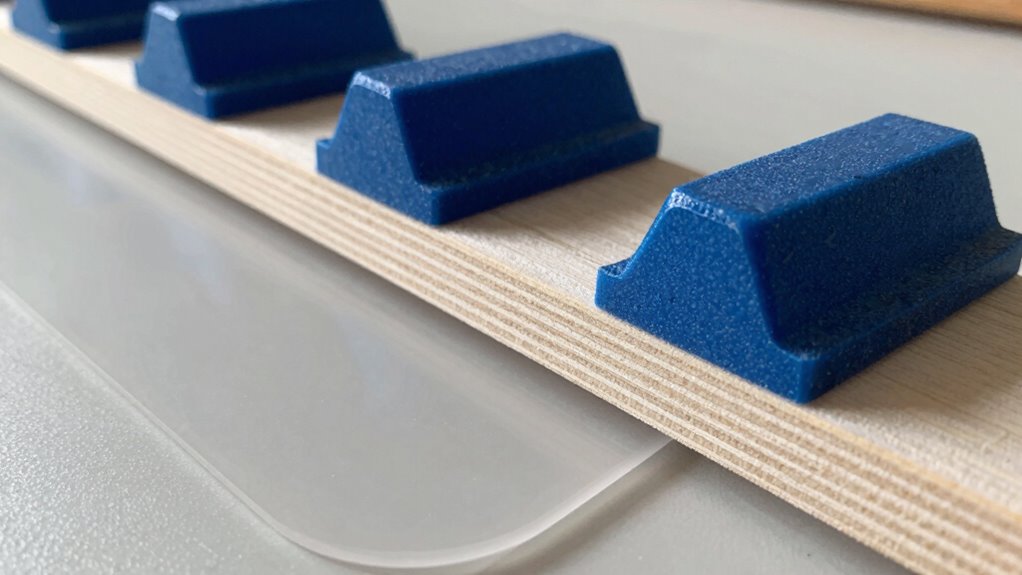
Using cauls and flexible blanks is an effective way to conform laminated curves precisely to their intended shape. These tools distribute clamping pressure evenly, preventing uneven stress that could cause slipping or deformation. Flexible blanks, made from bendable material, bend smoothly around curves, ensuring the lamination follows the desired contour. Cauls, custom-shaped to match the curve, apply consistent pressure across the entire surface. This setup enhances lamination techniques, helping you achieve tight contact and minimize air pockets. By carefully positioning cauls and blanks, you control the shape during glue-up, ensuring the lamination remains true to your design. Proper use of these tools reduces the risk of sliding and ensures your curved lamination is both strong and accurately shaped.
How to Adjust Clamps During Glue-Up for Best Contact
Properly adjusting clamps during glue-up guarantees that your laminated curves stay in perfect contact with the cauls and flexible blanks. First, perform clamp calibration by checking pressure distribution along the entire length—ensure none are over-tightened or too loose. Next, tighten clamps gradually in sequence, verifying even pressure across the glue joint. Finally, inspect the glue joint closely for gaps or misalignment before fully tightening each clamp. To refine your process:
Ensure even pressure by calibrating clamps and inspecting glue joints during the clamp-up process.
- Use a pressure indicator or feeler gauges to monitor clamp tension.
- Adjust clamps incrementally, moving from one end to the other for uniform pressure.
- Regularly perform glue joint inspection during tightening to catch contact issues early.
- Incorporate clamp calibration techniques to ensure consistent pressure application across all clamps. This approach guarantees consistent contact, prevents gaps, and promotes a strong, even bond.
Troubleshooting Clamping Slips and Uneven Pressure

Clamping slips and uneven pressure are common issues that can compromise the strength and alignment of your laminated curves. To prevent clamp slip, ensure your clamps are properly positioned and tightened evenly. Using enough clamps spaced appropriately helps maintain consistent pressure across the lamination surface. When you notice uneven pressure, troubleshoot by adjusting clamps to distribute force uniformly, avoiding over-tightening in one area while under-tightening another. Double-check that the clamps are parallel and seated correctly to prevent slipping during the glue-up process. Applying a non-slip pad or padding under clamps can also improve grip and prevent slipping. Regularly inspect your clamps during the process to catch any movement early. Proper clamp slip prevention and uneven pressure troubleshooting keep your lamination aligned and glued securely. Additionally, understanding clamping techniques can enhance your ability to maintain even pressure throughout the process.
Tips for Removing Clamps Without Distorting Your Lamination
When removing clamps from your laminated curves, doing so carefully prevents distortion and maintains the integrity of your work. Prioritize clamp safety by loosening the clamps gradually to avoid sudden tension shifts that could warp the lamination. Keep in mind that lamination drying is ongoing, so gentle removal helps prevent cracking or delamination. To ensure a smooth process:
- Loosen clamps incrementally from one end to the other, reducing stress evenly.
- Avoid applying excessive force, which can cause distortion or damage.
- Use a soft tool or your fingers to gently lift clamps, ensuring even pressure distribution.
Following these tips helps preserve your curved lamination’s shape and ensures it dries evenly without unintended deformation.
Ensuring Long-Term Stability of Your Curved Lamination

To guarantee your curved lamination remains stable over time, it’s essential to focus on proper reinforcement and care from the start. Pay close attention to the wood grain, ensuring it runs in the correct direction to prevent warping or splitting. Maintaining consistent glue consistency is equally important; too thick, and it won’t penetrate evenly, too thin, and it may weaken the bond. Apply the glue evenly across the entire surface, avoiding excess or gaps. Clamps should be secured firmly but not so tight that they crush the layers or distort the curve. Regularly check the lamination during curing, and allow ample drying time. Proper handling and attention to these details will ensure long-term stability and durability of your curved lamination.
Frequently Asked Questions
Can I Use Alternative Materials Instead of Traditional Clamps?
Yes, you can use alternative fasteners instead of traditional clamps. Consider custom jig designs that secure curved laminations effectively, reducing the risk of sliding. These jigs can be tailored to your specific project, providing consistent pressure and stability. Using alternative fasteners like screws or specialized clips can streamline your workflow and improve accuracy, especially when traditional clamps are impractical or difficult to use with complex, curved shapes.
What Are the Signs of Improper Clamping During Curing?
You might notice clamp marks or uneven pressure if your clamping isn’t proper. These signs suggest that the mold isn’t held securely, leading to potential slipping or warping during curing. Proper clamping ensures even pressure distribution, preventing damage and ensuring quality. If you see localized marks or uneven surfaces, it indicates improper clamping, so double-check your setup. Remember, consistent pressure is key to achieving perfect laminated curves.
How Does Temperature Affect the Clamping Process?
Temperature impacts your clamping process because thermal expansion can cause materials to deform if it’s too hot, or contract if it’s too cold. When temperatures rise, materials expand, potentially loosening your clamps and risking misalignment. Conversely, cold temperatures can make materials brittle and harder to clamp tightly. Maintaining a consistent, ideal temperature ensures even pressure, prevents deformation, and results in a secure, precise lamination.
Are There Specific Safety Precautions When Clamping Curved Laminations?
You must prioritize safety when clamping curved laminations to prevent catastrophic slip-ups. Make certain of perfect clamp alignment to avoid uneven pressure distribution that could warp or damage the wood. Wear safety goggles and gloves, and double-check your setup before tightening. Never rush, as improper clamping can lead to dangerous failures. By meticulously aligning clamps and evenly distributing pressure, you safeguard both your project and yourself from avoidable mishaps.
How Long Should I Leave Clamps in Place for Optimal Bonding?
You should leave the clamps in place for the recommended clamp duration, typically 24 hours, to guarantee proper bonding. This allows the adhesive to cure fully and develop maximum strength. Be patient and avoid disturbing the laminations during this curing time. Rushing the process can weaken the bond and compromise your project. Always follow the adhesive manufacturer’s guidelines for curing time to achieve the best results.
Conclusion
Think of clamping curved laminations like tuning a delicate instrument. When you set the right tension, everything stays in harmony, ensuring your piece remains true and strong. Proper clamping keeps your project from slipping out of tune, preventing warping or gaps. With patience and the right technique, your curved lamination will come together smoothly—like a perfectly played note—delivering lasting beauty and stability you can be proud of.