To make through dovetails look crisp, you need a precise layout step. Start by carefully marking the tail and pin locations, ensuring symmetry and accurate transfer of measurements. Use sharp tools like a marking knife and a square to confirm the lines are straight and consistent. Double-check your angles and grain alignment before cutting. Paying close attention now will result in clean, professional joints—keep going to discover more tips for perfect dovetails.
Key Takeaways
- Accurate marking of tail and pin outlines ensures clean, crisp edges for a sharp-looking dovetail joint.
- Proper transfer of layout lines onto the stock prevents misalignment and fuzzy edges.
- Using sharp marking tools like a marking knife or fine pencil enhances line precision.
- Consistent measurement and symmetry in marking contribute to uniform, crisp dovetail appearance.
- Double-checking and fine-tuning angles and lines before cutting guarantees a neat, professional finish.
Why Is Precise Dovetail Layout Important for Crisp Joints?

Precise dovetail layout is essential because it directly affects the fit and appearance of your joints. When you get the layout right, your dovetail aesthetics improve dramatically, making the joints look crisp and professional. Accurate markings ensure that each tail and pin fits together seamlessly, highlighting your woodworking precision. If your layout is off, joints can appear sloppy, undermining the overall craftsmanship. The key is careful measurement and consistent marking, which give you control over the final result. Achieving sharp, clean lines in your dovetails isn’t just about aesthetics; it also guarantees strength and stability. In short, a precise layout sets the foundation for joints that look polished and function perfectly, elevating your woodworking projects to a higher level. Understanding precise measurements is crucial for achieving consistent and reliable dovetail joints.
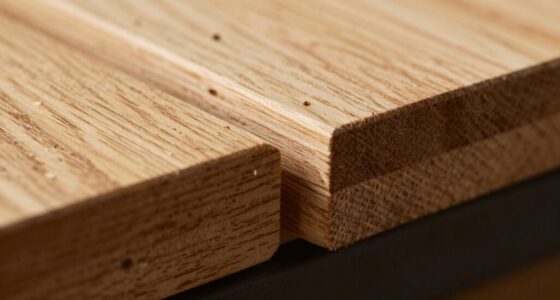
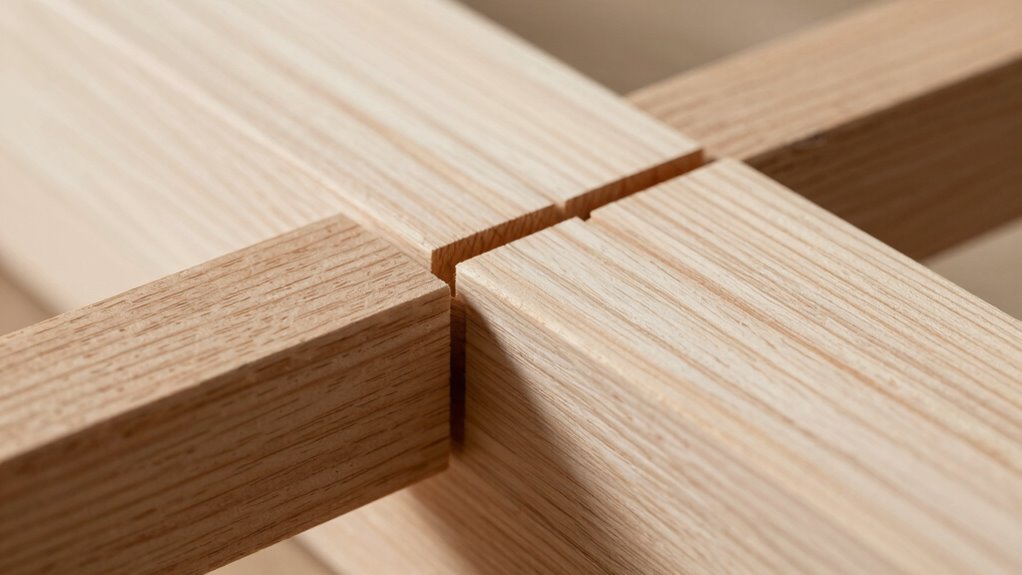
What Are the Key Parts of a Through Dovetail?

The key parts of a through dovetail are the pins and tails, which interlock to create a strong joint. You need to focus on how well these parts fit together and align properly. Proper attention to these details guarantees your dovetails look crisp and hold securely. Additionally, understanding the structural integrity of the joint helps ensure durability and a professional appearance.
Pins and Tails
Have you ever wondered what makes a through dovetail both strong and visually appealing? The key parts are the pins and tails. The pins are the narrow, upright sections on one piece of wood, while the tails are the wider, fanned sections on the mating piece. Their interlocking shape creates a joint that’s not only durable but also showcases beautiful joint aesthetics. When cutting the pins and tails, pay close attention to the wood grain; aligning it properly enhances strength and highlights the natural patterns. The contrast between the pins and tails adds visual interest, making the joint stand out. Mastering these parts ensures your dovetails look crisp and professional, emphasizing craftsmanship and the natural beauty of your wood. Additionally, understanding the importance of European cloud innovation can inspire you to apply modern, sustainable techniques to your woodworking projects.
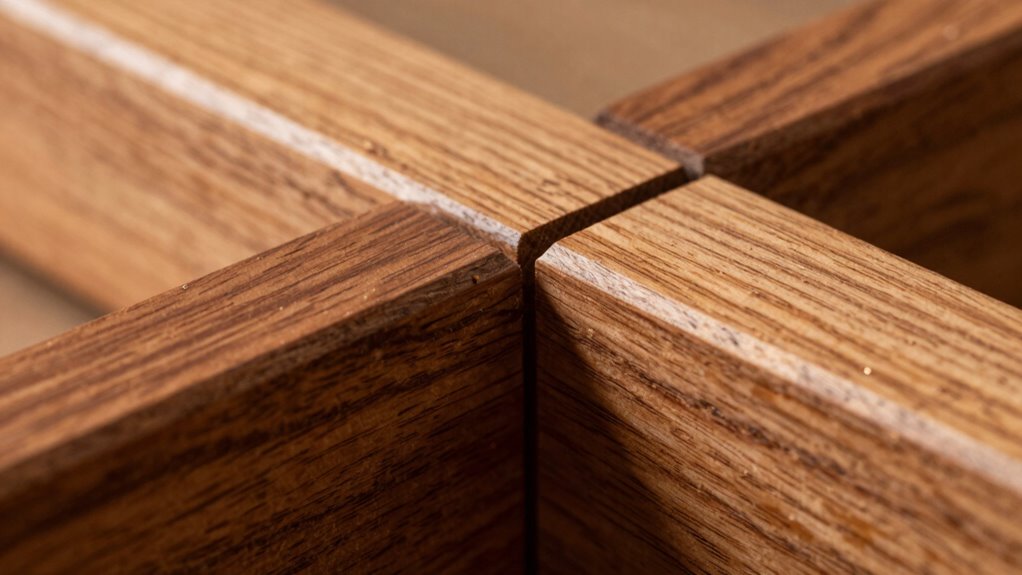
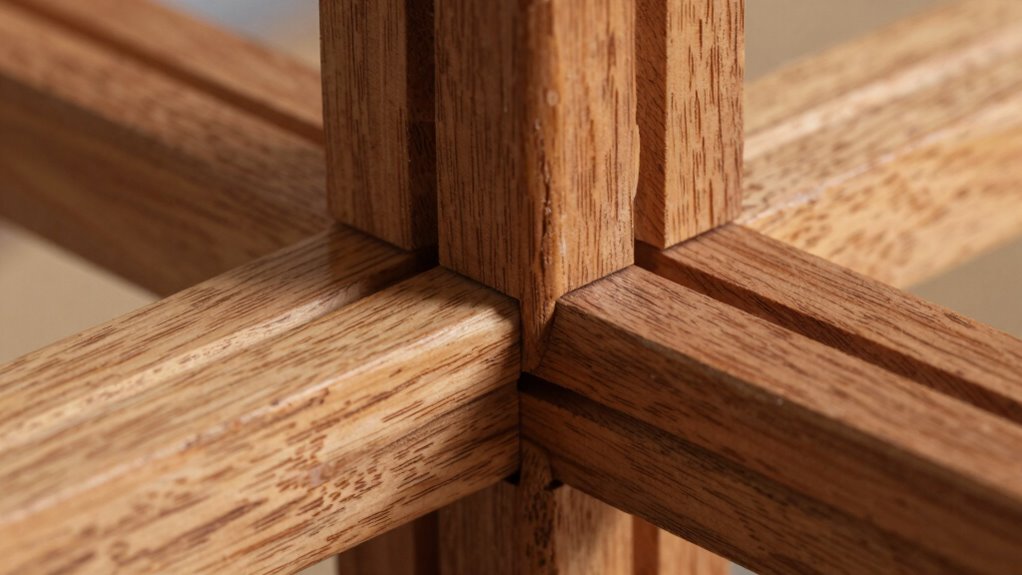
Fit and Alignment
Achieving a clean, professional look in through dovetails depends heavily on proper fit and alignment. When the pins and tails fit snugly, the joint gains stability, preventing gaps or weaknesses over time. Precise fit also enhances the aesthetic appeal, creating a seamless, crisp appearance that highlights craftsmanship. Proper alignment ensures the pins and tails line up perfectly, giving the joint a uniform look and avoiding skewed or uneven edges. Take the time to test fit each component as you go, making small adjustments to achieve the ideal fit. Remember, even slight inaccuracies can detract from the finished look and compromise joint stability. Additionally, paying attention to the grain direction of the wood can help maintain strength and visual consistency throughout the joint. Ultimately, meticulous attention to fit and alignment elevates your dovetails from functional to visually striking.
How to Plan Your Dovetail Layout Step-by-Step

Wondering how to get started with your dovetail layout? Begin by planning your cuts carefully, focusing on joint aesthetics and grain alignment. First, identify the best grain direction for both pieces; this ensures a crisp look. Next, sketch your tail and pin locations, keeping symmetry in mind. To visualize, consider this layout guide:
| Step | Action | Tip |
|---|---|---|
| 1 | Mark outside edges | Keep grain aligned for strength |
| 2 | Draw dovetail tails | Ensure even spacing |
| 3 | Transfer tails to pins | Maintain symmetry |
| 4 | Check joint aesthetics | Look for crisp, clean lines |
| 5 | Finalize layout | Confirm grain flow matches |
Following these steps guarantees a precise, visually appealing dovetail joint. Additionally, understanding the importance of rendering lard can contribute to your self-sufficiency in preserving food and making durable tools, which is valuable in a survival homestead.
How to Mark Tail and Pin Locations Accurately
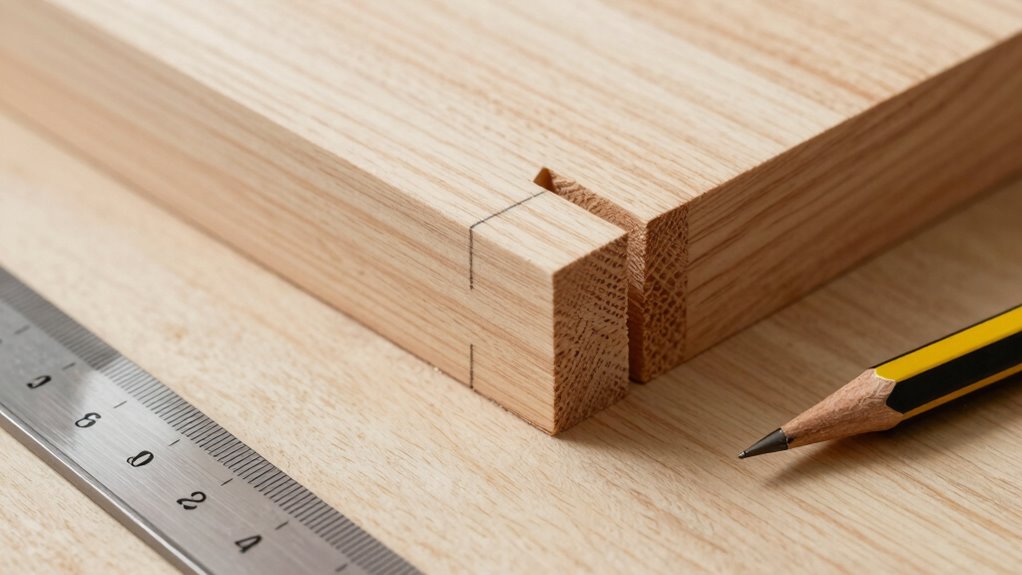
To mark tail and pin locations accurately, start by securely securing your workpiece and using a sharp pencil for precise lines. Proper marking is essential for achieving excellent joint aesthetics and perfect dovetail symmetry. Focus on these key steps:
- Align your layout lines carefully, ensuring consistent spacing for uniform tails and pins.
- Use a template or marking gauge to transfer the tail outline accurately onto the pin board.
- Double-check your measurements before cutting to maintain symmetry and avoid misaligned joints.
- Incorporate accurate marking techniques to ensure your dovetails fit together perfectly and look professional.
These steps help you create consistent, well-proportioned dovetails that look crisp and professional. Accurate marking not only enhances the visual appeal but also ensures a tight fit, making your dovetails both functional and attractive. Precision at this stage pays off in a flawless finished project.
What Tools Do You Need for a Clean Dovetail Layout?
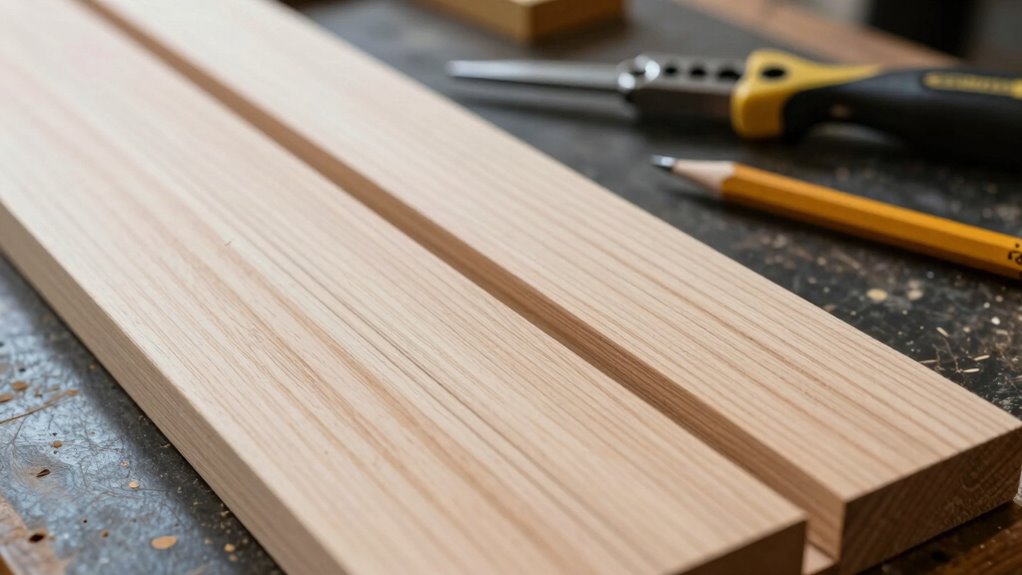
To get a clean dovetail layout, you’ll need the right tools to guarantee accuracy and crisp lines. Sharp pencils or markers help you make precise marks, while a good measuring tool keeps everything aligned. Don’t forget a square and marking gauge to guide your cuts and maintain consistent angles. Incorporating precision measurement tools ensures your dovetails fit perfectly and look professional.
Sharp Pencils and Markers
Using sharp pencils and markers is essential for a clean dovetail layout because they guarantee your lines are precise and easy to see. Sharp tools help you make accurate marks, which is key to achieving excellent dovetail aesthetics and maintaining woodworking precision. Dull pencils can cause blurry lines, making it difficult to follow your layout accurately. Markers, especially fine-tipped ones, allow for clear, crisp lines that stand out against the wood surface. To get the best results, keep these tips in mind:
- Use a quality mechanical pencil for consistent, sharp lines
- Choose a fine-tipped marker for detailed marking
- Regularly sharpen pencils to maintain line accuracy
- Proper marking techniques are crucial for achieving perfect dovetails. These tools ensure your layout is neat, precise, and ready for the next steps in your woodworking project.
Precise Measuring Tools
Achieving a clean dovetail layout depends heavily on having the right measuring tools at hand. Accurate measuring techniques are essential to guarantee each mark is precise, which directly impacts the crispness of your dovetails. A good combination square helps you establish consistent angles and straight lines, while a marking gauge ensures uniform marking depth along the boards. A fine-tipped pencil or marking knife provides sharp, clear lines that resist smudging, enhancing marking accuracy. Using a combination of these tools ensures that your layout lines are consistent and precise, reducing errors during cutting. The key is to select tools that allow for fine adjustments and clear visibility, making your measurements reliable and your dovetails crisp and professional-looking.
Square and Marking Gauge
What tools do you need to guarantee a clean dovetail layout? A reliable square and marking gauge are essential. The square ensures your layout lines are perfectly perpendicular, preventing skewed dovetails. The marking gauge helps you scribe accurate, consistent lines along the wood’s edge, maintaining uniformity. To get crisp, precise results, focus on these key tools:
- A sturdy combination square or a try square for accurate right angles
- A sharp marking gauge for consistent line depth
- A pencil or marking knife for clear, visible lines
- Understanding how digital asset management can improve your workflow ensures your tools are used efficiently and effectively.
Using quality square tools and a precise marking gauge makes all the difference. They help you transfer measurements accurately, ensuring your dovetails are aligned and look sharp. This simple setup sets the foundation for a professional, crisp finish.
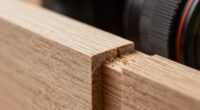
Common Mistakes That Make Dovetails Look Fuzzy

Fuzzy-looking dovetails often result from cuts that aren’t precisely executed or from poor adhesion between joints. When your cuts are slightly off, the joint’s aesthetics suffer, making the fit look sloppy. Additionally, neglecting grain matching can cause misalignment and a fuzzy appearance, as uneven grain flow blurs the joint edges. To visualize, consider this table:
| Poor Technique | Result |
|---|---|
| Inaccurate cuts | Fuzzy, uneven edges |
| Grain mismatch | Joints look disconnected |
| Proper Technique | Result |
| Precise cuts | Sharp, crisp joint edges |
| Grain matching | Seamless flow, neat look |
Avoid these mistakes to keep your dovetails crisp and visually appealing. Incorporating local automation techniques can also help ensure consistency and precision during your woodworking projects, reducing the likelihood of fuzzy joins.
How to Ensure Symmetrical and Consistent Dovetails
Ensuring your dovetails are symmetrical and consistent starts with careful planning and precise measurement. Proper layout guarantees that the joint aesthetics remain appealing and grain alignment is maintained for strength and visual harmony. To achieve this, focus on:
Achieve perfect dovetails through careful planning, precise measurement, and consistent layout for strength and beauty.
- Aligning your layout lines accurately to keep pins and tails consistent in size and shape.
- Using consistent marking techniques to prevent skewed or uneven cuts.
- Double-checking measurements before cutting to maintain symmetry and proper grain flow.
How to Double-Check Your Layout Before Cutting
Before making the cut, double-check your layout to catch any errors or misalignments. Verify that the grain direction aligns correctly with your dovetail templates, ensuring the wood’s strength and appearance. Use a square or straightedge to confirm the lines are straight and properly spaced. Check that your layout is symmetrical on both pieces, and that the markings match precisely. Review your measurements carefully, especially if you’ve transferred your dovetail template. Here’s a quick checklist:
| Step | What to Check | Why |
|---|---|---|
| 1 | Grain direction | Prevents splitting, guarantees strength |
| 2 | Template alignment | Ensures accurate dovetails |
| 3 | Line accuracy | Maintains crisp, clean look |
Double-checking now saves time and guarantees crisp, professional results.
Troubleshooting Tips for Improving Your Dovetail Layout

If your dovetail layout isn’t lining up properly, minor adjustments can often make a big difference. Start by checking the grain direction; aligning your dovetails with the grain helps prevent chipping and ensures cleaner cuts. Next, verify your dovetail angles—small tweaks here can improve fit and appearance. To troubleshoot effectively, consider these tips:
Small adjustments to grain and angles can greatly improve dovetail alignment and fit.
- Adjust your layout lines slightly if they don’t match perfectly, especially around the tails and pins.
- Re-measure the dovetail angles to ensure consistency across all cuts.
- Use a sharp, accurate marking tool to prevent smudging or misinterpretation of your lines.
Frequently Asked Questions
Can I Use a Template or Jig for Dovetail Layout?
Yes, you can definitely use dovetail templates and layout jigs to simplify your work. These tools help guarantee consistent, precise cuts, making the process easier and more accurate. Simply choose the right template or jig for your project, secure your workpiece, and follow the guide. This approach reduces errors, speeds up your workflow, and results in crisp, professional-looking dovetails every time.
How Does Wood Type Affect Dovetail Layout Accuracy?
Imagine your wood grain as a guiding road, influencing your dovetail layout precision. Different wood types, like soft pine or hard oak, affect how accurately you can cut. Hardwoods demand careful attention to grain direction and sharper tools, ensuring cleaner cuts. Softwoods might shift or tear more easily, making layout tricky. Choosing the right wood and understanding its grain helps you achieve crisp, precise dovetails every time.
What Are the Best Practices for Transferring Layout Marks?
To transfer layout marks accurately, use sharp marking tools like a fine pencil or a marking knife for precision. Choose transfer techniques such as tracing with carbon paper or scoring the lines with a knife, then connect the marks carefully. Keep your marking tools sharp, work in good lighting, and double-check measurements. This guarantees your dovetail layout stays crisp and precise, making assembly easier and more professional-looking.
How Do I Adjust My Layout for Different Dovetail Sizes?
Think of adjusting your layout like tuning a musical instrument—smoothly and precisely. To fit different dovetail proportions, start by measuring each size carefully, then use layout scaling to match your template. This way, your dovetails stay proportional, ensuring a seamless fit. Keep your measurements consistent, and tweak your layout until it aligns perfectly, creating a harmonious look that’s both functional and crisp.
Is It Better to Mark With a Pencil or a Marking Knife?
Using a marking knife is better for layout techniques because it provides a precise, fine line that’s easy to follow. Marking knives cut a small groove, which helps you stay accurate when sawing or chiseling. Pencils are quicker and less messy, but they can smudge or wear off. For critical dovetail work, a marking knife guarantees cleaner, sharper lines, making your joints look crisp and professional.
Conclusion
Mastering precise dovetail layout transforms rough cuts into crisp, professional-looking joints. Did you know that even a tiny 1/16-inch misalignment can make dovetails appear fuzzy and uneven? By taking your time with careful planning and accurate marking, you’ll guarantee your joints look sharp and symmetrical every time. With patience and practice, your dovetails will not only fit perfectly but also impress anyone who sees your craftsmanship.