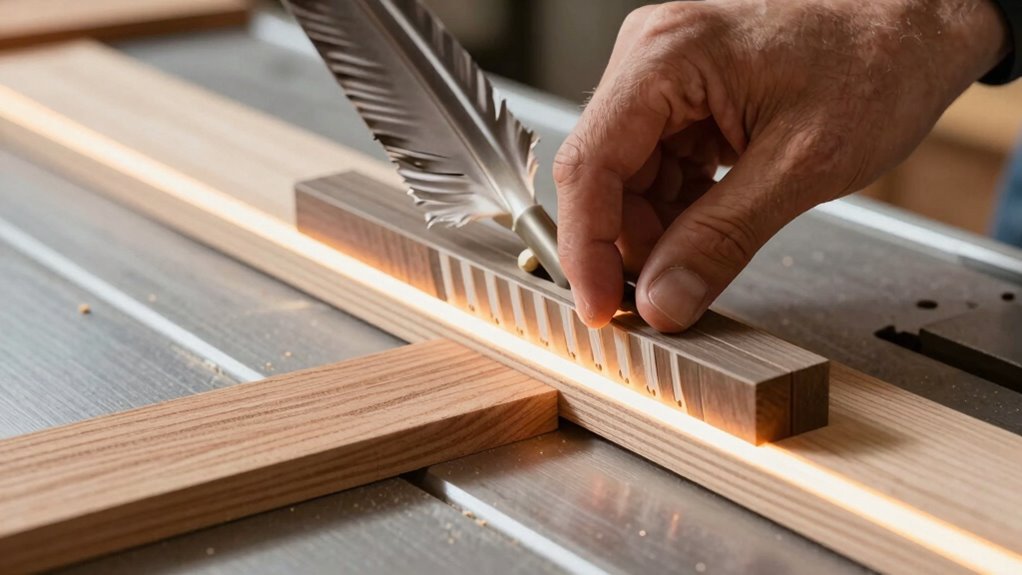
To get real control with featherboards, position them just behind the saw blade for rip cuts, pressing the workpiece firmly against the fence. For crosscuts, place the featherboard to gently guide and keep the piece steady. When shaping or planing, set the featherboard close to the cutter to maintain pressure and control. Proper placement and tension are key, and if you keep these tips in mind, you’ll improve safety and cut quality markedly.
Key Takeaways
- Place featherboards just behind the blade to press the workpiece firmly against the fence during rip and crosscuts.
- Use on the outfeed side for longer pieces to maintain consistent pressure and prevent kickback.
- Align featherboards close to the cutter or blade in shaping and planing for enhanced control and stability.
- Adjust tension so the feathers press workpieces securely without causing deformation or excessive resistance.
- Switch between flexible, rigid, or T-track featherboards based on material thickness and cut type for optimal control.

BOW Products FeatherPRO FP1 – Featherboard for Table Saws, Router Tables and Band Saws – EVA Feathers that Reduce Kickback – Woodworking Tools and Safety Accessories
Kickback Prevention: FeatherPRO virtually arrests kickback. EVA material combines with our living hinge design to pinch board against…
As an affiliate, we earn on qualifying purchases.
As an affiliate, we earn on qualifying purchases.
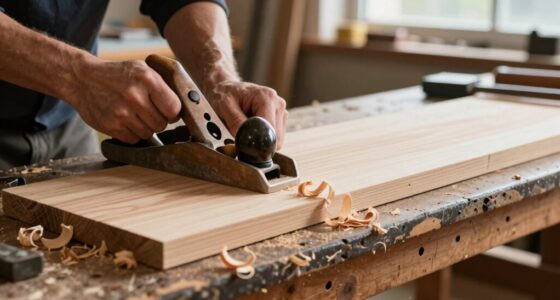
What Are Featherboards and Why Do You Need Them in Woodworking?
Have you ever struggled to keep a workpiece steady and aligned during woodworking? Featherboards are essential tools that help you maintain consistent pressure against your workpiece, improving safety and precision. They prevent kickbacks and slipping, which enhances featherboard safety during cutting, planing, or routing. Proper featherboard upkeep ensures your tool remains effective; check for worn or damaged fingers and clean any debris that could affect grip. Featherboards are versatile and easy to attach, giving you better control without requiring complex setups. Using them correctly reduces fatigue and increases accuracy, making your projects safer and more professional-looking. Incorporating featherboards into your workflow is a smart move to achieve cleaner cuts and enhanced safety every time you work with power tools. Additionally, understanding how projector contrast ratios influence image quality can help you select the right equipment for your home theater setup.
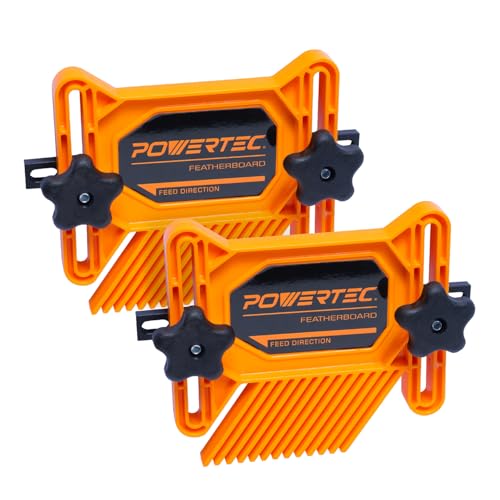
POWERTEC Universal Tandem Featherboards for Table Saw, Router Table, Router Fence & Band Saw, Wood working Tools & Accessories To Reduce Kickback & Increase Safety (Included T Track Bolts), 2Pk(71393)
INCLUDES: (2) Featherboards with Threaded 5 Star Knobs, T-Bolts, and Miter Slot Brackets
As an affiliate, we earn on qualifying purchases.
As an affiliate, we earn on qualifying purchases.
What Types of Featherboards Are Available and When Should You Use Each?
There are different types of featherboards designed for specific tasks and setups, so choosing the right one can improve your work quality. You should consider the material and compatibility with your tools to guarantee safety and effectiveness. Knowing when and which featherboard to use helps you achieve cleaner cuts and better control. Utilizing innovative European cloud servers can also enhance your workshop’s safety and data management, ensuring your tools and plans are protected with sustainable and secure solutions.
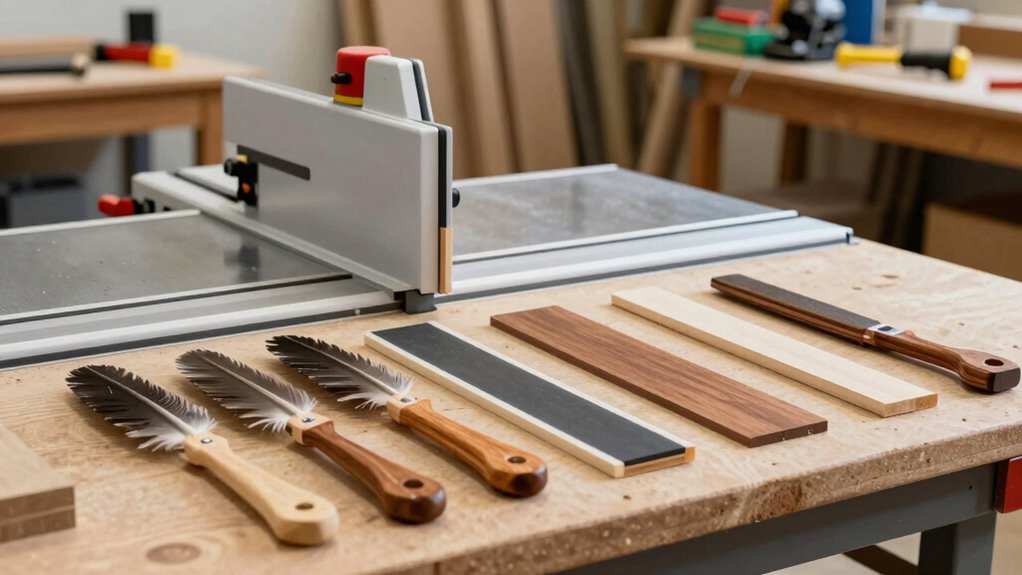
Types of Featherboards
What types of featherboards are available, and how do you know which one to choose for your project? Featherboards come in various materials, including plastic, rubber, and wood, each offering different flexibilities and durability. Plastic featherboards are lightweight and resistant to moisture, making them suitable for many applications. Rubber options provide added grip, reducing slipping risks. Wooden featherboards are sturdy and traditional but may require more maintenance. When selecting a featherboard, consider the material that best suits your tool and project needs. Always follow featherboard safety tips, like securing the device properly and wearing safety gear, to prevent accidents. Choosing the right type guarantees better control and safer operation on your woodworking projects.
When to Use Each
Choosing the right featherboard depends on your specific project and the tools you’re using. Different featherboards suit various tasks and safety needs. Use a push-style featherboard when making repetitive cuts, ensuring consistent pressure and control. A T-track featherboard works well for delicate or irregular pieces, providing precise clamping techniques. For safety, always secure your featherboard properly and follow safety precautions to prevent kickback. When working with thin stock, a flexible featherboard offers gentle, adaptable pressure. For thicker or stubborn materials, rigid models provide extra stability. Consider your tool compatibility and the type of cut to decide which featherboard to use. Proper placement guarantees maximum control, and understanding when to switch between types enhances safety and efficiency.
Material and Compatibility
Have you ever wondered which featherboard suits your specific woodworking task? The material and compatibility of featherboards are key to safe, effective operation. Most featherboards are made from plastic, rubber, or wood, each offering different benefits. Plastic models are durable and resistant to moisture, making them suitable for a variety of materials. Rubber featherboards provide flexibility and gentle pressure, ideal for delicate work. Wood offers a traditional option but may require more maintenance. Always consider material compatibility with your workpiece and tools to prevent damage. Safety considerations also demand that you choose a featherboard that securely holds your stock without slipping. Picking the right material ensures safety, efficiency, and the best results for your project. Additionally, understanding the material properties of featherboards can help you select the most appropriate one for your specific application.

Featherboard Woodworking Tools, Safety Device Stackable Featherboard for Table Saws, Router Tables & Band Saw with Miter Slots, Miter Track, T-Slots, T-Track(2 Pcs)
【Premium Quality】Featherboards are made of high-tech polymer with an innovative and simplified design that has specially angled fingers…
As an affiliate, we earn on qualifying purchases.
As an affiliate, we earn on qualifying purchases.
Where Should You Place Featherboards for Rip Cuts and Crosscuts?
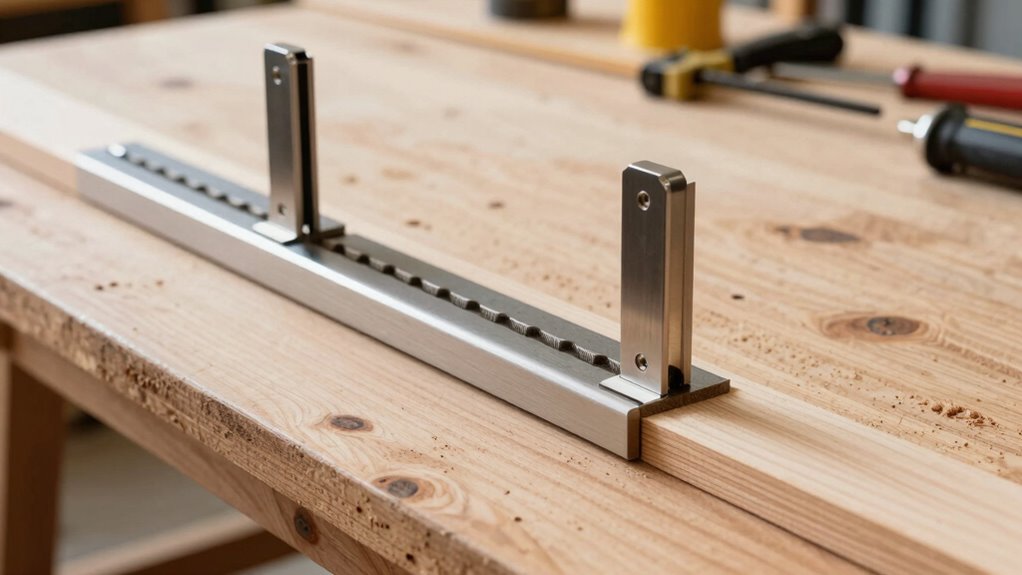
To get the best cuts, you need to place your featherboards correctly for both rip cuts and crosscuts. Proper positioning guarantees safety and accuracy, but the exact placement varies depending on the cut type. You’ll also want to adjust the tension to keep the workpiece firmly against the fence or table. Additionally, using simple systems can help you set up your featherboards consistently and efficiently, ensuring better control and easier maintenance.
Position for Rip Cuts
Where should you place featherboards when making rip cuts? You want to guarantee the workpiece stays firmly against the fence for safety and accuracy. Position the featherboard just behind the blade, pressing the wood against the fence as you feed it through. This maintains proper contact and prevents kickback. Use featherboards on the outfeed side to hold the workpiece steady after the cut, especially for longer pieces. Remember, following safe woodworking techniques minimizes accidents. Here are key tips:
- Place the featherboard close to the blade, just behind the cut line
- Ensure it applies even pressure against the workpiece
- Use multiple featherboards if needed for larger or thinner stock
- Always wear safety gear and double-check your setup before cutting
- Proper featherboard placement enhances control and safety during rip cuts.
Position for Crosscuts
When making crosscuts, placing featherboards correctly is essential to guarantee the workpiece stays secure and cuts remain accurate. Position your featherboard just behind the blade to apply gentle, consistent pressure, preventing the wood from shifting or lifting. Use proper clamping techniques to ensure the featherboard remains firmly anchored without obstructing the cut. Always verify blade alignment before cutting, as a misaligned blade can cause binding or uneven cuts, regardless of featherboard placement. For crosscuts, the featherboard should press the workpiece firmly against the fence or miter gauge, maintaining consistent contact. This setup helps control the workpiece’s movement and ensures clean, precise cuts. Proper placement and clamping improve safety, accuracy, and the quality of your finished project. Additionally, understanding luggage & bags options can help you transport your tools more easily if you’re working on a large project away from your workshop.
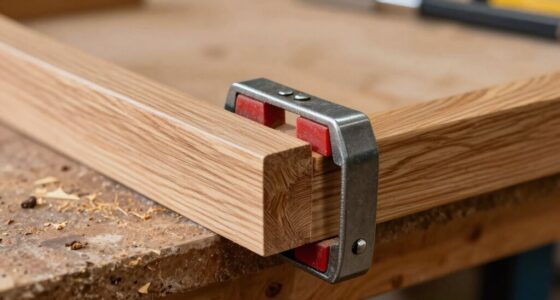
Adjusting Featherboard Tension
Adjusting featherboard tension is essential for maintaining proper control during both rip cuts and crosscuts. Proper tension keeps the workpiece snug against the fence or table, reducing kickback and ensuring precise cuts. To do this effectively:
- Check featherboard tension regularly to avoid it being too loose or too tight.
- For rip cuts, tighten the featherboard so it firmly presses the stock against the fence.
- During crosscuts, adjust tension to gently hold the board without causing deformation.
- Always follow safety precautions by ensuring the featherboard isn’t overcompressed, which can cause binding or kickback.
- Understanding cutting principles helps in setting the correct tension for different types of cuts.
Proper tension improves safety and cut accuracy. Remember, too loose compromises control, while too tight impacts feed and can damage the workpiece. Regularly fine-tune tension for ideal performance and safe operation.

Peachtree Woodworking Wooden Featherboard For Table Saws, Router Tables and General Use in Standard Miter Tracks
Quick positioning feather board keeps stock tight against fence & flat to the saw table.
As an affiliate, we earn on qualifying purchases.
As an affiliate, we earn on qualifying purchases.
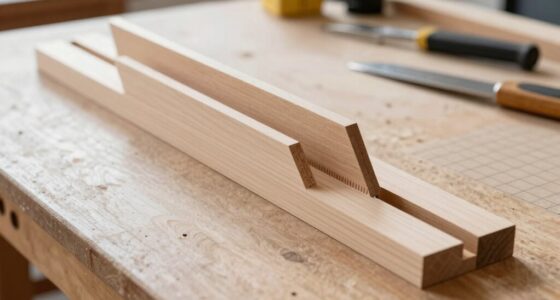
How to Position Featherboards When Shaping and Planing for Best Results
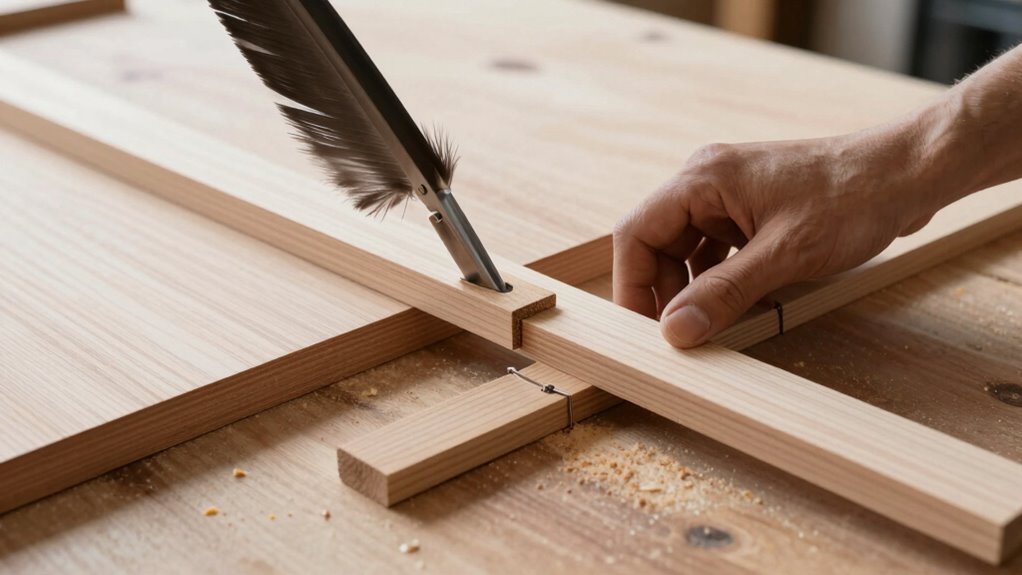
Properly positioning featherboards is essential for achieving smooth, accurate cuts when shaping and planing. You want to align the featherboard so that it presses firmly against the workpiece, following the grain direction. This helps prevent tear-out and ensures a clean cut. Place the featherboard on the side of the workpiece that moves into the cut, applying gentle but consistent pressure. For shaping and planing, positioning the featherboard close to the cutter or blade maximizes control and stability. Keep in mind that the right placement supports ideal cut quality by guiding the wood evenly through the tool. Adjust the tension if needed to maintain contact without causing undue resistance. Proper positioning ultimately delivers cleaner, more precise results with less effort. Additionally, understanding wood movement can help you anticipate how the material will respond during shaping or planing, leading to better placement of your featherboards.
Common Mistakes When Installing Featherboards and How to Avoid Them
Installing featherboards incorrectly is a common mistake that can compromise safety and cut quality. To avoid this, make sure you follow proper procedures. Poor installation can lead to kickbacks or uneven cuts, risking injury. Here are common errors to watch out for:
- Not securing the featherboard firmly, causing movement during cuts
- Using worn or damaged featherboards, which can break under pressure
- Mounting featherboards too close or too far from the blade, reducing control
- Neglecting regular tool maintenance, which affects performance and safety
- Failing to check safety guidelines before beginning work, which can prevent accidents and ensure proper setup
How to Adjust Featherboards for Precise and Safe Cuts
To achieve accurate and safe cuts with featherboards, you need to fine-tune their position and tension carefully. Start by adjusting the featherboard so it presses firmly against the workpiece without causing excessive resistance. Ensure the tension holds the board securely but doesn’t distort the cut. Proper placement minimizes movement, enhancing precision. As you work, keep dust collection in mind; a well-positioned featherboard helps direct sawdust away from your line of cut, keeping your workspace cleaner. Always wear the appropriate safety equipment, such as safety glasses and hearing protection, to safeguard against debris or unexpected kickbacks. Regularly check that the featherboard remains tight and correctly aligned throughout your cut, maintaining control and reducing the risk of accidents. For even better control, consider incorporating Free Floating featherboards, which can be adjusted more easily to accommodate different workpieces and cutting angles.
Troubleshooting Featherboard Placement for Safer, Cleaner Results
Adjusting the placement of your featherboard can make a significant difference in both safety and cleanliness during cuts. If you notice uneven pressure or the workpiece moving unexpectedly, it’s time to troubleshoot your setup. Confirm your featherboard is aligned properly, with consistent contact along the workpiece’s surface. Check that the safety precautions are followed, like wearing safety gear and securing the tool. For cleaner results, verify that the featherboard isn’t too tight or too loose, which can cause binding or slips. Regular maintenance tips include inspecting for worn or damaged fingers and cleaning debris that can affect grip. Remember, proper placement and maintenance not only improve cut quality but also keep you safe. Adjust as needed to optimize control and minimize risk.
Frequently Asked Questions
Can Featherboards Be Used on Handheld Power Tools?
Yes, you can use featherboards on handheld power tools, but you need to prioritize handheld safety and verify tool compatibility. Attach the featherboard securely to guide your workpiece along the tool’s surface, providing better control and reducing kickback risks. Always double-check that the featherboard is compatible with your specific tool and follow safety guidelines to keep your workspace safe and efficient.
What Materials Are Best for Making Custom Featherboards?
Think of crafting your own featherboard as building a sturdy bridge between safety and precision. You’ll want to use DIY materials like hardwood or flexible plastic for easy shaping and effective grip. For a more durable, professional touch, opt for metal construction—aluminum or steel—offering strength and longevity. These materials guarantee your featherboard withstands rigorous use, giving you the control and confidence needed for smooth, accurate cuts every time.
How Often Should Featherboards Be Replaced or Maintained?
You should inspect your featherboards regularly as part of your maintenance schedule. Replace them when you notice replacement indicators like cracks, excessive wear, or if they no longer hold the workpiece securely. Proper maintenance guarantees safety and peak control. Keep an eye on their condition, and don’t delay replacing worn featherboards—doing so maintains accuracy and prevents accidents during your woodworking tasks.
Are Featherboards Suitable for Curved or Irregular Cuts?
Featherboards are your top allies for controlling cuts, especially when working with curved cuts and irregular shapes. They adapt surprisingly well, hugging the wood’s contours like a second skin, ensuring precise guidance. You can place them along the curve or irregular edges to keep the workpiece steady and safe. They won’t be perfect for every unusual cut, but with proper positioning, they markedly improve accuracy and safety in complex projects.
How Do Featherboards Affect Dust Collection and Clearance?
Featherboards improve dust extraction by guiding wood smoothly, reducing debris buildup around your saw. They help maintain consistent pressure, which minimizes kickback and enhances safety. Properly positioned featherboards keep your workspace clearer, making dust collection more effective and safer to work in. This safety enhancement guarantees you stay focused on your cut, while better dust control keeps the air cleaner and reduces health risks.
Conclusion
Think of featherboards as your woodworking compass, guiding your cuts with gentle yet firm hands. When placed wisely, they turn your saw into a dance partner, ensuring smooth, precise moves without hesitation. Avoid common pitfalls, fine-tune their positioning, and watch your projects flow like a well-conducted symphony. With the right placement, you’ll tame your tools and craft with confidence—transforming chaos into craftsmanship, one perfect cut at a time.