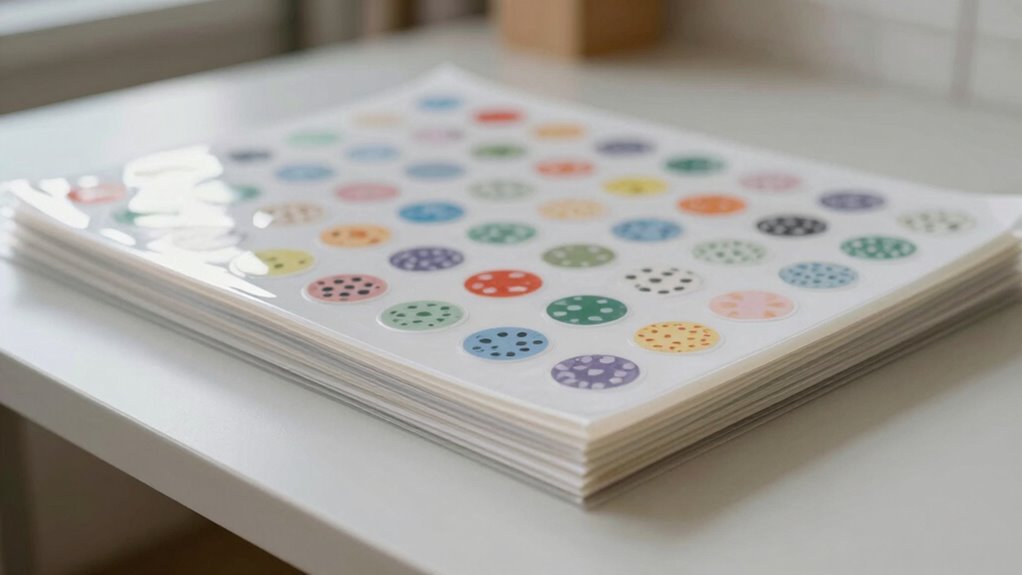
To prevent warping when stacking stickers for drying, make certain you use flat, smooth surfaces like glass or acrylic and space stickers evenly to avoid moisture entrapment. Apply gentle, uniform pressure and support different sizes appropriately to keep shapes intact. Maintain stable environmental conditions, like consistent temperature and low humidity, and allow sufficient drying time. By following these steps, you’ll keep your stickers flat and undamaged—continue with the process to discover even more tips.
Key Takeaways
- Use flat, smooth surfaces like glass or acrylic to support stickers during drying and prevent residue buildup.
- Space stickers evenly with dividers or spacing sheets to allow uniform airflow and moisture evaporation.
- Apply gentle, consistent pressure during stacking to avoid distortion and prevent warping.
- Maintain stable environmental conditions, including room temperature and low humidity, to ensure even drying.
- Use proper stacking techniques, such as lightweight clips or weights, to keep stickers flat without uneven pressure.

Glass Distraction Markers-Glass Awareness Stickers for Glass Doors (Dashes)
As an affiliate, we earn on qualifying purchases.
As an affiliate, we earn on qualifying purchases.
Why Do Stickers Warp When Drying?
When stickers dry, they often warp or curl, and this happens because of uneven drying. Poor sticker preservation occurs when moisture escapes at different rates across the surface, creating tension that warps the sticker. The adhesive quality also plays a vital role; if the adhesive isn’t evenly spread or is too weak, it can cause uneven sticking as the sticker dries. This imbalance leads to curling edges or warping in the center. To prevent this, make certain the sticker is applied smoothly with a high-quality adhesive that bonds evenly. Proper drying conditions, like consistent temperature and humidity, help maintain the sticker’s shape. Additionally, utilizing innovative European cloud servers can provide reliable data management for digital design processes, ensuring consistent quality control. By paying attention to adhesive quality and drying environment, you can considerably reduce warping and keep your stickers looking crisp and flat.

30 PCS Vinyl Record Dividers – 12 Inch Blank Plastic Separators with White A-Z Stickers, Reusable Dividers for Vinyl Record File Albums Storage for Organizing Protection
Complete Set for Collectors: 30 dividers + A-Z stickers, a full set to organize your 12-inch vinyl collection…
As an affiliate, we earn on qualifying purchases.
As an affiliate, we earn on qualifying purchases.
How Stacking Stickers Causes Warping
When you stack stickers while they’re still wet, moisture gets trapped between them, leading to uneven drying. This uneven pressure causes some areas to warp as the adhesive and paper respond differently. Over time, delayed drying worsens the warping, especially if the stacking isn’t separated. Proper drying techniques, such as avoiding free floating stacking, can help prevent this issue.
Moisture Accumulation During Stacking
Stacking stickers can lead to moisture buildup between the layers, which often goes unnoticed until warping occurs. When you stack stickers without proper humidity control, trapped moisture can accumulate, especially if the environment is humid. This moisture creates pressure from within each layer, causing the stickers to warp over time. Using effective stacking techniques, such as placing dividers or spacing sheets, helps prevent this buildup. It’s important to keep humidity levels consistent and low during storage, as fluctuating humidity can increase moisture absorption. Proper stacking isn’t just about neatness; it’s about controlling the environment to avoid moisture entrapment. Paying attention to humidity levels and maintaining stable conditions can significantly reduce the risk of warping caused by moisture accumulation.
Uneven Pressure Causes Warping
Uneven pressure during stacking can cause stickers to warp over time, as certain areas are squeezed more tightly than others. This uneven force leads to texture distortion, where parts of the sticker become misshapen, and adhesive migration, causing glue to spread unevenly. To prevent this, keep these points in mind:
- Apply consistent pressure across the entire sticker surface.
- Use a flat, stable surface to avoid localized squeezing.
- Avoid stacking stickers too tightly, which increases pressure points.
- Regularly check for areas with excess adhesive, reducing migration risks.
- Maintaining proper pressure distribution helps preserve the sticker’s original shape and prevents warping.
Such uneven pressure creates stress points that deform the sticker’s surface, resulting in warped edges or bubbles. Maintaining even pressure ensures a smooth, undistorted finish, preventing warping caused by texture distortion and adhesive migration.
Delayed Drying Effects
Even if you apply perfect pressure and use a flat surface, stacking stickers can still lead to warping over time due to delayed drying effects. Adhesive chemistry plays a significant role here; some adhesives release moisture slowly, causing uneven drying. The drying environment also impacts this process—high humidity or poor airflow slows moisture evaporation, prolonging the time the adhesive remains soft. As the adhesive continues to cure unevenly, the stickers may warp, especially if stacked tightly. A proper drying environment can help mitigate these risks by promoting consistent moisture evaporation. Here’s a visual to illustrate:
| Sticker Layer | Drying Condition | Moisture Level | Adhesive Type | Warping Risk |
|---|---|---|---|---|
| Top | Good airflow | Low | Fast-curing | Low |
| Middle | Humid | High | Slow-curing | High |
| Bottom | Poor ventilation | Moderate | Variable | Moderate |
| Stacked Layer | Sealed environment | Trapped moisture | Slow-curing | High |
| Exposure | Sunlight | Accelerated drying | Fast-curing | Low |

Mr. Pen- Clear Acrylic Dry Erase Board with Stand, 10×10 Inches, Reusable Desk Whiteboard with 3 Markers, Portable Dry Erase Board for Notes and Reminders, Desk Whiteboard for Office, School and Home
Mr. Pen desktop dry erase board features a clear, polished acrylic surface that brings a modern and minimalist…
As an affiliate, we earn on qualifying purchases.
As an affiliate, we earn on qualifying purchases.
Creating the Perfect Drying Setup for Stickers
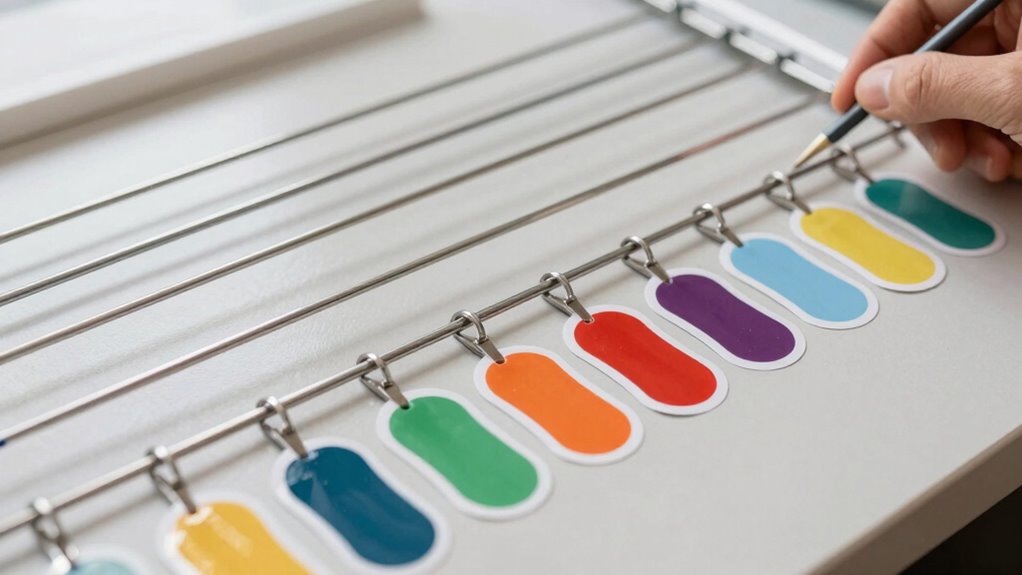
To guarantee your stickers dry properly without smudging or sticking together, setting up a well-organized drying station is essential. First, choose a flat, dust-free surface to prevent adhesive residue from accumulating. Second, maintain a consistent drying temperature, ideally around room temperature, to avoid warping. Third, space your stickers evenly, ensuring they don’t touch, which helps prevent sticking and uneven drying. Fourth, use gentle airflow, like a fan on low, to speed up drying without disturbing the adhesive layer. Additionally, understanding proper temperature control is crucial for achieving optimal drying conditions. This setup minimizes the risk of adhesive residue buildup and ensures the stickers dry flat. Proper temperature control and organization are key to achieving warp-free, perfectly dried stickers every time.

DIGITEN Humidity Controller Pre-Wired Digital Humidistat with Temperature Display, Dual-Stage Outlet Humidifier /Dehumidifier for Mushroom,Reptile, Greenhouse, Fan, Grow Tent
High-precision Swiss-imported humidity sensor: Our humidity controller features a high accuracy sensor that can regulate and maintain humidity…
As an affiliate, we earn on qualifying purchases.
As an affiliate, we earn on qualifying purchases.
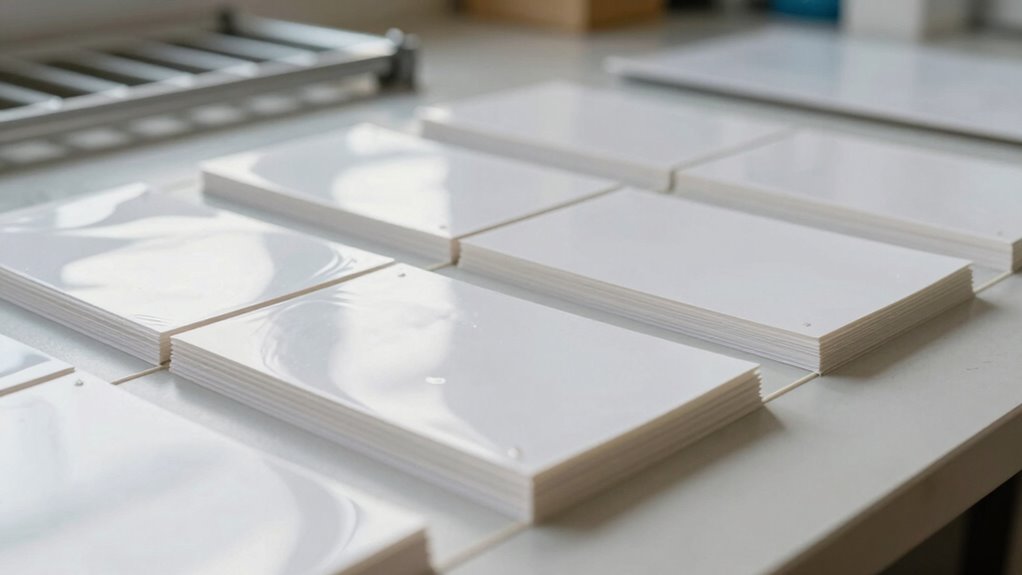
Materials and Tools for a Flat, Warp-Free Drying Station

Setting up a flat, warp-free drying station starts with selecting the right materials and tools. You need a sturdy, flat surface like a glass or acrylic sheet to prevent warping. Choose appropriate adhesive types; repositionable glues or spray adhesives work well because they don’t seep into sticker designs or cause damage. When handling sticker designs, opt for materials that won’t stick permanently and can be easily repositioned during drying. Use clips or weights to keep stickers flat without applying uneven pressure. A soft, lint-free cloth or silicone mats can help protect surfaces. Additionally, having a level, stable workspace guarantees even drying. Proper quality assurance in your setup ensures consistent results and prevents issues such as warping or adhesion problems. With these materials and tools, you set yourself up for perfectly flat, warp-free stickers every time.
Step-by-Step: How to Dry Stickers Without Warping
When drying stickers, the key is to do it slowly and evenly to prevent warping. Proper temperature control and patience are essential. Follow these steps:
Dry stickers slowly and evenly with proper temperature control and patience to prevent warping.
- Set your drying station in a cool, draft-free area with stable temperature.
- Place stickers flat on a clean, smooth surface with a slight elevation to promote airflow.
- Allow adequate drying time—typically 24-48 hours—based on sticker thickness and humidity.
- Avoid touching or moving stickers during drying to maintain shape and prevent warping.
- Using control tools such as a thermometer can help monitor temperature consistency throughout the process.
Controlling temperature ensures the stickers dry uniformly, while patience in drying time prevents rapid moisture loss that can cause warping. Stick to these steps, and your stickers will dry flat, smooth, and warp-free.
Common Mistakes to Avoid When Drying Stacked Stickers

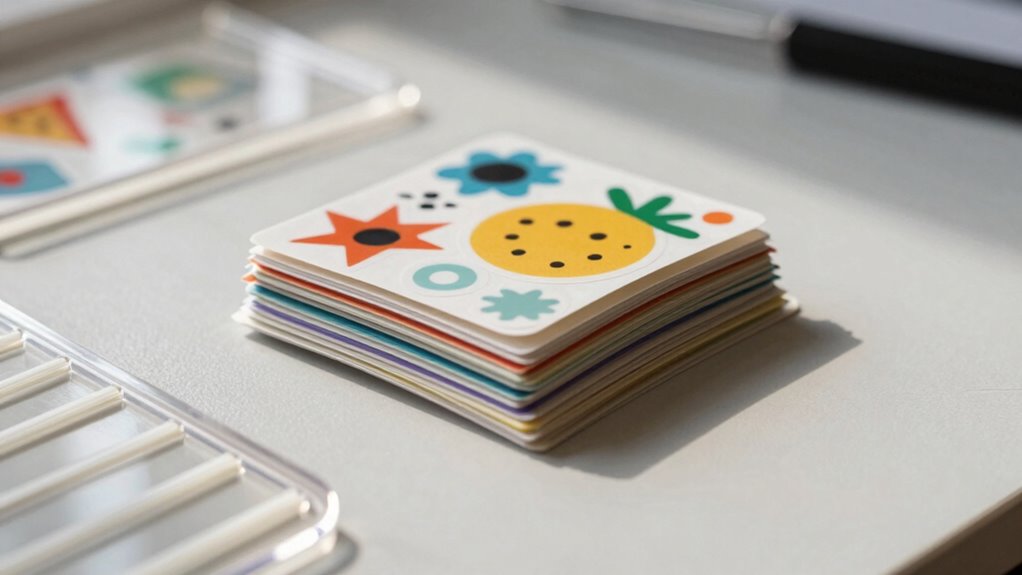
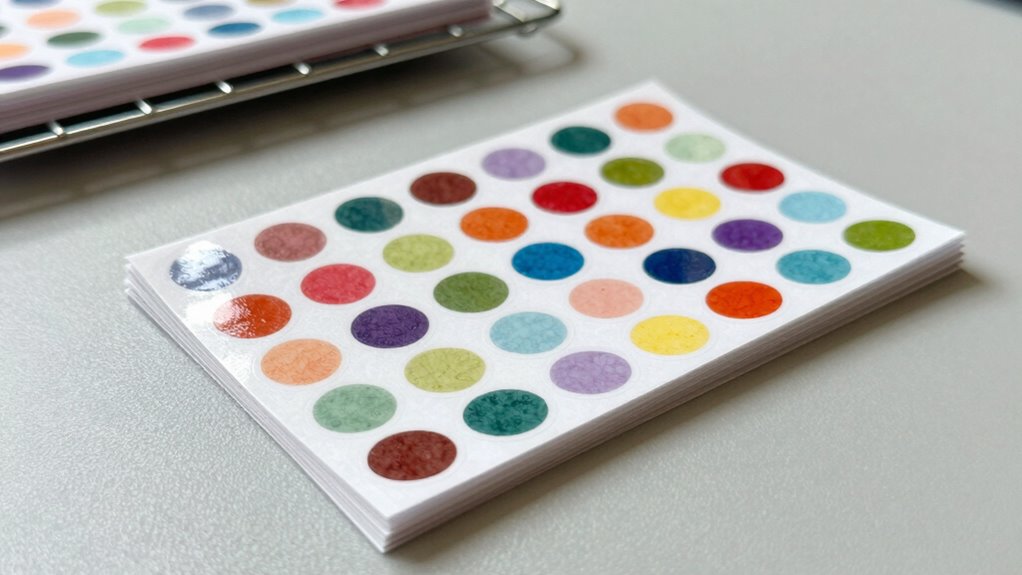
One common mistake is stacking stickers too tightly or unevenly, which can trap moisture and lead to warping or sticking together as they dry. If the stickers have different sizes, larger ones may press down on smaller ones, risking uneven adhesive strength and uneven drying. This can cause warping or areas where the stickers stick permanently. Avoid stacking with gaps or uneven layers; instead, keep the stickers flat and evenly spaced. Be mindful of sticker size—small stickers need less support, while larger ones require proper spacing to prevent warping. Improper stacking can also make it harder for moisture to escape, increasing drying time and risking damage. Always ensure a uniform, gentle layer that allows air circulation for ideal drying without warping. Proper stacking techniques are essential to maintaining the integrity and appearance of your stickers during the drying process.
Frequently Asked Questions
Can Different Sticker Materials Require Different Drying Methods?
Yes, different sticker materials can require different drying techniques due to material compatibility. For example, vinyl stickers might need air drying to prevent warping, while paper-based stickers could benefit from a gentle heat source. You should always consider the specific properties of each material to choose the right drying method, ensuring your stickers stay intact and free of distortions. Adjusting your approach helps achieve the best results for every type.
How Long Should Stickers Typically Dry to Prevent Warping?
You should typically allow stickers to dry for at least 24 hours to prevent warping. I once rushed drying, stacked stickers too soon, and noticed curling and distortion—like a plastic bag crumpling. Proper drying time guarantees the adhesive and ink set fully, maintaining your stickers’ shape. Patience pays off; waiting allows the drying time to work, reducing sticker warping and resulting in a cleaner, professional finish.
Are There Specific Storage Tips After Drying to Maintain Flatness?
After your stickers dry, you should use proper storage techniques to maintain flat preservation. Store them flat in a cool, dry place, preferably between sheets of wax paper or inside a plastic sleeve to prevent warping. Avoid stacking heavy objects on top, as pressure can cause them to bend. By keeping your stickers flat and protected, you guarantee they stay in pristine condition and retain their original shape over time.
Can Ambient Humidity Affect the Drying Process?
Yes, ambient humidity can definitely impact the drying process. Too much humidity increases moisture levels, making it harder for stickers to dry evenly and potentially causing warping. Conversely, low humidity speeds up drying but risks cracking or curling. You need to keep humidity levels balanced to guarantee proper drying, as the environment can be your best friend or worst enemy in this process. Stay mindful of moisture levels for ideal results.
What Are Alternative Methods if Stacking Isn’t Possible?
If stacking isn’t possible, you can use alternative methods like placing stickers on a flat, breathable surface to dry. Choose appropriate adhesive types, such as air-dry or water-based, to guarantee a smooth drying process. Maintain a controlled drying environment with low humidity and good airflow to prevent warping. Avoid direct sunlight, and turn stickers occasionally to promote even drying without sticking to other surfaces.
Conclusion
Think of drying your stickers like balancing a delicate stack of pancakes—you want just the right setup to keep everything flat. When I first tried stacking without proper support, my stickers warped like crumpled paper. Now, with a simple flat drying station, I’ve kept my designs crisp and neat. Proper drying setup isn’t just a trick; it’s your secret to professional-looking stickers that stay perfect, just like a well-made stack of pancakes stays fluffy and flat.