To quickly pick straight boards at the lumberyard, lay each board on a flat surface and examine from different angles, checking for bows or twists. Use a straightedge or level along the length to spot bending or warping, and feel edges for bumps or irregularities. Look for consistent grain patterns and surface smoothness. If you’re unsure, focusing on these simple checks can save you time and help you select the best boards—more tips follow that make the process even easier.
Key Takeaways
- Visually inspect the board on a flat surface, checking for bows, twists, or irregular grain patterns.
- Use a straightedge or level along the length to detect warping or bowing.
- Feel edges and surface for unevenness, bends, or rough spots indicating defects.
- Examine grain consistency and avoid boards with knots, splits, or surface flaws.
- Verify uniform moisture content with a moisture meter to ensure stability and durability.

General Tools MMD4E Digital Moisture Meter, Water Leak Detector, Moisture Tester, Pin Type, Backlit LCD Display With Audible and Visual High-Medium-Low Moisture Content Alerts, Grays
HUMIDITY SENSOR: Our handy meter tool can quickly determine what level of remediation is needed to keep your…
As an affiliate, we earn on qualifying purchases.
As an affiliate, we earn on qualifying purchases.
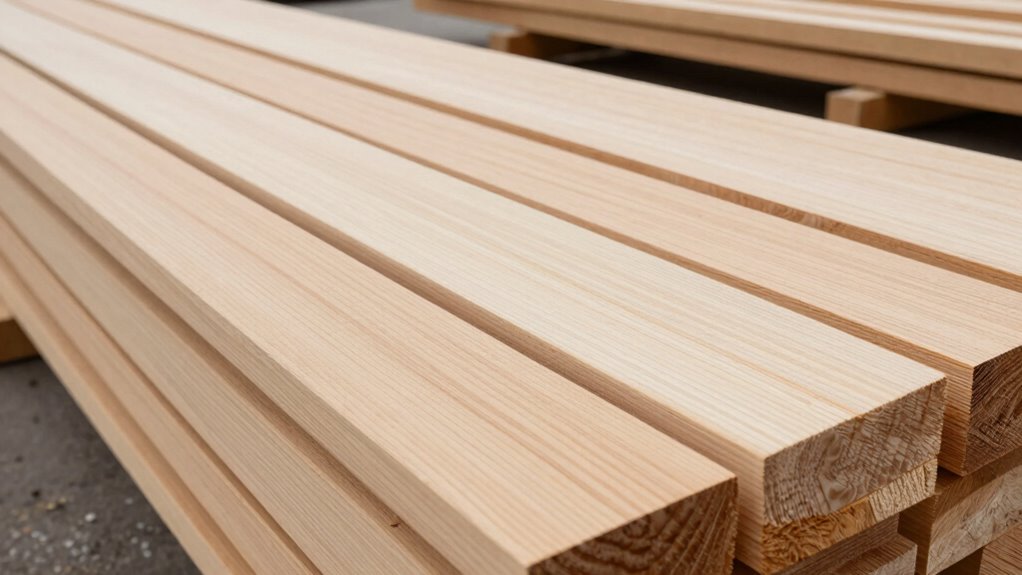
Why Straight Boards Matter for Your Projects
Straight boards are essential because they guarantee your projects come together smoothly and look professional. When you select straight boards, you ensure that the grain patterns run uniformly, which helps achieve a clean, polished appearance. Boards with consistent grain patterns are less likely to warp or split over time, maintaining your project’s integrity. Additionally, paying attention to moisture content is crucial; properly dried boards resist warping and twisting. Excess moisture can cause boards to bow or crack after installation, disrupting your work. Choosing straight boards with balanced moisture content and appealing grain patterns makes your assembly easier and more durable. Proper moisture content is vital because it influences the board’s stability and longevity, ensuring your project remains durable over time. Ensuring your boards are properly stored and acclimated helps preserve their structural integrity during construction. Being aware of grain orientation can also help you select boards that will better resist warping and splitting over time. Checking for potential defects like knots or cracks can also improve your overall quality and reduce waste. Paying attention to wood grading standards can further help you select the best boards for your needs, ensuring consistent quality across your project. Ultimately, these factors help you produce a finished piece that’s not only visually appealing but also long-lasting.

POWERTEC 18 Inch Straight Edges, Straight to Within .001'' Over 18'' Machined Flat, Precision Woodworking Tools for Table Saw, Router Table, MDF Workbench Top, Jointers, and Planers. 71213
FUNCTION: A cost effective alternative to determining table surface flatness, engine block flatness, and can be used on…
As an affiliate, we earn on qualifying purchases.
As an affiliate, we earn on qualifying purchases.
How to Quickly Spot a Straight Board
To quickly spot a straight board, start by laying it flat on a level surface and examining it from different angles. Look for consistent grain patterns, which indicate stability and straightness. Check the moisture content; boards with even moisture levels are less likely to warp over time. Observe the edges for straightness, avoiding boards with visible bows or twists. Pay attention to the surface for any irregular grain or knots that might suggest weak spots. Additionally, feel the board’s surface for warping or unevenness, which can hint at internal stresses. Remember, a board with uniform grain patterns and balanced moisture content is your best bet for a straight, reliable piece. Proper color accuracy and consistent manufacturing processes also contribute to the overall quality and straightness of the board. These quick checks save time and guarantee quality, especially when considering the grain structure and how it affects stability during use. Incorporating natural wood characteristics can further help you identify high-quality, straight boards that will perform well in your projects. Paying attention to wood drying techniques can also influence the likelihood of warp or bowing over time. Additionally, understanding the moisture content helps ensure the board maintains its straightness throughout its lifespan.

Lumber Grading & Quality Control: A Woodworker’s Guide to Maximizing Value from Your Milled Timber: A Comprehensive Guide
As an affiliate, we earn on qualifying purchases.
As an affiliate, we earn on qualifying purchases.
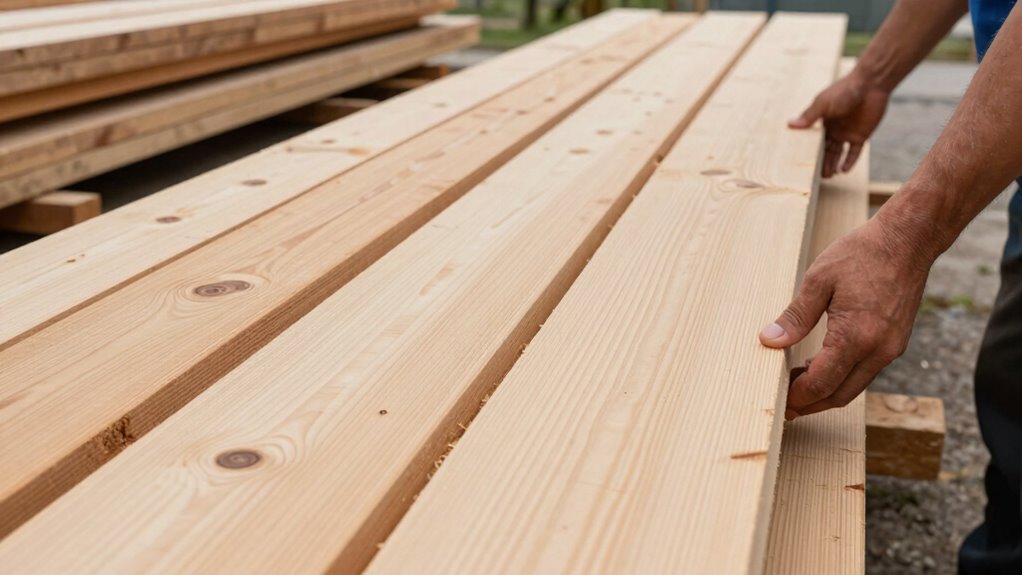
How to Check for Warping, Bowing, and Twists
When checking for warping, bowing, and twists, start by placing the board on a flat, stable surface. Examine the grain patterns; irregular or inconsistent grains can indicate potential warping. Feel along the edges for any noticeable bends or twists. Use a straightedge or a level to detect bowing by laying it across the board’s length—any gaps reveal curvature. Check moisture content, as high moisture levels can cause future warping or twisting as the wood dries unevenly.
| Warping Type | How to Spot It |
|---|---|
| Bowing | Use a straightedge along the length |
| Twists | Hold the board and observe from both ends |
| Warping | Look for irregular grain patterns or gaps |

5 Pack Wood Grain Tool,Woodgraining Tool Kit,Texture Pattern with Handle Roller Rubber Empaistic Graining Tool Paint Look Like Wood for DIY Wall Room Art Decoration
【SET OF 5 WOOD GRAIN TOOL】Our wood graining painting tool set contains 5 different types of rollers. Specially…
As an affiliate, we earn on qualifying purchases.
As an affiliate, we earn on qualifying purchases.
Using the Edge-Run Test to Assess Straightness
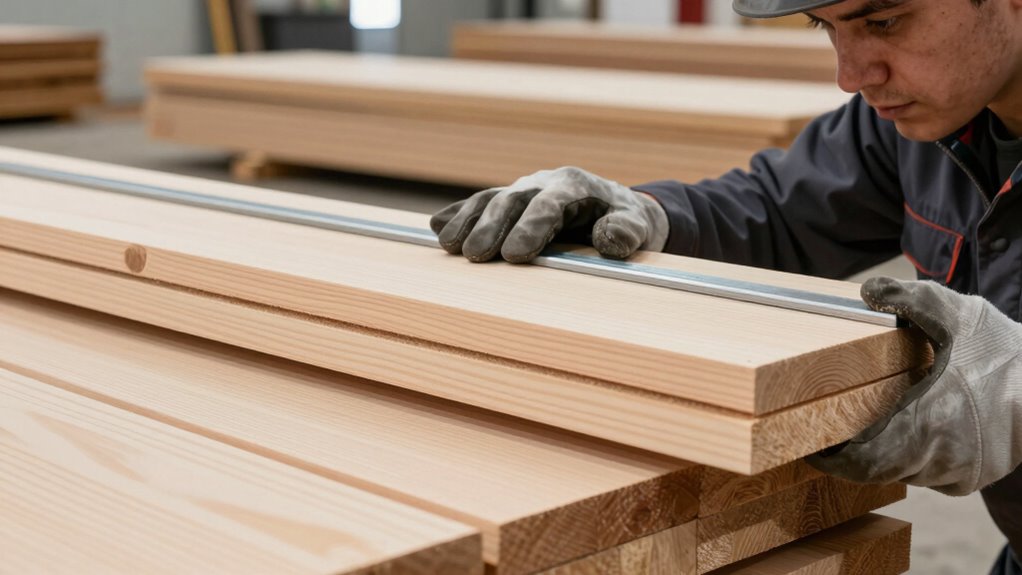
The edge-run test is a simple yet effective way to assess a board’s straightness. To perform it, place the board on a flat surface and look along its edge. Use your eyes for a visual inspection to spot any deviations or warping. Here are key tips:
Use the edge-run test to quickly spot warping and ensure a straight, true board.
- Check for consistent contact with the surface along the entire length
- Look for any bowing or curves in the edge
- Observe how the edge appears from different angles
- Feel for any unevenness or bumps during inspection
- Remember that air quality can impact your workspace, so choosing straight boards also helps maintain a cleaner environment during construction. Additionally, selecting properly straightened boards can prevent issues with material warping over time, ensuring a more durable and professional finish. This quick test helps identify boards that may warp or bend after installation. Remember, a straight edge is essential for precise work. The edge run test saves you time and ensures you pick the best, straight boards for your project. Incorporating a quick visual assessment can further enhance your evaluation process and lead to better results. Being aware of manufacturing inconsistencies can also help you select higher-quality lumber from the start, especially considering lumber quality standards.
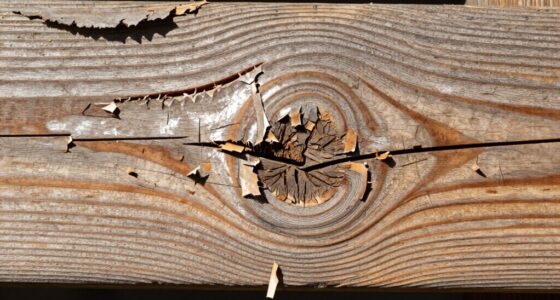
How to Inspect Grain and Surface for Flaws
Inspecting the grain and surface of a board reveals potential flaws that could affect your project’s strength and appearance. During grain inspection, look for irregular patterns, warping, or cross-grain areas that might weaken the board or cause splitting later. Surface flaws, such as knots, cracks, or splits, can compromise durability and visual appeal. Run your hand along the surface to feel for rough spots or raised areas, indicating roughness or previous damage. Use good lighting to identify discolorations or blemishes that could be distracting or weaken the wood. Avoid boards with large knots, splits, or excessive warping. Being familiar with different wood properties can help you better assess the quality of your boards. Recognizing how grain structure affects wood behavior helps you select more stable and durable pieces. Understanding grading standards can guide you in choosing higher-quality lumber that meets your specific needs. Additionally, knowing how sustainable sourcing impacts the environment can also influence your choice of lumber, supporting eco-friendly practices. Knowing how to interpret defects and flaws ensures you pick the best boards for your project’s longevity and appearance. Spotting these flaws early ensures you select boards that will perform well and look good in your finished project.
Ensuring Boards Are Flat and Uniform in Thickness

Start by checking for warping or bowing to make certain the board stays flat when placed on a surface. Measure the thickness at multiple points to confirm it’s consistent throughout. To ensure optimal results, consider selecting boards that are recommended for their flatness and uniform thickness in flavorful appetizers, which often emphasize quality and consistency. Additionally, inspecting the surface closely for any uneven spots or warping that could affect your project can help prevent issues later on. Ensuring a digital-friendly environment at home can also facilitate better organization and planning for your woodworking projects. Furthermore, using proper measuring tools can help verify uniformity more accurately.
Check for Warping
To make certain you’re selecting straight boards, it’s vital to check for warping by carefully examining their flatness and thickness consistency. Look for boards that lie flat without bowing or cupping, which indicates warping. Pay attention to grain patterns; irregular or uneven grain can cause boards to warp over time. Feel along the surface to detect any bends or twists. Consider moisture content, as boards with uneven moisture levels are more prone to warping as they dry out. Also, check the edges for twisting or curling, which can compromise straightness. Carefully inspecting these factors helps guarantee you pick boards that stay straight and true, reducing the risk of issues during your project.
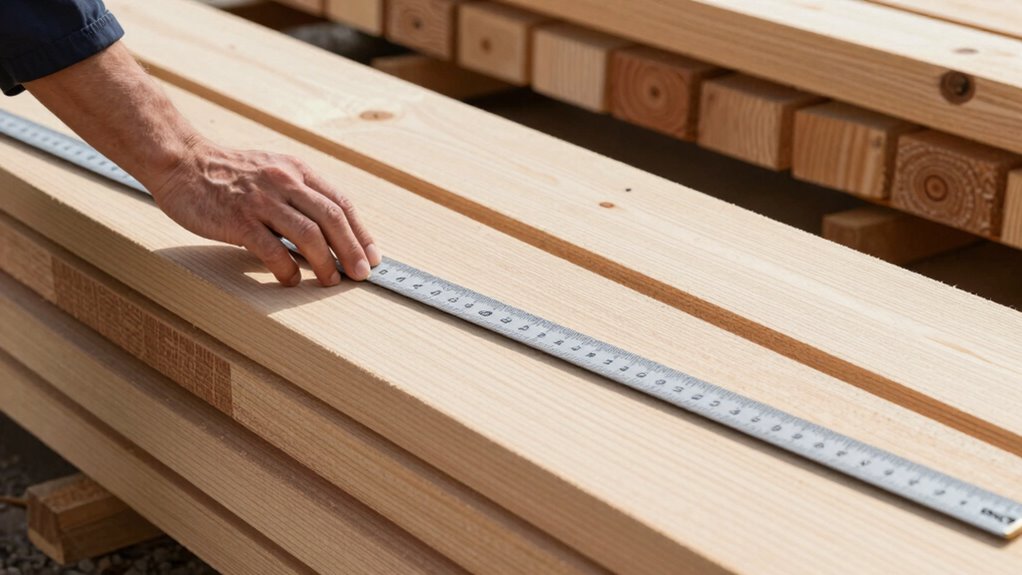
Measure Thickness Consistency
After checking for warping and surface irregularities, it’s important to verify that the boards are uniformly thick. You can do this by sighting along the edges or using a straightedge to check for any dips or high spots. Consistent thickness is key for a smooth, professional finish. Examine the grain pattern to see if it’s consistent across the board, which can indicate uniform growth and moisture content. Boards with uneven moisture levels may warp or change shape over time, affecting their thickness. Feel for any areas that feel thinner or thicker than others. Selecting boards with even grain patterns and stable moisture content ensures they’ll stay flat and true, making your project easier and resulting in a cleaner, more precise finish.
Inspect Surface Flatness
Ensuring the surface of the boards is flat and even is essential for a professional-looking project. Check for warping or bowing by laying the board on a flat surface or sighting along its length. Look closely at the surface finish—any dents, rough spots, or irregularities can affect your work. Pay attention to the grain pattern; irregular or raised grain may indicate uneven thickness or poor drying. To assess flatness more precisely, run a straightedge across the board, especially in the middle. Consider these points:
- Verify consistent grain pattern across the surface
- Check for smooth, even surface finish without bumps
- Sight down the board to spot warps or dips
- Use a straightedge or level for accuracy
This process helps you select boards that will result in tight joints and a clean final look.
Picking the Right Boards Based on Your Project Needs
To choose the best boards for your project, start by evaluating the wood’s quality to guarantee durability. Next, match the board dimensions to your specific measurements to avoid unnecessary cuts or waste. By focusing on these points, you’ll select materials that suit your needs and improve your results.
Assessing Wood Quality
When evaluating wood quality at the lumberyard, you need to look beyond the surface and examine the board’s overall condition. Check for consistent grain patterns, which indicate strength and appearance. Consider the wood species, as some are better suited for specific projects and environments. Look for straight, tight grain lines; loose or irregular patterns can weaken the board. Inspect for knots, splits, or warping—these flaws reduce durability. Ensure the surface is free of significant blemishes or stains that might affect finishing. Handling the board gently helps you detect warping or bowing. Remember, high-quality wood often has uniform color and minimal defects, so choose carefully based on your project’s needs.
Matching Board Dimensions
Selecting the right boards begins with understanding the dimensions your project requires. Measure carefully to ensure the board’s length, width, and thickness fit your design. Consider the grain pattern, as straight, consistent grains provide stability and a clean appearance. Pay attention to moisture content; boards with low moisture are less likely to warp or crack over time. If your project needs precise dimensions, choose boards that match or can be easily planed to size. Check for uniformity in width and thickness, avoiding warped or bowed boards that could compromise your work. Matching board dimensions to your project ensures easier assembly and a professional finish. By considering grain pattern and moisture content, you select boards that will perform reliably and look great for years to come.
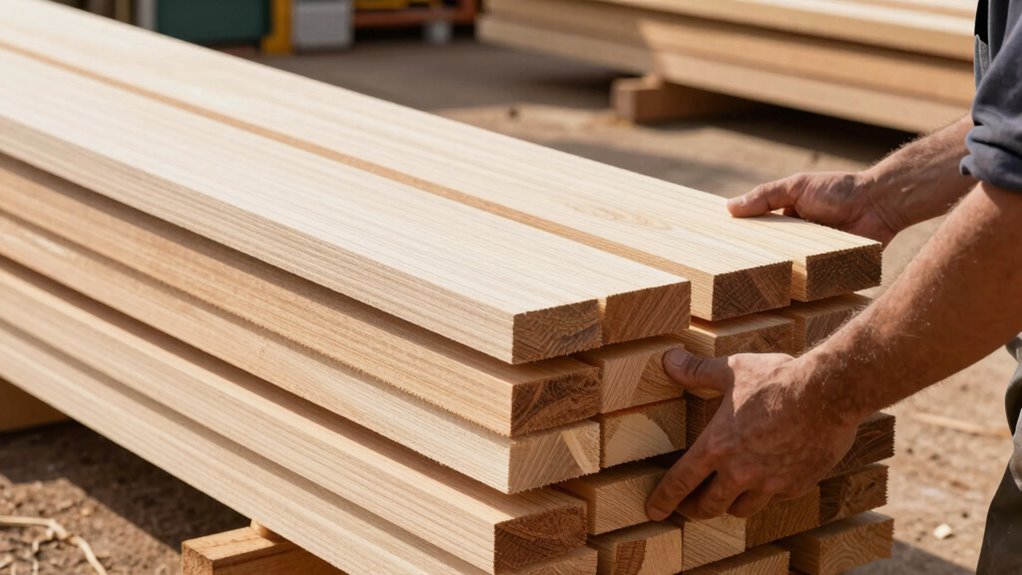
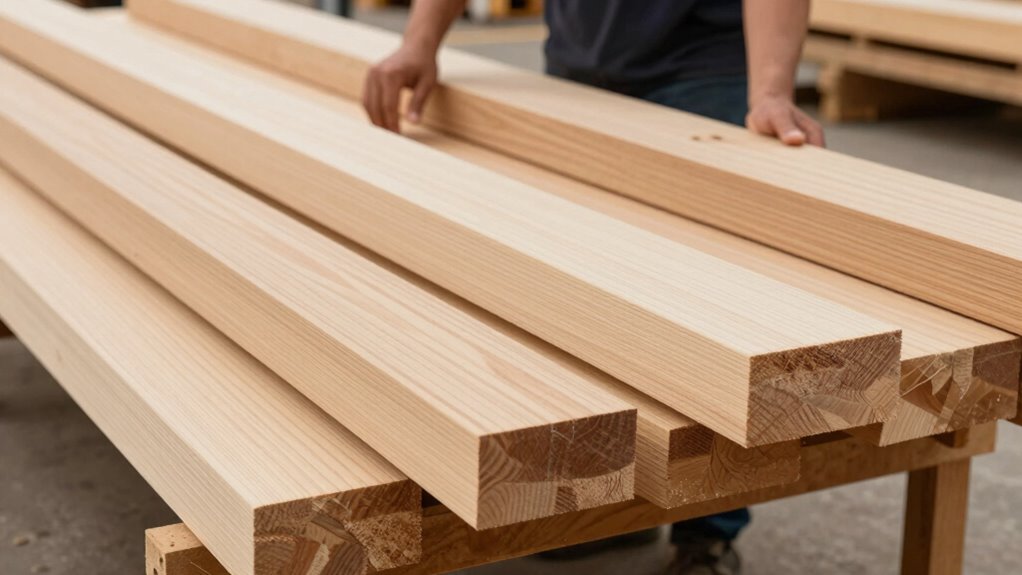
Quick Tips for Sorting Straight Boards at the Lumberyard

Sorting straight boards at the lumberyard becomes much easier once you know what to look for. Start by inspecting the grain patterns; straight, tight grains indicate stability, while wavy or irregular patterns can lead to warping. Check the moisture content—drier boards are less likely to twist or bow over time. Hold the board up to the light and look for visible defects like knots, splits, or warping. Feel the surface for consistency; a smooth, even texture suggests fewer flaws. Look along the length for any bends or curves that might indicate internal issues. Pay attention to the edges—straight and uniform edges often mean less work during finishing. Keeping these tips in mind speeds up your selection process and ensures durable, straight boards.
What to Do if a Board Fails the Straightness Test

If a board doesn’t pass the straightness test, don’t assume it’s unusable. During lumber inspection, you might find slight warps or bows, but minor imperfections can often be corrected or worked around. First, check the extent of the deviation; small bends may be manageable with proper planing or jointing. If the board’s straightness is considerably compromised, consider flipping it or rotating it to see if a different face or edge offers better alignment. Sometimes, cutting off the warped end restores a straighter section for your project. Remember, not all deviations are deal-breakers—many straight boards have minor imperfections that can be worked into the design. Carefully evaluating the board’s overall condition helps you make the best use of your lumber.
Final Tips for Selecting the Best Straight Boards Every Time

To consistently find the best straight boards, focus on developing a keen eye for subtle deviations and knowing where to look. Check the grain patterns; tight, consistent grains indicate stability, while irregular or wavy patterns suggest warping. Always examine moisture content; boards with uniform moisture are less likely to twist or cup over time. Feel for any bow or crown along the length, and avoid boards with visible knots or defects that could weaken or distort the board.
- Look for even, tight grain patterns
- Test moisture content with a moisture meter
- Inspect the entire length for warping or cupping
- Choose boards free of knots and surface defects
Frequently Asked Questions
How Do Moisture Levels Affect a Board’s Straightness?
Moisture content substantially impacts a board’s straightness because uneven moisture levels cause wood to warp or twist over time. When selecting boards, look for stable moisture content to guarantee better wood stability. Boards with consistent moisture levels are less likely to bend or bow, helping you find straighter options. By checking moisture levels, you can choose boards that maintain their shape and provide a more reliable, straight surface for your project.
Can Straight Boards Be Planed or Sanded for Better Fit?
You can definitely plane or sand your straight boards for a better fit, but keep grain orientation in mind. If you sand against the grain, you risk scratching or gouging the surface. Finish sanding helps smooth out imperfections and improves the overall look, especially after planing. Just take your time, use the right grit, and follow the grain to guarantee a clean, professional finish that fits perfectly.
What Tools Are Best for Inspecting Board Straightness?
You should use measuring tools like a combination square or a straightedge guide to inspect board straightness. These tools help you quickly identify warps or bows, ensuring the board is true. Place the straightedge along the board’s length and check for gaps or deviations. A level or a laser line can also assist in verifying flatness, making sure your board is straight and ready for your project.
How Does Wood Species Influence Warping Tendencies?
You might think all wood warps equally, but wood species really matter. Denser woods like oak resist warping better due to their high density and stable grain patterns, making them less prone to twisting or cupping. Softer woods, such as pine, with irregular grain patterns and lower density, tend to warp more over time. So, choosing a species with tight grain and high density helps make certain your boards stay straight longer.
Are There Specific Grades of Lumber Better for Straightness?
Yes, certain grades of lumber are better for straightness. Look for high-grade options within grading standards like Select or #1 Common, which have fewer knots and defects. Lumber classifications help you identify boards with minimal warping tendencies, ensuring a straighter, more stable piece. By choosing boards with higher grades, you increase your chances of getting straight, reliable lumber that’s easier to work with and lasts longer.
Conclusion
While it might seem like a simple task, choosing straight boards isn’t just about avoiding warps and twists—it’s about saving yourself headaches later. Ironically, the straighter the board, the less you’ll need to fight with it during your project. So, take your time, check thoroughly, and remember: a little extra effort now means a flawless finish later. After all, who doesn’t want their project to turn out perfectly straight without a fight?