Wood filler typically belongs under the finish because it’s designed to fill larger gaps, conform well to the wood grain, and accept stains and paints for a seamless look. Putty, on the other hand, is better suited for small touch-ups, detailing, or minor repairs since it’s more rigid and less absorbent. Choosing between them depends on your project’s needs—continue to explore to find out which material fits your specific repair.
Key Takeaways
- Wood filler is better suited for finishing, as it accepts stain and provides a seamless, natural wood look.
- Putty is typically used for small, quick repairs and may resist stain, making it less ideal for final finish layers.
- Wood filler blends with the grain and offers a smoother, more durable surface for finishing applications.
- Putty is more rigid and less adaptable to staining, often used for minor touch-ups rather than final coating.
- For the final finish, wood filler generally provides a more professional, polished appearance compared to putty.

Gorilla All Purpose Wood Filler, Natural Finish, 16 Ounce Tub (Pack of 1) – Water Resistant for Indoor or Outdoor Projects and Repairs
Gorilla tough: Gorilla Wood Filler is the go-to product for strong water resistant repairs on cracks, gouges and…
As an affiliate, we earn on qualifying purchases.
As an affiliate, we earn on qualifying purchases.
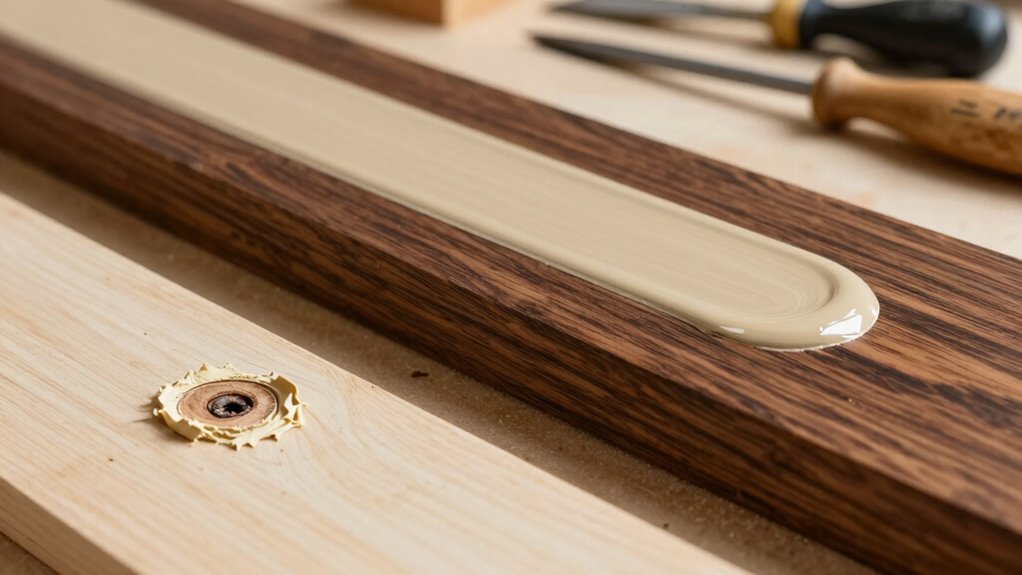
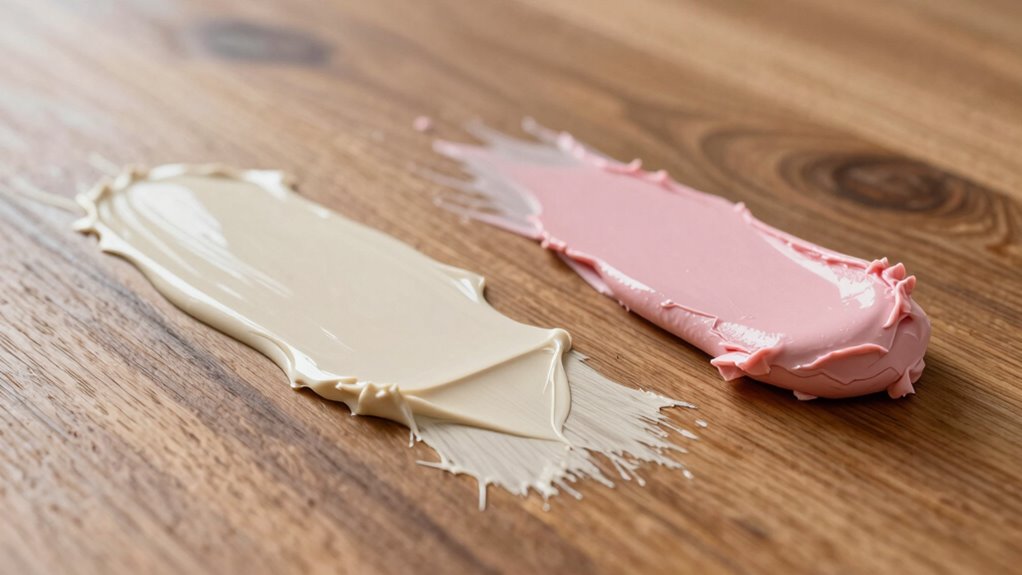
What’s the Difference Between Wood Filler and Putty?
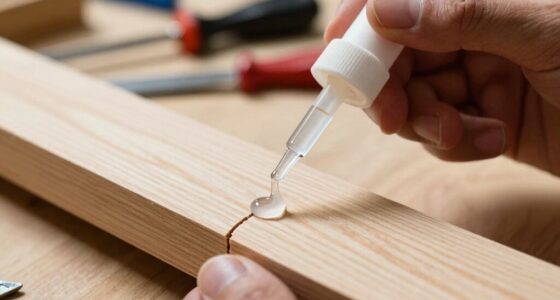
Have you ever wondered how wood filler differs from putty? The main difference lies in their application techniques and drying times. Wood filler is typically a thicker, paste-like substance that you apply with a putty knife, pressing it into cracks or holes. It usually requires a longer drying time, often a few hours or overnight, depending on thickness and product type. Proper drying is essential to ensure a smooth finish and durability. Additionally, the composition of the materials affects how each product interacts with wood and the environment, influencing your choice. Putty, on the other hand, is more pliable, making it easier to mold and shape, and it tends to dry faster—sometimes within 30 minutes to an hour. This quick drying makes putty suitable for minor touch-ups, while wood filler is better for larger repairs. Understanding these differences helps you choose the right material for your project. Additionally, the drying process varies between the two, affecting the overall time needed before finishing. Knowing the application techniques ensures you achieve the best results with each product. Recognizing the environmental impact of each material can also guide you toward more sustainable choices.
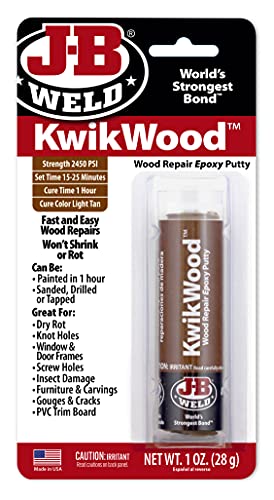
J-B Weld Tan KwikWood Wood Repair Epoxy Putty, 1 oz. Stick
J-B WELD KWIKWOOD: A hand mixable two part epoxy putty stick that is formulated to repair and rebuild…
As an affiliate, we earn on qualifying purchases.
As an affiliate, we earn on qualifying purchases.
How Do You Decide Which Is Right for Your Project?
Choosing between wood filler and putty depends on the specific requirements of your project. Consider the application techniques needed; some fillers are easier to sand or stain, which impacts your finish. If you need a quick repair, drying times matter—select a product with faster drying if you’re pressed for time. For larger holes or deeper cracks, wood filler often works better because it shrinks less and can be shaped easily. On the other hand, putty is ideal for small touch-ups and detailed work, especially when matching wood color is essential. Think about whether you want your repair to blend seamlessly or be more durable. Matching the product to your project’s scope and finish goals will help you choose the right option. Additionally, understanding wood chemistry can help you select a filler or putty that bonds well and maintains its integrity over time. Considering application techniques and surface compatibility can also influence your choice, as some products are better suited for specific methods or surfaces.
Gorilla All Purpose Wood Filler, Natural Finish, 16 Ounce Tub (Pack of 1) – Water Resistant for Indoor or Outdoor Projects and Repairs
Gorilla tough: Gorilla Wood Filler is the go-to product for strong water resistant repairs on cracks, gouges and…
As an affiliate, we earn on qualifying purchases.
As an affiliate, we earn on qualifying purchases.
When Should You Use Wood Filler Versus Putty?
You should choose wood filler or putty based on the type of damage you’re repairing and the finish you want. Consider how easy each product is to apply and how well it matches your surface’s needs. Knowing these points helps you decide when to use wood filler versus putty for the best results. Additionally, understanding the essential oils that promote healing and restoration can provide insights into selecting the appropriate product for different repair situations. Recognizing the application methods can further ensure a seamless repair that blends with your existing finish, much like integrating smart home fitness technology to enhance your overall environment. Being aware of the surface compatibility can help prevent issues like cracking or mismatched textures, ensuring a more durable and aesthetically pleasing repair. Furthermore, considering the weight and durability of fillers and putties can influence their performance over time, especially for high-traffic or load-bearing areas.
Damage Type Compatibility
Understanding the types of damage you’re repairing is key to selecting the right product. Wood filler and putty differ in how they handle specific damage types. For instance:
- Large gouges or deep cracks benefit from wood filler’s ability to conform to the grain, ensuring a natural look. This adaptability is especially important when aiming for a seamless repair that blends with the surrounding wood.
- Small, surface-level holes are better filled with putty, which is easier to smooth and sand. Using the appropriate product can save time and effort during finishing.
- Water or moisture exposure requires a product with moisture resistance; often, wood filler is more suitable here. Additionally, some wood fillers are formulated with properties that make them more resistant to environmental factors, ensuring durability.
- When matching the wood’s grain pattern is *essential*, choose a product that allows grain matching for seamless repairs. Proper application techniques also play a crucial role in achieving a professional finish.
- Selecting the appropriate repair material also depends on the application method and how well it adheres to different wood surfaces. Understanding product compatibility can help prevent issues like cracking or peeling over time.
- Proper preparation and understanding of the damage type can significantly affect the longevity and appearance of your repair. Incorporating creativity and innovation into your approach can lead to more effective and visually appealing results.
Surface Finish Requirements
When it comes to achieving a smooth, professional finish on your wood surface, the type of repair material you select plays a crucial role. If your project demands a seamless look, consider how well the filler or putty matches the grain pattern and color of the surrounding wood. Wood filler generally conforms better to the grain, making it ideal for areas where the grain will be visible and blending seamlessly is important. Putty, on the other hand, often offers better color matching options, especially for small repairs or touch-ups. Use wood filler for larger repairs that require shaping and grain alignment, and opt for putty when color matching is your priority. Choosing the right material based on surface finish requirements ensures a flawless, professional result. Understanding material properties helps in selecting the appropriate repair product for your specific needs, especially considering adhesion and flexibility for different applications. Additionally, knowing how material drying times influence the finishing process can help you achieve a more precise and durable repair. Proper preparation and understanding of application techniques further contribute to a high-quality finish.
Ease of Application
Choosing between wood filler and putty often depends on how easy they are to apply, especially for different types of repairs. Wood filler is typically thicker and takes longer to dry, making it suitable for larger or deeper holes where texture matching matters. Putty, on the other hand, is smoother and dries quickly, ideal for small cracks or surface imperfections. Consider these points:
- For quick repairs with minimal mess, putty’s fast drying time is a plus.
- When matching the texture of surrounding wood is critical, wood filler offers better control.
- If you need time to shape or smooth, choose wood filler for its longer drying process.
- For quick touch-ups, putty’s ease of application and rapid drying make it more convenient.
- Understanding the appropriate application techniques can help ensure a seamless repair and better finish application methods.
J-B Weld Tan KwikWood Wood Repair Epoxy Putty, 1 oz. Stick
J-B WELD KWIKWOOD: A hand mixable two part epoxy putty stick that is formulated to repair and rebuild…
As an affiliate, we earn on qualifying purchases.
As an affiliate, we earn on qualifying purchases.
Where Is Wood Putty Best Suited in Woodworking?
Wood putty works best for filling small gaps and repairing surface cracks, where a flexible, paintable finish is needed. It’s also ideal for detailing decorative elements, giving you control over fine touches. Knowing where to use it helps achieve a smooth, professional look in your woodworking projects. Additionally, selecting the appropriate wood types can enhance the durability and appearance of your repairs.
Filling Small Gaps
Wood putty is ideally suited for filling small gaps because it adheres well to wood surfaces and remains flexible once dried. It’s perfect for minor imperfections, helping you achieve a smooth, finished look. When using putty for gap filling, focus on these aspects:
- Seamlessly fills tiny spaces without shrinking or cracking.
- Easily applied to maintain the natural grain pattern during grain filling.
- Supports finish smoothing, creating an even surface for stain or paint.
- Dries quickly, allowing for faster project completion.
This makes wood putty your go-to choice for small gap filling where detailed finish smoothing is essential, ensuring your project looks neat and professional. Avoid using it for large repairs, but it excels at minor touch-ups and finishing touches.
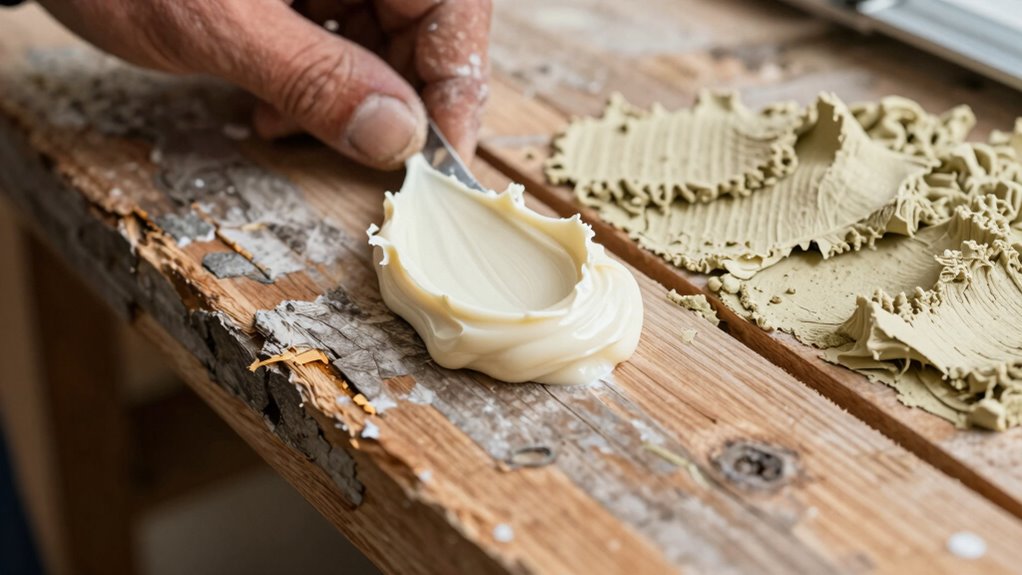
Repairing Surface Cracks
When repairing surface cracks, wood putty offers a practical solution for restoring the smoothness and integrity of your piece. It’s ideal for filling shallow cracks that don’t require structural support. To achieve a seamless look, focus on matching the grain pattern, which helps the repair blend naturally. Color matching is equally important; choose a putty that closely resembles your wood’s hue for a discreet finish. Apply the putty with a putty knife, pressing it into the crack and smoothing it flush with the surface. Once it dries, you can lightly sand the area to refine the finish. Wood putty is best suited for surface-level cracks that need visual repair without altering the wood’s structural properties.
Detailing Decorative Elements
For detailing decorative elements, wood putty is best suited for adding fine touches and finishing touches that enhance the appearance of carvings, moldings, or intricate designs. It helps achieve precise aesthetic enhancement and highlights decorative accents. Consider these uses:
- Filling small gaps within carved patterns to maintain sharp lines.
- Touching up minor imperfections on detailed moldings.
- Refinishing tiny cracks in intricate decorative panels.
- Smoothing out imperfections on delicate embellishments.
Wood putty’s versatility makes it ideal for highlighting fine details without altering the original design. Its ability to blend seamlessly into decorative accents ensures your craftsmanship looks polished and professional. Use it sparingly for delicate work to elevate the overall aesthetic of your woodworking projects.
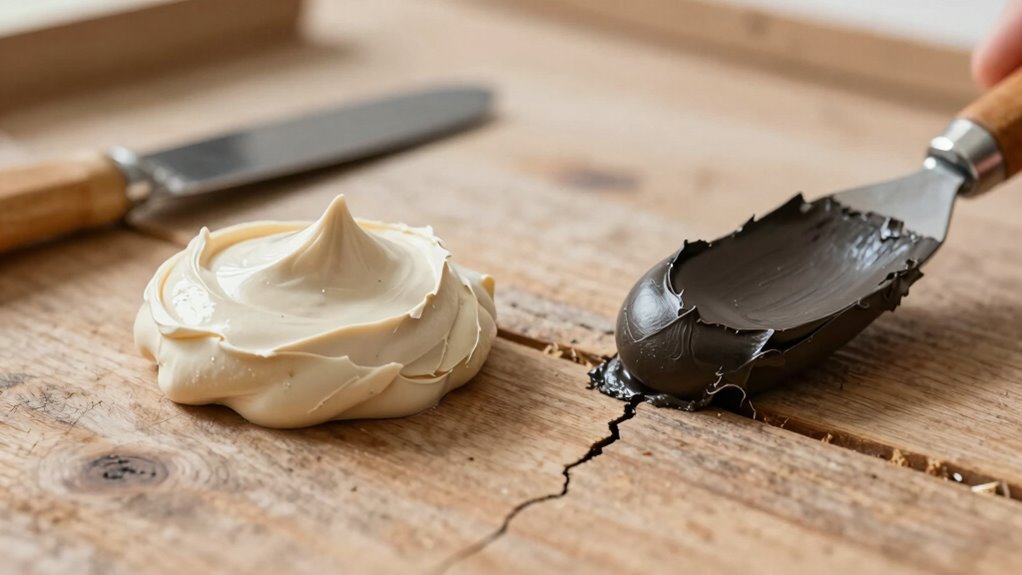
What Are the Composition and Flexibility Differences?
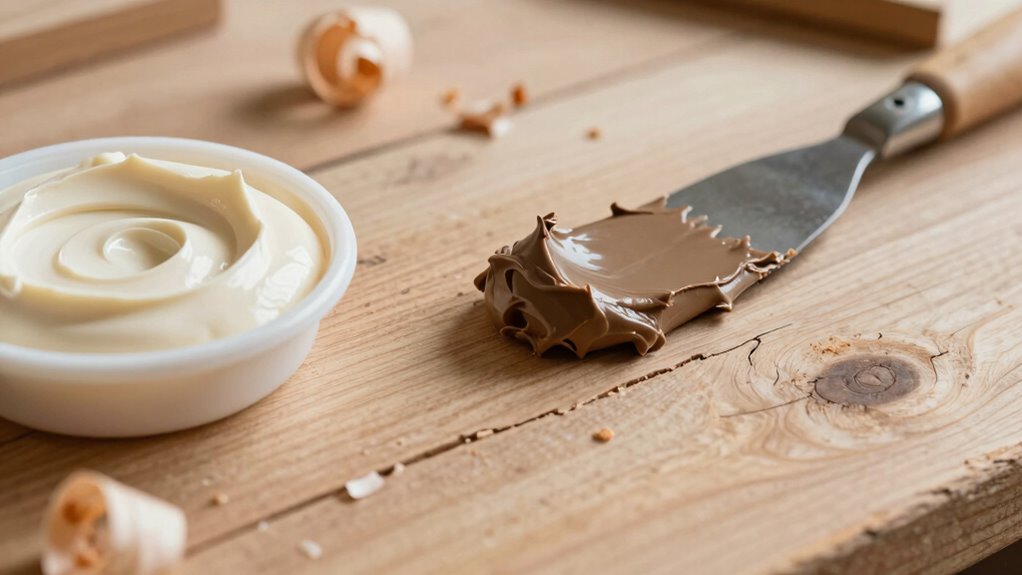
The composition of wood filler and putty considerably influences their flexibility and how they perform in repairs. Wood filler typically contains wood particles or powders mixed with a binder, which creates a sturdy yet somewhat flexible material. This composition differences allows it to expand or contract with wood, offering better flexibility variation. Putty, on the other hand, is usually made from a combination of oils, resins, and pigments, making it more rigid once dry. Its lower flexibility means it’s less forgiving to wood movement. If you need a product that can handle slight expansion and contraction without cracking, wood filler is your best choice. Conversely, putty’s rigidity makes it suitable for detailed or small repairs where flexibility isn’t a priority.
Which Offers a More Durable Finish for Painting or Varnishing?
Choosing between wood filler and putty for a durable finish depends largely on their ability to accept paint or varnish and withstand wear over time. Wood filler often offers a stronger bond, better grain pattern integration, and superior flexibility, making it more resistant to cracking or shrinking. Putty, on the other hand, tends to be more stable in color matching, but may not hold up as well against moisture and temperature changes. To visualize, consider these points:
- Wood filler typically absorbs stain and paint evenly, enhancing grain pattern continuity.
- Putty provides a consistent color match but may not blend seamlessly with the surrounding wood.
- Filler’s flexibility reduces cracking, increasing longevity after finishing.
- Putty’s stability makes it suitable for small repairs but less durable for high-traffic areas.
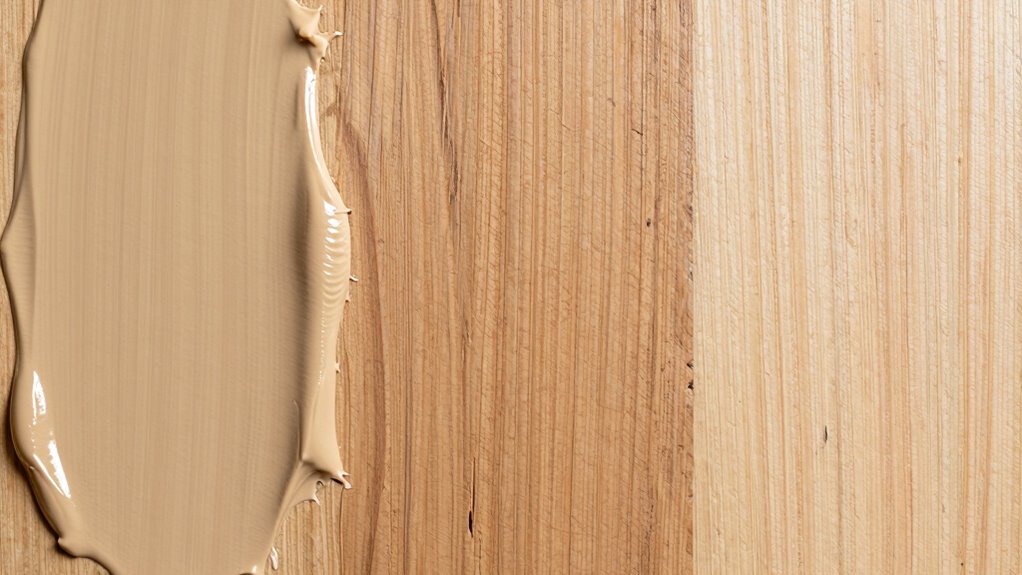
Can You Sand or Stain Over Wood Filler and Putty?

You can generally sand over both wood filler and putty to achieve a smooth finish, but the results depend on the type used. Sanding helps blend the repair with the surrounding grain patterns, creating a seamless surface. When it comes to staining, wood filler often accepts stain better if it’s designed for that purpose, allowing for better color matching. Putty, especially oil-based types, may resist stain or alter the color slightly, so it’s important to choose the right kind for your project. Always sand lightly after application to enhance the appearance and ensure even stain absorption. Keep in mind that proper sanding and color matching are key to making repairs look natural and professional.
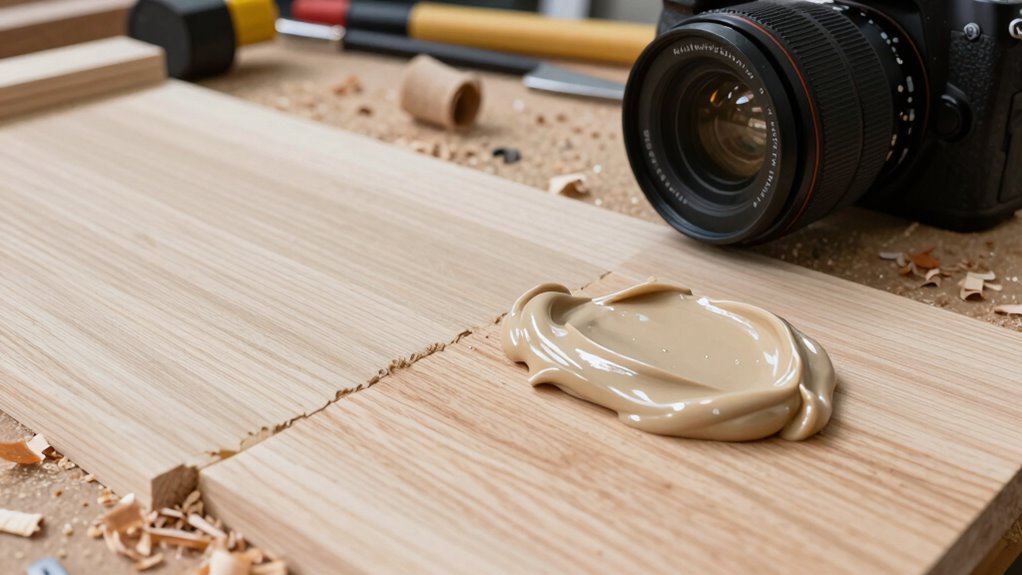
How to Apply Wood Filler and Putty Correctly?
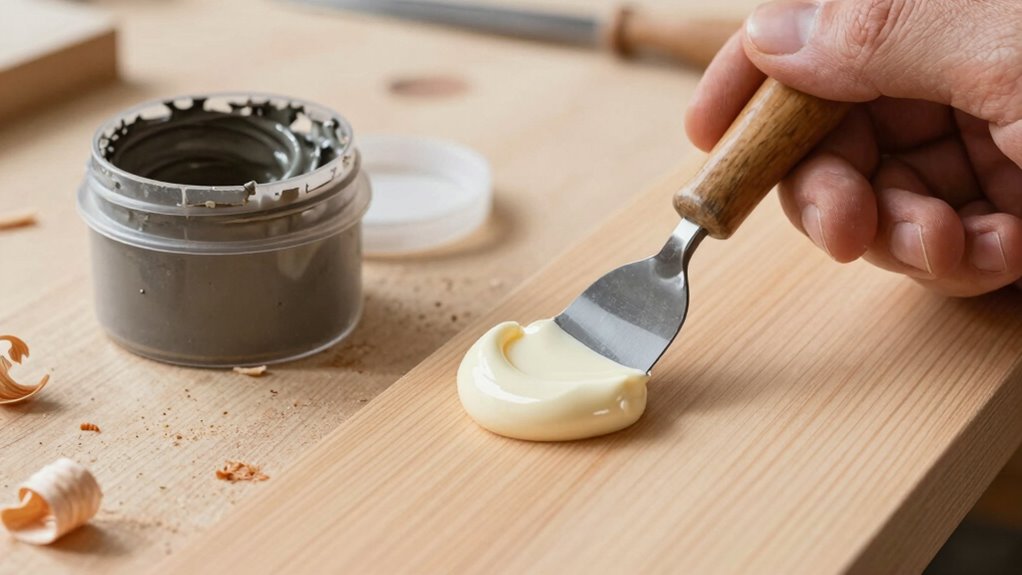
Applying wood filler and putty correctly is essential for a smooth, durable repair. Proper application techniques ensure your finished project looks professional and lasts longer. Here’s how to do it:
- Clean the surface thoroughly before applying to remove dust and debris.
- Use a putty knife or spatula to press the filler or putty firmly into the repair area, overfilling slightly.
- Smooth the surface with the knife, removing excess material for an even finish.
- Allow adequate drying time before sanding or finishing, and follow troubleshooting tips if shrinkage or cracking occurs.
Common Mistakes to Avoid When Using Wood Filler or Putty?
One common mistake is not preparing the surface properly, which can lead to poor adhesion and an uneven finish. Before applying wood filler or putty, verify the area is clean, dry, and sanded smooth. Skipping this step affects application techniques and can cause cracks or bubbles later. Another mistake is ignoring recommended drying times; rushing the process may result in weak spots or a surface that doesn’t sand well. Follow the manufacturer’s instructions for drying and curing, and avoid applying additional coats too soon. Improper application techniques, such as overfilling or uneven spreading, can also cause issues. Taking the time to prepare properly and respecting drying times will improve your results and prevent costly rework.
Frequently Asked Questions
Can Wood Filler or Putty Be Used Outdoors?
Yes, you can use wood filler or putty outdoors, but choose ones with weather resistance and stain compatibility. Look for products designed for exterior use, as they withstand moisture and temperature changes better. Apply a weather-resistant finish over them to protect against the elements. Make sure you select the right type for your project, and always follow the manufacturer’s instructions to get the best long-lasting results.
How Long Does It Take for Wood Filler or Putty to Dry?
Like a vintage record spinning on a turntable, wood filler or putty typically dries within 30 minutes to a few hours. The drying time depends on the thickness of the application and the product used. During the curing process, which can take up to 24 hours, the filler fully hardens. To guarantee the best results, follow the manufacturer’s instructions for drying and curing times before sanding or finishing.
Is There a Difference in Cost Between Wood Filler and Putty?
You’ll find that wood filler generally costs more than putty, but price factors vary based on brand, material, and size. Wood filler often offers better durability and is suited for larger repairs, which can justify the higher price. Putty tends to be cheaper and works well for small touch-ups. Comparing prices and considering your project’s needs will help you choose the most cost-effective option for your finishing work.
Can You Use Both Wood Filler and Putty Together?
You can definitely use both wood filler and putty together, but you need to ensure application compatibility and blending techniques. Start by applying the wood filler for deep or large repairs, then use putty for fine touch-ups and smoothing. Proper blending ensures seamless results, so choose products that work well with each other and follow recommended drying times. This approach gives you a durable, professional finish on your project.
Are There Eco-Friendly Options for Wood Filler or Putty?
Yes, you can find eco-friendly options for wood filler and putty. Look for biodegradable options made from natural ingredients like beeswax, plant-based resins, or clay. These products are better for the environment because they decompose naturally and contain fewer harmful chemicals. When choosing, check labels for sustainability claims and verify they suit your project’s needs. Eco-friendly fillers and putties help you create beautiful finishes while reducing your ecological footprint.
Conclusion
Knowing when to use wood filler or putty can make all the difference in your project’s finish. Did you know that choosing the right product can extend the life of your repair by up to 50%? By understanding their differences and applications, you’ll achieve smoother, more durable results. So, select wisely, follow proper techniques, and enjoy a flawless, professional-looking finish every time.