Dust nibs in your finish can be fixed without stripping by carefully cleaning the area, then gently sanding the bumps with fine-grit paper or a sanding sponge. After smoothing the surface, buff out any residue with a soft cloth and polishing compound to restore the shine. To prevent future issues, control your workspace environment and use dust barriers. If you want to learn more tips for a flawless finish, keep exploring the solutions below.
Key Takeaways
- Clean dust nibs gently with a damp cloth and fine abrasive tools without stripping the finish.
- Lightly sand the affected area with fine-grit sandpaper to smooth out dust nibs.
- Use soft buffing pads and polishing compounds to restore shine and blend the repaired spots.
- Ensure proper dust control during finishing by sealing vents, using air purifiers, and minimizing workspace dust.
- Refinish only if necessary, after smoothing and polishing, to fix persistent dust nibs without stripping the entire surface.

4 Pack Hand Sanding Sponge Set -120 220 320 400 Grit- Coarse Medium Fine Grit Sanding Block, Sander Sponges for Wood-Working Drywall Metal, Washable and Reusable Sponge for Rust Removal Polishing
Assorted Grit Sanding Blocks – This set includes 4 sponge sanding blocks (4 x 2.6 x 0.7 inches)…
As an affiliate, we earn on qualifying purchases.
As an affiliate, we earn on qualifying purchases.
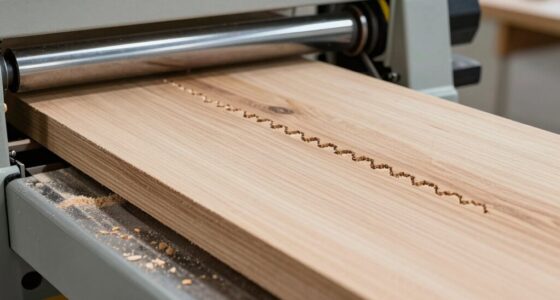
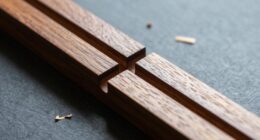
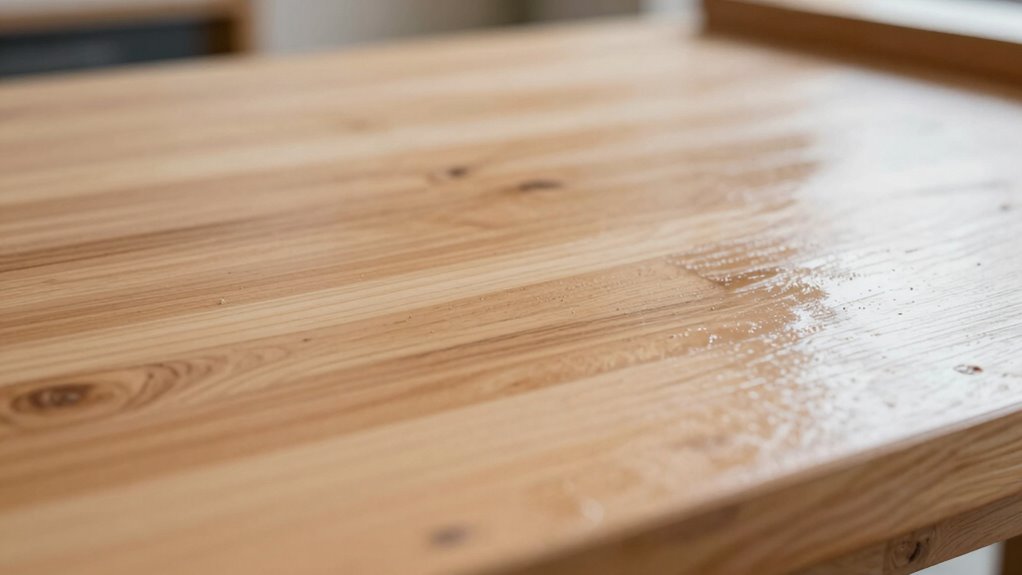
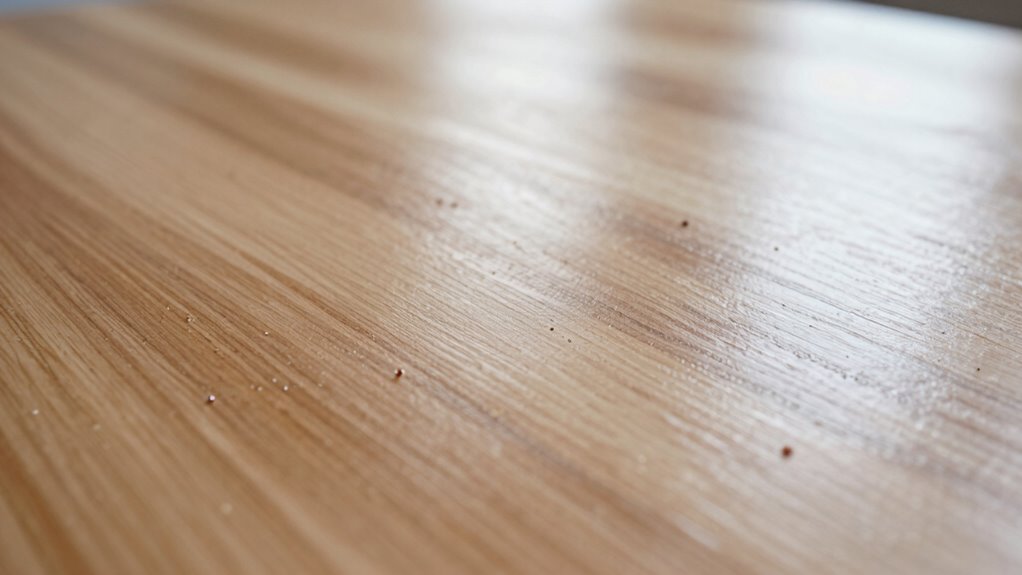
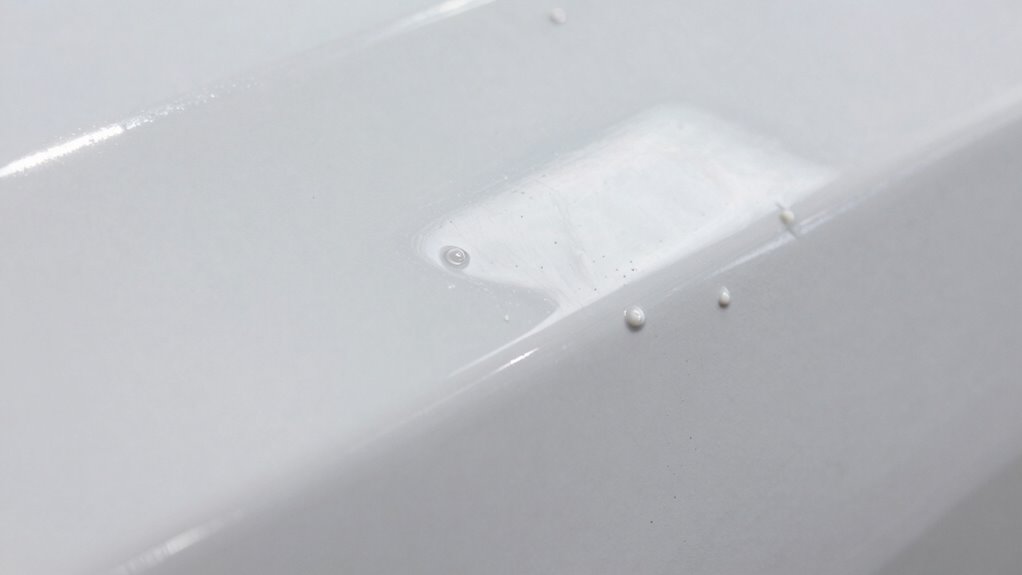
What Are Dust Nibs and Why Do They Appear in Your Finish?
Dust nibs are tiny particles of dust or debris that settle on a freshly applied finish, causing small bumps or imperfections as the finish dries. These dust contamination particles land on the surface before the finish cures, creating finish imperfections that are often noticeable once the finish hardens. Dust nibs appear when the environment isn’t perfectly clean or when you don’t take proper precautions during application. They can develop quickly in dusty or windy conditions, especially if you rush the process. Understanding why dust contamination occurs helps you prevent these imperfections. Proper cleaning and preparation of your workspace is essential to minimize dust and debris in your finish. Additionally, controlling factors like airflow and humidity can significantly reduce the likelihood of dust nibs forming during application. Maintaining a dust-free environment by using air purifiers or dedicated workspaces can further help prevent these issues. Being aware of air quality and keeping the workspace well-ventilated can also make a notable difference in preventing dust nibs. Regularly monitoring environmental conditions can help you identify the best times for application and avoid dust-related problems.

30PCS Nail Drill Bits Set with Holder Case, 3/32 Inch Tungsten Carbide Ceramic Diamond Efile Nail Bits Tool & Organizer for Acrylic Gel Dip Powder Cuticle Removal Polish, Nail Tech Manicure Pedicure
Keep Your Bits Neat & Organized: The nail drill bits kit includes a holder box(2.51*4.33*2.36 inch) with individual…
As an affiliate, we earn on qualifying purchases.
As an affiliate, we earn on qualifying purchases.
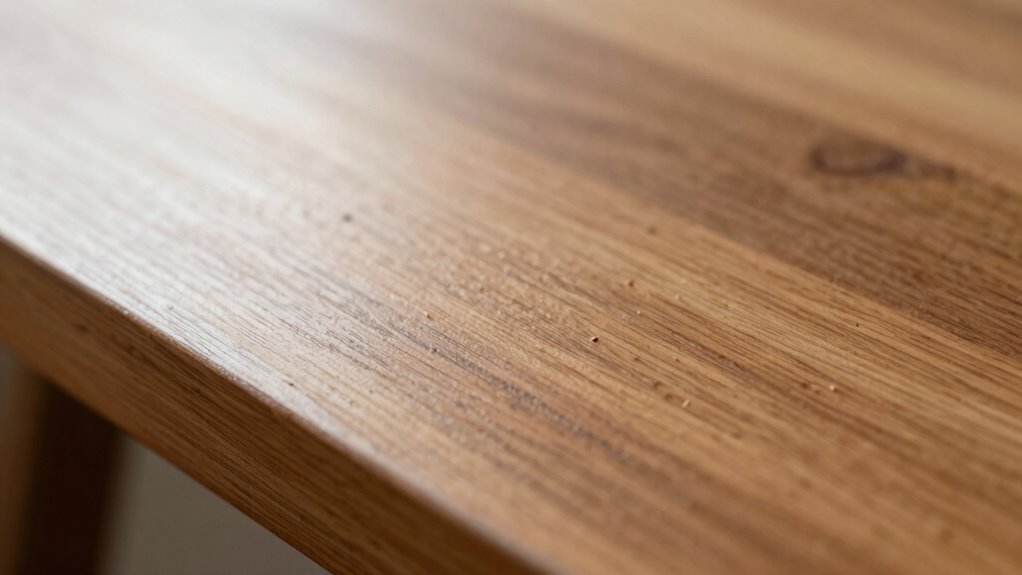
How to Prepare Your Surface for Dust Nib Removal Without Stripping
Before attempting to remove dust nibs, proper preparation of your surface is vital to prevent stripping or damaging the existing finish. Start by cleaning the area thoroughly with a damp cloth to remove dust and dirt. Next, lightly inspect the finish to identify areas needing touch-up or smoothing. Using appropriate finishing techniques, avoid aggressive sanding that could strip the finish. Instead, gather fine sanding tools like a soft cloth or very fine-grit sanding sponge. Lightly feather the edges around the dust nibs to create a smooth shift. This preparation ensures you can focus on removing the dust nibs effectively without compromising the integrity of your finish. Properly preparing your surface makes the dust nib removal process safer, easier, and more effective. Additionally, understanding your finish type can help you choose the safest removal methods. Being aware of wood surface characteristics can further guide your approach to surface preparation and care. Recognizing the energy efficiency of your finish can also influence the techniques you select to preserve its durability. Consulting with professionals or referring to architectural solutions can provide additional insights for specific surface types. Incorporating knowledge of wood movement can help prevent future issues related to finish cracking or lifting.

WEN 3410 3-Speed Remote-Controlled Air Filtration System (300/350/400 CFM), Basic w/ RF Remote (400 CFM) , Black
Includes a 1-micron filter and a 5-micron pre-filter, both of which can be easily replaced
As an affiliate, we earn on qualifying purchases.
As an affiliate, we earn on qualifying purchases.
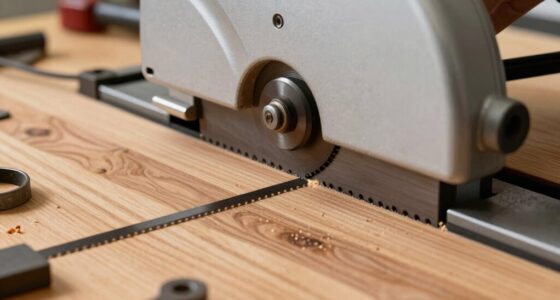
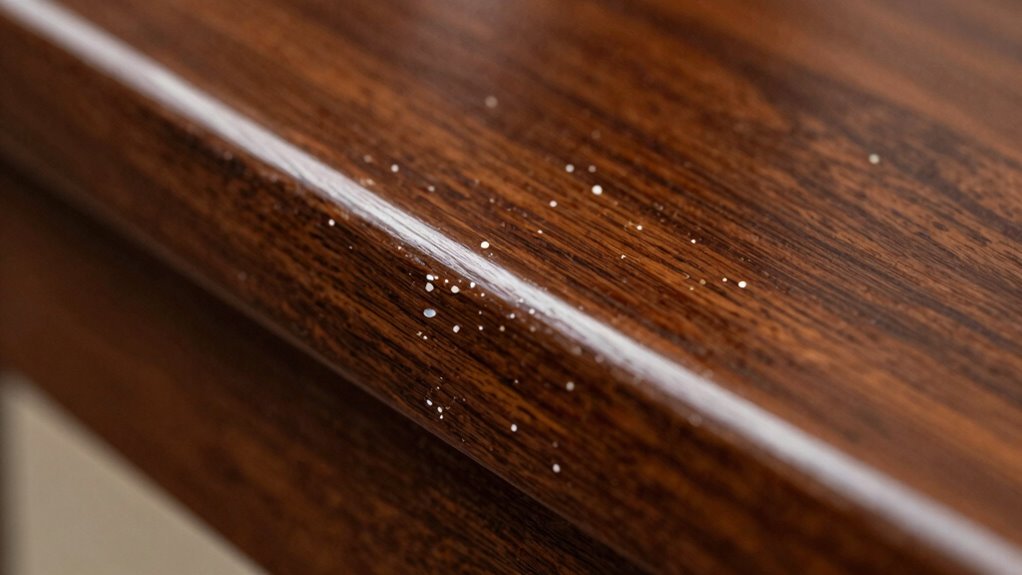
How to Sand Dust Nibs Smoothly and Safely
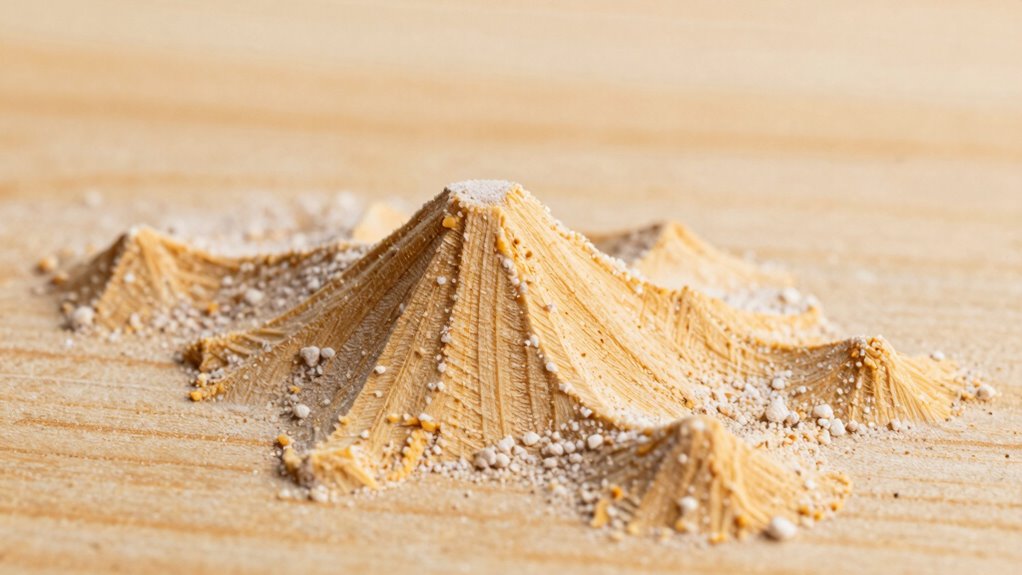
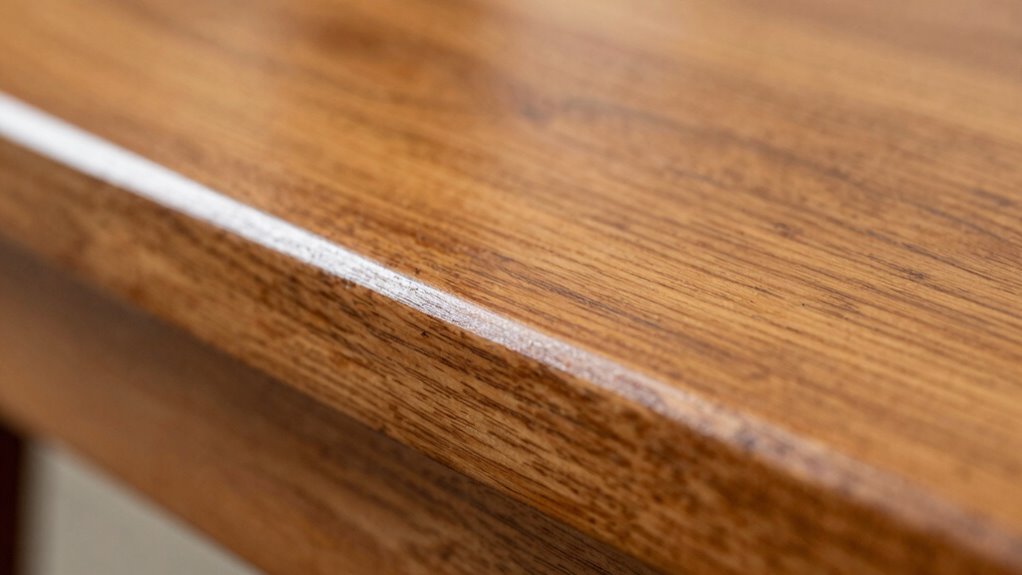
Once you’ve prepared your surface by cleaning and gently feathering around the dust nibs, it’s time to focus on sanding them down. Use light, controlled brush techniques with fine-grit sandpaper or a sanding block. Work carefully to avoid damaging the surrounding finish, maintaining a consistent angle to keep the finish sheen smooth and even. Keep your strokes gentle and even, sanding just enough to level the nibs without removing too much finish. Regularly check your progress so you don’t over-sand. Remember, the goal is to blend the nibs seamlessly into the surrounding area while preserving the finish’s shine. Choosing the right tip size for your sanding tools can further improve your results, especially on detailed or delicate surfaces. Patience is key—rushing can cause scratches or uneven spots, compromising the finish’s smoothness and overall appearance. Proper sanding technique ensures a smooth, professional-looking result without damaging your surface.

Professional Zipper Door, Dust Protection Wall, Barrier for Dust Containment – Heavy-Duty Construction Access Door – Plastic Sheeting Temporary Door, Zipper Barrier Room Seal – Reusable Doorway
Reusable – Heavy-duty 6mil sheeting, high quality of materials and craftsmanship, no cheap labor, not made in china!
As an affiliate, we earn on qualifying purchases.
As an affiliate, we earn on qualifying purchases.
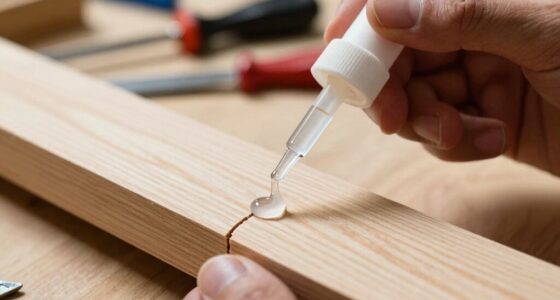
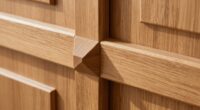
How to Buff Out Residual Nibs and Restore Shine
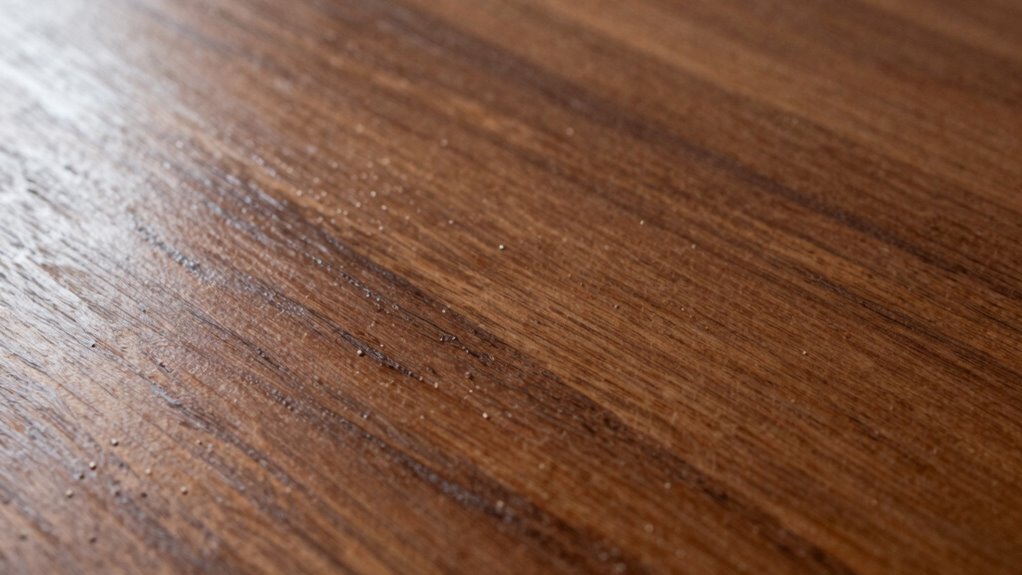
After you’ve sanded the dust nibs flush, the next step is to buff out any residual marks and restore the finish’s shine. Proper buffing not only smooths imperfections but also enhances the woodgrain, giving it a richer appearance. Focus on gentle, circular motions with a soft cloth or buffing pad to avoid damaging the finish. To achieve a seamless look, it’s important to understand home finishing techniques and how they contribute to a professional appearance. Using the right buffing materials ensures a smooth, high-quality result. 1. Use a fine polishing compound for finish gloss restoration, bringing back that reflective surface. 2. Pay attention to uneven spots, buffing them evenly to maintain consistent sheen across the surface. 3. Regularly check your progress, ensuring you’re enhancing the woodgrain and not over-polishing, which could dull the finish. Additionally, understanding the proper polishing tools can make a significant difference in achieving a professional look. Incorporating smart tools such as electric buffing machines can help achieve more consistent results and save time. A good understanding of finishing techniques can help you avoid common mistakes and achieve a flawless result. This process revitalizes your finish, making your project look professionally finished and beautifully polished.
When and How to Refinish After Fixing Dust Nibs
Knowing when to refinish after fixing dust nibs depends on the extent of the damage and how well the surface has been restored. If the nibs are minor and you’ve achieved good dust control during the fix, you might not need a full refinish. However, if the finish looks uneven, dull, or the nibs remain visible, refinishing is necessary for a seamless look. Before proceeding, verify the new finish is compatible with the existing coat to prevent adhesion issues or finish failure. Light sanding or scuffing can help blend the repair, but if the surface still shows irregularities, a cautious reapplication of the finish is best. Always test for finish compatibility first to avoid any mismatched appearance or finish deterioration over time.
Top Tips to Prevent Dust Nibs During Future Finishing Projects
To prevent dust nibs in your finish, keeping your workspace spotless is essential. Regularly clean surfaces and tools to minimize airborne debris. Additionally, using proper dust barriers helps keep dust out of your project area, ensuring a smoother finish. Consider implementing vacuum systems for finishing, which can effectively capture dust at the source and maintain a cleaner environment. For optimal results, incorporating industrial-grade air filtration can further reduce dust particles in the air, leading to a more pristine finish.
Maintain a Clean Workspace
Keeping your workspace clean is essential for preventing dust nibs in your finish. A tidy environment reduces airborne dust, improving air quality and minimizing the risk of particles settling into your finish. To maintain this, focus on these key practices:
- Regularly sweep and vacuum the area to remove dust and debris.
- Keep your tools well-maintained and clean, preventing dust buildup that can transfer during finishing.
- Use air purifiers or vent fans to improve airflow and reduce airborne dust particles.
Use Proper Dust Barriers
Using proper dust barriers is essential to prevent dust nibs from ruining your finish. Installing effective dust barriers keeps airborne particles out of your workspace, reducing dust settling on surfaces. Combine this with air filtration systems to further minimize dust in the air. When choosing dust barriers, consider plastic sheeting or temporary walls that seal off the project area. Using high-quality air filtration units with HEPA filters captures dust particles actively. Keep doors closed and avoid unnecessary traffic in the area. Here’s a quick comparison:
| Dust Barrier Method | Air Filtration Benefits |
|---|---|
| Plastic sheeting | Blocks dust source from entering workspace |
| Temporary walls | Creates a sealed environment |
| HEPA air filtration units | Cleans the air continuously |
| Sealing vents and doors | Prevents dust intrusion |
These steps help make certain a cleaner finish with fewer dust nibs.
Troubleshooting Persistent Dust Nibs and Alternative Fixes
Persistent dust nibs can be frustrating, especially when they keep marring your finish despite your best efforts. To troubleshoot, focus on reducing dust contamination and improving finish adhesion. First, inspect your workspace; airborne dust can settle and cause nibs. Second, ensure your sanding and cleaning are thorough to remove residue that hampers adhesion. Third, consider using a tack cloth before applying your final coat to catch lingering dust. Sometimes, dust nibs result from uneven finish application or too rapid drying, so adjusting your technique can help. If nibs persist, lightly sand the affected area and reapply a thin, even coat. Additionally, practicing attention to detail during each step can significantly reduce imperfections and lead to a smoother, flaw-free surface. Being mindful of dust control strategies can further help prevent airborne particles from settling on your finish. Incorporating proper surface preparation techniques enhances finish adhesion and reduces the likelihood of dust nibs forming. Understanding the importance of proper drying times can also prevent dust nibs caused by rush drying. Using specialized tools such as dust extraction systems can greatly improve your workspace cleanliness and minimize contamination. These steps help minimize dust contamination and promote better finish adhesion, giving you a smoother, flaw-free surface.
Frequently Asked Questions
Can Dust Nib Removal Be Done on All Types of Finishes?
Dust nib removal isn’t suitable for all finishes, as finish compatibility varies. You should identify the specific dust nib types you’re dealing with, such as small particles or larger bumps. For most water-based or oil-based finishes, you can gently sand or level the nibs without stripping. However, it is crucial to test a small area first to make sure the method won’t damage your finish, especially on delicate or specialized coatings.
Does Fixing Dust Nibs Affect the Durability of the Finish?
Think of fixing dust nibs as patching tiny cracks in a fragile glass—if done carefully, it won’t harm the finish’s integrity or surface adhesion. When you smooth out nibs properly, you maintain the durability of your finish, ensuring it remains resilient over time. However, rushing or using the wrong techniques can weaken the surface, so take your time to preserve both the look and lasting strength of your project.
Are There Environmentally Friendly Methods for Dust Nib Removal?
Yes, you can use eco-friendly solvents like citrus-based or plant-derived options to remove dust nibs without harming the environment. Additionally, consider composting methods for disposing of used materials or leftover residues, ensuring you minimize waste. These environmentally friendly approaches help protect the planet while effectively fixing dust nibs, keeping your finish smooth and durable without relying on harsh chemicals or non-biodegradable products.
How Long Should I Wait Before Applying a New Finish After Fixing Nibs?
Think of patience as the key to a flawless finish. You should wait at least 24 hours after fixing nibs before applying a new coat. During this time, use dry brushing to remove any dust nibs gently, then clean the surface with a solvent. This waiting period guarantees the finish cures properly, preventing imperfections. Rushing can trap dust or solvent, leading to a finish that’s less than perfect.
Can DIY Dust Nib Repair Damage the Underlying Wood or Material?
DIY dust nib repair generally won’t damage the underlying wood or material if you follow proper methods. You should be careful not to carve into the wood or remove too much finish, as this could compromise finish integrity or cause wood damage. Use gentle sanding and precise touch-ups to avoid affecting the underlying surface. When done correctly, your repair maintains the wood’s integrity and keeps the finish looking smooth and professional.
Conclusion
Think of dust nibs as tiny storm clouds on your finish—once you clear the skies, your project can shine like a calm, clear day. With patience and the right techniques, you’re the weather master, turning a cloudy mishap into a flawless finish. Remember, each dust nib you fix is a small victory over chaos, revealing the true beauty beneath. Keep your workspace tidy, and let your craftsmanship be the sunshine that brightens every project.