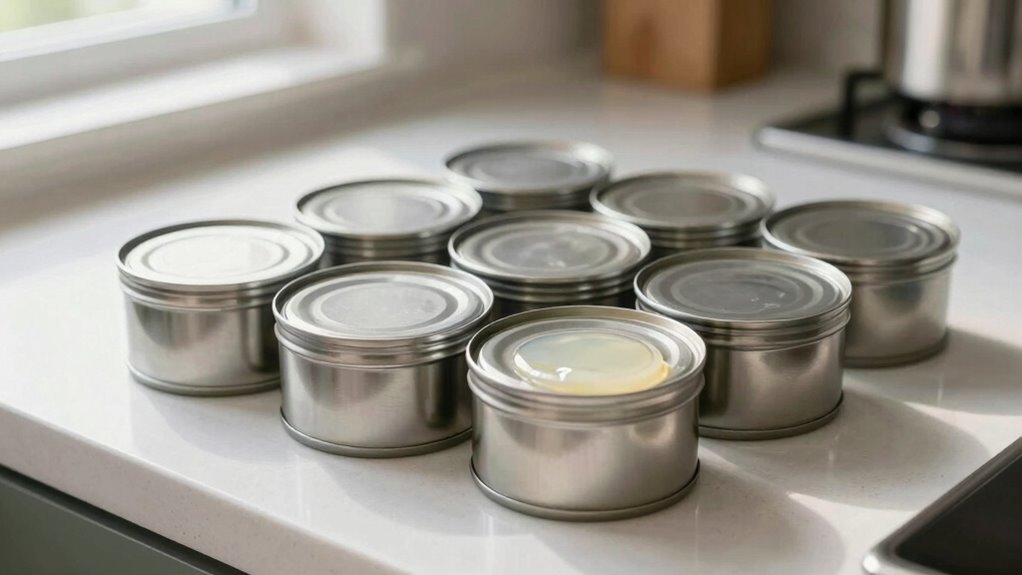

To prevent skins, gels, and ruined cans, always store your finishes in airtight containers and seal lids tightly after each use. Remove excess paint from rims, press plastic wrap onto the surface before sealing, and store in a cool, dry, stable environment away from temperature fluctuations. Regularly check your stock for signs of thickening or skin formation and thin out or stir as needed. Keep spills, debris, and moisture out for long-lasting results. Explore more tips to preserve your finishes effectively.
Key Takeaways
- Always seal paint cans tightly after use, removing excess paint from rims and pressing plastic wrap on the surface before sealing.
- Store finishes in a cool, dry, temperature-stable environment, ideally between 50-70°F, to slow skin and gel formation.
- Use airtight, high-quality containers with proper gaskets, and label them with date and product details for easy tracking.
- Regularly check stored finishes for consistency; thin with compatible solvents if thickened or skin-covered, and test before use.
- Maintain proper storage conditions, avoiding temperature fluctuations and humidity extremes, to preserve paint quality over the long term.

Touch Up Cup Empty Plastic Paint Storage Containers with Lids for Leftover Paint, Touch Ups, As Seen On Shark Tank Products, 13 oz, Pack of 3
PATENTED TECHNOLOGY – Introducing our Paint Storage Containers for leftover paint – the ultimate solution to your paint…
As an affiliate, we earn on qualifying purchases.
As an affiliate, we earn on qualifying purchases.
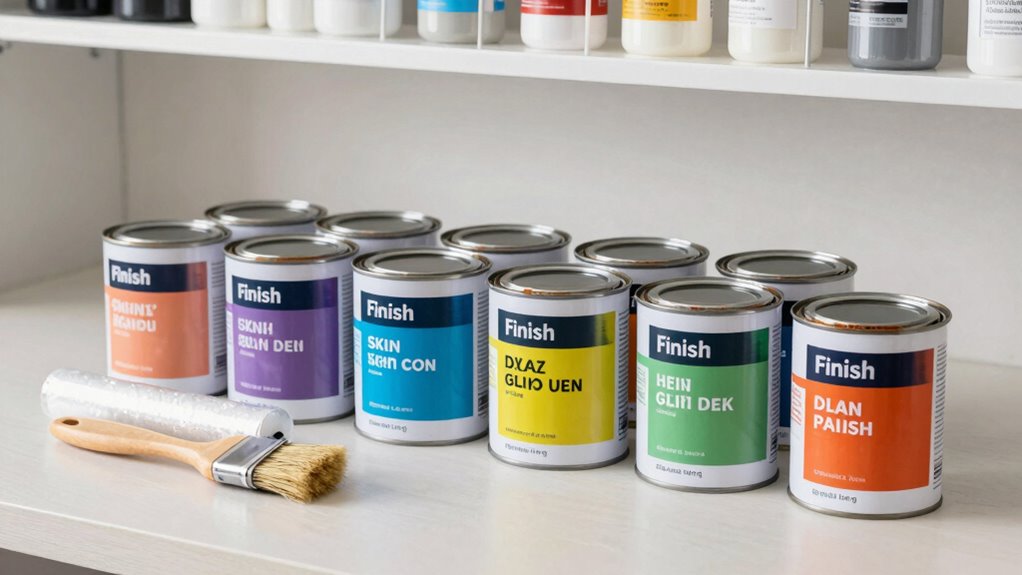
Why Proper Finish Storage Matters
Have you ever wondered why proper finish storage is so important? The way you store your paint determines how well it maintains its original paint color and quality. When finishes aren’t stored correctly, they can develop unwanted skins or gelling, making them unusable. Proper storage also helps preserve your brushes, making brush maintenance easier and more effective. Keeping cans tightly sealed and stored in a cool, dry place prevents contamination and evaporation, which can alter the finish’s appearance. If you plan to reuse the paint later, maintaining the right conditions ensures it stays smooth and ready for application. Good storage practices save you time, money, and frustration, helping you achieve a flawless finish every time. Additionally, understanding trusted resources for product storage can provide valuable guidance for maintaining quality.

FoamPRO 131-5 Leftover Paint Saver (5-Pack) | One Size Fits All Gallon Cans | Paintsaver Can Lid For Leftover | Paint-Bucket Attachment
GALLON PAINT SAVING LID – Avoid wasting paint by keeping it sealed and fresh for years to come!…
As an affiliate, we earn on qualifying purchases.
As an affiliate, we earn on qualifying purchases.
Why Skins and Gels Form in Paint Cans : Causes and Prevention
Skins and gels form in paint cans mainly because of exposure to air, temperature changes, and poor sealing. When air gets in, it causes the paint to dry out and develop a skin, while temperature fluctuations can accelerate this process. Ensuring a tight seal and storing paint in stable conditions help prevent these issues from happening. Additionally, maintaining proper color temperature can help preserve paint quality during storage.
Exposure to Air
Exposure to air is a primary factor that causes skins and gels to form in paint cans. When paint is exposed, oxygen interacts with its surface, disrupting paint adhesion and leading to a skin or gel formation. Proper surface preparation before sealing the can substantially reduces air exposure; ensure the lid is tightly sealed and clean. Using a brush or spatula to remove any paint on the rim helps create a better seal, preventing air from entering. Additionally, pressing plastic wrap directly onto the paint surface before sealing adds an extra layer of protection, minimizing contact with air. Limiting air exposure preserves the paint’s consistency and prevents unwanted skinning or gelling, extending its usable life and maintaining ideal application qualities.
Temperature Fluctuations
Temperature fluctuations are a common cause of skins and gels forming in paint cans because rapid or extreme changes in temperature can alter the paint’s consistency. Cooling cycles, where temperatures drop suddenly, cause the paint to contract, potentially trapping air and forming a skin. Conversely, heat exposure can make the paint expand and thin out, leading to separation or gel formation. When paint experiences frequent temperature swings, the materials inside don’t settle properly, increasing the risk of skin formation and gelling. To prevent this, store your paint in a stable environment, avoiding places with large temperature variations. Keeping cans in a climate-controlled space minimizes the effects of cooling cycles and heat exposure, helping your paint stay usable longer. Stable storage environments are essential for maintaining paint quality over time.
Poor Sealing Techniques
Poor sealing techniques are a common culprit behind skin and gel formation in paint cans. When you don’t properly clean your brush before sealing, leftover paint can react with air, encouraging skin or gel development. Additionally, using a lid that doesn’t fit tightly allows air and moisture to enter, speeding up the formation process. Make sure your finish is compatible with the container’s sealing method—some finishes require specific sealants to stay fresh. Always clean your brushes thoroughly to prevent contaminants from mixing in the paint, which can compromise the seal. Properly sealing your paint with compatible lids ensures no air gets in, helping to maintain the paint’s quality and preventing unwanted skins and gels from forming. Proper sealing methods are essential for extending the shelf life of your paint and avoiding costly waste.

Glad Press'N Seal Food Plastic Wrap, 70 Square Foot Roll (Package May Vary)
PRESS'N SEAL PLASTIC FOOD WRAP: With a quick press and glide, this food wrap keeps food fresh with…
As an affiliate, we earn on qualifying purchases.
As an affiliate, we earn on qualifying purchases.
How to Seal and Top Off Finishes for Longer Shelf Life
Sealing and topping off finishes is essential to extend their shelf life and maintain quality. Using proper sealing techniques guarantees that air and contaminants don’t spoil the product. Before sealing, clean the rim of your storage containers thoroughly to create a tight, secure seal. Use high-quality lids designed for your containers, and make sure they fit snugly. For added protection, consider pressing a layer of plastic wrap or wax paper directly on top of the finish before sealing with the lid. This extra step prevents skin formation and reduces evaporation. Always store your containers upright in a cool, dark place. Incorporating smart storage solutions like temperature-monitoring devices can help ensure optimal conditions for your finishes. Proper sealing techniques and choosing the right storage containers keep finishes fresh longer, preventing spoilage and saving you time and money.

SEEKONE Heat Gun 1800W Heavy Duty Hot Air Gun Kit With Carry Case Variable Temperature Control 122℉-1112℉(50℃- 600℃) Overload Protection with 4 Nozzles for Crafts, Shrinking PVC, Stripping Paint
【Fast Heat Up & Adjustable Temperature】SEEKONE 1800W Heat Gun produces strong, stable power with quick heat up in…
As an affiliate, we earn on qualifying purchases.
As an affiliate, we earn on qualifying purchases.
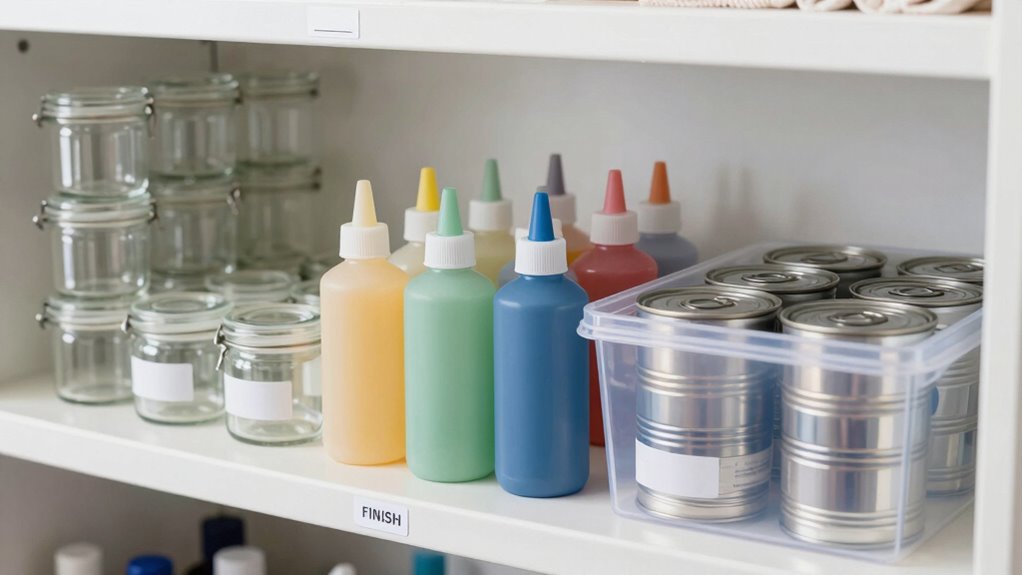
How to Choose the Best Containers and Storage Spots for Finishes
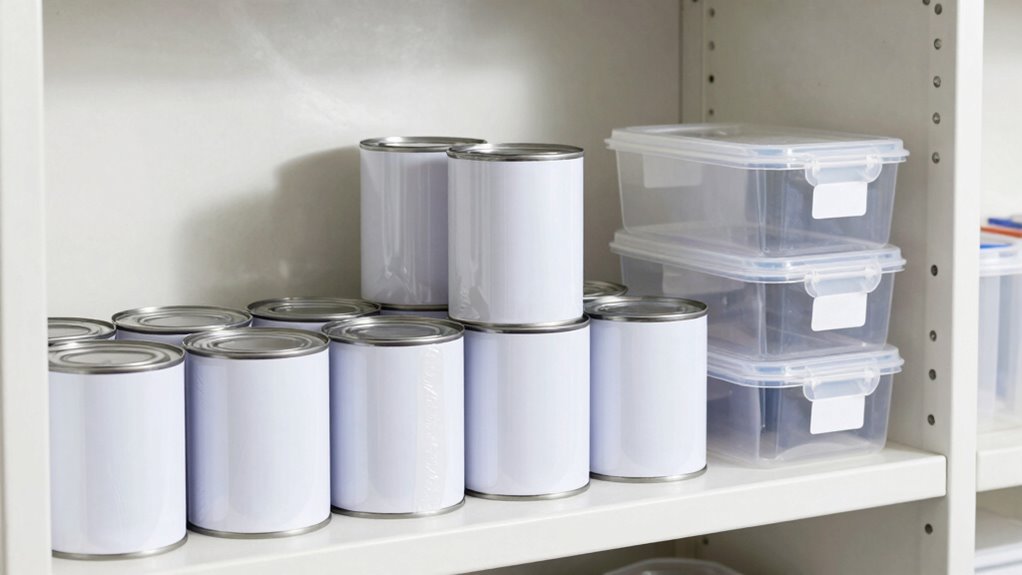
Choosing the right containers and storage spots is key to keeping your finishes fresh. You should look for airtight containers and place them in a cool, dark area to prevent spoilage. Proper sealing techniques also help make certain your finishes stay usable for longer. Additionally, understanding cleaning appliances and their maintenance can help you avoid contaminating your stored finishes and ensure they remain effective over time.
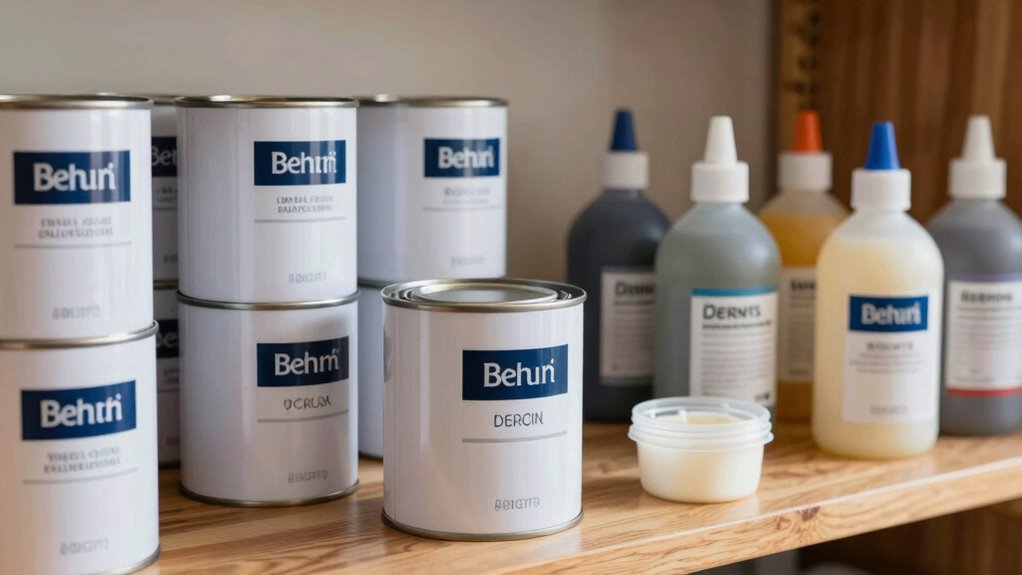
Ideal Container Choices
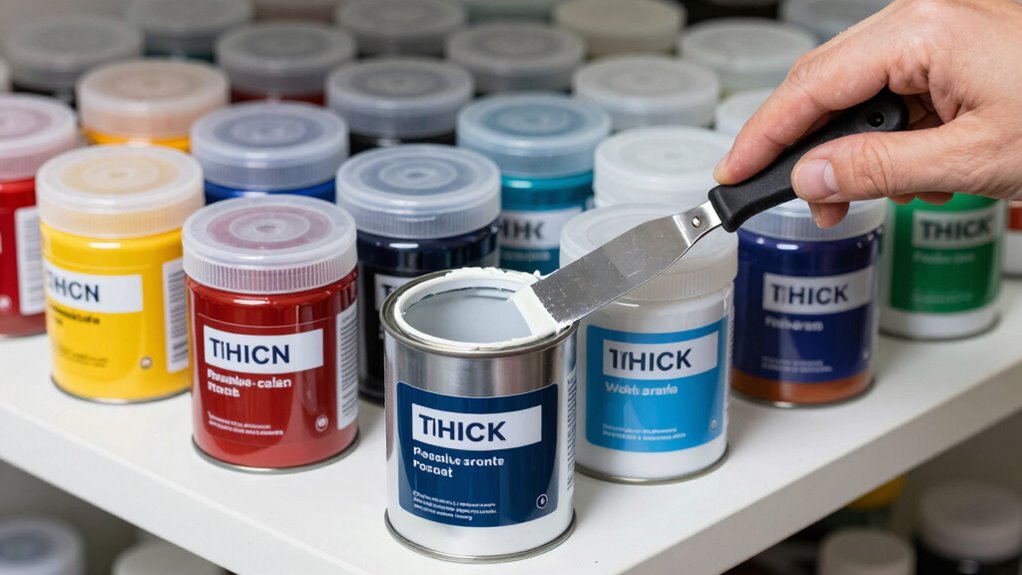
Selecting the right containers for storing finishes is essential to maintaining their quality and ensuring safe, long-term storage. Your choice impacts how well the finish stays usable and prevents spoilage. Consider these key factors:
- Use containers made from non-reactive materials like metal or high-quality plastic to avoid chemical reactions.
- Opt for containers with tight-sealing lids to prevent air exposure and skin formation.
- Follow consistent labeling practices, including date and type, to track storage times and contents.
- Select sizes that match your project needs, avoiding excessive air space that can lead to spoilage.
- Be aware of essential oils for preservation, as their antimicrobial properties can help extend the shelf life of stored finishes.
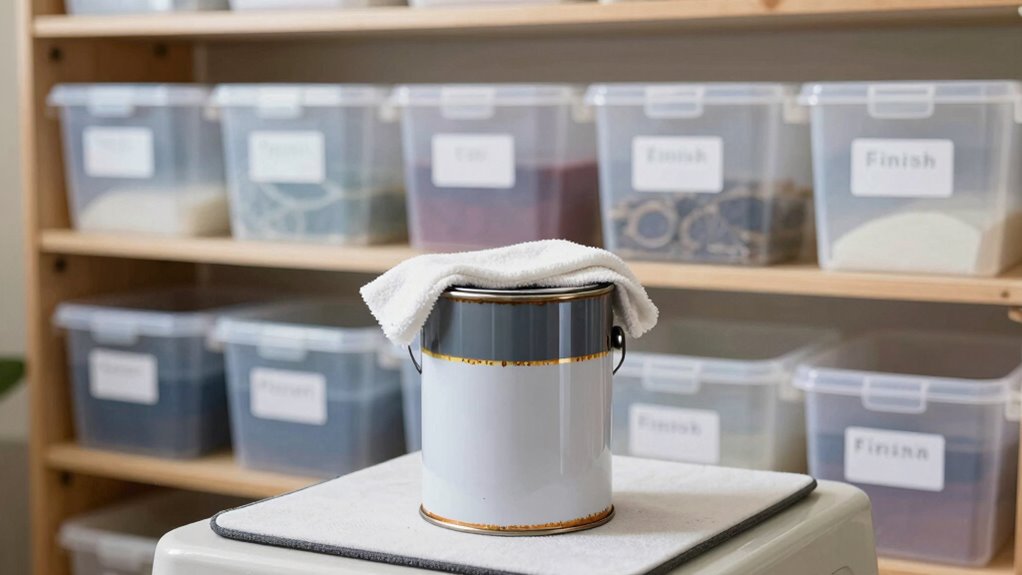
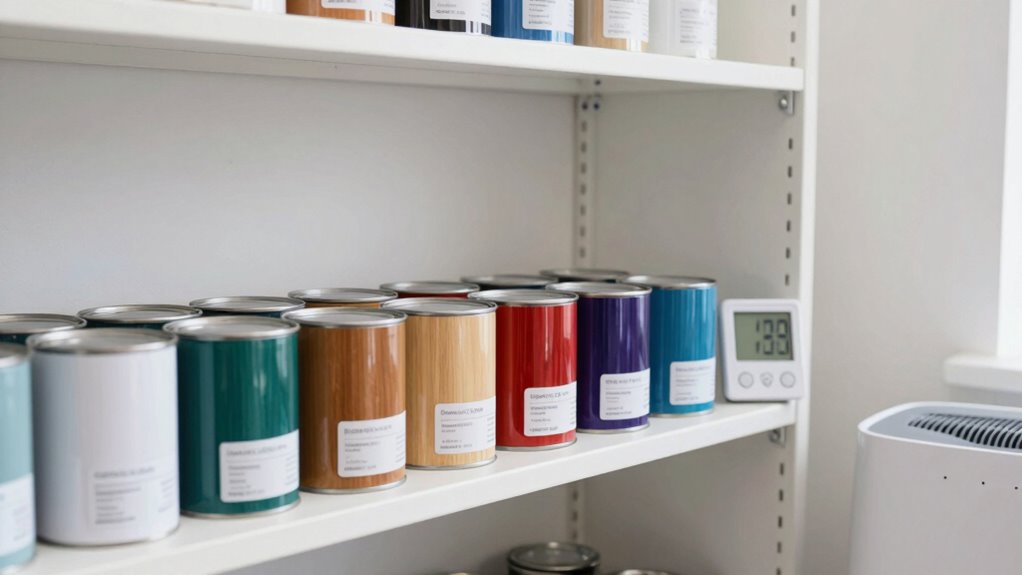
Optimal Storage Locations
To guarantee your finishes stay in top condition, you need to pick the right storage locations that protect them from damage and environmental factors. Store your finishes in a cool, dark, and consistent environment to prevent temperature swings that can cause skin formation or gelling. Choose spots away from direct sunlight and heat sources, which can alter color matching and compromise the finish’s integrity. Keep containers upright and sealed tightly to avoid spills and contamination. When applying brush techniques, ensure the workspace is organized so you don’t accidentally knock over cans or introduce debris. Proper storage locations also make it easier to maintain consistent color matching, as finishes remain stable and ready for touch-ups or refinishing without risking spoilage. Incorporating simple tools like BTU and CADR quick‑calculators can help you identify optimal storage conditions for your finishes.
Proper Sealing Techniques
Proper sealing techniques begin with picking the right containers that keep finishes fresh and prevent contamination. Ensuring container integrity is vital for long-term storage. Here are four tips to master sealing techniques:
- Select airtight containers made of metal or high-quality plastic to prevent air exposure.
- Always clean and dry containers thoroughly before sealing to avoid mold or spoilage.
- Use a rubber gasket or sealant lid to enhance container integrity.
- Store finishes in a cool, dark spot to minimize temperature fluctuations that can compromise seals.
Tips on Temperature and Humidity to Keep Finishes Fresh
Maintaining the right temperature and humidity levels is essential for keeping your finishes fresh and effective. Temperature control helps prevent finishes from thickening, curing prematurely, or separating, so aim for a consistent, cool environment—ideally between 50-70°F. Avoid extreme heat or cold, which can spoil the product. Humidity regulation is equally important; high humidity can cause finishes to spoil or develop mold, while low humidity might cause the finish to dry out or skin over. Store your cans in a dry, climate-controlled space where humidity stays steady. Use a dehumidifier or humidifier if necessary. Keeping these conditions stable ensures your finishes stay usable longer and maintain their best consistency when you’re ready to apply. Additionally, monitoring the indoor air quality can help you maintain optimal conditions for storing your finishes.
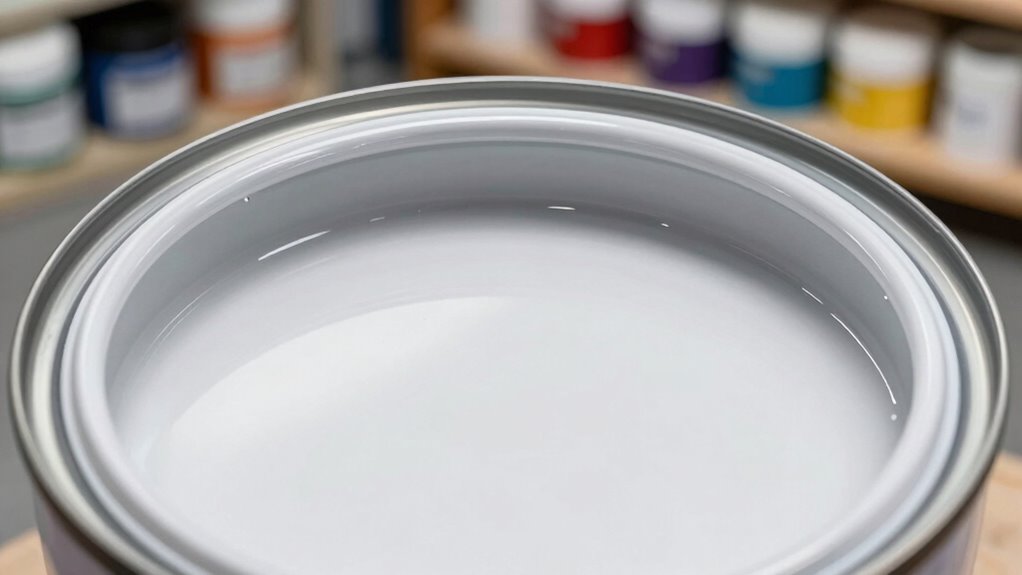
How to Spot Gels, Skins, and Cured Cans Before Using
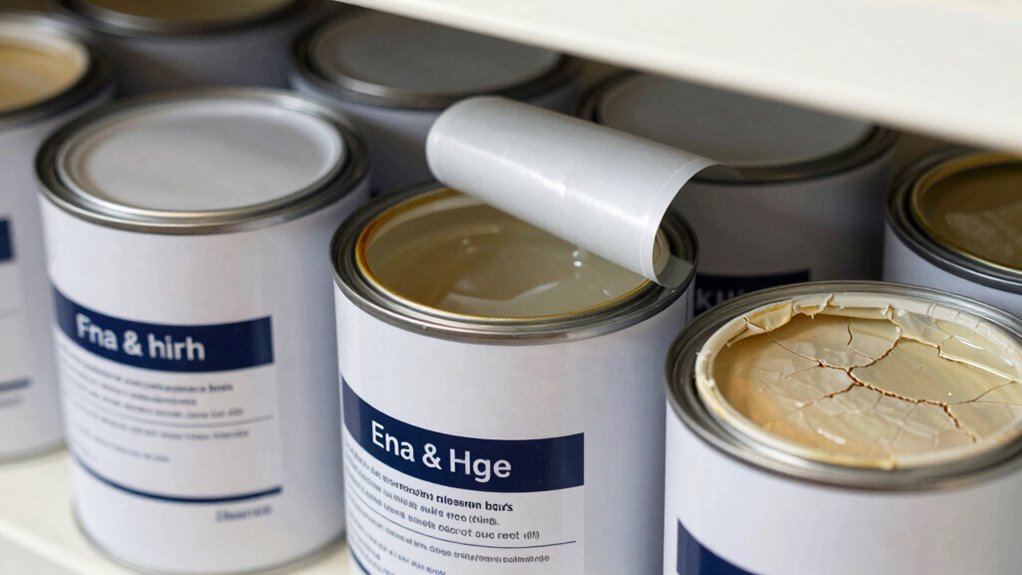
Before using your finish, it’s important to check for signs of gels, skins, or curing that can affect application quality. These issues often alter the paint consistency, making it thicker or lumpy. To identify problems, follow these steps:
- Inspect the container label for any expiration date or storage notes indicating possible spoilage.
- Open the can carefully and look for a thick, rubbery layer—this is a skin or gel.
- Stir the finish thoroughly; if it remains clumpy or resists mixing, it’s likely cured or spoiled.
- Check the paint consistency after stirring; if it’s still too thick or stringy, it’s best to discard or recondition the can.
- Evaluate the finish’s viscosity to ensure it maintains a uniform flow, similar to what is recommended in deep-sky imaging techniques.
How to Fix Common Storage Problems With Your Finishes
When finishes develop storage problems, quick action can often save you time and money. If your finish has thickened or formed a skin, start by thoroughly cleaning your brush to remove any debris. Next, consider finish thinning with a compatible solvent to restore its proper consistency. Proper brush cleaning ensures no dried finish remains that could cause gelling or skin formation. If the finish remains too thick after cleaning, gently add small amounts of thinner, stirring well until it reaches the desired consistency. Avoid over-thinning, which can compromise performance. Always test the adjusted finish on a scrap surface before applying. These simple steps can revive your stored finish, extend its usability, and keep your project on track.
Long-Term Storage Tips for Preserving Finishes Over Time
Once you’ve fixed common storage issues and restored your finishes to usable condition, it’s important to focus on how to preserve them over the long term. Proper storage helps maintain your paint color and finish sheen, preventing them from deteriorating.
Here are four tips to ensure longevity:
- Store cans upright in a cool, dry environment to prevent rust and spoilage.
- Keep the lids tightly sealed to avoid air exposure that can cause skin formation or gelling.
- Label each container with the original paint color and finish sheen for easy identification later.
- Store in a consistent temperature, avoiding extreme heat or cold that can affect the finish quality over time.
Following these steps helps keep your finishes fresh and ready for future projects.
Quick Tips to Maintain Your Finishing Supplies
To keep your finishing supplies in top condition, regular maintenance is essential. Start by cleaning brushes thoroughly after each use to prevent skin formation and ensure smooth application. Proper brush maintenance involves rinsing with the right solvent and storing brushes upright or in a protective cover. For cans, wipe the rim before sealing to prevent skin development and clogging. When mixing colors, always keep a small container for touch-ups and match colors carefully to avoid waste. Label your supplies clearly, so you can quickly identify contents and maintain color matching consistency. Store your finishes in a cool, dry place, and avoid extreme temperature changes. Consistent upkeep prolongs the life of your supplies, saves money, and ensures flawless results every time.
Frequently Asked Questions
Can I Reuse Old Paint or Finish Containers Safely?
Yes, you can reuse old paint or finish containers safely if you follow proper paint container safety and finish reuse tips. Make certain the container is clean, dry, and airtight to prevent contamination or spoilage. Label it clearly with the contents and date. Store it in a cool, dark place. Always check for signs of spoilage before reuse, and avoid using damaged or rusted cans to keep your project safe and successful.
What Are the Environmental Impacts of Improper Finish Disposal?
Improper finish disposal harms the environment by contaminating soil and water, affecting wildlife and human health. If you don’t recycle leftover paint through paint recycling programs, it often becomes hazardous waste, which requires special handling. Avoid pouring finishes down drains or onto the ground, as this releases toxic chemicals. Proper disposal helps reduce pollution, conserves resources, and prevents environmental damage caused by hazardous waste.
How Do I Identify Expired or Unusable Finishes?
To identify expired or unusable finishes, start by checking the finish’s shelf life, which varies by type and storage conditions. Look for odor indicators like sour or strong chemical smells, as these suggest spoilage. Also, examine the consistency; if the finish has thickened, separated, or developed a skin, it’s likely no longer usable. Trust your senses—if it smells bad or looks off, dispose of it safely.
Are There Eco-Friendly Options for Storing and Disposing of Finishes?
Yes, you can choose eco-friendly options for storing and disposing of finishes. Use biodegradable containers to store leftover finishes, reducing plastic waste. When it’s time to dispose of them, opt for eco-friendly disposal methods, such as taking leftovers to a local hazardous waste facility or following your community’s guidelines for safe disposal. These steps help minimize environmental impact while keeping your workspace safe and sustainable.
How Often Should I Inspect Stored Finishes for Quality?
You should inspect your stored finishes every 3 to 6 months to verify quality. Regular inspection frequency helps you catch issues like skin formation, gelling, or separation early, preventing ruined cans. Proper storage boosts finish longevity, so check for changes in texture, color, or odor. If you notice any problems, reseal or transfer the finish to an airtight container promptly. Staying vigilant preserves your finishes and saves you money in the long run.
Conclusion
Think of your finishes as delicate blooms in a garden; with proper care and attention, they’ll thrive and stay vibrant. By sealing, storing, and monitoring your supplies like a seasoned gardener tending to prized plants, you guarantee your projects flourish for years to come. Keep an eye out for signs of trouble, and act quickly to preserve their beauty. With these tips, you’ll keep your finishes fresh and ready for the next masterpiece—like a well-tended garden that never stops blooming.