
To remove mill marks quickly and achieve a flat surface, focus on selecting the right tools and maintaining them sharp. Use coarse cuts initially to level the surface, then follow with finer abrasives and consistent feed rates. Keep your equipment clean and properly set for smoother results. Proper technique and process control make a huge difference. Continue exploring these strategies to master fast, effective removal of mill marks and get that flawless finish.
Key Takeaways
- Use coarser abrasive grits initially to quickly remove mill marks and achieve a flat surface.
- Keep tools sharp and properly maintained to ensure smooth, consistent cuts and reduce surface irregularities.
- Maintain steady feed rates and consistent tool settings to prevent uneven surfaces and minimize mill marks.
- Combine coarse grinding with subsequent finer sanding to efficiently flatten and smooth the surface.
- Regularly check and adjust process parameters, including pressure and grit progression, for optimal removal of marks and flatness.

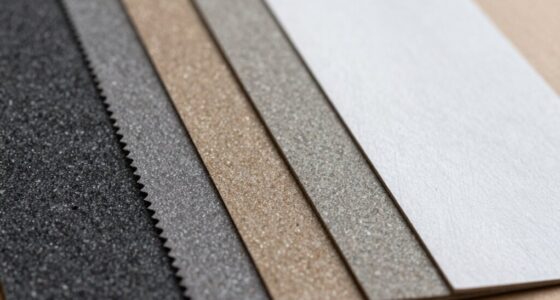
4 Pack Hand Sanding Sponge Set -120 220 320 400 Grit- Coarse Medium Fine Grit Sanding Block, Sander Sponges for Wood-Working Drywall Metal, Washable and Reusable Sponge for Rust Removal Polishing
Assorted Grit Sanding Blocks – This set includes 4 sponge sanding blocks (4 x 2.6 x 0.7 inches)…
As an affiliate, we earn on qualifying purchases.
As an affiliate, we earn on qualifying purchases.
Why Mill Marks Appear and How They Affect Your Finish
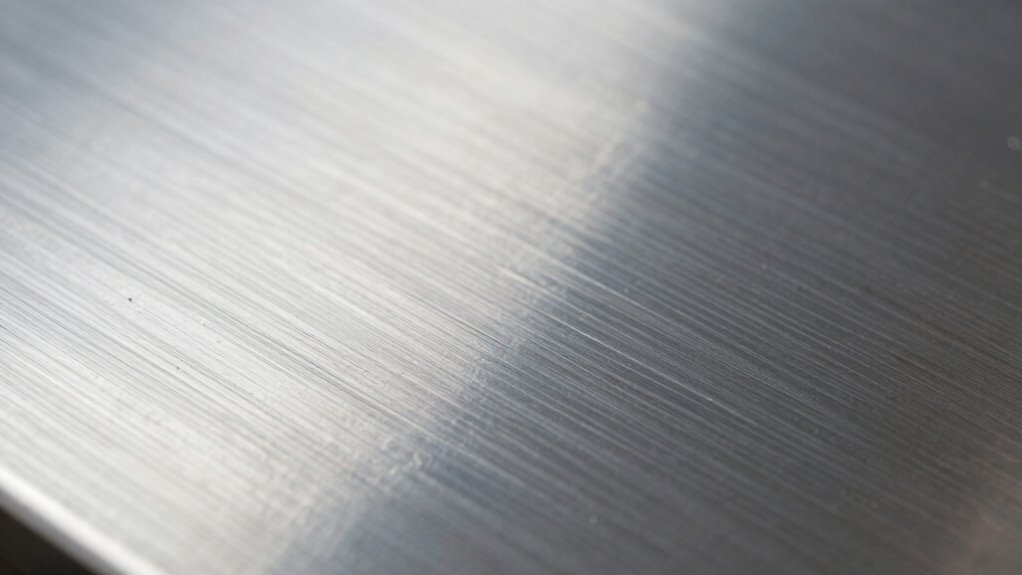
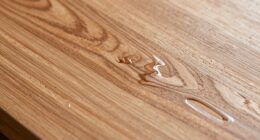
Have you ever wondered why mill marks show up on your finished surface? These marks often align with the grain direction, which is the natural orientation of wood fibers created during milling. When the wood is cut, some fibers stay raised or compressed, leaving visible lines. Surface contamination, like dirt, dust, or grease, can also accentuate these marks, making them more noticeable. If you don’t address these issues, mill marks can compromise your project’s appearance, giving it a rough or uneven look. Understanding how grain direction influences these marks helps you recognize their cause. Properly preparing the surface, by cleaning and aligning your tools with the grain, can markedly reduce their visibility, resulting in a smoother, more professional finish. Understanding grain behavior is essential for achieving optimal results in woodworking projects.
woodmill marks removal tools
As an affiliate, we earn on qualifying purchases.
As an affiliate, we earn on qualifying purchases.
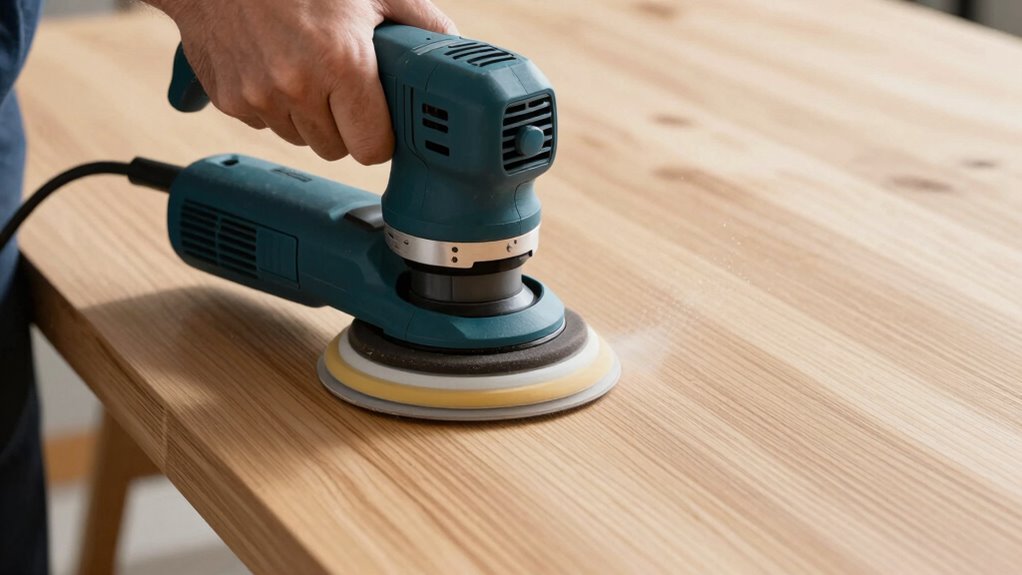
Choosing the Right Tools and Settings for a Smooth Surface
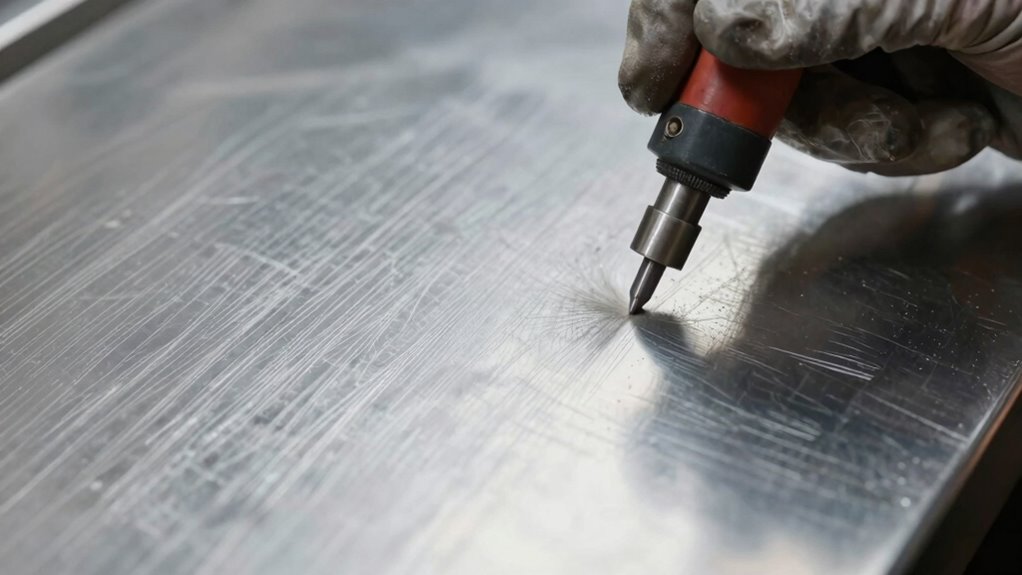
Selecting the appropriate tools and adjusting their settings is essential for achieving a smooth surface free of mill marks. Your choice of material influences the tool’s effectiveness, so pick the right abrasive or cutting tool for your specific project. Always follow safety precautions—wear eye protection and gloves to prevent injuries. Properly set your tools’ speed and feed rates to avoid uneven cuts and rough finishes. Keep in mind, a sharp tool reduces effort and improves results. Additionally, employing effective filtration can help prevent debris from causing imperfections on your surface. – Use tools designed for your material to ensure precision – Adjust settings carefully for consistent results – Prioritize safety to protect yourself and others – Opt for high-quality abrasives to reduce marks – Regularly inspect and maintain your tools for ideal performance

Excel Blades 14-Piece Woodworking Set – Precision Craft Knife Set with K5 Handle, Assorted Blades, Gouges & Routers With Storage Case – Ideal for Carving, Model Making & Craft – Made in the USA
Contains 6 assorted blades, 5 assorted gouges, 4 assorted routers and one K5 handle.
As an affiliate, we earn on qualifying purchases.
As an affiliate, we earn on qualifying purchases.
Quick Techniques to Minimize Mill Marks During Milling

To reduce mill marks during milling, you should start by using a proper feed rate that balances efficiency and surface quality. Opting for coarser cuts can also help minimize visible marks, especially on softer materials. Additionally, keeping your tools sharp guarantees smoother cuts and less surface disturbance, leading to a better finish. Incorporating consistent storytelling about your process can also help identify areas for improvement and maintain quality standards.
Use Proper Feed Rate
Using the proper feed rate is essential for minimizing mill marks during milling. When you adjust the feed rate correctly, you control tool pressure and prevent uneven wear or chatter that causes imperfections. A steady, appropriate feed rate ensures smoother cuts and less vibration, reducing visible marks.
Feel the satisfaction of a flawless finish as you:
- Maintain consistent tool pressure for a cleaner surface
- Prevent tool deflection and chatter
- Save time by avoiding re-machining
- Reduce tool wear and extend its lifespan
- Achieve professional-quality results every time
Opt for Coarser Cuts
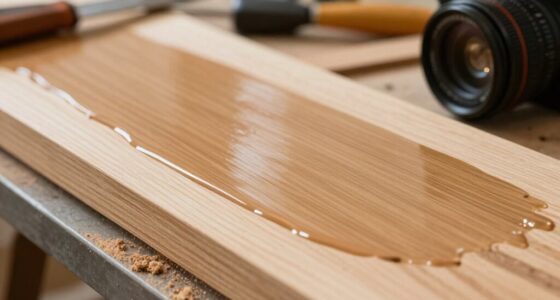
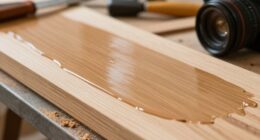
Opting for coarser cuts can substantially reduce mill marks by removing material more quickly and with less surface fatigue. When you choose coarser cuts, the tool engages more material per pass, which helps minimize the appearance of fine lines and tool marks. This method is especially effective when combined with proper cutting parameters, ensuring optimal removal rates and surface quality. This approach creates rougher textures initially, but it’s effective in leveling the surface faster. Coarser cuts also decrease the number of passes needed to achieve a flat finish, saving time and effort. Keep in mind, though, that these rougher textures may require subsequent finishing passes to smooth out the surface. Nonetheless, this technique provides a quick way to address mill marks early in the process, setting a solid foundation for a flatter, cleaner surface with less post-machining work.
Maintain Tool Sharpness
Maintaining sharp tools is essential for minimizing mill marks during milling because dull tools tend to leave uneven, rough surfaces. When your tools stay sharp, you get cleaner cuts, better surface quality, and reduced finishing work. To maximize tool longevity and guarantee ideal performance, regularly use proper sharpening techniques. Keep a keen edge by honing your tools frequently, avoiding unnecessary dulling. Proper sharpening not only improves cut quality but also extends your tool’s lifespan. Regular tool maintenance ensures consistent performance and helps prevent premature wear.

HL New England Original Wood Abrasive – by Hubby Lobby | Wood Refinishing & Polishing Paste
PREMIUM FORMULATION: Super-fine wood abrasive paste designed specifically for achieving ultra-smooth surfaces and professional-grade wood finishing results
As an affiliate, we earn on qualifying purchases.
As an affiliate, we earn on qualifying purchases.
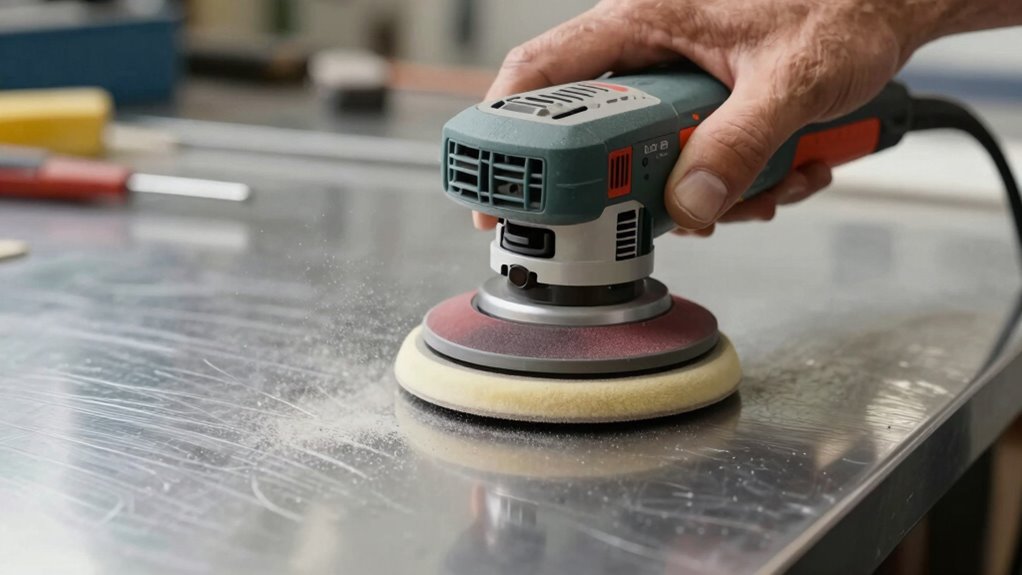
Fast Sanding and Abrasive Methods to Remove Marks Quickly
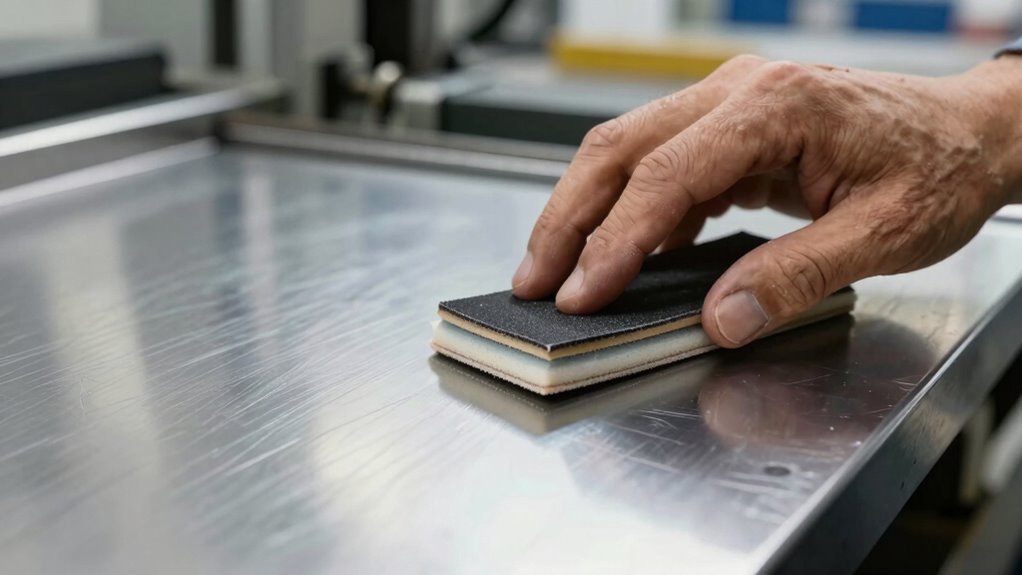
When you need to remove mill marks quickly, fast sanding and abrasive methods are your best options. Start with the right grain selection; coarser abrasive grit removes marks faster but risks deeper scratches. Choose a grit that’s aggressive enough to flatten the surface without causing damage. Use a progression, moving to finer grits for a smoother finish. For optimal results, understanding the contrast ratio of your surface can help determine the necessary level of smoothing to achieve a uniform appearance.
Polishing and Buffing Tips for a Flawless Finish in No Time

After you’ve smoothed the surface with the right abrasive grits, polishing and buffing bring out a flawless, professional finish. Focus on refining the surface texture to achieve mirror-like smoothness. Use soft, clean pads to prevent unnecessary tool wear and maintain consistency. Keep your motions steady and overlapping to avoid streaks and uneven spots. Regularly check your progress and adjust pressure as needed to prevent damage. Remember, patience is key—rushing can compromise the finish. Additionally, understanding wood movement can help you anticipate how the surface will behave over time, ensuring your finish remains impeccable.
- Feel the satisfaction of a perfectly smooth surface
- Enjoy the gleam of a professional-quality shine
- Experience pride in your craftsmanship
- See your work transformed before your eyes
- Achieve stunning results in less time
Troubleshooting Common Problems That Make Mill Marks Hard to Remove
If you’re struggling to remove mill marks, improper sanding techniques and inconsistent milling settings might be be the cause. Poor sanding can leave marks that are tough to eliminate, while uneven milling can create irregular surfaces. Addressing these issues is key to achieving a smooth, flawless finish. Additionally, using the correct ventilation considerations during sanding can improve dust management and safety.
Improper Sanding Techniques
Improper sanding techniques can substantially hinder your efforts to remove mill marks. If you ignore grain direction or choose the wrong sanding grit, you risk making things worse. Sanding against the grain can cause scratches that deepen the marks, while uneven pressure creates inconsistent results. Using the wrong grit may leave rough patches or fail to smooth the surface properly. To avoid these pitfalls, pay attention to the grain direction at all times, and start with a coarser grit before progressing. Additionally, selecting energy-efficient sanding equipment can improve control and reduce surface damage. Be mindful of these common mistakes:
- Ignoring grain direction, causing scratches
- Skipping grits, leading to uneven surfaces
- Applying inconsistent pressure, creating dips
- Using overly aggressive grit, damaging the surface
- Rushing the process, resulting in incomplete removal
Inconsistent Milling Settings
Inconsistent milling settings can substantially complicate the removal of mill marks. When your feed rate isn’t optimized, the cutter either removes too much material too quickly or too slowly, leaving uneven marks. Proper feed rate optimization ensures consistent pressure and smooth cutting. Tool selection also plays a critical role; using the right bit for your material and project minimizes chatter and irregularities. If your tools are dull or inappropriate, you risk uneven cuts that make mill marks harder to eliminate. Always verify your machine’s settings before starting, and adjust feed rates based on material hardness and tool condition. Consistent milling settings lead to a smoother surface, making subsequent removal of mill marks faster and more effective. Proper tool choice and feed rate control are essential for a flat, clean finish. Reliable power sources can also help maintain consistent machine operation, reducing the likelihood of uneven cuts.
Maintenance Tips to Keep Your Equipment Producing Smooth Results

Regular maintenance is essential to guarantee your equipment continues producing smooth, high-quality results. Proper tool maintenance prevents wear and ensures consistent performance, while careful material selection reduces the risk of damaging mill marks. Keep your machinery clean and lubricated to avoid unnecessary friction that causes rough surfaces. Regularly check and replace worn parts to maintain accuracy. Use high-quality tools designed for your specific material to improve finish quality. Additionally, store equipment properly to prevent rust and deformation.
- Feel confident knowing your tools are always ready to deliver perfect finishes
- Experience the pride of flawless, mirror-like surfaces
- Save time and money by avoiding costly repairs
- Enjoy the satisfaction of consistent, professional results
- Keep your equipment running smoothly for years to come
Frequently Asked Questions
Can You Remove Mill Marks Without Sanding?
Yes, you can remove mill marks without sanding by using a grain filler and chemical strippers. Apply a grain filler to fill in the marks, then use chemical strippers to carefully remove any remaining surface imperfections. This method helps achieve a smooth finish without aggressive sanding, saving time and effort. Just guarantee you follow the product instructions closely for the best results and a flat, polished surface.
How Long Does It Typically Take to Eliminate Mill Marks?
Eliminating mill marks? Well, it’s a race against time—usually a few hours to a day, depending on your patience and the tools you choose. Skip sanding and try chemical solutions or sanding alternatives like steel wool or abrasive pads. These methods can speed things up, but don’t expect perfection overnight. Embrace the process, and soon your surface will be as smooth as a buttered dolphin.
Are There Eco-Friendly Methods for Removing Mill Marks?
Yes, there are eco-friendly methods to remove mill marks. You can use eco-friendly solvents that are biodegradable and safe for the environment, ensuring minimal impact. Additionally, biodegradable abrasives effectively smooth surfaces without releasing harmful chemicals. By choosing these sustainable options, you can achieve a flat, polished surface while reducing your environmental footprint. Always follow manufacturer instructions for safe and effective use of these eco-conscious products.
What Safety Precautions Should I Take During Removal?
You should always wear protective gear like goggles, gloves, and a dust mask to shield yourself from dust and debris. Make sure proper ventilation measures are in place to avoid inhaling harmful particles and fumes. Work in a well-ventilated area, use exhaust fans if needed, and take regular breaks to prevent fatigue. These precautions keep you safe while effectively removing mill marks and achieving a smooth surface.
Do Different Materials Require Unique Removal Techniques?
Did you know that using the wrong removal technique can damage up to 30% of certain materials? Yes, different materials need specific removal techniques to avoid harm. You should consider material compatibility before starting, as some surfaces like wood, metal, or plastic require tailored approaches. By selecting the right method, you’ll ensure an effective, safe process that preserves your material’s integrity and achieves a smooth, flat surface efficiently.
Conclusion
Remember, the key to a perfect, flat surface is patience and proper technique. By choosing the right tools, acting quickly, and staying consistent, you’ll minimize or even eliminate mill marks. Don’t forget, “A stitch in time saves nine”—addressing marks early prevents bigger problems later. Keep practicing, and your finishing skills will improve with each project. With the right approach, you’ll achieve flawless results faster than you think.