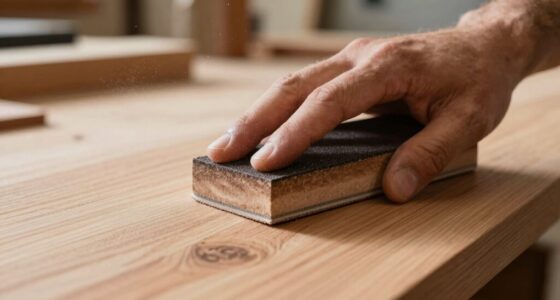
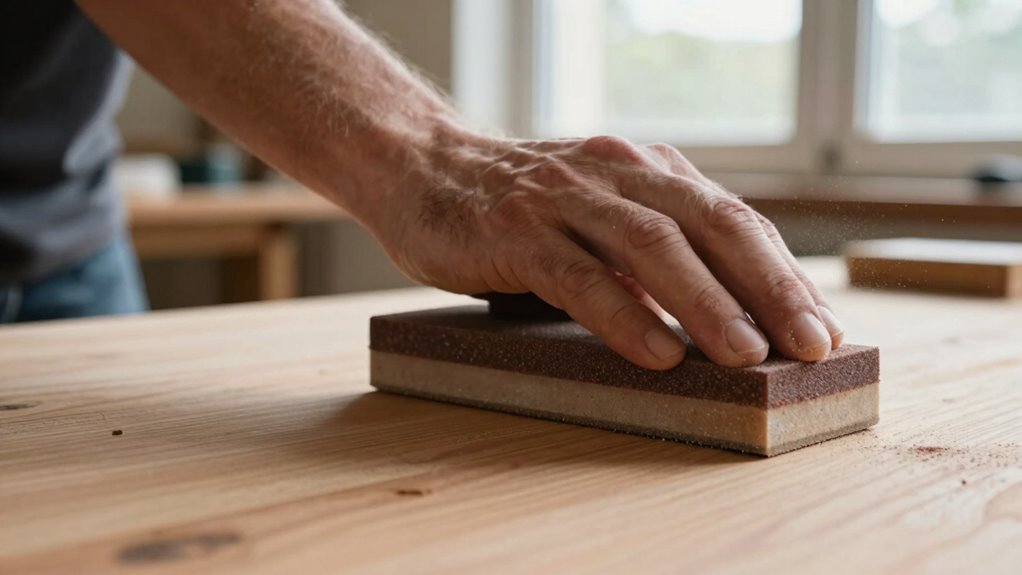
Using a sanding block instead of bare fingers gives you better control, consistent pressure, and a smoother, more even finish. It helps distribute force evenly across surfaces, reduces hand fatigue, and prevents gouges or scratches caused by uneven pressure. Plus, a sanding block conforms slightly to contours, improving contact and results. If you want a professional-looking finish and want to avoid common sanding mistakes, you’ll find more helpful tips as you explore further.
Key Takeaways
- A sanding block provides even pressure, resulting in a smoother, more consistent finish than using bare fingers.
- It offers better control over angle and pressure, preventing gouges and surface irregularities.
- The ergonomic grip reduces hand fatigue during extended sanding sessions.
- Using a block protects fingers from abrasions and irritation from abrasive materials.
- It allows for easier handling and precision, especially on intricate or contoured surfaces.

Milescraft 1622 – Sand-It Multi-Surface Sanding Block. Sand Flat, Concave, Convex & Round Surfaces or Fit into Tight Spaces. Accepts any ¼ Sheet of Sand Paper. 150 Grit Sand Paper Included
4-in-1 sand block
As an affiliate, we earn on qualifying purchases.
As an affiliate, we earn on qualifying purchases.
Why Use a Sanding Block Instead of Bare Fingers?
Using a sanding block instead of your fingers helps you achieve a smoother, more even finish. The ergonomic grip of a good sanding block makes it easier to hold securely, reducing hand fatigue during extended use. Unlike bare fingers, which lack structure, a sanding block provides consistent pressure across the surface, preventing uneven spots. Material flexibility in the block allows it to conform slightly to contours, ensuring better contact and more precise sanding. This helps you control the process better and reduces the risk of gouging or uneven sanding. Plus, a sanding block keeps your fingers safe from abrasions and irritation. Additionally, a sanding block promotes uniform pressure distribution, leading to more professional results than sanding with just your fingers.

2 Pack 5 Inch Hand Sanding Blocks Round and Mouse-Shaped for 5 Inch Hook and Loop Discs Ideal For Wood Furniture Restoration Home Arts and Crafts
★【Round & Mouse-Shaped Hand Sanding Blocks】: Work with standard 5 inch sander discs.
As an affiliate, we earn on qualifying purchases.
As an affiliate, we earn on qualifying purchases.
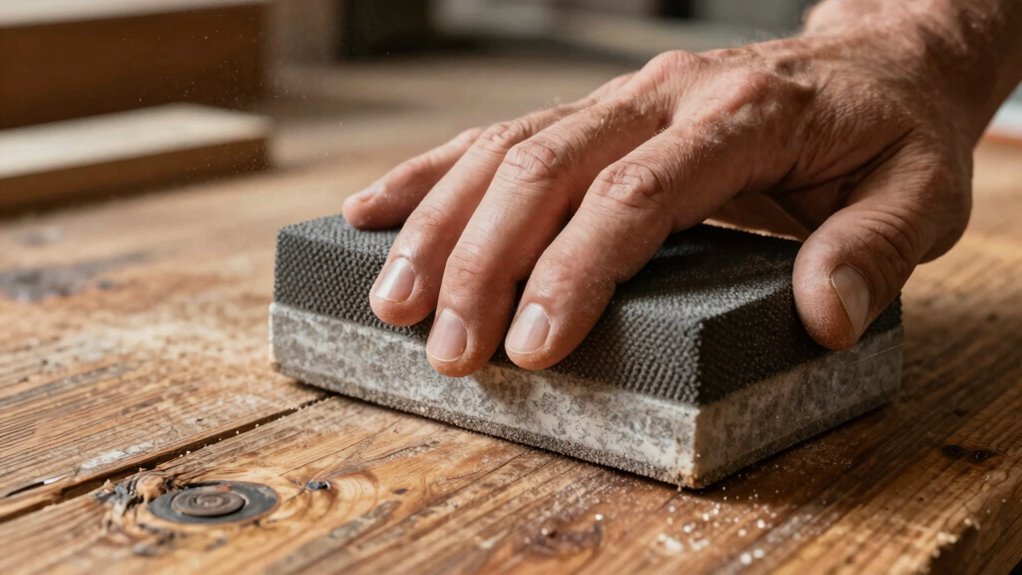
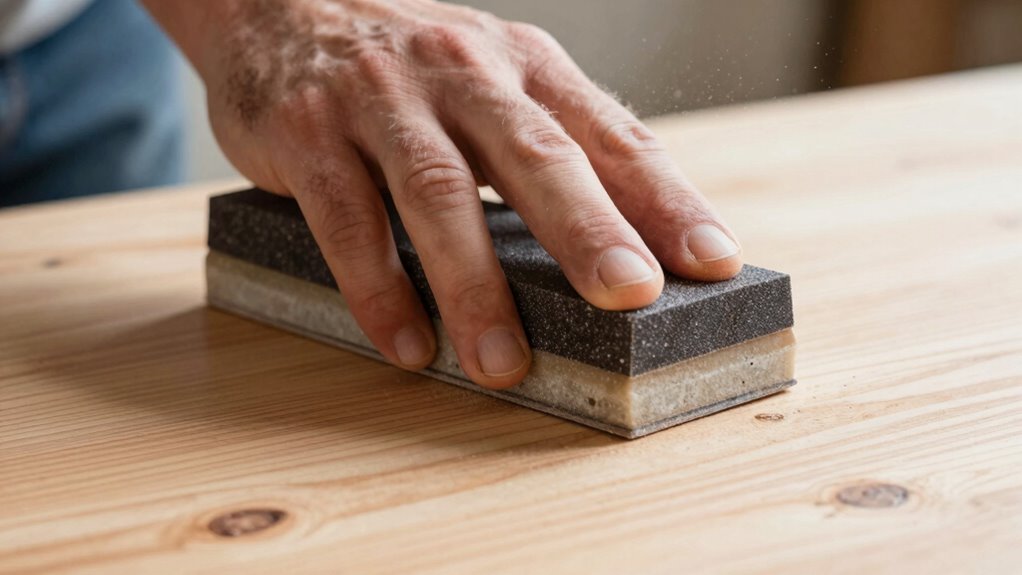
How a Sanding Block Gives You Better Control and Even Pressure

A sanding block improves your control and guarantees even pressure because it distributes force uniformly across the surface you’re working on. When you use your fingers alone, you often experience finger fatigue, which can lead to inconsistent sanding. A block helps you apply steady, even pressure, reducing the risk of creating uneven pressure that can mar your finish. With a firm grip on the block, you gain better control over the angle and pressure, making it easier to sand smoothly and accurately. This consistency results in a more professional-looking surface. Plus, because the force is spread evenly, you won’t have to worry about accidentally applying too much pressure with your fingers, which can cause gouges or uneven sanding. Proper force distribution ensures a more uniform and efficient sanding process.

Dura-Block Set 6pc – Flexible EVA Foam Wet or Dry Autobody Sanding Blocks Kit for Automotive Bodywork
[Durablock Difference]: The flexible large sanding surface area ensures even smoothing for your project with the Durablock Auto…
As an affiliate, we earn on qualifying purchases.
As an affiliate, we earn on qualifying purchases.
Step-By-Step: Hand Sanding With a Block for a Smooth Finish

To get a smooth finish, start by preparing your sanding block properly to guarantee even pressure. Then, use the correct sanding technique, applying consistent, gentle strokes. With these steps, you’ll achieve professional-looking results that make your project stand out. Incorporating free floating techniques can also help you achieve a more even surface by reducing pressure on specific areas.
Prepare Your Sanding Block
Before you start sanding, it’s important to prepare your sanding block properly. Confirm the surface is clean and the pad or foam is intact for ideal sanding techniques. Wrap the sandpaper securely around the block, smoothing out wrinkles to prevent uneven results. Proper preparation improves tool ergonomics, reducing fatigue and increasing control. Use the following table to check your setup:
| Step | Action | Tip |
|---|---|---|
| 1 | Choose the right grit | Match to surface needs |
| 2 | Affix sandpaper securely | Use a firm, even stretch |
| 3 | Inspect for wrinkles | Smooth out for even pressure |
| 4 | Test the grip | Ensure comfortable handling |
| 5 | Confirm attachment stability | Prevent slipping during use |
This preparation helps you achieve consistent, smooth results while protecting your hands and improving overall sanding techniques. Additionally, ensuring your sanding technique is proper can greatly enhance the quality of your finish.
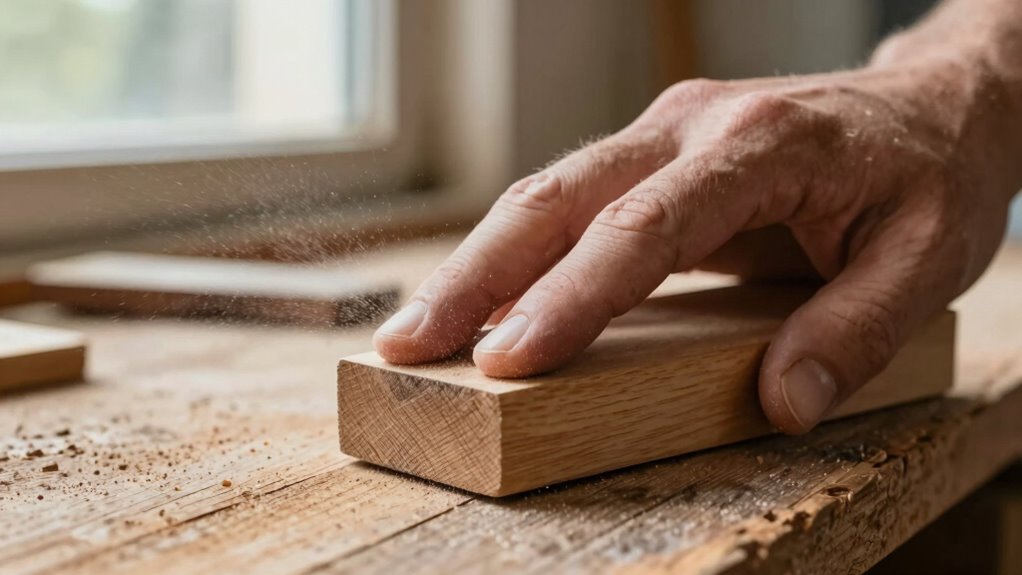
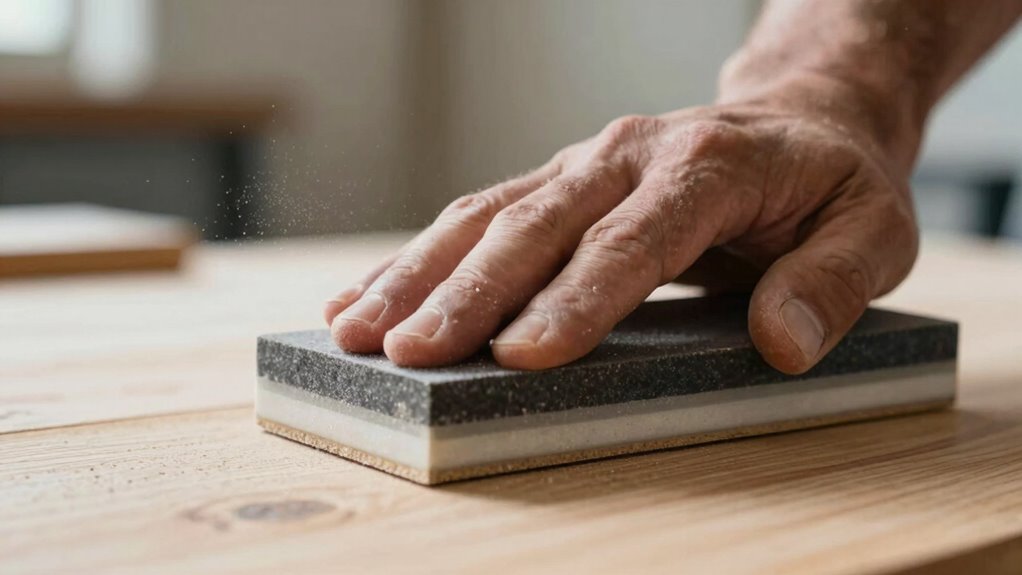
Proper Sanding Technique
Once your sanding block is prepared, you can begin applying it correctly to achieve a smooth, even finish. Hold the block firmly with your hand, keeping your wrist steady, and move it in long, consistent strokes along the surface. Use moderate pressure to avoid gouging or uneven sanding. Prioritize sanding safety by wearing a mask and working in a well-ventilated area to control dust. Dust control is essential to prevent inhalation and keep your workspace clean. Regularly check your progress, ensuring you’re sanding evenly. Keep the sanding surface clean by wiping off dust with a tack cloth or damp rag. This technique promotes a professional finish and reduces the risk of scratches or uneven spots, making your project look polished and refined. Additionally, understanding proper technique, including consistent pressure and movement, can significantly improve your results.
Achieve Smooth Results
Achieving a smooth finish with your hand sanding block requires careful, deliberate motion. Keep sanding safety in mind by maintaining steady pressure and avoiding excessive force, which can gouge the surface or create uneven spots. Use consistent, even strokes across the entire area to ensure uniform results. Regularly inspect and clean your hand tool to prevent debris buildup that can affect performance. Proper hand tool maintenance, like replacing worn-out pads or re-aligning the block, helps attain ideal results. Take your time, and don’t rush through the process; patience is key to a flawless, smooth surface. Being aware of surface preparation techniques ensures that your sanding achieves professional-quality results. By combining controlled technique with attentive tool maintenance, you’ll produce a professional-quality finish that’s free of scratches or imperfections.

Hand Sanding Block Set of 16,Interchangeable Assorted Contoured Profile Sanding Pad Kit,Hook and Loop Abrasive Sanding Chassis for Sand Wood Furniture, Auto Paint and Crafts,Red
Hand Sanding Block Set:This Sanding Block Set includes 16 sanding blocks in assorted shapes, each 3.8 inches long,…
As an affiliate, we earn on qualifying purchases.
As an affiliate, we earn on qualifying purchases.
How to Choose the Right Sanding Block for Your Project

Choosing the right sanding block depends on your project’s specific needs and the surface you’re working on. First, consider grain selection; different grains are suited for various materials and finish qualities. Fine grains work best for smooth surfaces, while coarser grains remove material quickly. Next, look for an ergonomic design that fits comfortably in your hand, reducing fatigue during extended sanding sessions. A well-designed block provides even pressure and control, helping you achieve a consistent finish. Think about the size and shape of the block too—larger blocks cover more area, but smaller ones offer precision for detailed work. Additionally, vintage design and retro-inspired tools can add a unique touch to your projects and complement your decor style. Ultimately, selecting a sanding block that matches your project’s requirements makes the process easier, more comfortable, and results in a superior finish.
Tips to Prevent Common Mistakes When Sanding by Hand
To get the best results, you need to keep your pressure steady and consistent as you sand. Using the right grit of sandpaper for each stage prevents scratches and uneven surfaces. Pay attention to these details to avoid common mistakes and achieve a smooth finish. Additionally, understanding power tool safety practices ensures you work efficiently and minimize accidents during hand sanding.
Maintain Consistent Pressure
Maintaining consistent pressure while hand sanding is essential for achieving an even, smooth finish. When you apply steady pressure, your sanding becomes more uniform, preventing uneven spots or gouges. Focus on pressure consistency; avoid pressing too hard or too lightly, which can lead to inconsistent results. Keep your grip stable on the sanding block to maintain control and prevent slipping. A firm, steady grip helps distribute pressure evenly across the surface. As you move the block, monitor your force—too much pressure can create scratches, while too little slows the process. Practice maintaining a balanced grip and even pressure throughout each stroke. Understanding sanding techniques and how pressure impacts your work can help you achieve a professional-looking surface and reduce the need for additional sanding corrections later.
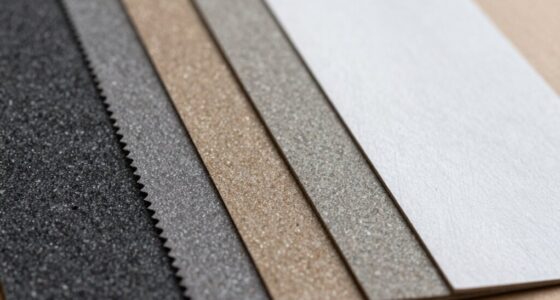
Use Proper Sandpaper Grit
Using the correct sandpaper grit is essential to achieving a smooth, professional finish. Your choice of abrasive paper impacts how effectively you remove material and prepare the surface for finishing. Start with a coarser grit, like 80 or 120, to shape and smooth rough areas. Then, gradually move to finer grits, such as 220 or higher, to refine the surface and eliminate scratches. Proper grit selection prevents uneven results and reduces the risk of damaging your workpiece. Always match the grit to the task: skip unnecessary coarse grits if the surface is already smooth, and avoid jumping to fine grits too soon. Consistent use of appropriate abrasive paper ensures a more even, polished finish with less effort and fewer mistakes. Additionally, understanding the importance of material removal rate helps you choose the right grit for efficient sanding and optimal results.
When and Why to Use Hand Sanding Versus Power Sanders
While power sanders are efficient for large, flat surfaces, there are times when hand sanding with a block is the better choice. If you’re working on detailed areas, corners, or delicate finishes, hand sanding offers better control and precision. It also allows you to avoid the risks associated with power sanding, such as gouging or uneven surfaces, which can compromise sanding safety. Use hand sanding when you need to refine edges or smooth small, intricate areas where a power sander might be too aggressive. Power sanding works well for quickly removing material on broad surfaces, but for detailed work or gentle finishing, hand sanding with a block ensures you maintain better control and achieve a smoother, more consistent surface.
How Proper Technique Improves Surface Quality and Reduces Irregularities
Applying proper hand sanding techniques is essential for achieving a smooth, even surface and minimizing imperfections. Your sanding technique directly impacts surface smoothness, ensuring you remove rough spots without creating new ones. Use consistent, even pressure and maintain a steady, circular or linear motion to avoid gouges or uneven areas. Keep the sanding block flat against the surface to distribute force uniformly. Regularly check your progress and adjust your grip as needed to prevent over-sanding in one spot. Proper technique reduces irregularities by preventing scratches, uneven spots, and sanding marks. Taking your time and focusing on controlled, deliberate movements results in a better finish. With the right approach, you’ll improve surface smoothness and achieve a professional-quality result with less rework.
Final Tips for Achieving a Professional Finish With Hand Sanding
To achieve a professional finish with hand sanding, paying attention to detail throughout the process is essential. Maintain an ergonomic grip on your sanding block to reduce fatigue and improve control, ensuring consistent pressure and smooth strokes. Always check that your sandpaper is compatible with the material you’re working on; using the wrong grit or type can damage the surface or hinder progress. Work through progressively finer grits, cleaning the surface between changes to remove debris that can cause scratches. Keep your hand movements steady and overlapping to prevent irregularities. Regularly inspect your work for evenness, adjusting your technique as needed. These final tips help you achieve a polished, professional look while reducing the risk of mistakes.
Frequently Asked Questions About Hand Sanding With a Block

Are you often unsure about the best way to hand sand with a block or how to avoid common mistakes? Many ask about proper sanding ergonomics and how to reduce hand fatigue. To prevent discomfort, keep your wrist straight and use your arm to guide the block, not just your hand. This helps distribute pressure evenly and minimizes strain. Choosing the right grip and applying consistent, light pressure also improves results and reduces fatigue. If you notice hand fatigue setting in, take short breaks frequently. Using a comfortable, non-slip handle or padding can make sanding easier and more ergonomic. Remember, proper technique not only enhances your finish but also protects your hands from unnecessary strain. These tips keep your sanding efficient and comfortable.
Frequently Asked Questions
Can Hand Sanding With a Block Remove Deep Scratches Effectively?
Yes, hand sanding with a block can effectively remove deep scratches. The block helps you control grain removal more precisely, allowing you to target scratches and blend them smoothly into the surrounding surface. By applying even pressure, you can gradually repair scratches while minimizing damage to the rest of the material. This method offers better control and results in a cleaner, more professional finish compared to using your bare fingers.
How Long Does It Typically Take to Sand a Large Surface Area by Hand?
You’ll typically spend about 30 minutes to a few hours sanding a large surface, depending on the material and desired smoothness. To improve efficiency, keep your sandpaper organized, use consistent pressure, and work in overlapping strokes. Taking short breaks helps maintain control and reduces fatigue, ensuring a more even finish. Remember, patience pays off; rushing can lead to uneven results and extra work later.
Is Hand Sanding Suitable for All Types of Wood or Other Materials?
Sure, hand sanding is versatile, but don’t expect it to work wonders on every wood type or material. You’ll find it suitable for soft woods like pine or cedar, yet struggle with dense hardwoods or tricky materials like plastics or metals. Material compatibility varies, so always test first. If you’re tackling exotic or delicate surfaces, consider alternative methods—hand sanding isn’t a one-size-fits-all magic wand.
What Safety Precautions Should I Take When Hand Sanding?
When hand sanding, always wear personal protective equipment like a dust mask and safety goggles to protect your lungs and eyes. Guarantee proper dust control by working in a well-ventilated area and using a dust extraction system if possible. Keep your hands steady and avoid excessive pressure to prevent injury. Taking these precautions helps you stay safe, minimizes dust inhalation, and results in a smoother, safer sanding experience.
Can Hand Sanding With a Block Be Used for Finishing Painted or Varnished Surfaces?
Think of hand sanding with a block like smoothing a delicate sculpture—you can refine painted or varnished surfaces without damaging them. It’s perfect for finishing varnish or sanding paint, as it offers controlled pressure and prevents scratches. I once used a block to restore a glossy finish on furniture, and it made all the difference. Using a block guarantees a smooth, professional finish, unlike bare fingers which can create uneven spots.
Conclusion
Using a sanding block turns your hand sanding into a steady ship steering rough waters, guiding you to a smooth, professional finish. It offers control, even pressure, and reduces mistakes—making your project feel less like a gamble and more like a craft. Embrace the technique, and you’ll find your surface transforming from a rugged landscape into glassy calm. With patience and the right tools, your sanding journey becomes a smooth sail to perfection.