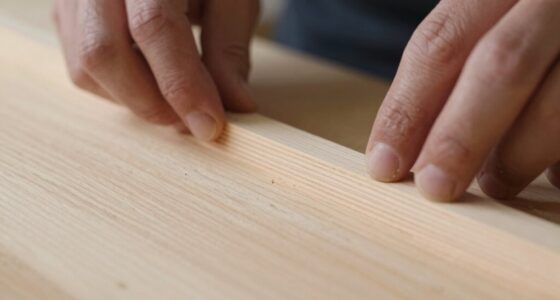

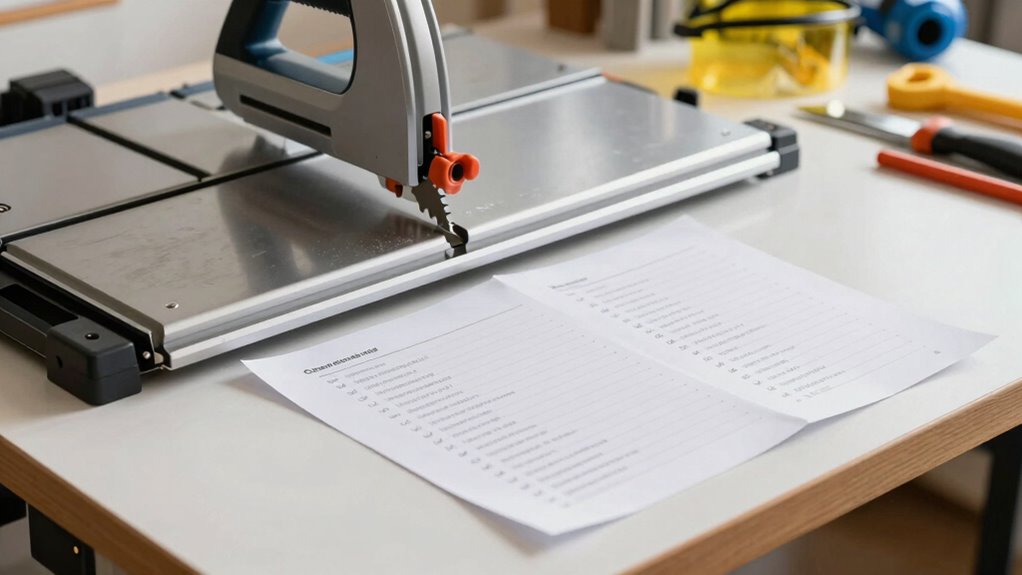
To instantly improve every cut, guarantee your table saw is properly set up and maintained. Verify stability by leveling the saw and tightening bolts. Align the blade for perpendicularity and adjust the tilt for angled cuts. Set the blade height just above the material. Calibrate the rip fence and miter gauge for accuracy. Regularly sharpen and clean the blade, and test your setup on scrap wood. Keep up with these steps, and you’ll master precise cuts every time. Want to know more?
Key Takeaways
- Regularly calibrate the rip fence, miter gauge, and blade alignment for precise, straight cuts.
- Ensure the saw is securely mounted, level, and stable to prevent drift and inaccuracies.
- Check and adjust blade tilt, height, and perpendicularity before each use for optimal performance.
- Maintain a clean dust collection system and lubricate moving parts to enhance safety and accuracy.
- Perform routine inspections and blade replacements to ensure clean cuts and reduce rework.

Neoteck 0-1'' Digital Dial Indicator Table Saw Gauge Suitable for Table Saws with a Groove Width of 3/4" (19mm) or More for Aligning and Calibrating Work,Shop Machinery,Band Saw and Drill Press-Black
【Professional Table Saw Gauge】Neoteck table saw gauge is designed according to the standard miter grooves(3/8 inch x 3/4…
As an affiliate, we earn on qualifying purchases.
As an affiliate, we earn on qualifying purchases.
Why Proper Table Saw Setup Ensures Accuracy and Safety
Properly setting up your table saw is essential because it directly impacts both the accuracy of your cuts and your safety. A well-calibrated saw ensures your measurements are precise, reducing material waste and rework. Using dust collection accessories helps keep your workspace clean, preventing dust buildup that can impair visibility and cause slipping hazards. Safety accessories, like push sticks and blade guards, should be correctly installed and used every time, reducing the risk of accidents. When your saw is properly aligned, dust is effectively contained, and safety features function correctly, you create a safer environment. Additionally, understanding the contrast ratio of your saw’s lighting and blades can help improve your work visibility and cut precision. Regularly verifying saw calibration ensures ongoing accuracy and safety, preventing errors before they happen. This setup not only improves cut quality but also minimizes the chances of injury, making your woodworking experience more efficient and secure.

Rip Fence for Ryobi RTS10G, RTS10NS 10" Table Saw – 089040002702
Genuine OEM Ryobi Replacement Rip Fence
As an affiliate, we earn on qualifying purchases.
As an affiliate, we earn on qualifying purchases.
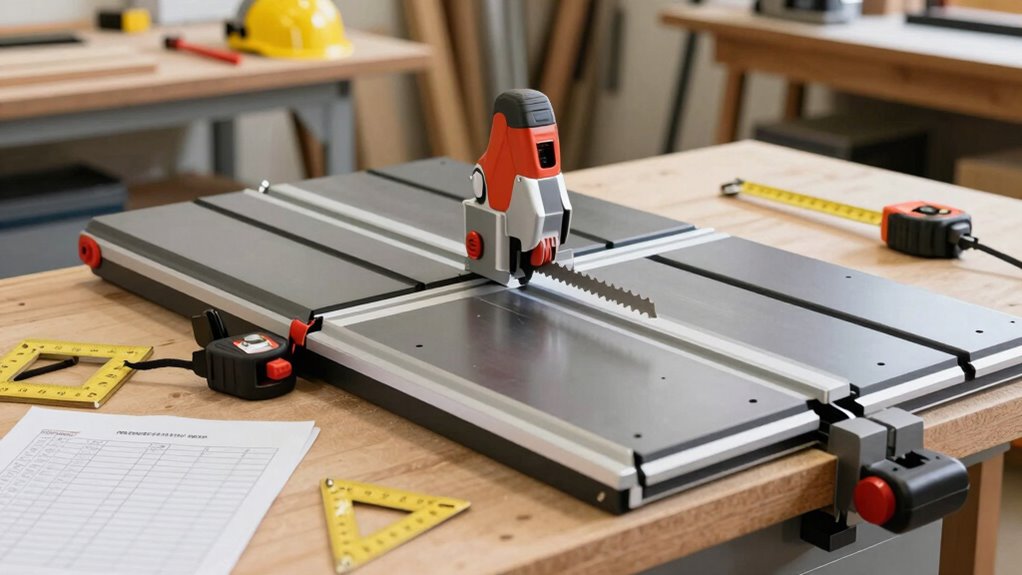
Check Your Saw’s Stability and Level Before Starting
Before you start cutting, it’s essential to verify that your saw is stable and level. An unstable or uneven saw can cause dangerous kickbacks and inaccurate cuts. Ensure the saw is securely mounted to a sturdy work surface, and check that the base is flat and level using a carpenter’s level. Proper stability minimizes movement during operation, enhancing safety precautions. Also, confirm that dust collection ports and attachments are properly fitted, as dust buildup can affect stability and visibility. Clear the area of debris and ensure nothing obstructs the saw’s base or moving parts. Taking these steps before each use helps maintain safe, precise cuts and prolongs your equipment’s lifespan by reducing unnecessary strain. Additionally, regularly inspecting tool stability and making necessary adjustments can prevent equipment failure and ensure consistent performance. Regular equipment maintenance not only extends the lifespan but also contributes to overall safety. Remember, consistent safety checks ensure all components are functioning correctly and reduce the risk of accidents. Performing routine stability assessments can help catch issues early before they compromise your work or safety.
table saw miter gauge
As an affiliate, we earn on qualifying purchases.
As an affiliate, we earn on qualifying purchases.
How to Check and Align Your Blade for Precise Cuts
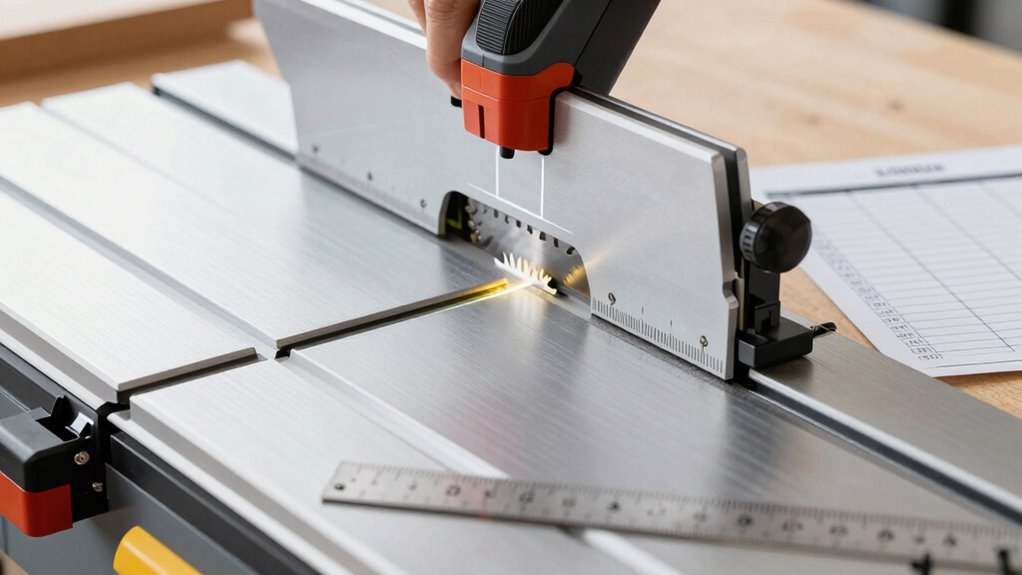
To make certain your cuts stay accurate, you need to check and align your blade properly. Start by inspecting the blade alignment techniques to make sure it’s parallel to the miter slot and rip fence. Also, verify the blade’s perpendicularity to the table surface for consistent, precise cuts.
Blade Alignment Techniques
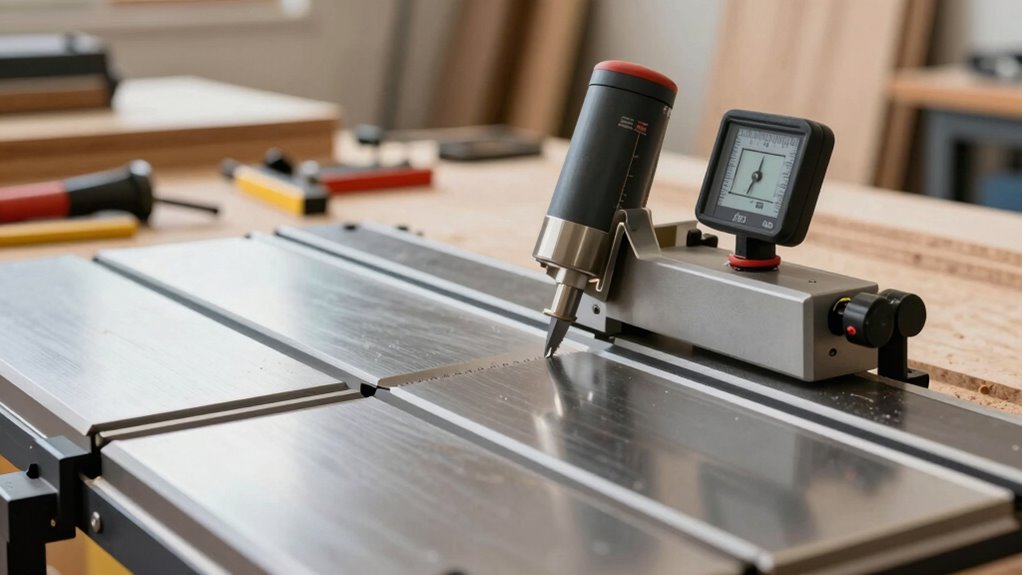
Ensuring your blade is accurately aligned is essential for making precise cuts and maintaining safety. Start by turning off your saw and disconnecting it from power. Use a combination square or a dial indicator to check the blade’s tilt and bevel angles, confirming they match your measurements or manufacturer’s specifications. Confirm that the blade is parallel to the miter slot by measuring from the blade’s edge to the slot at multiple points. Proper alignment minimizes kickback and ensures clean cuts. When checking alignment, pay attention to the blade’s position relative to the fence, which is crucial for consistency. While working, always wear safety gear, including eye and ear protection. Additionally, keep your dust collection system active to reduce debris, which can obscure your view of the blade and alignment marks. Proper blade alignment is a foundation for safe, accurate woodworking.
Verifying Blade Perpendicularity
Verifying that your table saw blade is perfectly perpendicular to the tabletop is essential for making accurate cuts. An angled blade can cause uneven or beveled cuts, impacting your project’s precision. To check, remove the blade guard for clear access and ensure dust collection pathways aren’t obstructed. Use a square or a dial indicator to assess the blade’s angle relative to the table surface. Adjust the blade height and alignment screws until the blade sits at a perfect 90 degrees. Proper blade perpendicularity is crucial for achieving clean, straight cuts every time.

MICROJIG BLADECLEAN Saw Blade Router Bit Cleaning Kit System, Woodworking Tools Accessories, BC-81012
FAST BLADE CLEANING SYSTEM: Clean router bits and saw blades from 7-1/4" to 12" in under a minute…
As an affiliate, we earn on qualifying purchases.
As an affiliate, we earn on qualifying purchases.
Set the Blade Height and Tilt Correctly for Different Cuts
Adjusting the blade height and tilt correctly is essential for making accurate and safe cuts. For different cuts, you’ll need to set the blade tilt precisely, affecting the kerf width and cut angle. For crosscuts or angled cuts, tilt the blade accordingly, ensuring you don’t go beyond the maximum tilt to maintain safety. When making rip cuts or beveled cuts, adjust the blade height so it just clears the material, reducing kickback and ensuring clean edges. Proper blade height also helps control the kerf width, minimizing waste and improving precision. Always double-check your settings before making cuts, and remember that small adjustments can make a big difference in cut quality and safety. Proper setup guarantees your cuts are accurate, clean, and safe every time.
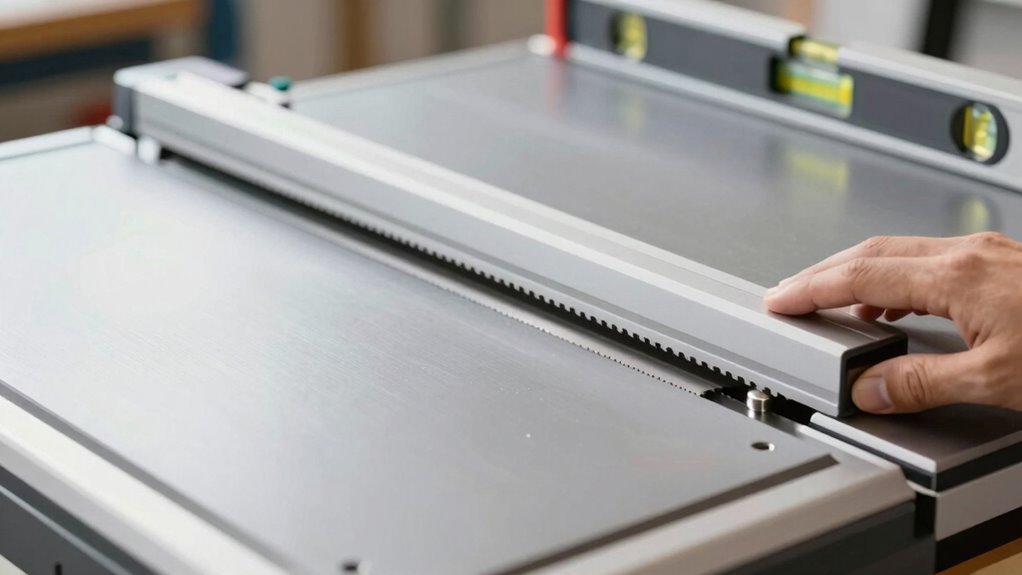
Adjust the Rip Fence for Straight, Consistent Cuts
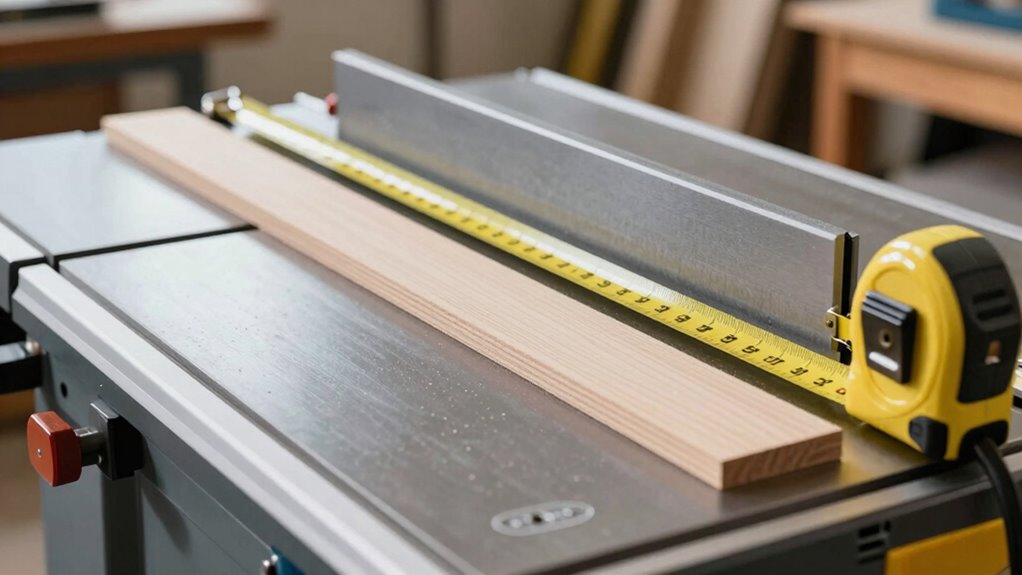
To achieve straight, consistent cuts on your table saw, start by properly aligning the rip fence parallel to the blade. This guarantees your ripping techniques produce accurate, clean cuts every time. Regular fence maintenance is key—check for any looseness or misalignment before each use. Use a combo square or a ruler to verify the fence’s position at the desired measurement, then lock it in securely. For ideal results, periodically recheck the fence’s alignment, especially after moving or bumping it. Properly adjusted fences help prevent kickback and ensure smooth operation. Here’s a quick reference:
| Step | Action |
|---|---|
| 1 | Check fence parallelism with blade |
| 2 | Tighten fence clamps securely |
| 3 | Reverify alignment regularly |
This keeps your fence in top condition for accurate cuts. Consistent setup is essential for safe and precise woodworking.
Calibrate Your Miter Gauge for Accurate Angles
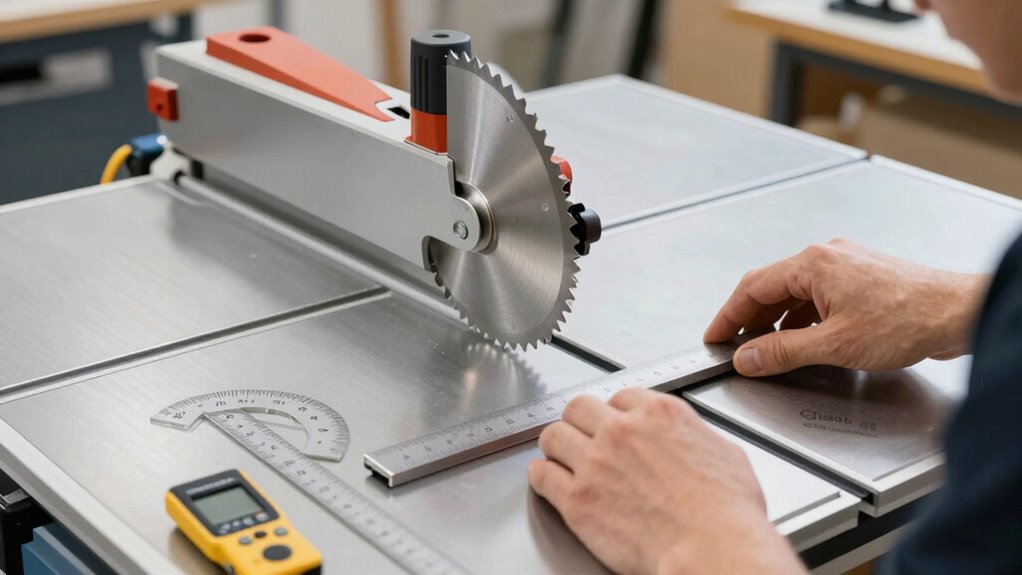
Have you ever noticed your miter cuts aren’t quite meeting at the correct angles? If so, it’s time to check your miter gauge calibration. Accurate miter angles depend on precise calibration using reliable angle measurement tools. Start by securing your miter gauge firmly in the slot, then use a square or digital angle finder to verify its settings. Adjust the gauge until the measured angle matches your desired cut, ensuring it’s locked in securely. Regular calibration is essential, especially after moving or bumping the gauge. Properly calibrated miter gauges help you make precise, repeatable cuts, saving time and reducing waste. Take a few minutes to fine-tune your setup now, and you’ll notice immediate improvements in your miter accuracy.
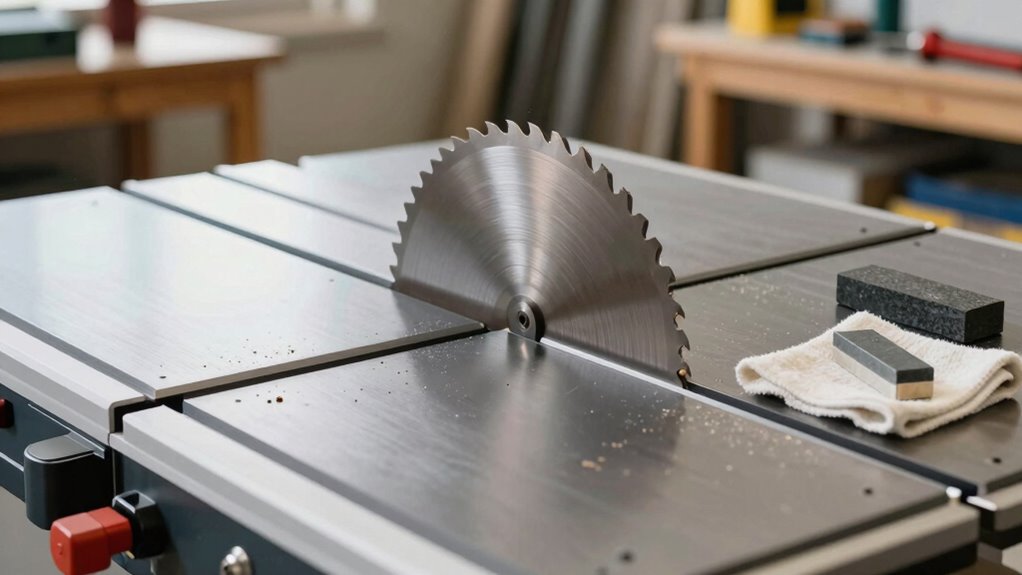
Sharpen and Clean Your Blade for Better Results
Keeping your blade sharp and clean is essential for precise cuts and safety. You should use proper sharpening techniques to restore its edge and remove any buildup that can cause tear-out. Regular cleaning with effective methods guarantees your blade stays in top condition for the best results. Incorporating multi-functional gear into your maintenance routine can help save time and ensure all tools are prepared for use. Additionally, paying attention to essential oil properties can aid in choosing suitable lubricants or cleaning agents that preserve your blade’s integrity. Using eco-friendly cleaning agents not only benefits the environment but also helps maintain your tools’ longevity and performance. Understanding the environmental impact of cleaning agents helps in selecting eco-friendly options that support sustainable backyard practices. For example, selecting biodegradable cleaning solutions can minimize environmental harm while maintaining your tools’ performance.
Proper Blade Sharpening Techniques
Ensuring your blade is properly sharpened and cleaned is essential for achieving precise cuts and extending its lifespan. Start by inspecting the blade’s teeth and determine if sharpening is needed based on dullness or burn marks. Use the correct sharpening stones suited for your blade materials—diamond or carbide-tipped blades require specific tools. Secure the blade and carefully run the sharpening stone along each tooth, maintaining the original bevel angle. Consistent, even strokes help restore sharpness and smoothness. After sharpening, clean the blade thoroughly to remove metal debris and pitch buildup. Proper honing not only improves cut quality but also reduces strain on your saw motor, leading to safer, more efficient operation. Regular maintenance keeps your blade in ideal condition.
Effective Blade Cleaning Methods
To achieve ideal cutting performance, it’s essential to regularly clean your table saw blade to remove pitch, resin, and metal debris. A clean blade reduces friction, prevents kickback, and extends blade life. Use safety gear like gloves and eye protection before cleaning. For effective cleaning, consider these methods:
- Use a dedicated blade cleaner or solvent to dissolve built-up residue
- Scrub the blade with a brass brush or stiff nylon brush
- Rinse with water and dry thoroughly to prevent rust
- Utilize dust collection systems during cleaning to contain debris
- Inspect the blade for damage or dullness and sharpen as needed
Proper cleaning, combined with effective dust collection, ensures safer operation and cleaner cuts, enhancing your overall woodworking experience.
Test Your Setup Before Cutting Real Material
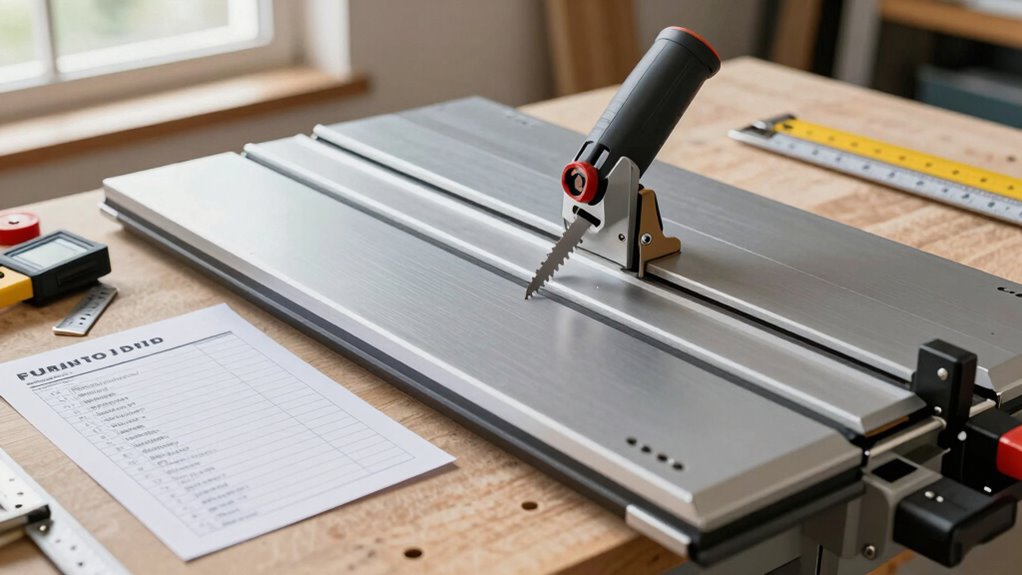
Before cutting into your actual material, it’s essential to test your setup thoroughly. Start by making a few test cuts on scrap wood similar to your project. Check that your saw blade types are properly aligned and that the blade height and angle are accurate. Confirm your rip fence and miter gauge are securely positioned for straight, precise cuts. Pay attention to dust collection; clear any sawdust that may interfere with visibility or safety. Observe how the saw performs—listen for unusual sounds or vibrations. Verify that cuts are clean and consistent. Testing helps identify issues before wasting expensive material. This step guarantees your table saw is properly calibrated, so your final cuts will be accurate, safe, and professional-looking. Proper setup is crucial to achieving high-quality results and ensuring safety during operation.
Maintain Your Table Saw for Long-Term Precision
Regular maintenance keeps your table saw performing at its best over time. To guarantee long-term precision, focus on blade safety and dust collection. Regularly inspect and replace the blade to maintain clean, accurate cuts. Keep the blade aligned and at the correct tension for ideal performance. Clean the dust collection system to prevent buildup that can affect the saw’s accuracy and safety. Lubricate moving parts to reduce wear and improve smooth operation. Lastly, tighten all bolts and adjustments to prevent drift during cuts. Additionally, maintaining proper luggage & bags can help transport tools safely to your workspace. Implementing effective filtration and pump protection ensures your tools stay in optimal condition and reduces the risk of equipment failure. Regularly checking and updating your maintenance routines will further extend the lifespan and performance of your table saw, especially by paying close attention to dust extraction systems, which are crucial for safety and precision. Incorporating regular calibration can also help maintain cutting accuracy over time.
Frequently Asked Questions
How Often Should I Recheck My Table Saw’s Alignment?
You should recheck your table saw’s alignment every few weeks or after heavy use, especially if you notice uneven cuts or increased blade tension issues. Regularly inspecting the blade tension ensures precise cuts, while checking dust collection helps maintain peak performance. Don’t forget to verify the fence alignment and miter gauge for safety and accuracy. Staying proactive keeps your saw functioning smoothly and extends its lifespan.
What Safety Gear Is Recommended During Setup?
You should always wear safety glasses and hearing protection during setup to keep yourself safe. Safety glasses shield your eyes from flying debris, while hearing protection reduces noise exposure. Make sure these are comfortable and fit well before you start working. Wearing the right safety gear not only keeps you protected but also helps you focus on fine-tuning your table saw for precise cuts. Never skip these essential safety precautions.
Can I Use a Digital Level for Setup Calibration?
Did you know that using precise calibration tools can improve your cuts by up to 30%? Yes, you can definitely use a digital level for setup calibration. It offers quick, accurate readings and is easy to use, making your adjustments more reliable. A digital level helps ensure your table saw is perfectly aligned, leading to cleaner cuts and safer operation. Just make sure it’s properly adjusted for the best results.
How Do I Troubleshoot Uneven or Rough Cuts?
To troubleshoot uneven or rough cuts, first check if your blade needs sharpening, as dull blades cause rough cuts. Next, make certain your dust collection system is working properly to keep the cut line clear of debris. Also, verify that your fence and blade are properly aligned using a digital level. Regular maintenance and calibration will help you achieve smooth, accurate cuts every time.
Is It Necessary to Calibrate After Moving the Saw?
Moving your saw is like shifting a compass; it can throw off your setup accuracy. It’s a good idea to calibrate your table saw after any move to guarantee precise cuts. Regular calibration frequency depends on how often you use it, but even small adjustments can make a big difference. This keeps your setup accurate and your cuts smooth, saving you time and material waste in the long run.
Conclusion
Think of your table saw as the compass guiding your craftsmanship. When you set it up right, every cut becomes a trusted path, leading to projects that stand the test of time. A well-tuned saw isn’t just about safety or precision—it’s about respecting the journey of your work. Keep your setup steady and aligned, and you’ll always find your way to perfection, no matter how complex the design.