To avoid gaps when using a miter saw, start by properly calibrating and aligning the blade with the fence, ensuring it cuts squarely. Measure and mark your material carefully, then securely clamp it to prevent shifting. Use sharp blades suited for your material and set your angles precisely. Maintain steady feed pressure and consistent speed during the cut. If you want to improve your technique and achieve flawless results, exploring further tips can make a real difference.
Key Takeaways
- Ensure the blade is properly aligned perpendicular to the fence and calibrated for accurate cuts.
- Securely clamp the material to prevent shifting during cutting.
- Use a sharp, suitable blade for your material to prevent splintering and gaps.
- Verify and set the correct miter and bevel angles before cutting, testing on scrap if needed.
- Maintain consistent cutting speed and pressure to minimize blade deflection and ensure a clean, gap-free cut.

ALLmeter Digital Table Saw Alignment Gauge,Straight-Through Chute Design 0-1 Inch Dial Indicator,3/4"(19mm) CNC Machined Aluminum Bar,for Blade/Fence/Arbor Alignment | Fits Saws with ≥3/4" Miter Slots
Professional-Grade High Precision: Equipped with a digital dial indicator offering exceptional accuracy of 0.0005" (0.01mm), ensuring flawless alignment…
As an affiliate, we earn on qualifying purchases.
As an affiliate, we earn on qualifying purchases.
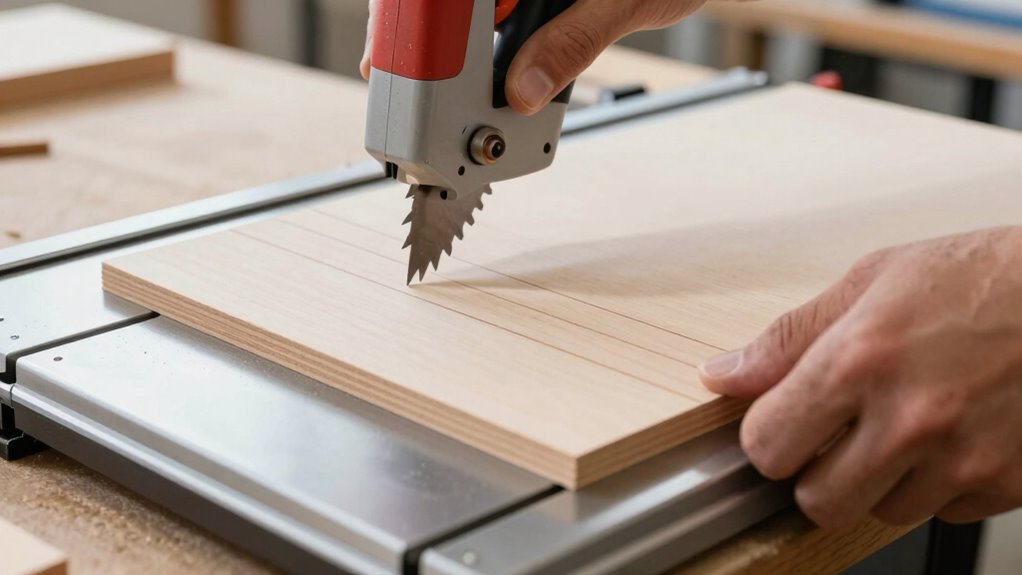
Why Do Gaps Happen When Cutting With a Miter Saw?

Gaps often occur when cutting with a miter saw because the cuts aren’t perfectly aligned or the material shifts during the process. One common issue is blade deflection, where the blade bends slightly under pressure, causing an uneven cut. This can happen if you use a blade that’s dull or not suited for the material. Additionally, cutting speed plays a role; if you push the saw too quickly, it increases blade deflection and reduces control, resulting in gaps. To minimize these issues, keep your blade sharp, avoid rushing through cuts, and ensure your material is securely clamped. Proper handling and attention to cutting speed help maintain accuracy and prevent gaps caused by blade deflection or misalignment during the cut.

Precision Mitre Saw Blade 550mm 14tpi Wood/Metal Hardened Teeth SIL284
Total Length: 550mm
As an affiliate, we earn on qualifying purchases.
As an affiliate, we earn on qualifying purchases.
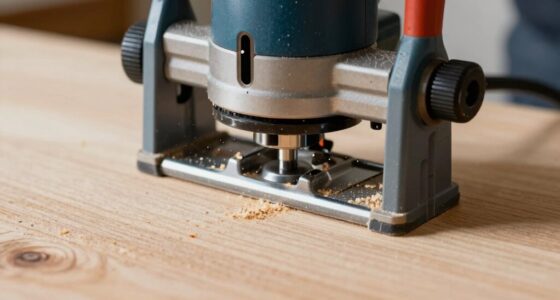
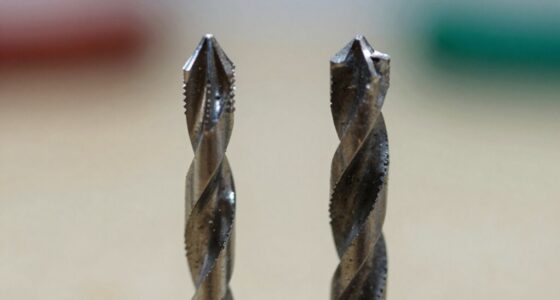
How to Choose the Right Miter Saw and Blade for Precise Cuts

Choosing the right miter saw and blade is essential for achieving precise cuts, especially when working on detailed projects. Select a saw that matches your material type—compound or sliding saws offer versatility. For blades, consider the material you’ll cut: crosscut blades for finished wood, or combination blades for general use. Proper blade maintenance is crucial to keep cuts accurate and safe. Regularly clean and inspect your blade, replacing it when dull. Always prioritize miter saw safety by securing your workpiece and using the right blade for the task. An understanding of blade alignment helps prevent gaps and ensures smooth, accurate cuts. Paying attention to blade sharpening and replacement also plays a vital role in maintaining cut quality. Additionally, ensuring that your saw’s bevel adjustments are precise can further enhance cut accuracy and safety. Maintaining saw calibration is equally important for consistent results. Furthermore, familiarizing yourself with cutting techniques can help you make cleaner and more accurate cuts every time.

6" Mini Bar Clamps for Woodworking, 2-Piece One-Handed F Clamp/Spreader, 75LBS Load Limit Wood Clamp, Quick Release Grip Clamps for Table Wood Working, Light-duty Tools
DUAL-FUNCTION VERSATILITY – Instantly convert to 9.7" spreaders with a simple screw reversal, providing 2-in-1 functionality perfect for…
As an affiliate, we earn on qualifying purchases.
As an affiliate, we earn on qualifying purchases.
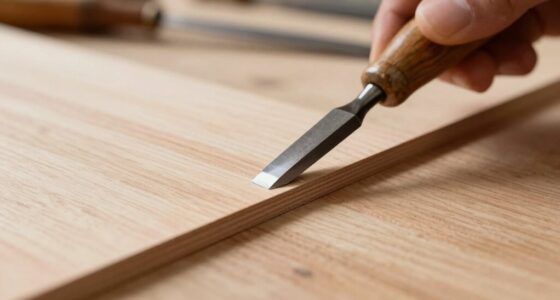
Preparing Your Material and Marking Accurate Cut Lines
Before making your cut, choose the correct material type to guarantee accuracy and safety. Measure and mark your cut lines carefully, using a sharp pencil or marking tool for precision. Make sure your lines are clear and visible so you can align your saw accurately. Additionally, understanding projector technology can help you select appropriate materials that improve visibility and accuracy during cutting. Being aware of material properties ensures you select the best type for your specific project, reducing errors and gaps. Recognizing the importance of cutting techniques can further enhance your precision and help prevent gaps in your work. Familiarity with saw safety protocols is also essential to maintain control and prevent mistakes during cutting. Knowing how body jewelry measurements relate to material dimensions can aid in selecting the correct size to avoid gaps and ensure a proper fit.
Select Proper Material Type
Selecting the right material type is essential to guarantee clean cuts and a safe, efficient sawing process. Your choice impacts both the quality of your work and the longevity of your tools. For best results, consider the material’s hardness, density, and grain direction. Different materials require specific cutting techniques to prevent gaps and splinters. Use the following table to guide your material selection:
| Material Type | Cutting Techniques | Recommended Use |
|---|---|---|
| Softwood | Light, steady cuts | Framing, furniture |
| Hardwood | Slow, controlled cuts | Finish carpentry |
| Plywood | Support with backing | Cabinets, shelving |
| MDF | Sharp blades, steady feed | Interior projects |
| Plastic | Low speed, lubrication | Decorative trims |
Choosing the right material guarantees smoother cuts and better results. Additionally, understanding material properties helps in selecting the appropriate blade and cutting speed for optimal performance.
Measure and Mark Precisely
Have you ever struggled with crooked cuts or uneven edges? Ensuring measuring accuracy and using proper marking techniques can make all the difference. To start, double-check your measurements before marking. Use a reliable tape measure or combination square for precision. When marking, keep your pencil sharp and steady to create clear, visible lines. Consider these tips:
- Always measure twice, mark once to avoid mistakes.
- Use a straightedge or square for accurate lines.
- Mark on the waste side of your cut line.
- Keep your pencil perpendicular to the surface.
- Use light, consistent strokes for clarity.
Use Clear, Visible Lines
How can you guarantee your cut lines are easy to see and follow? First, use a sharp pencil or a fine-tip marker for clear, visible marks. Double-check your measurements and mark both sides of your cut line. Always follow safety precautions, like wearing eye protection and keeping hands away from the blade. To make certain accuracy, maintain your saw regularly by cleaning and checking the blade for dullness. Use a square or straightedge to draw precise lines, minimizing errors. Keep your workspace well-lit so lines remain visible. Here’s a quick reference:
| Tip | Why it matters | Maintenance tip |
|---|---|---|
| Use sharp tools | Clearer, more accurate lines | Keep blades sharp |
| Mark both sides | Better alignment during cuts | Clean marking tools regularly |
| Good lighting | Prevents mistakes, safe work area | Inspect lighting fixtures |

Peachtree Woodworking Supply A Line It Basic, Table Saw Alignment Calibration Tool with Precision Dial Indicator for Table Saw Alignment and Workshop Machinery Precision Alignment
The A-LINE-IT Basic Kit is the perfect starter kit for hobbyists and small shops. The A-LINE-IT Basic Kit…
As an affiliate, we earn on qualifying purchases.
As an affiliate, we earn on qualifying purchases.
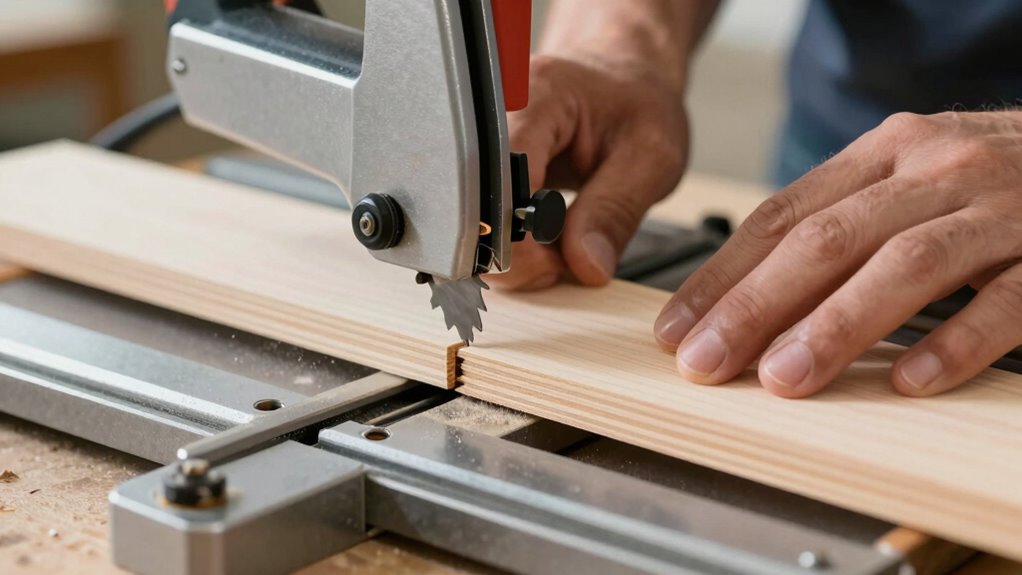
How to Set Your Miter and Bevel Angles for a Tight Fit

To guarantee your miter and bevel cuts fit tightly, you need to set the angles accurately on your saw. Start by adjusting the miter angle to match the desired cut, ensuring the saw’s scale aligns precisely. For bevel adjustment, tilt the saw to the correct degree, locking it securely. Here are key tips:
- Double-check the miter angle before cutting.
- Use a square to verify the miter angle setting.
- Adjust the bevel smoothly without forcing.
- Confirm the bevel lock is tight to prevent movement.
- Test on scrap material to ensure a perfect fit.
- Incorporating auditory feedback techniques can help you fine-tune your adjustments and avoid errors during setup. Paying close attention to saw vibrations can also indicate if the angles are properly set and stable during cutting.
- Remember to regularly calibrate your saw to maintain cut accuracy and prevent misalignments over time.
- Regularly inspecting and maintaining your saw’s components ensures long-term angle precision and consistent results.
Accurate miter angle and bevel adjustment prevent gaps, helping you produce tight, professional joints. Taking the time to set these angles properly is essential for a seamless finish.
Techniques for Precise, Gap-Free Cuts
Achieving precise, gap-free cuts with your miter saw requires careful attention to technique and setup. Start by ensuring your blade is sharp and well-maintained; dull blades can cause splintering and uneven cuts. Always check that the saw is properly calibrated and the fence is aligned. Before cutting, wear safety precautions like eye and ear protection, and keep your hands clear of the blade path. Use clamps or a hold-down to secure your workpiece, preventing movement that can lead to gaps. Make slow, steady cuts, applying even pressure to avoid binding or misalignment. Double-check your angles before each cut, and avoid rushing through the process. Proper blade maintenance and safety precautions are essential for achieving clean, gap-free results every time. Additionally, understanding your saw’s cutting capacity can help you plan your projects better and prevent miscuts that might result in gaps. Paying attention to blade alignment and regularly verifying it can further enhance the accuracy of your cuts. Regularly inspecting your saw’s components and adjusting settings can help maintain optimal performance for consistent results. Remember that proper technique is key to avoiding gaps and achieving professional-looking joins in your work.
Calibrating Your Miter Saw for Consistent, Accurate Results

To get consistent, accurate cuts, start by checking your blade alignment to make sure it’s perfectly square with the saw’s table. Next, verify that your saw angles are set correctly for each cut, preventing errors. Proper calibration of these points keeps your results precise every time. Additionally, ensuring your miter saw blades are sharp and in good condition can significantly impact the quality of your cuts. Regularly inspecting and maintaining your saw components helps maintain overall document management and performance. Remember that proper tool calibration is essential for achieving optimal results and extending the lifespan of your equipment. To further enhance your accuracy, consider using measurement tools like a square or a digital angle finder during setup.
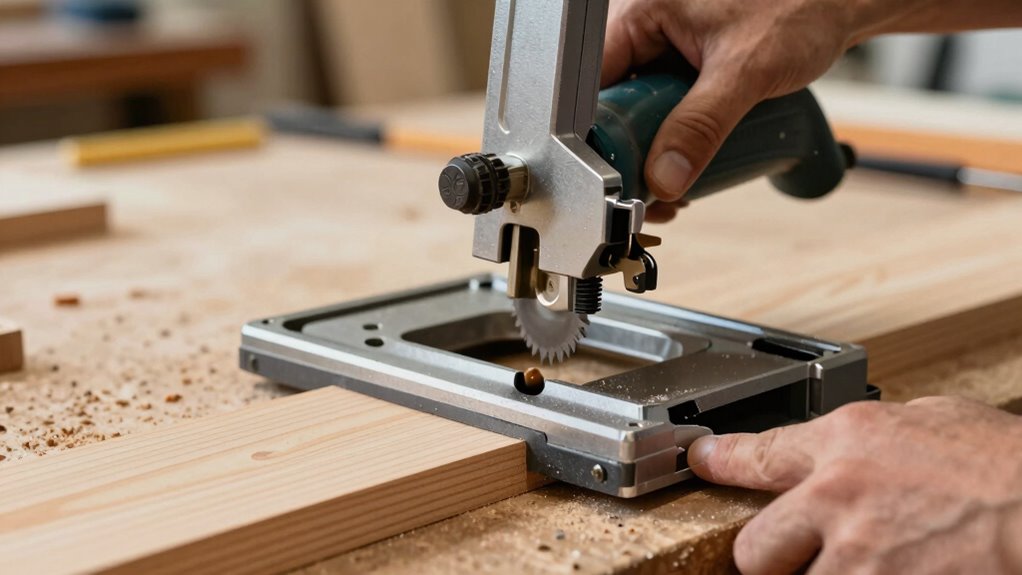
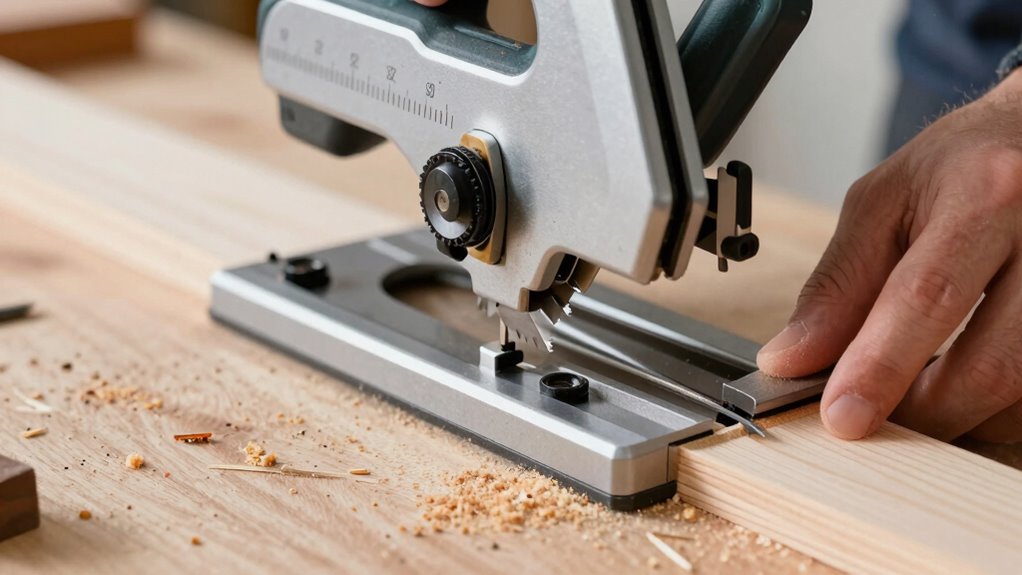
Check Blade Alignment
Before making precise cuts, you need to guarantee your miter saw’s blade is properly aligned. Proper blade alignment ensures accurate cuts and prevents gaps. Start by inspecting the blade’s position relative to the fence and miter slots. Check for any signs of misalignment or wobbling, which can affect your cut quality. Remember, regular blade maintenance is essential for safety precautions and optimal performance. To verify alignment:
- Use a square to check the blade’s angle against the fence.
- Adjust the blade if it’s not perfectly perpendicular.
- Tighten all mounting bolts securely.
- Clean debris or sawdust that might interfere with alignment.
- Recheck after adjustments to confirm accuracy.
Consistent blade alignment helps you achieve clean, gap-free cuts while ensuring safe operation of your miter saw.
Verify Saw Angles
Have you ever wondered if your miter saw is cutting at the correct angles? Angle verification is essential for precise cuts, especially when avoiding gaps. Start by checking the saw’s angle settings with a reliable square or digital angle finder. If the measurements don’t match, you need to perform blade calibration. Adjust the saw’s bevel and miter angles until they read correctly, ensuring the blade aligns perfectly with your desired angles. Regularly verifying saw angles prevents inaccuracies that can lead to gaps or misaligned joints. Proper blade calibration not only improves accuracy but also prolongs the saw’s lifespan. Remember, even minor discrepancies can affect your project’s outcome, so take the time to verify and calibrate your saw’s angles consistently.
Best Practices for Cutting Different Wood Types and Materials
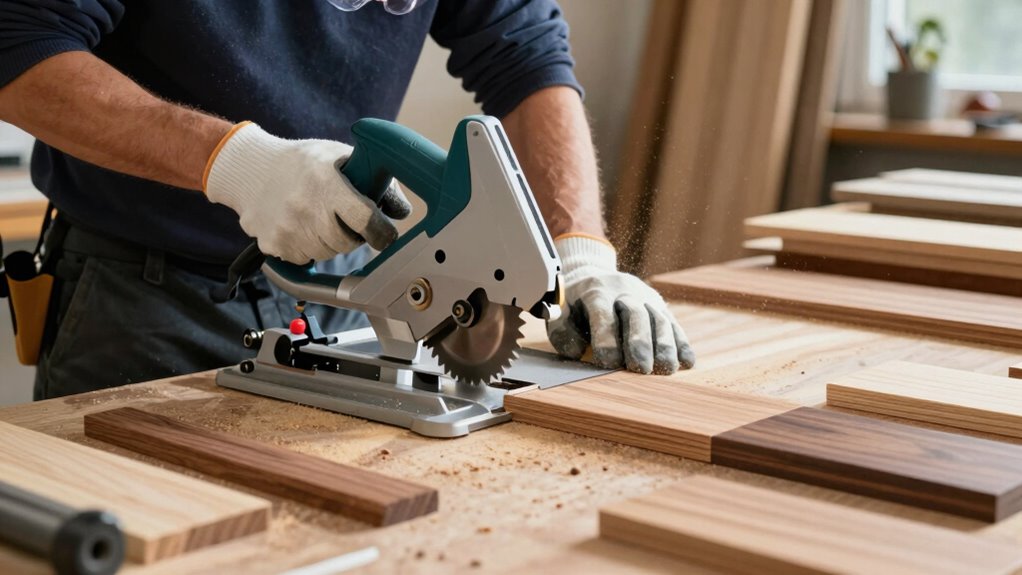
Different wood types and materials require specific cutting techniques to guarantee clean, accurate results. To preserve wood grain and assure high finish quality, adjust your saw settings based on the material. For softwoods like pine, use a low blade speed and gentle pressure. Hardwoods, such as oak, benefit from a sharp blade and slower feed rate. When cutting plywood or composites, support the material well to prevent splintering. Keep these practices in mind:
- Match blade type to material for cleaner cuts
- Use proper blade speed for different woods
- Support delicate materials to avoid splinters
- Adjust cutting angle for ideal finish quality
- Maintain consistent feed pressure for accuracy
Following these tips helps you achieve precise, gap-free cuts tailored to each wood type, enhancing your project results.
Common Mistakes Causing Gaps: and How to Fix Them
Incorrect blade selection, improper setup, and rushing through cuts are common mistakes that often lead to gaps in your finished work. Using the wrong saw blade can cause uneven cuts and poor fit. Failing to lubricate the saw blade reduces saw blade lubrication, increasing friction and rough edges. Poor dust collection efficiency allows debris to interfere with precision, making it harder to see your cut line. Always ensure your blade is sharp and appropriate for the material. Double-check your saw’s settings before cutting, and avoid rushing—slow, steady cuts produce better results. Keep your saw clean and well-maintained to prevent buildup that affects dust collection and cut accuracy. Proper preparation and patience are key to avoiding gaps and achieving a perfect fit.
| Mistake | Effect | Fix |
|---|---|---|
| Wrong saw blade selection | Uneven, gap-prone cuts | Use the correct blade for your material |
| Improper saw setup | Misaligned cuts | Check and calibrate settings before cutting |
| Rushing cuts | Inaccurate, rough edges | Cut slowly and steadily for precision |
| Neglecting saw blade lubrication | Increased friction, rough cuts | Regularly lubricate the blade |
| Poor dust collection efficiency | Debris interference, unclear lines | Clean and optimize dust collection system |
Troubleshooting and Fine-Tuning Cuts for a Perfect Fit
Achieving a perfect fit often requires troubleshooting and fine-tuning your cuts to address any imperfections. Start by inspecting your saw blade maintenance; a dull or dirty blade can cause uneven cuts. Check your safety gear selection to ensure you’re comfortable and precise during adjustments. If gaps appear, try slight bevel or miter angle adjustments. Mark your cuts with a pencil for better accuracy. Consider making test cuts on scrap wood before finalizing your piece. Verify your saw’s calibration and make sure the blade is aligned properly. Use a square or jig for fine-tuning angles. Regularly clean your saw and blades to prevent debris from affecting cuts. Remember, small tweaks can make a significant difference in achieving a seamless, gap-free fit.
Frequently Asked Questions
How Does Blade Sharpness Affect Gap-Free Cuts With a Miter Saw?
Blade sharpness directly impacts your ability to make gap-free cuts with a miter saw. A sharp blade ensures cleaner cuts, reducing the risk of misalignment caused by dust buildup or dull edges. Regularly check your blade’s sharpness, and keep it properly aligned. When the blade is dull or misaligned, it’s harder to cut precisely, leading to gaps. Maintaining sharpness and proper alignment helps you attain the smooth, gap-free results you want.
What Role Does Blade Height Adjustment Play in Avoiding Gaps?
Think of blade height adjustment as tuning a fine instrument—you’re ensuring perfect harmony. When you set the blade height correctly, it aligns with the material, reducing gaps. Check blade alignment regularly and clear dust buildup that can throw off your settings. A well-adjusted blade height helps you make smooth, gap-free cuts, saving you time and material, and giving your project that professional finish you desire.
Can Environmental Factors Like Humidity Impact Cut Accuracy?
Humidity effects can definitely impact your cuts due to wood expansion. When humidity rises, wood absorbs moisture and swells, making it harder to get precise, gap-free cuts. To minimize this, work in a controlled environment or allow your wood to acclimate before cutting. Keep in mind that fluctuating humidity levels can cause inconsistencies, so stay aware of the conditions and adjust your measurements accordingly for the best results.
How Often Should I Calibrate My Miter Saw for Optimal Performance?
Did you know that regular calibration can improve your miter saw’s accuracy by up to 20%? You should calibrate your saw every 3 to 6 months, depending on usage. Focus on blade maintenance and precise cutting techniques during calibration to guarantee clean, gap-free cuts. Proper calibration helps maintain consistent performance, reduces material waste, and extends your saw’s lifespan. Regular checks keep your cuts perfect and your projects on point.
Are There Specific Safety Tips to Prevent Mistakes Causing Gaps?
To prevent gaps, always wear safety gear like goggles and ear protection, and verify you’re following proper training. Double-check that your saw is calibrated correctly and that you’re holding the material firmly and at the right angle. Avoid rushing through cuts, and make sure your blade is sharp. Staying focused and cautious helps you avoid mistakes, guaranteeing clean, gap-free joints every time.
Conclusion
To guarantee gap-free cuts, always double-check your saw’s calibration and use the right blade for your material. Remember, even a small misalignment can cause gaps that compromise your project’s integrity. Did you know that properly calibrated miter saws improve cut accuracy by up to 30%? Staying attentive to your setup and technique not only saves time but also boosts your craftsmanship. With practice, you’ll consistently achieve tight, professional joints every time.