
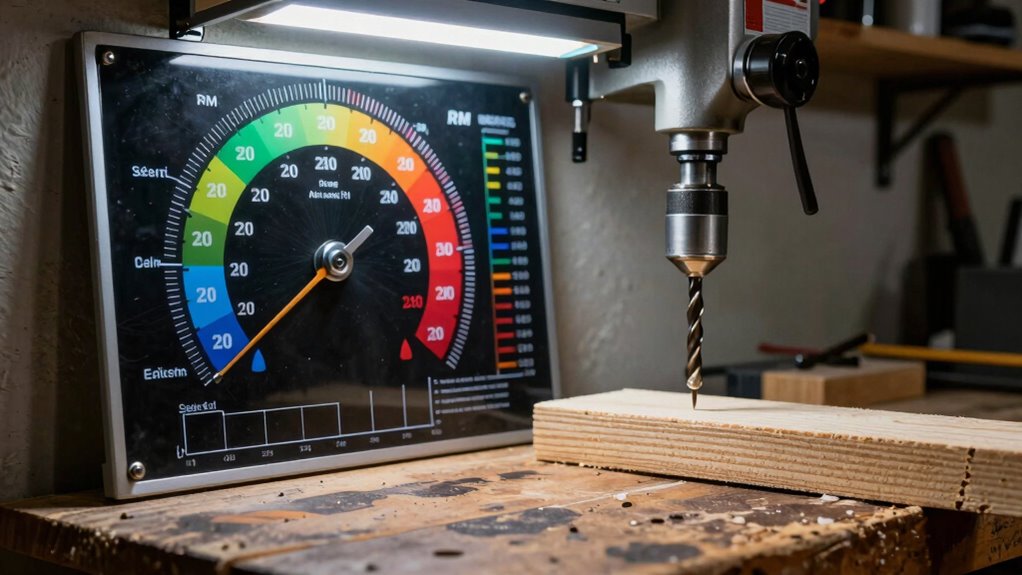
To avoid burning bits and wood, use a drill press speed chart tailored to your material. Select the appropriate surface speed (SFPM) for softer woods or metals, then calculate the RPM based on your drill bit’s diameter. Too high a speed causes heat buildup and burning, so adjust accordingly and consider lubrication if necessary. Keep honing your setup; you’ll find more helpful tips to ensure clean, safe drilling every time.
Key Takeaways
- Use the correct surface speed (SFPM) for your material and match it with the appropriate drill bit diameter.
- Adjust the drill press RPM according to material type and bit size to prevent excessive heat buildup.
- Regularly sharpen drill bits and ensure proper bit-material compatibility to reduce friction and burning.
- Apply cutting fluid or lubricant during drilling to dissipate heat and minimize bit and wood burning.
- Start with lower speeds, especially for larger bits or harder materials, and gradually increase to avoid overheating.

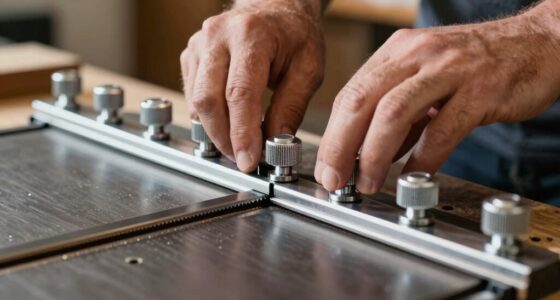
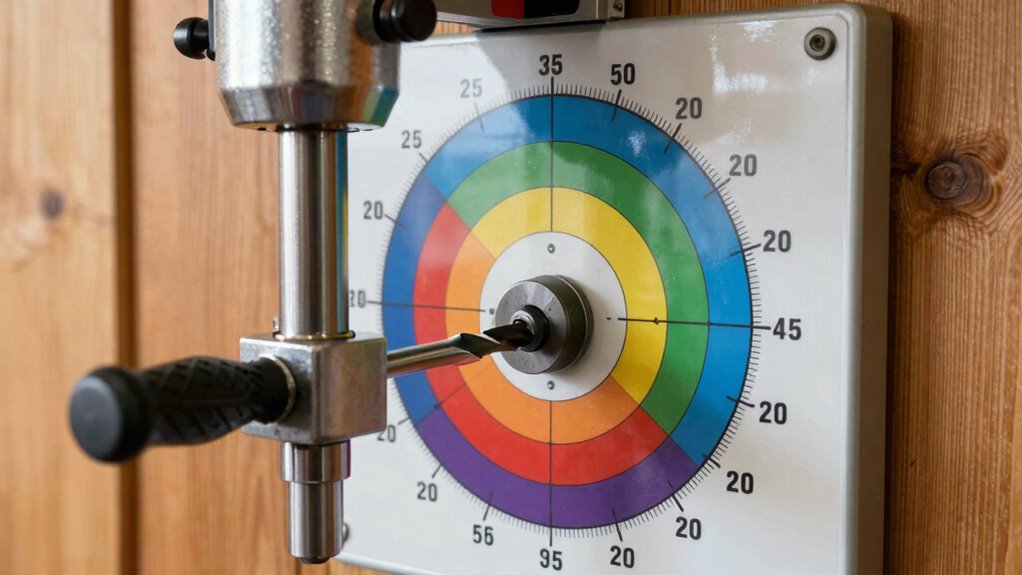
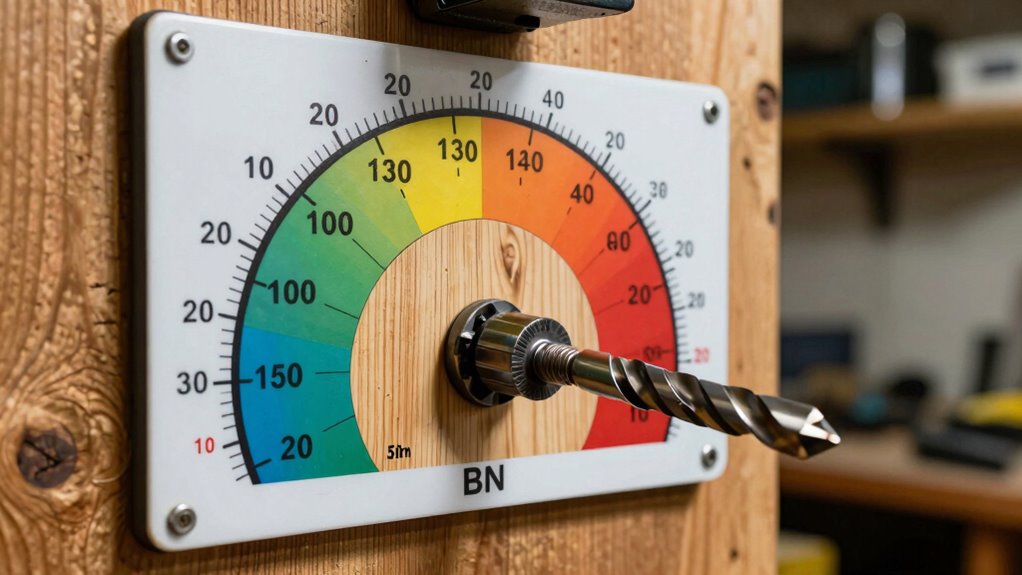
Magnetic Drill Press Chart Sign | USA Made | RPM Guide, Wood & Metalworking | All-in-1 Accessory Tips | 8.5" x 10.5"
🧲 Convenient Size & Magnetic: This 8.5" x 10.5" Drill Press Speed Chart is perfect for your workshop…
As an affiliate, we earn on qualifying purchases.
As an affiliate, we earn on qualifying purchases.
Why Choosing the Right Drill Press Speed Prevents Burning Bits and Wood
Choosing the right drill press speed is vital because running the bit too fast or too slow can cause problems. When you select the proper speed, it minimizes heat buildup, reducing the risk of burning bits and damaging your wood. Regular bit sharpening is essential for maintaining efficiency; dull bits generate more friction and heat, making it harder to control the cut and increasing the chance of burning. Proper drill press maintenance ensures that your equipment operates smoothly, helping you set the correct speed easily. When your machine is well-maintained, you can better match the speed to the material, avoiding unnecessary heat and preserving the integrity of both your bits and your workpiece. Additionally, understanding appropriate feed rates helps optimize cutting performance and minimizes heat buildup, further preventing burns. Maintaining consistent machine calibration ensures uniform operation, which is crucial for preventing overheating and achieving precise results. Correct speed selection ultimately leads to cleaner cuts and longer tool life, especially when combined with proper cutting techniques and material considerations. Moreover, selecting the right speed based on material properties can significantly improve the quality of your work and reduce wear on your tools.

Forstner Bit Sharpening Kit
Drill Bit Tool Sharpener Set: Get your hand tools back to the sharpness you like with our kit….
As an affiliate, we earn on qualifying purchases.
As an affiliate, we earn on qualifying purchases.
How to Interpret a Drill Press Speed Chart for Different Materials

To get the best results, you need to understand how material type influences the recommended drill speed. Adjusting for surface speed calculations and tool diameter guarantees you don’t burn out bits or damage your workpiece. By mastering these points, you’ll make smarter decisions for different materials and tool sizes. Additionally, considering proper drill press maintenance can extend tool life and improve accuracy during operation. Recognizing how cutting speed impacts your project allows you to fine-tune your settings for optimal performance. Being aware of material properties helps in selecting the appropriate speed to prevent overheating and ensure a clean cut. Understanding tool selection is essential for adapting your approach to various projects and improving overall results. Incorporating knowledge of heat generation can further prevent tool failures and improve efficiency during drilling.
Material Type Adjustments
Different materials require different drill press speeds to cut efficiently and prevent damage. To achieve this, you must consider material compatibility and the specific drill bit types you’re using. Knowing the right speed for each material ensures clean cuts and extends your bits’ lifespan. When adjusting your drill press, keep in mind:
- Using the correct speed can save you time and frustration.
- Proper adjustments protect your drill bits from premature wear or breakage.
- Matching bit types with material type enhances precision and safety.
- Correct settings help avoid burning or chipping your workpiece.
- Consulting a drill press speed chart can simplify selecting the optimal settings for various materials.
- Being aware of bit material compatibility can further improve your drilling efficiency and tool longevity.
- Additionally, understanding material properties can help you anticipate how different substances respond to drilling and adjust your technique accordingly.
- Regularly referencing material-specific guidelines ensures you maintain the appropriate speeds for each project, reducing errors and improving overall results.
- Recognizing the importance of performance and safety can lead to more effective and secure drilling practices.
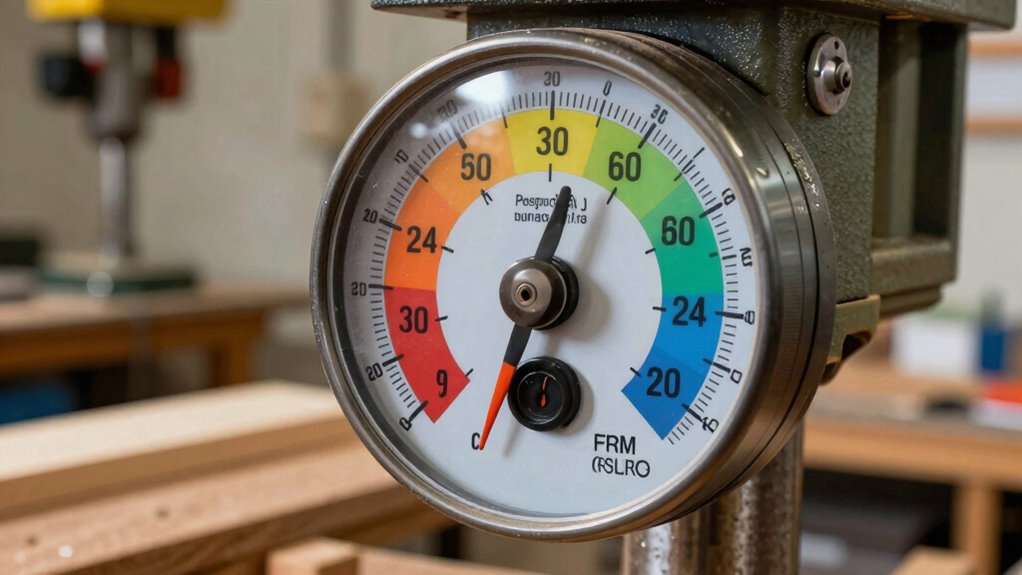
Surface Speed Calculations
Ever wonder how to accurately interpret a drill press speed chart for different materials? It’s all about understanding surface speed calculations, which relate RPM to material type and surface friction. To get it right, you need to calibrate your RPM based on the material’s resistance and the bit diameter. Think of it like this:
| Material | Surface Speed (SFPM) |
|---|---|
| Soft wood | 80-120 |
| Hard metal | 30-50 |
| Aluminum | 150-300 |
This table helps you match RPM to material, ensuring ideal cutting speed. Proper RPM calibration prevents burning bits or material, maintaining efficiency and tool longevity. Remember, surface friction impacts how quickly your bit heats up, so adjust your speed accordingly. Additionally, understanding material properties can help you select the best cutting parameters for different outdoor or workshop projects, and considering bit types can further optimize your results. To achieve consistent results, paying attention to tool maintenance will help keep your drill bits in optimal condition and prevent overheating.
Tool Diameter Effects
When examining a drill press speed chart, it’s crucial to understand how tool diameter influences your RPM settings. A larger bit diameter increases the surface speed, which can cause overheating and bit failure if not adjusted properly. To avoid burning your bits or damaging your material, remember these key points:
- Larger bits require slower speeds to keep surface speed in check.
- Smaller bits can run faster without risking burns or damage.
- Match your RPM to the bit diameter for optimal performance.
- Prioritize surface speed over RPM numbers to ensure longevity and safety.
- Additionally, understanding the surface speed helps you select the correct RPM for different bit sizes and materials. Recognizing the material type you’re working with also plays a vital role in setting the appropriate speed to prevent burns and ensure a clean cut. When you understand how tool diameter impacts surface speed, it becomes easier to choose the right settings for various projects, reducing the risk of errors. Being aware of the appropriate safety precautions can further enhance your drilling efficiency and safety. Moreover, considering bit material can influence the optimal speed to prevent premature wear and failure.
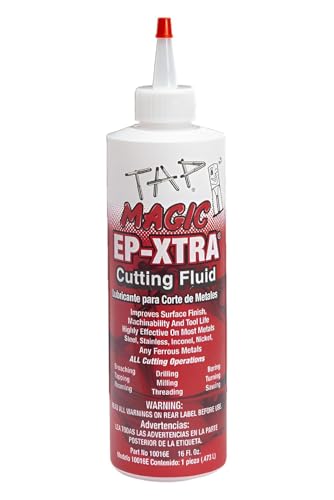
TapMagic 16 oz. Can New Improved Cutting Fluid
THE GOLD STANDARD – Tap Magic EP-Xtra has helped professional metalworkers save money and achieve micro-fine finishes for…
As an affiliate, we earn on qualifying purchases.
As an affiliate, we earn on qualifying purchases.
How to Calculate the Perfect RPM for Your Drill Bit and Material
Calculating the perfect RPM for your drill bit and material is essential for efficient and safe drilling. To do this, consider the drill bit types you’re using, as each requires different speeds for *ideal* performance. Sharp bits, especially those that have been properly sharpened, cut more efficiently at higher RPMs without burning or dulling quickly. First, find the surface speed recommended for the material, then divide it by the diameter of your drill bit. This calculation gives you the *preferred* RPM. Keep in mind that different drill bit types, like high-speed steel or cobalt, may have specific speed ranges. Adjust your RPM accordingly to prevent overheating and ensure clean cuts. Proper calculation saves time, preserves bit sharpness, and improves drilling quality. Additionally, understanding cutting speeds can help optimize your drilling process and extend tool life.

NovelLife Mini Drill Press Precision Benchtop Drilling Machine Elecric Portable Table Driller CNC 795 Motor B10 Chuck Metal Wooden DIY Jewelry Making Crafts Tool Upgraded
Upgraded Structure: Solid metal structure with 3 metal axis, 2 liner bearings and place motor to the more…
As an affiliate, we earn on qualifying purchases.
As an affiliate, we earn on qualifying purchases.
Common Mistakes When Setting Drill Press Speed and How to Avoid Them

One common mistake is ignoring the material type when setting your drill press speed, which can lead to poor results or damage. Using the wrong speed settings can cause bits to overheat or break, wasting time and resources. To avoid this, always match your speed to the material and drill bit specifications for safe, efficient drilling.
Ignoring Material Type
Ignoring the material type when setting your drill press speed can lead to poor results and equipment damage. Different materials require specific speeds to prevent overheating and bit wear. For instance, softer woods may need slower speeds, while hard metals demand faster ones. Failing to contemplate this can cause bits to burn out, dull quickly, or chip. Additionally, neglecting material type affects bit sharpening and drill bit coatings, reducing their lifespan. You might also risk damaging the workpiece or creating unsafe conditions.
- Watching your bits burn out and knowing you could have prevented it
- Seeing your drill bits dull prematurely from improper speeds
- Wasting time and money on constant replacements
- Feeling frustrated by inconsistent, poor-quality cuts
Using Wrong Speed Settings
Setting the wrong speed on your drill press is a common mistake that can compromise your work and damage your tools. Using incorrect speeds leads to faster bit wear, reducing bit longevity, and poor hole quality. To avoid this, always verify proper speed calibration based on your material and bit size. For example:
| Material | Bit Size | Recommended Speed (RPM) |
|---|---|---|
| Softwood | Small | 3000 |
| Hardwood | Large | 1500 |
| Metal | Medium | 1000 |
Choosing too high a speed causes overheating, while too low slows work and wears bits prematurely. Correct speed calibration helps extend bit life and produces cleaner cuts, preventing common mistakes that can ruin projects.
Practical Tips for Adjusting Drill Press Speed During Your Projects
Adjusting the drill press speed during your projects is essential for achieving clean, accurate holes and preventing damage to your material. To do this effectively, regularly check your bit sharpening to ensure peak performance, as dull bits can cause burning regardless of speed. Maintain your drill press through routine maintenance—cleaning, lubrication, and inspecting belts—to keep adjustments smooth and precise. When changing speeds, start slow to gauge how the material responds, then increase gradually for better control. Keep an eye on your work, listening for unusual sounds or vibrations that indicate adjustments are needed. Remember, the right speed makes a difference.
- Feel confident in your craftsmanship with sharp, well-maintained bits
- Avoid frustration and wasted time by proper speed adjustments
- Protect your materials from unnecessary burns and damage
- Experience the pride of perfect, professional results
What to Do When Bits Burn Despite Correct Speed Settings

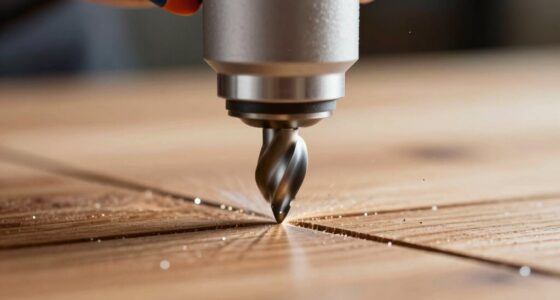
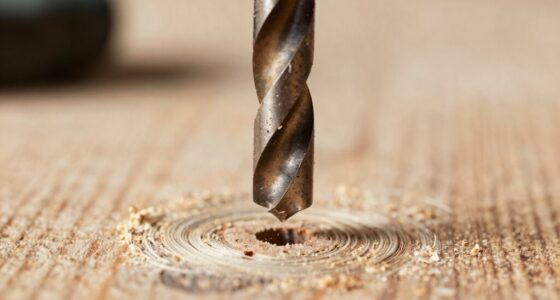
Even when your drill press speed is correctly set, you might still notice the bits burning or smoking during work. This often happens due to improper heat buildup caused by the bit material. Some bits, like high-speed steel, can tolerate higher speeds, while others, such as carbide, require specific settings. If heat builds up excessively, it can weaken the bit, leading to burning. To fix this, try reducing pressure on the bit and using a lubricant or cutting fluid to keep temperatures down. Also, make sure you’re using the right bit material for your project. Regularly clearing chips and avoiding prolonged contact at high speeds helps prevent heat buildup. Proper bit material selection and technique are key to avoiding burning despite correct speed settings.
Frequently Asked Questions
Can Variable Speed Drill Presses Automatically Adjust RPM for Different Materials?
Yes, many variable speed drill presses can automatically adjust RPM using sensor technology. These advanced machines detect the material you’re working with and modify the speed for ideal cutting, preventing burning bits and wood. You simply set the desired operation, and the drill press takes care of the rest. This automatic adjustment ensures smoother drilling, reduces wear on your bits, and improves overall safety and efficiency during your projects.
How Does Drill Bit Type Influence Ideal Speed Settings?
You should adjust your drill press speed based on the bit material and drilling depth. For example, high-speed steel bits work best at higher RPMs for softer woods, but if you’re drilling deeper, lower speeds prevent overheating. Carbide bits are harder and require slower speeds to avoid burning or damaging the bit. Always match your speed to the bit type and depth to guarantee clean cuts and prolong bit life.
What Safety Precautions Should I Follow When Changing Drill Press Speeds?
They say safety first, so always turn off the drill press and disconnect it before changing speeds. Wear your personal protective equipment, like safety glasses and gloves. Keep your hands clear of moving parts, and double-check the new speed setting. Familiarize yourself with emergency shutdown procedures beforehand. This approach helps prevent accidents and keeps you safe while working with different drill press speeds.
Are There Specific Lubricants Recommended for Different Drill Press Operations?
For different drill press operations, you should choose lubricants based on the material you’re working with. Use light machine oil for metal drilling to reduce friction and heat, while cutting lubricants or wax work better for wood to prevent burning and guarantee smooth cuts. Regular maintenance tips include cleaning the spindle and applying lubricant when needed to keep your drill press running efficiently and extend its lifespan.
How Often Should I Calibrate My Drill Press Speed for Accuracy?
You should calibrate your drill press speed at least once every six months to guarantee accuracy maintenance. Regular calibration helps you maintain precise speeds, preventing issues like burning bits or damaging your workpiece. If you notice inconsistent drilling or unusual noise, it’s smart to check calibration sooner. Consistent calibration keeps your drill press running smoothly, saves you time, and extends your tool’s lifespan.
Conclusion
By mastering your drill press speeds, you’ll see sparks fly only from your bits—not your wood. Imagine your project as a smooth-running engine, where each turn is precise and cool, never burning or dulling your tools. When you choose the right RPM, you’re guiding your bits through timber like a skilled craftsman—confident, controlled, and cool under pressure. Keep adjusting, stay attentive, and let your work shine without the smoke or scorch marks.