To prevent angled holes on your drill press, make sure it’s level and stable before starting. Check the table and spindle are aligned using a level or square, and tighten all components securely. Use sharp bits and secure your workpiece firmly to avoid shifting. Regularly check for runout and adjust the quill and table to keep everything true. Following these steps will help you achieve perfect, straight holes every time—more tips await if you keep exploring.
Key Takeaways
- Ensure the drill press is level using a carpenter’s level before starting any work.
- Secure the workpiece firmly with clamps and double-check stability to prevent shifting during drilling.
- Use a properly aligned, sharp drill bit and verify that the chuck is tight and fully seated.
- Confirm the table and spindle are perpendicular by measuring with a square or digital level.
- Regularly inspect and calibrate the drill press to maintain alignment and prevent angles from forming.

Dreyoo 9 Pcs Small Bubble Spirit Level, Mini Magnetic Square Drill Bubble Levels, Circular Spirit Measuring Tool for Leveling Phonograph, Camera, Turntable, Tripod, Frame, Drill, 10x10x29mm, 32x7mm
Small Bubble Spirit Level Set: our product set includes 6 mini magnetic square drill bubble levels and 3…
As an affiliate, we earn on qualifying purchases.
As an affiliate, we earn on qualifying purchases.
Why Crooked or Angled Holes Happen and How Proper Setup Helps

Crooked or angled holes often result from improper setup of your drill press. If your machine isn’t correctly aligned, you risk drilling off-angle, which can ruin your project. Regular drill press maintenance ensures all components are tight and functioning properly, preventing shifts during operation. Always check the table and quill for stability before drilling to maintain accuracy. Neglecting these steps compromises woodworking safety, as loose parts can cause accidents. To avoid crooked holes, take the time to calibrate your drill press and verify that the spindle is perpendicular to the table. Proper setup not only improves precision but also protects you from potential hazards. A well-maintained, correctly aligned drill press is essential for achieving clean, straight holes every time.

Square Hole Drill Bit Adapter for Easy Installation and Disassembly – Mortising Attachment for Drill Press, Mortise Machine, Power Tool Accessory for Drill Machines
【Mortising attachment for drill press】 Square hole drill bit adapter is fit for benchtop drill presses and hand…
As an affiliate, we earn on qualifying purchases.
As an affiliate, we earn on qualifying purchases.
Make Sure Your Drill Press Is Level and Steady Before Drilling

Make Sure Your Drill Press Is Level and Steady Before Drilling. Before you start drilling, it’s essential to make certain your drill press is both level and steady. An uneven setup can cause misaligned holes, no matter how precise your workpiece stabilization or drill bit selection. To ensure accuracy: 1. Check that the drill press table is perfectly level using a carpenter’s level. 2. Secure the workpiece firmly to prevent movement during drilling. 3. Confirm the drill press itself is stable on a flat surface. 4. Choose the right drill bit size and type for your material to avoid slips or wobble. Proper leveling and stabilization are the foundation for accurate results, ensuring your holes are precise and aligned. Proper setup is crucial for preventing tilt and ensuring the accuracy of your drilled holes.

6" Mini Bar Clamps for Woodworking, 2-Piece One-Handed F Clamp/Spreader, 75LBS Load Limit Wood Clamp, Quick Release Grip Clamps for Table Wood Working, Light-duty Tools
DUAL-FUNCTION VERSATILITY – Instantly convert to 9.7" spreaders with a simple screw reversal, providing 2-in-1 functionality perfect for…
As an affiliate, we earn on qualifying purchases.
As an affiliate, we earn on qualifying purchases.
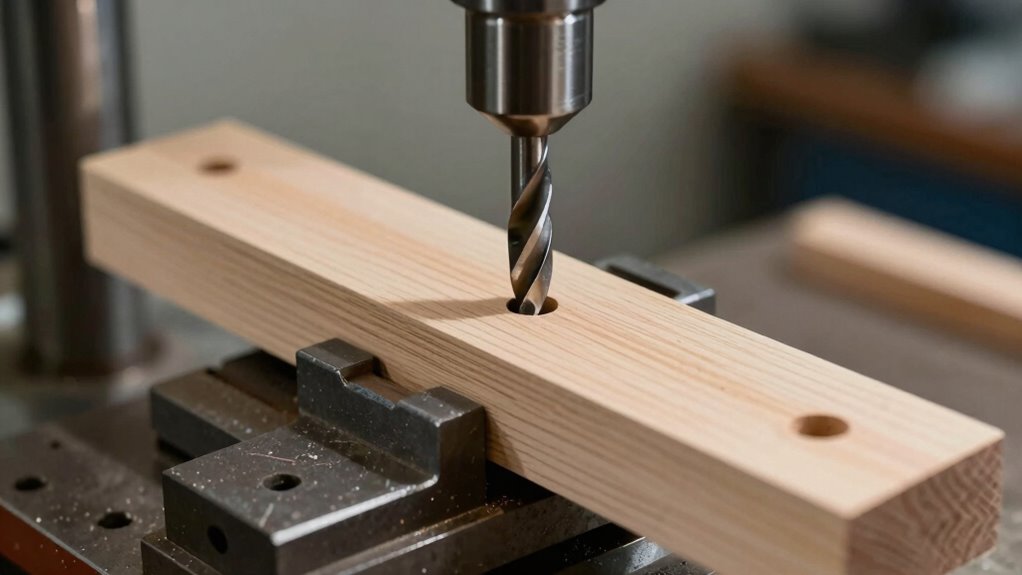
How to Align the Drill Bit for Precise, Straight Holes

To guarantee your drill bit is perfectly aligned for straight holes, start by tightening the chuck securely around the bit and then position the bit so it points directly at the mark on your workpiece. Make certain the drill bit is sharp; dull bits can wander and cause inaccuracies. If your bit is dull, consider bit sharpening or replacing it with a fresh one suited to your task. Different drill bit types, like twist bits or spade bits, require proper alignment to avoid angled holes. Use a drill press guide or a jig to help keep the bit centered on the mark. Double-check that the bit’s shank is straight and seated fully in the chuck. Proper alignment and sharpness are essential for achieving clean, precise, and straight holes every time. Additionally, understanding the importance of tool calibration can help maintain consistent accuracy across multiple projects.
Center-It Drill Press Block: Essential Fabrication Tool for Perfectly Centered Round Tubing Drilling, 5" x 4" Base, 1.75" Height, 2.5" V Measurement, 3.5" x 3" Bolt Holes Center-To-Center
Efficiency Enhancer: This Center-It Drill Press Block ensures you no longer struggle trying to drill a hole in…
As an affiliate, we earn on qualifying purchases.
As an affiliate, we earn on qualifying purchases.
Adjusting the Quill and Table to Keep Your Holes Perfectly Vertical

Ensuring your drill holes remain perfectly vertical requires careful adjustment of both the quill and the table. First, check for quill play, which can cause bit wobble, and tighten it if needed. Next, verify the table’s tilt to prevent angular drilling; use a reliable level or inclinometer. To achieve accuracy:
- Lock the quill at the desired height to minimize play.
- Adjust the table tilt until it’s perfectly perpendicular to the drill bit’s path.
- Use a square or digital level to confirm the table’s alignment.
- Recheck the quill for play after adjustments.
- Regularly inspect and maintain your machine calibration to ensure ongoing precision.
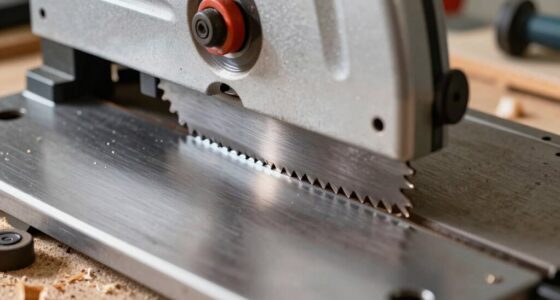
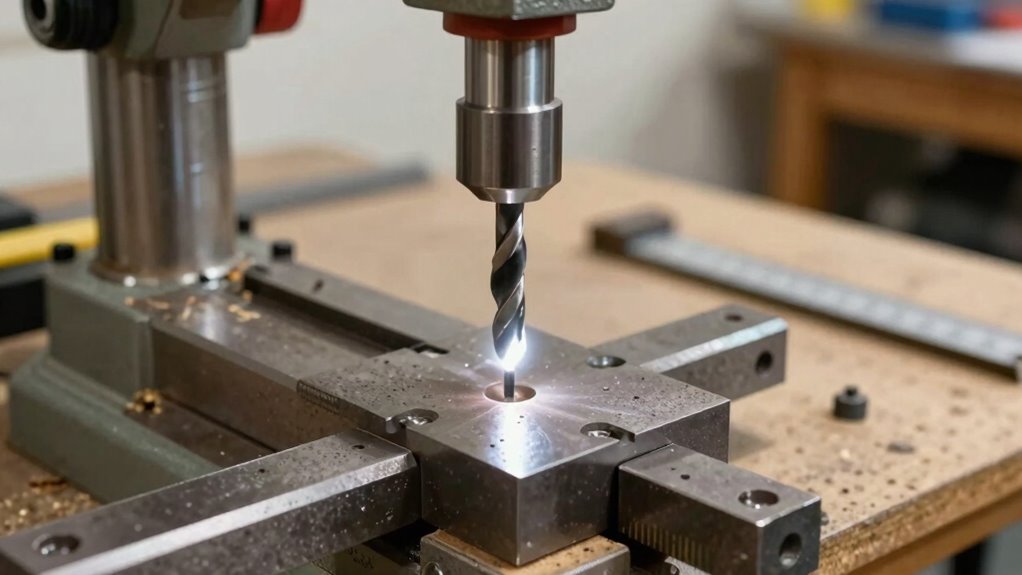
How to Check for Runout and Reduce Bit Deflection
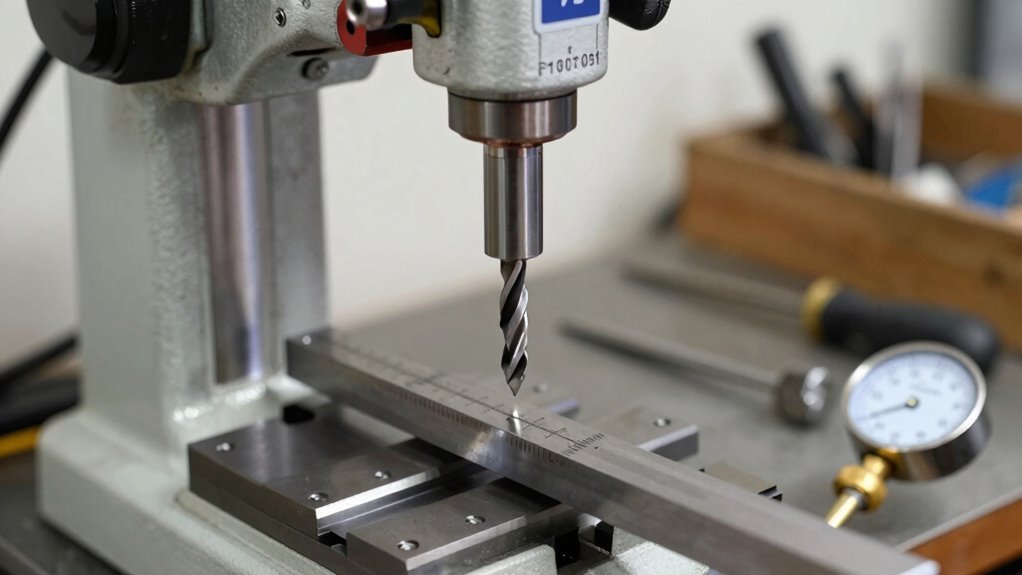
To guarantee your drill press makes accurate holes, you need to check for runout first. This involves testing how much the bit wobbles as it spins, which can cause inaccuracies. Once you identify any runout, you can take steps to minimize bit deflection and improve precision. Additionally, ensuring your drill bits are properly maintained and sharp can significantly reduce bit wear and enhance overall accuracy.
Checking for Runout
Checking for runout is essential to maintaining drill press accuracy because even slight deviations can cause misaligned holes or damaged bits. To assess bit runout, secure the bit in the chuck and rotate it by hand, observing any wobble or movement. If you notice excessive runout, it indicates that the bit or spindle may be misaligned, increasing tool deflection and affecting precision. Here are key steps:
- Use a dial indicator mounted to the spindle to measure runout accuracy.
- Ensure the bit is properly seated and tightened.
- Replace worn or bent bits that cause irregular runout.
- Check the chuck for damage or debris that could contribute to uneven rotation.
Minimizing Bit Deflection
Runout can cause significant bit deflection during drilling, leading to inaccurate holes and potential damage to the workpiece. To minimize bit deflection and improve drill accuracy, start by checking for runout using a dial indicator. Secure your drill bit tightly in the chuck, ensuring it’s straight and properly aligned. Use high-quality, sharp drill bits designed for your material to reduce unnecessary bending and deflection. When drilling, apply steady, even pressure to prevent the bit from bending under load. Keep the workpiece firmly clamped to avoid shifting, which can exacerbate deflection. Regularly inspect your drill bits for wear or damage, replacing them as needed. These steps help maintain drill accuracy by reducing bit deflection, resulting in cleaner, more precise holes.
Secure Your Workpiece to Prevent Shifting During Drilling
To keep your workpiece steady, use clamps or a vise to hold it firmly in place. You can also apply tape or mark the position to guarantee it stays aligned. Remember to check the stability regularly to prevent shifting during drilling. Additionally, ensuring your drill press is properly calibrated can help maintain accuracy in drilling, reducing the risk of angled holes.
Use Clamps and Vises
Securing your workpiece with clamps or vises is essential to achieving precise drill press results. Proper clamp positioning ensures the material stays steady, preventing shifts that can cause angled or inaccurate holes. When using a vise, verify the vise alignment so the workpiece sits parallel to the drill bit, maintaining straight drilling. Here are key tips:
- Place clamps close to the drilling point to minimize movement.
- Ensure the workpiece is firmly held without over-tightening, which could distort it.
- Check clamp positioning for uniform pressure across the workpiece.
- Confirm that the vise is aligned correctly with the drill bit before starting.
- Use proper fixturing techniques to improve stability and accuracy during drilling.
Following these steps guarantees stability and accuracy, reducing errors and ensuring clean, precise holes.
Tape or Markings
Using tape or markings is an effective way to keep your workpiece from shifting during drilling. You can use simple marking techniques to create guide lines or spots where you’ll drill, ensuring precision. Tape applications are especially helpful; apply painter’s tape or masking tape over the area to be drilled. Mark your drilling points directly on the tape using a pencil or marker, which prevents the bit from slipping. The tape also helps protect the surface from scratches. For more accuracy, you can create crosshairs or use a ruler to align your markings. This method keeps the workpiece stable and your holes accurate, especially when working with delicate or thin materials. Proper marking techniques combined with tape applications make your drilling safer and more precise.
Check Stability Regularly
Regularly checking the stability of your workpiece is essential to maintain drilling accuracy. If your workpiece shifts, it can throw off tool alignment and cause angled holes. To guarantee machine stability, double-check that your workpiece is firmly secured before drilling. Here are four tips to help keep everything in place:
- Tighten clamps securely to prevent movement.
- Use a flat, stable work surface for consistent support.
- Verify the workpiece isn’t wobbling or shifting during setup.
- Recheck the tool alignment after any adjustments or repositioning.
- Routine maintenance of your drill press ensures all components stay aligned and stable over time.
Consistent monitoring keeps your drill press stable, reducing errors and ensuring precise, perpendicular holes. Stability isn’t a one-time task; make it part of your routine for optimal results.
Common Mistakes That Lead to Crooked Holes: And How to Avoid Them
One common mistake that causes crooked holes is failing to properly align the drill bit and workpiece before starting. If your workpiece isn’t securely clamped or the drill bit isn’t perfectly perpendicular, your holes will be angled. To avoid this, use appropriate drill press accessories like jigs or guides that help maintain alignment. Always double-check the workpiece’s position and guarantee it’s firmly secured, following safety precautions to prevent shifting during drilling. Neglecting these steps can lead to inaccuracies and wasted material. Proper setup and alignment are vital for straight, clean holes. Taking time to verify your setup before drilling can save you frustration and improve precision, making your projects safer and more professional-looking.
Final Calibration Tips to Keep Your Drill Press Accurate Over Time

To keep your drill press accurate over time, it’s essential to perform final calibration checks regularly. Proper drill press maintenance ensures consistent accuracy and prevents misaligned holes. Always follow safety precautions to avoid injury during calibration. Here are four key tips:
- Check the table and spindle alignment periodically to catch shifts.
- Tighten all bolts and fasteners to prevent movement during operation.
- Use a dial indicator to verify the accuracy of the table and chuck.
- Clean and lubricate moving parts to maintain smooth operation.
- Regularly inspect pool equipment components for wear or damage to ensure safety and performance.
Regular calibration helps identify wear or loose components early. Remember, safety precautions protect you from accidents during adjustments. Staying vigilant with these tips ensures your drill press remains precise and reliable over time.
Frequently Asked Questions
What Are the Signs My Drill Press Is Misaligned?
If your drill press wobble or you notice inconsistent holes, your spindle might be misaligned. Look for wobbling bits or uneven drilling that deviates from the intended path. You may also see the drill bit tilt or angle when it’s supposed to be straight. These signs indicate spindle misalignment, and addressing it promptly guarantees accurate, straight holes and prevents further damage to your equipment.
How Often Should I Recalibrate My Drill Press?
Remember when your old floppy disk needed frequent reformatting? Well, your drill press isn’t quite that demanding, but it does need regular attention. You should recalibrate it every few months or as part of your maintenance schedule—especially after moving it or noticing inaccuracies. Regular calibration guarantees precision, prolongs machine life, and prevents costly mistakes. Keep a schedule, stay consistent, and you’ll maintain perfect, angled holes every time.
Can Ambient Temperature Affect Drill Press Accuracy?
Yes, ambient temperature can affect your drill press accuracy. Temperature fluctuations cause thermal expansion in metal parts, which can lead to slight shifts in alignment. When the metal heats up or cools down, it expands or contracts, potentially impacting the precision of your holes. To maintain accuracy, operate your drill press in a stable environment, avoid sudden temperature changes, and regularly check your setup for any misalignments caused by thermal expansion.
What Tools Are Best for Measuring Drill Press Alignment?
Did you know that using precise tools can improve drill press accuracy by up to 90%? To measure alignment effectively, you should use a laser alignment tool for quick, visual checks and a dial indicator for detailed, manual measurements. Laser alignment ensures your drill is perfectly perpendicular, while a dial indicator helps detect even tiny deviations. Combining both provides you with the most reliable setup for perfectly straight holes every time.
How Does Feed Rate Influence Hole Straightness?
A proper feed rate directly impacts hole precision by ensuring the drill bit advances steadily without forcing or wobbling. If you push too fast, you risk angled or jagged holes; too slow, and you may burn the bit or cause inconsistency. Adjust your feed rate to match the material and drill bit size, maintaining smooth, controlled movement. This balance helps you achieve straighter, more accurate holes every time.
Conclusion
So, despite all your careful setup, the universe still loves to throw crooked holes your way. Ironically, the tiniest oversight or a moment’s distraction can turn that perfectly aligned project into a wonky mess. But don’t worry—by staying vigilant and double-checking your setup, you’ll master the art of drilling straight, even if the universe insists on testing your patience. After all, perfection is just a crooked hole’s distant cousin.