
To hide grooves in your cabinets, you cut stopped dados, which start and end within the wood rather than running all the way through. Precise marking, sharp blades, and careful measurement are essential for clean cuts. You can then conceal the joint with fillers, matching stains, or strategic hardware to create a seamless look. Mastering these techniques will help you craft professional cabinets, and if you continue, you’ll learn more tips for flawless results.
Key Takeaways
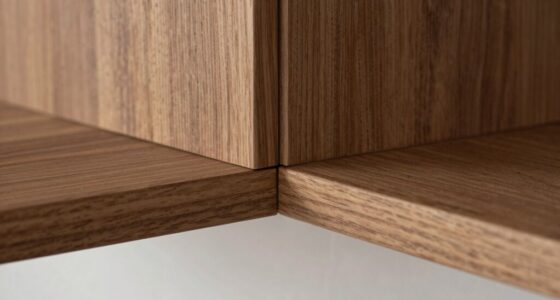
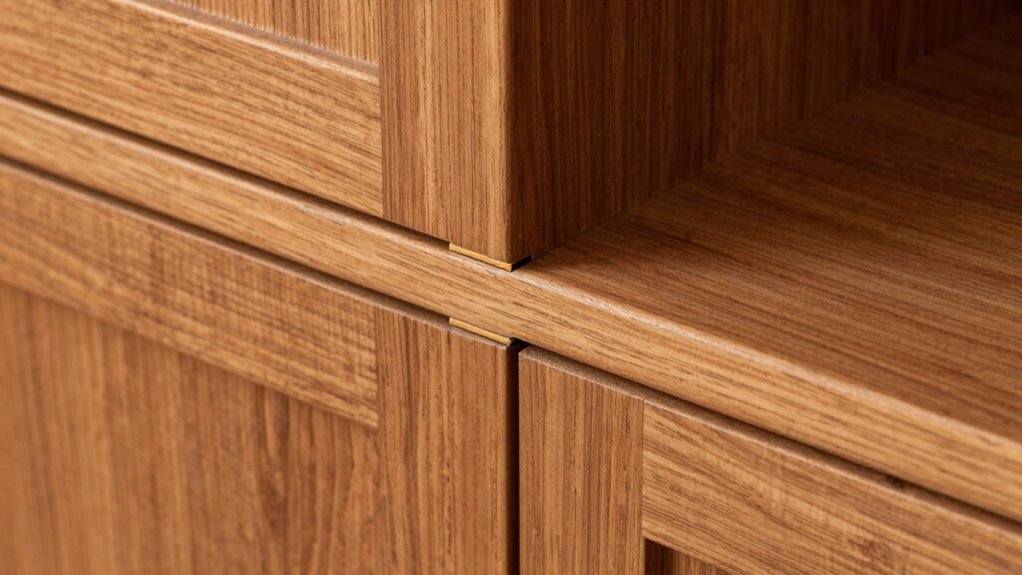
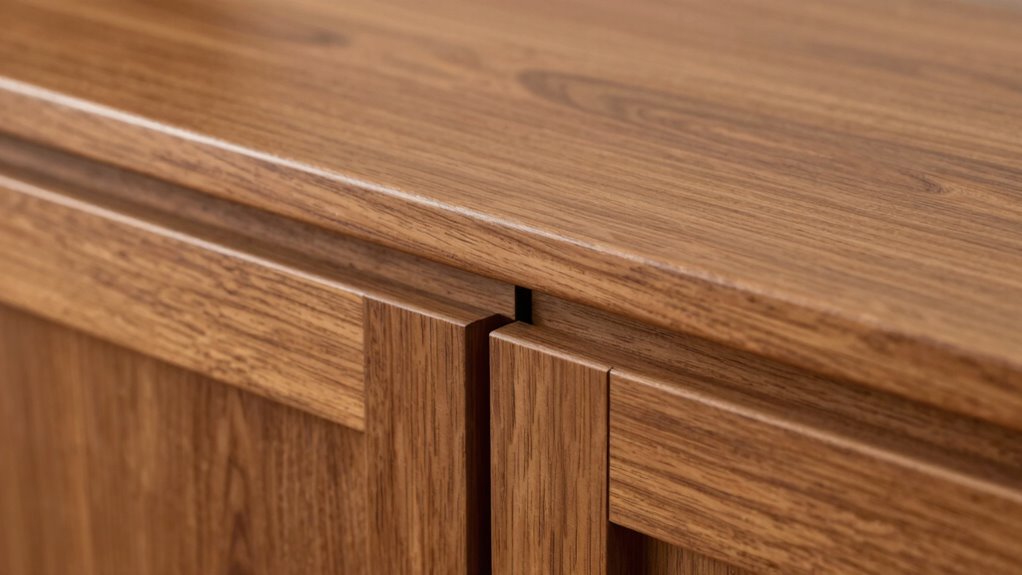
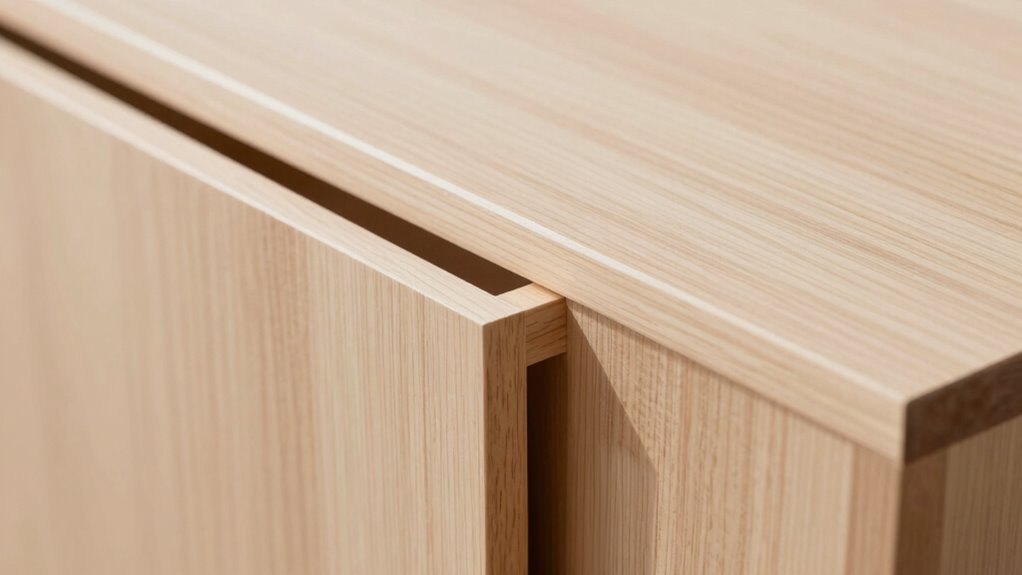
- Use stopped dados to end grooves precisely at the cabinet edge, hiding the cut line for a seamless appearance.
- Carefully mark and measure stopping points to ensure the groove does not extend beyond intended areas.
- Adjust your saw or router to create clean, abrupt stops, preventing visible tool marks or incomplete cuts.
- Sand and finish the edges smoothly after stopping the dado to conceal any imperfections or roughness.
- Conceal the groove further with matching fillers, caulk, or decorative accents to achieve a flawless, hidden joint.
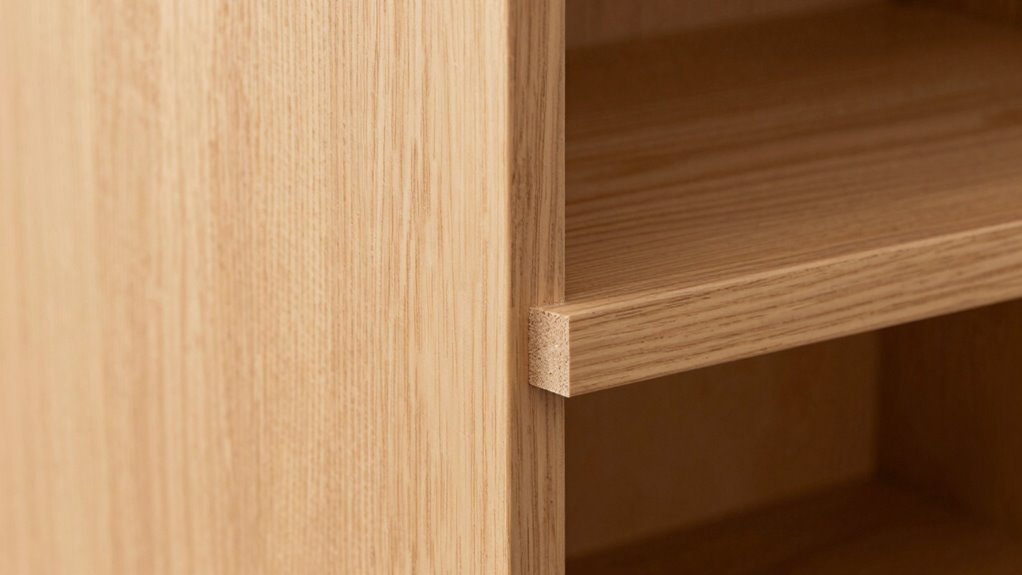
What Are Stopped Dados and Why Use Them?
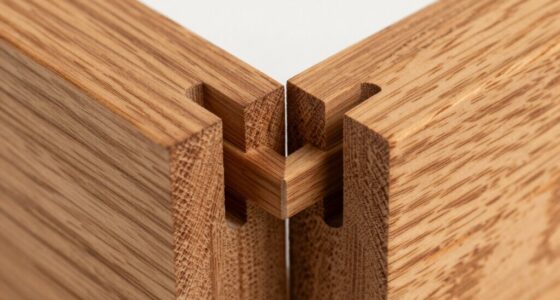
Have you ever wondered how craftsmen achieve perfectly tight joints in woodworking? Stopped dados are grooves cut partially into a piece, stopping short of the edge. They’re essential for creating seamless joints that enhance cabinet aesthetics by hiding the groove. Using stopped dados guarantees a clean, professional look, especially when the joint isn’t meant to be visible. Plus, they contribute to woodworking safety by reducing the risk of splintering or splitting during assembly. This technique allows you to join panels securely without compromising the visual harmony of your project. It’s a simple yet effective way to elevate your cabinetry, giving it a polished, refined appearance. Mastering stopped dados helps you produce both beautiful and structurally sound furniture, making your craftsmanship stand out. Understanding the importance of reliable, well-researched, and easy-to-follow culinary education can also inspire you to apply similar principles of precision and clarity to your woodworking projects.
How to Cut Perfect Stopped Dados for Hidden Joints
To cut perfect stopped dados for hidden joints, start by choosing the right blade to guarantee clean, accurate cuts. Next, use precise marking techniques to guide your saw and prevent mistakes. Paying attention to these points helps you achieve seamless, professional-looking joints every time. Incorporating energy-efficient tools can also improve your workflow and reduce environmental impact.
Selecting the Right Blade
Choosing the right blade is essential for cutting flawless stopped dados that hide seamlessly within your project. You need to evaluate the grain direction to prevent tear-out and achieve a smooth cut. When setting your blade height, adjust it so that the blade just clears the thickness of the wood’s surface—about halfway through—giving you control and a cleaner cut. A sharp, quality blade designed for crosscut or plywood cuts will produce the best results. Make sure the blade’s teeth are fine enough to handle the detail work without splintering. Proper alignment and blade height help you make precise, clean stops, ensuring the dado fits tightly and hides well. Taking your time to choose the right blade makes all the difference in creating professional-looking, hidden joints. Additionally, selecting a blade with a high-quality cutting edge ensures longevity and consistent performance throughout your project.
Precise Marking Techniques
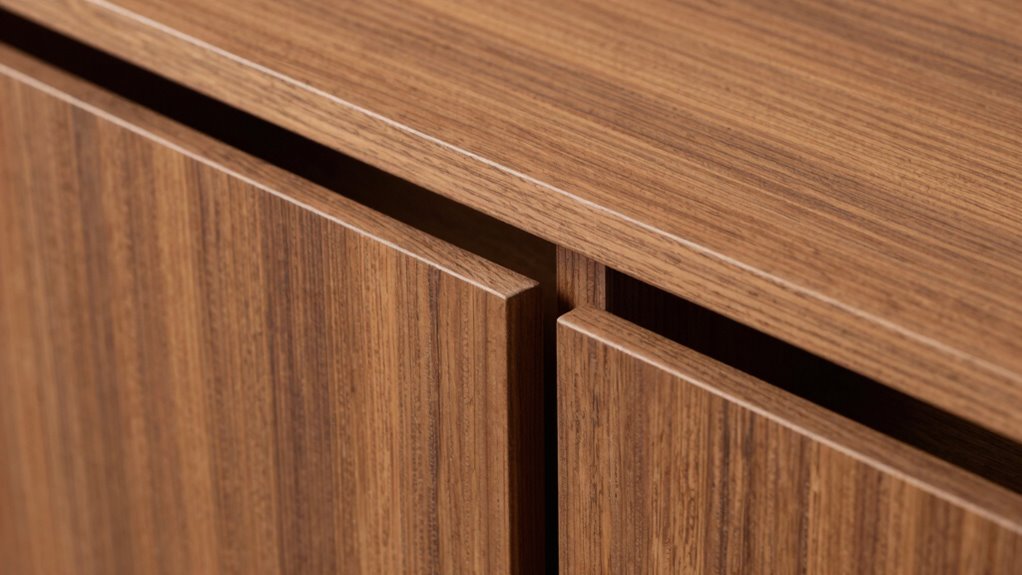
Accurate marking is the foundation of perfect stopped dados that fit seamlessly and remain hidden. To achieve this, start by aligning your work to match the grain direction, ensuring the cut blends naturally once assembled. Use a sharp pencil and precise measuring tools to mark the depth and length of the dado, double-checking measurements before cutting. When marking, consider the grain pattern so that the cut runs in the same direction, enhancing invisibility. For clean edges, lightly scribe the lines, then use a fine chisel or saw to make the cuts. After cutting, finish sanding the edges carefully, matching the grain to avoid scratches or uneven surfaces. Proper marking and grain matching guarantee a hidden joint that looks flawless, even under close inspection.
Best Techniques to Conceal Stopped Dados for a Seamless Look
To get a seamless look with stopped dados, focus on precise edge alignment to minimize gaps and uneven lines. Using fillers and caulk can hide small imperfections and create a smooth passage between surfaces. Strategic placement techniques, like hiding joints in less noticeable areas, help achieve a clean, professional finish. Incorporating smart home automation features can also assist in monitoring and maintaining consistent finishes over time.
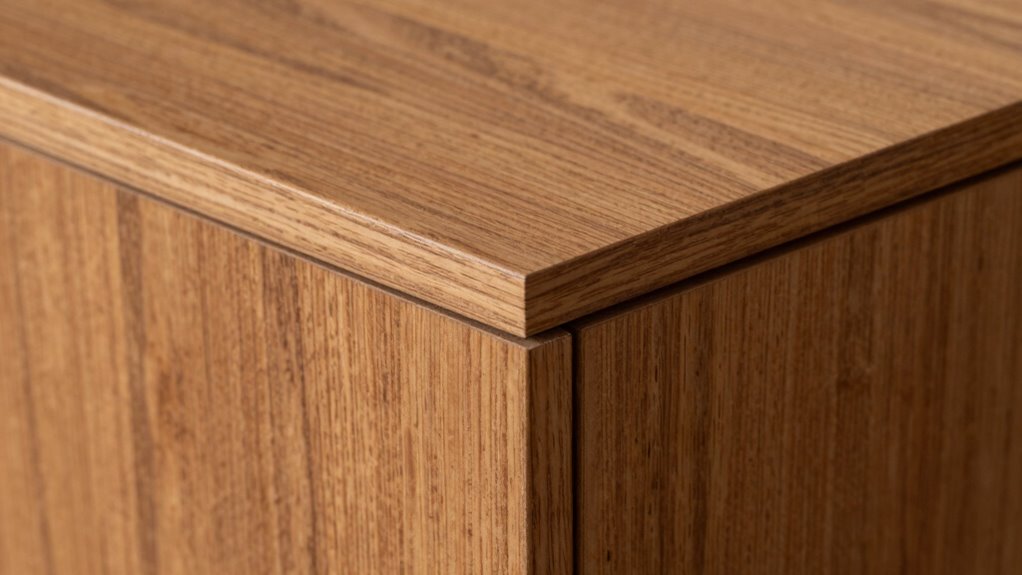
Precise Edge Alignment
When working with stopped dados, ensuring a seamless look requires precise edge alignment techniques. You need to focus on groove precision, making sure the edges of the dado fit snugly into the corresponding panel or shelf. Use sharp, accurate cuts and double-check measurements before cutting. Clamping pieces tightly during assembly helps maintain consistent alignment, preventing gaps or misfits. Pay close attention to the groove’s width and depth, ensuring they match the thickness of your material exactly. Mark your cut lines carefully and use a guide or jig to achieve straight, accurate cuts. By prioritizing edge alignment and groove precision throughout the process, you’ll create a clean, professional appearance that conceals the stopped dado seamlessly, resulting in a polished, high-quality finish. Additionally, selecting the appropriate inverter generator can ensure a reliable power source for your power tools during woodworking projects.
Use of Fillers and Caulk
After ensuring your stopped dado edges are precisely aligned, the next step is to conceal any small gaps or imperfections for a flawless finish. Filler application is key; choose a filler that matches your cabinet’s material for seamless blending. Use a putty knife to apply the filler smoothly into gaps, then sand it flush once dry. For edges and joints, caulk color matters—select a caulk that closely matches your cabinet’s finish to hide seams effectively. When applying caulk, run a steady bead along the joint, then smooth it with a damp finger or caulk tool. Properly chosen filler and caulk color ensure your repairs stay hidden, creating a clean, professional look. Understanding filtration systems can also help maintain your cabinets and prevent dust buildup that might interfere with your finish. Use the table below to compare options:
| Filler Type | Best for | Key Feature |
|---|---|---|
| Wood Filler | Wood surfaces | Sandable and paintable |
| Epoxy Filler | Deep gaps | Strong and durable |
| Latex Caulk | Joints | Flexible and paintable |
Strategic Placement Techniques
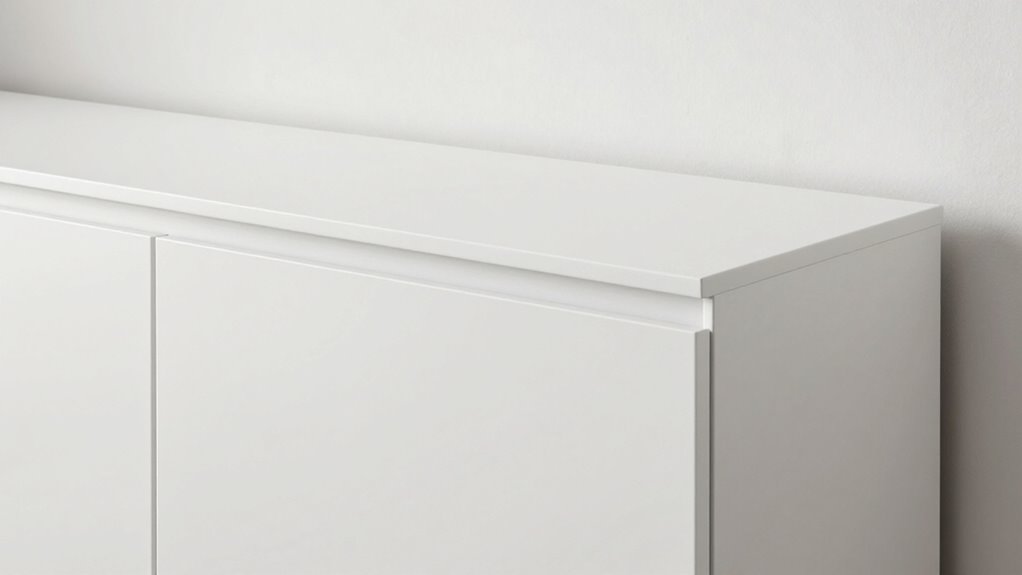
Achieving a seamless look when concealing stopped dados relies on strategic placement techniques that draw attention away from the joint. Position cabinet hardware, like handles and knobs, near the joint to divert focus. Incorporate decorative accents such as moldings or trim at the edges to mask the seam naturally. Placing these elements thoughtfully ensures the eye is drawn to the hardware or embellishments rather than the stopped dado. Additionally, align decorative accents precisely to cover the joint, creating a unified appearance. Keep in mind that strategic placement of hardware and accents isn’t just functional but also enhances aesthetic appeal. By carefully planning their placement, you make the stopped dado virtually invisible, achieving a clean, professional finish that hides the groove effectively.
Finishing Tips to Perfect and Refinish Hidden Dados
Finishing and refinishing hidden dados can be tricky, but with the right approach, you can achieve a seamless look. Start by sanding the area smoothly with fine-grit woodworking tools to remove any rough spots or old finish. When installing or replacing cabinet hardware, verify the surface around the dados is even and free of debris. For a clean finish, apply a stain or paint that matches the rest of your cabinet, using a small brush for precision. If you need to refinish, use a clear coat or sealant to protect your work. Properly finishing hidden dados enhances the overall appearance, making your cabinets look professionally crafted. Take your time, and focus on smooth surfaces and clean edges to get the best results. Ensuring a smooth surface can significantly improve the final look of your project.
Common Mistakes in Stopped Dados and How to Fix Them
One common mistake when working with stopped dados is failing to properly align the stop points, which can lead to uneven or mismatched joints. Incorrect dado dimensions often result from rushing the setup or neglecting precise measurements, causing gaps or tight fits. Always double-check your measurements and mark your stop points carefully before cutting. Ignoring woodworking safety by rushing or using dull blades increases the risk of accidents and imperfect cuts. To fix misaligned dados, carefully sand or chisel the joint to improve fit, or re-cut with adjusted dado dimensions. Ensuring accurate measurements and safe practices helps produce clean, professional results. Remember, precision in dado dimensions and attention to safety are key to avoiding common mistakes and achieving flawless hidden dados.
Troubleshooting and Adjusting Your Dados for Flawless Results
When your dados don’t fit as perfectly as you’d like, troubleshooting becomes necessary to correct the issues and guarantee a seamless joint. To improve cabinet aesthetics and maintain woodworking safety, follow these steps:
- Check your measurements to ensure accuracy before making adjustments. Small errors can affect fit and safety.
- Adjust your saw or router settings; sometimes a slightly wider or narrower cut is needed for a perfect fit.
- Test fit and sand lightly to smooth out any rough edges that could compromise the joint or safety.
- Always verify your tool calibration to ensure your equipment is cutting accurately and consistently.
Always wear protective gear during adjustments, and double-check your measurements to avoid mistakes. Proper troubleshooting guarantees your dados fit tightly, enhancing cabinet aesthetics and keeping your workspace safe.
Frequently Asked Questions
Can Stopped Dados Be Used With Different Wood Types?
Yes, stopped dados can be used with different wood types, but you should consider joint compatibility and wood expansion. Different woods expand and contract at varying rates, which could affect the fit over time. To guarantee a strong, lasting joint, choose woods with similar expansion properties or allow for movement. Properly fitting stopped dados can create a clean look while accommodating these natural wood behaviors.
What Tools Are Best for Precision Stopped Dado Cuts?
You should use a dado jig for precise stopped dado cuts, as it guides your saw accurately and controls depth. Pair it with sharp router bits for cleaner, smoother cuts when working with different wood types. The dado jig guarantees consistent width and stop points, while router bits help achieve fine, clean edges. Together, they give you the control and accuracy needed for professional-looking stopped dado joints.
How Long Does It Take to Master Hiding Stopped Dados?
You can master hiding stopped dados in a few weeks with consistent practice. The techniques overview involves precise measurements, careful marking, and choosing the right tools, like a router or dado blade. Historically, craftsmen refined these methods over centuries to achieve clean, seamless joints. With dedication, you’ll develop a steady hand and understanding of the process, making your hidden dado work look professional in no time.
Are There Safety Concerns When Cutting Stopped Dados?
Yes, there are safety concerns when cutting stopped dados. You should always follow safety precautions, like wearing eye protection and guaranteeing the tool is in good condition. Use proper tool safety techniques, such as keeping your hands away from the blade and securing the workpiece firmly. Take your time and focus on precision, which helps prevent accidents and ensures a clean, accurate cut.
How Do Environmental Factors Affect the Visibility of Hidden Dados?
Environmental factors, especially climate influence and moisture effects, substantially impact the visibility of hidden dados. When humidity rises, wood swells, making dados more noticeable, while dry conditions cause shrinkage, hiding them better. Temperature fluctuations also cause expansion and contraction, affecting how easily you see or conceal these joints. You can manage these effects by controlling your workspace environment, ensuring consistent humidity and temperature for ideal visibility and concealment of hidden dados.
Conclusion
Mastering stopped dados means more than just making clean cuts; it’s about creating seamless, stylish joints that hide the groove. With patience and precision, you’ll perfect your technique, prevent pitfalls, and produce polished, professional-looking projects. Remember, practice makes perfect, so don’t shy away from small mistakes. Stay steady, stay skilled, and soon you’ll be showcasing stunning, seamless cabinetry that’s both smart and secret—so satisfying, so seamless, so superior!