To start your woodworking glue-up projects, you’ll need essential tools like clamps, vises, and precise measuring and marking tools to guarantee accuracy and secure positioning. Choose the right adhesives, such as PVA or epoxy, and learn proper application techniques for strong joints. Safety gear, workspace organization, and auxiliary accessories keep your shop safe and efficient. If you stay focused on these basics, you’ll build sturdy, professional results—continue exploring to discover how each tool helps you succeed.
Key Takeaways
- Essential clamps and vises secure workpieces, ensuring precision and proper glue adhesion during assembly.
- Accurate measuring and marking tools, like tapes and gauges, improve cut quality and joint alignment.
- Choose appropriate glues (PVA or epoxy) and apply them evenly for durable, long-lasting bonds.
- Select compatible, high-quality tools and stay updated on tech innovations for efficiency and versatility.
- Maintain a safe, organized workspace with protective gear and proper storage to enhance safety and workflow.

HORUSDY 8-Pack Bar Clamps for Woodworking, 12" and 6" Bar Clamps, Wood Working Clamp Sets, Quick Clamps F Clamp with 150 LBS Load Limit (8-Pack Wood Clamps)
1. The complete set includes 4pcs 6" bar clamps,2pcs 12" bar clamps and 2pcs 6" spring clamps, which…
As an affiliate, we earn on qualifying purchases.
As an affiliate, we earn on qualifying purchases.
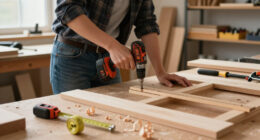
Why a Basic Glue-Up Toolkit Is Essential for Beginners
Having a basic glue-up toolkit is essential for beginners because it provides the necessary tools needed to start woodworking projects confidently. When you choose the right tools, you improve adhesive longevity by ensuring proper application and consistent pressure. Good tool ergonomics also matter; comfortable, well-designed tools reduce fatigue and allow precise control, which is critical during glue-up processes. In addition, understanding smart tool selection helps you avoid common mistakes and ensures better results in your projects. Using quality tools with ergonomic features helps you work more efficiently and safely, preventing mishaps that could compromise your project. Proper technique is also crucial for a successful glue-up, helping you maintain control and achieve professional results. Developing good work habits from the start ensures your projects are both durable and visually appealing. Moreover, mastering adhesive application techniques guarantees a more uniform bond and reduces the need for rework. Consistently practicing clamping methods enhances your overall craftsmanship and ensures tighter, more reliable joints. In short, a well-rounded toolkit not only streamlines your workflow but also helps you develop good habits from the start, setting a solid foundation for all your woodworking endeavors.

Pony Jorgensen 27091 Medium Duty Woodworker's Vise, Orange, Grey, 9-Inch By 7-Inch
Country Of Origin : China
As an affiliate, we earn on qualifying purchases.
As an affiliate, we earn on qualifying purchases.
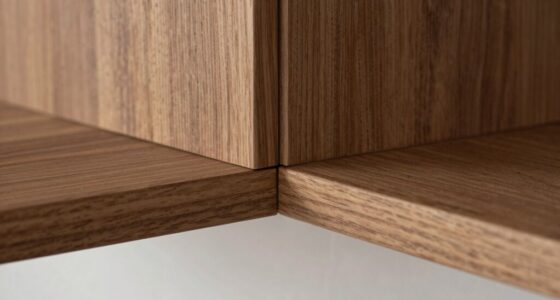
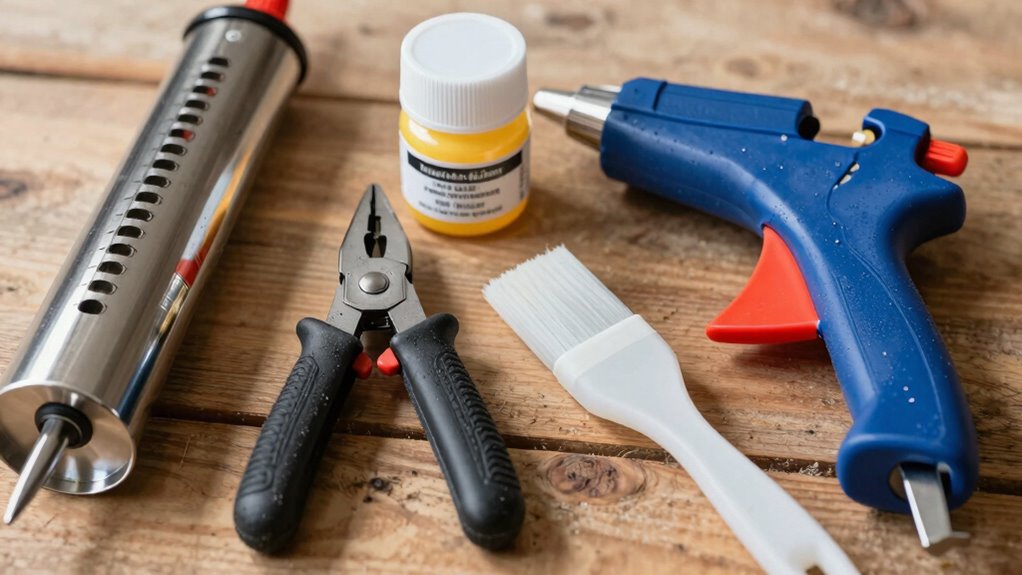
The Most Important Glues and Adhesives for Woodworking Projects
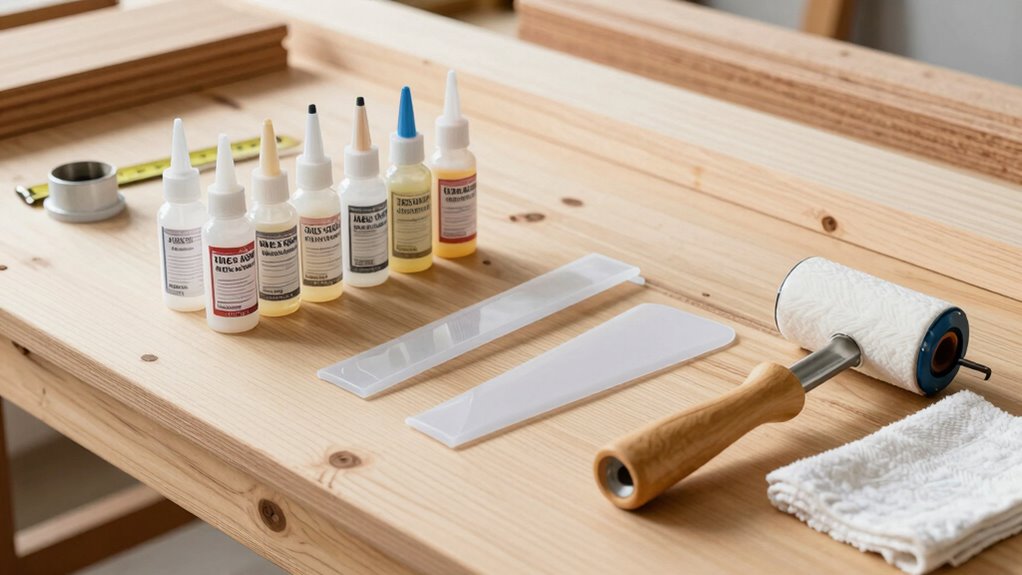
Choosing the right glue or adhesive is essential for guaranteeing your woodworking projects hold together securely and last over time. Wood joint adhesives are the most common and reliable options for bonding pieces together. PVA (polyvinyl acetate) glues are versatile, easy to use, and perfect for most indoor projects. Epoxy adhesives provide superior strength and moisture resistance, ideal for heavy-duty or outdoor applications. When applying glue, your glue application techniques matter—spread a thin, even coat to prevent excess squeeze-out and ensure strong joints. Clamping is equally important; press pieces firmly until the glue sets. Selecting the appropriate wood joint adhesives and mastering proper glue application techniques give your projects durability and professional quality. It’s the foundation of successful woodworking. Additionally, understanding the contrast ratio of your materials can help in achieving the desired visual results in your finished piece. Using environmentally friendly and sustainable adhesives can enhance the longevity and eco-friendliness of your projects. Incorporating smart adhesive systems that monitor curing times and strength can further optimize your woodworking outcomes.
Gorilla Wood Glue, 8 oz., Water Resistant PVA Wood Glue for Indoor & Outdoor Projects, Fast Clamp, Natural Color, Paintable & Sandable
FAST CLAMP TIME: Bonds strong and fast with a clamp time of just 20–30 minutes; fully cured in…
As an affiliate, we earn on qualifying purchases.
As an affiliate, we earn on qualifying purchases.
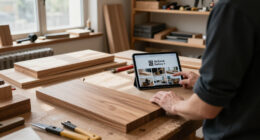
How to Choose the Right Glue-Up Tools for Your Projects and Budget
To choose the right glue-up tools, start by evaluating what your project needs and how much you’re willing to spend. Make sure the tools you pick are compatible with your adhesives and overall workflow. Balancing cost and quality will help you build a reliable toolkit without overspending. Additionally, consider incorporating smart appliance technology to enhance precision and streamline your assembly process, especially for complex projects. Understanding material compatibility can also prevent issues and ensure the durability of your finished piece. For example, knowing the net worth of different personalities can inspire confidence in your project investments and choices. Moreover, utilizing study techniques and exam preparation strategies can improve your decision-making process when selecting tools and materials. Being aware of slang usage can also help you communicate more effectively with other hobbyists and professionals in the field.
Assess Project Needs
Wondering how to select the right glue-up tools for your project? The key is to assess your project needs carefully. Start with your project planning: define the scope, complexity, and desired outcome. Consider your material selection—different materials may require specific tools for proper handling and assembly. Additionally, staying informed about latest technological advancements can help you choose more efficient and innovative tools that enhance your work. Keeping an eye on tool versatility allows you to select equipment that can adapt to various tasks and future projects. Incorporating knowledge of airless paint sprayer benefits can also inspire you to incorporate similar efficiency-boosting tools into your projects. Understanding ergonomic tool design can help prevent fatigue and improve safety during long work sessions. Recognizing the importance of philosophical insights on existence and ethics can encourage thoughtful decision-making in your tool selection process.
To guide your choices, keep these points in mind:
- Match tools to the size and type of your project
- Prioritize versatility for future projects
- Budget wisely, focusing on essential tools first
Consider Tool Compatibility
When selecting glue-up tools, it’s important to guarantee they are compatible with both your project requirements and your existing workspace. Tool compatibility ensures your tools work seamlessly together, preventing frustration and delays. Check if your chosen tools, like clamps or spreaders, integrate well with accessories you already own or plan to purchase. Accessory integration is key—ensure attachments, pads, or extensions fit properly to maximize efficiency. Compatibility also affects safety and ease of use, helping you avoid mishaps caused by incompatible parts. Before buying, review specifications and ask about compatibility features. Additionally, considering ergonomic design can greatly improve comfort during prolonged use. Being aware of pool terminology can further help you select appropriate tools tailored to your project needs. This careful consideration helps you build a cohesive toolkit that functions smoothly, saving time and money while supporting your project’s success.
Balance Cost and Quality
Balancing cost and quality is essential when selecting glue-up tools, as it guarantees you get reliable performance without overspending. To find this balance, look for cost-effective options that don’t compromise durability. Prioritize tools made from high-quality materials, ensuring longevity and consistent results. Remember, investing a little more upfront can save you money later by avoiding replacements or repairs. Consider these points:
- Choose tools with sturdy construction and durable handles
- Opt for brands known for reliable, well-made products
- Avoid extremely cheap options that may break or underperform
- Pay attention to tool ergonomics to reduce fatigue and improve precision during use. Additionally, reviewing tool reviews and ratings can help identify products that strike the right balance between cost and performance. Incorporating reputable brands known for quality craftsmanship can further ensure you select tools that stand the test of time and deliver the results you need.
To make informed decisions, research the materials used in tool construction to better understand their durability and value over time.
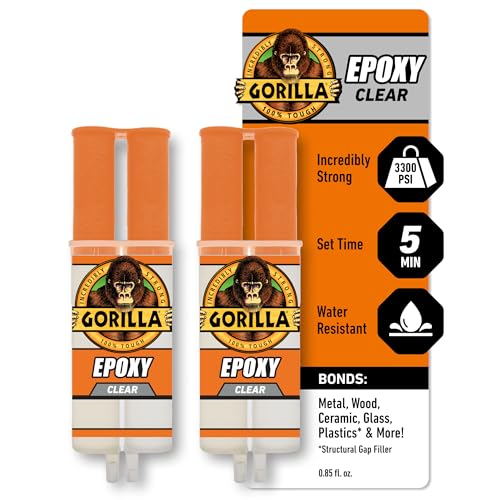
Gorilla 2 Part Epoxy, Clear Epoxy, 0.85 Ounce Syringe (Pack of 2) – 5 Minute Set, Incredibly Strong Bonding
Dries clear: Our Gorilla Tough epoxy resin dries clear for a clean finish and incredibly durable hold; perfect…
As an affiliate, we earn on qualifying purchases.
As an affiliate, we earn on qualifying purchases.
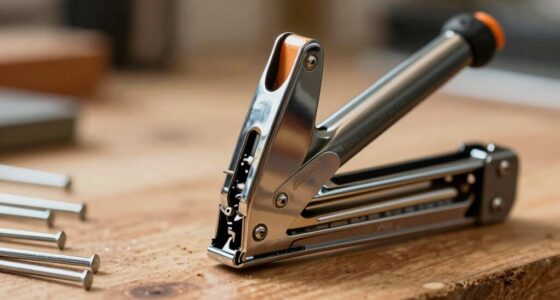
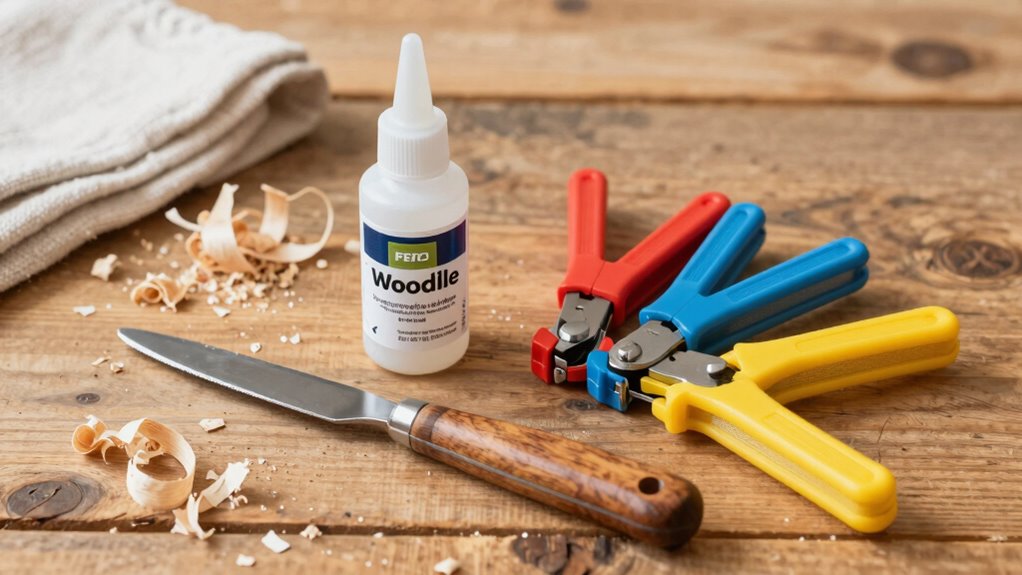
Essential Hand Tools for Precise Clamping and Positioning
To achieve accurate glue-ups, you need the right hand tools for clamping and positioning. Precision clamps and vises hold pieces securely, while marking and measuring tools guarantee everything lines up perfectly. Fine-tip hand saws help make precise cuts, giving you better control over your project.
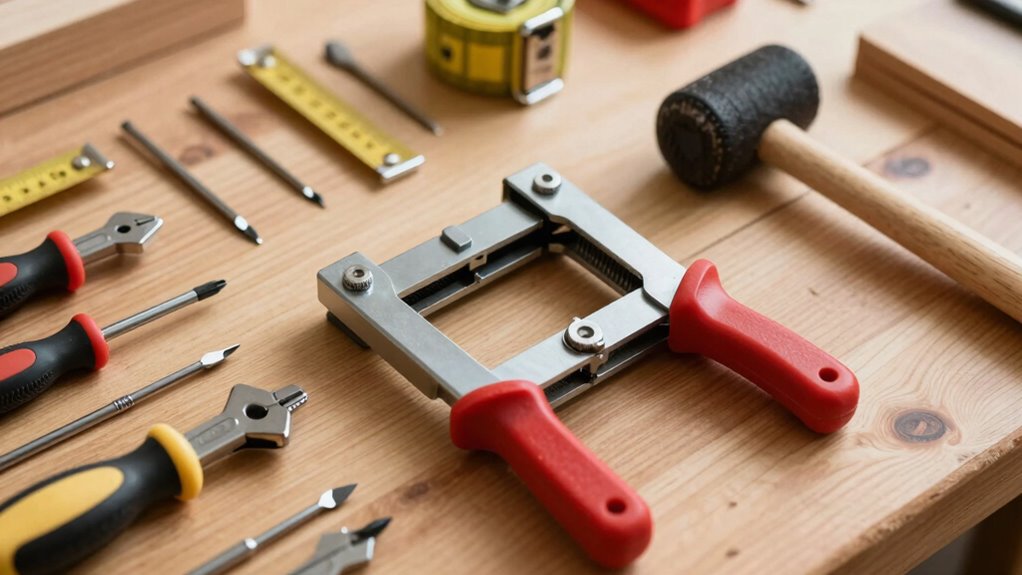
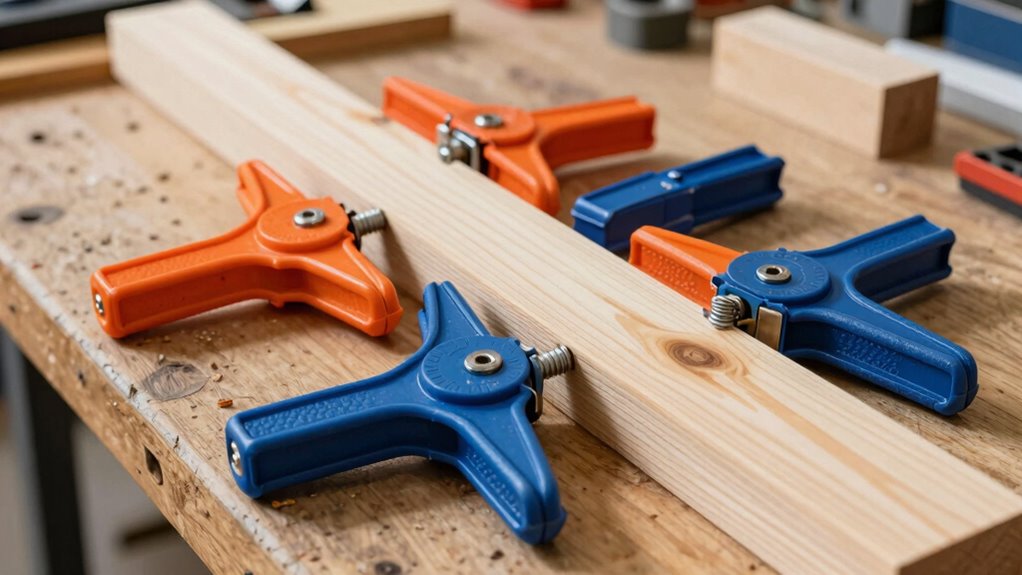
Precision Clamps and Vises
Precision clamps and vises are essential tools for achieving accurate joints and secure positioning during your woodworking projects. They help hold your work firmly in place, ensuring stability and precision. When choosing clamp types, consider bar clamps, C-clamps, or spring clamps, each suited for different tasks. Vise styles include bench vises and face vises, offering different mounting options for stability. These tools allow you to tighten and adjust pressure precisely, preventing movement during glue-up. Proper use of these tools reduces errors and improves joint quality. Remember, investing in a few versatile clamps and a reliable vise will streamline your projects and give you confidence in your craftsmanship. Use the right clamp types and vise styles for your specific needs to achieve the best results.
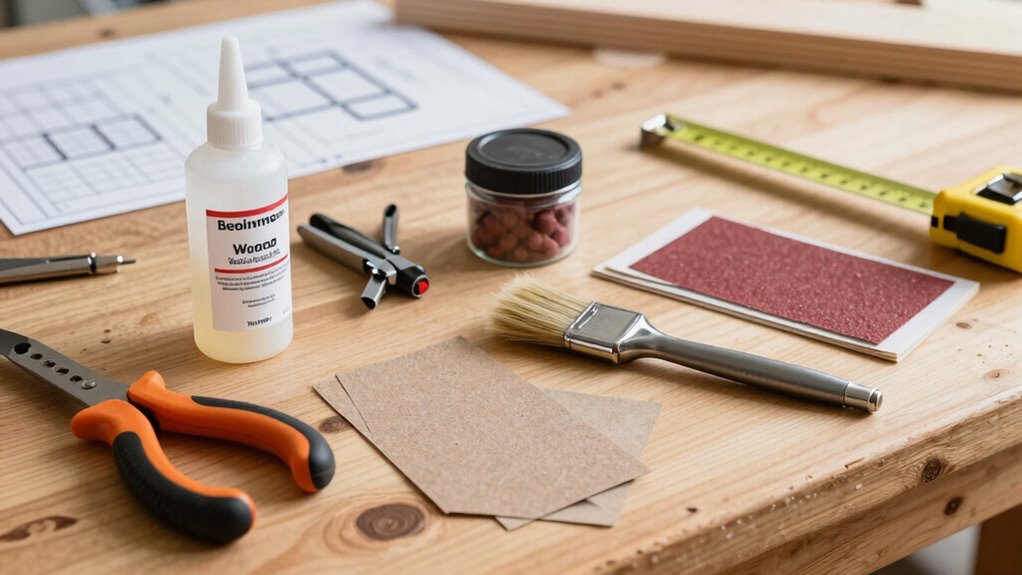
Marking and Measuring Tools
Accurate marking and measuring are the foundation of successful woodworking projects, especially when it comes to clamping and positioning pieces correctly. Measuring tapes help you quickly determine lengths and distances, ensuring your pieces are cut and aligned accurately. Marking gauges are essential for scribing consistent lines parallel to edges, which is vital for precise joints and fitting parts together seamlessly. Together, these tools help you transfer measurements accurately from plans to your workpiece, reducing errors during assembly. Using a measuring tape for quick checks and a marking gauge for detailed markings keeps your workflow efficient and your results precise. Mastering these basic tools will improve your accuracy and confidence, setting a solid foundation for all your glue-up projects.
Fine-Tip Hand Saws
Have you ever struggled to make clean, precise cuts with a bulky saw? Fine-tip hand saws are your solution. They feature sharp blades that allow for detailed, accurate cuts essential for precise clamping and positioning. These saws excel at cutting small or intricate pieces, giving you better control and reducing errors. When choosing a fine-tip saw, consider these points:
- Sharp blades for clean cuts and improved cutting accuracy
- Thin, narrow blades for detailed work
- Comfortable handles for steady control during precise cuts
Using a fine-tip hand saw ensures your projects stay aligned and accurate, making your glue-up process smoother. These tools are invaluable for tasks where precision matters most, helping you achieve professional results with less effort.
Clamps and Supports You Need to Secure Your Workpieces
Securing your workpieces firmly is essential for achieving clean, precise results, and the right clamps and supports make this task much easier. Different clamp types, such as bar clamps, C-clamps, and spring clamps, serve various purposes and sizes, giving you flexibility during glue-ups. Support materials like scrap wood, cauls, or even foam pads help protect your workpieces from damage and guarantee even pressure. Using the appropriate clamp type for each task assures a secure hold without excessive force, which can deform or damage your project. Support materials distribute pressure evenly and prevent marring. Investing in a selection of clamps and support materials allows you to handle a wide range of projects with confidence, affirming your glue-ups stay tight, aligned, and professional-looking.
Safety Gear and Workspace Accessories for a Clean, Safe Workshop
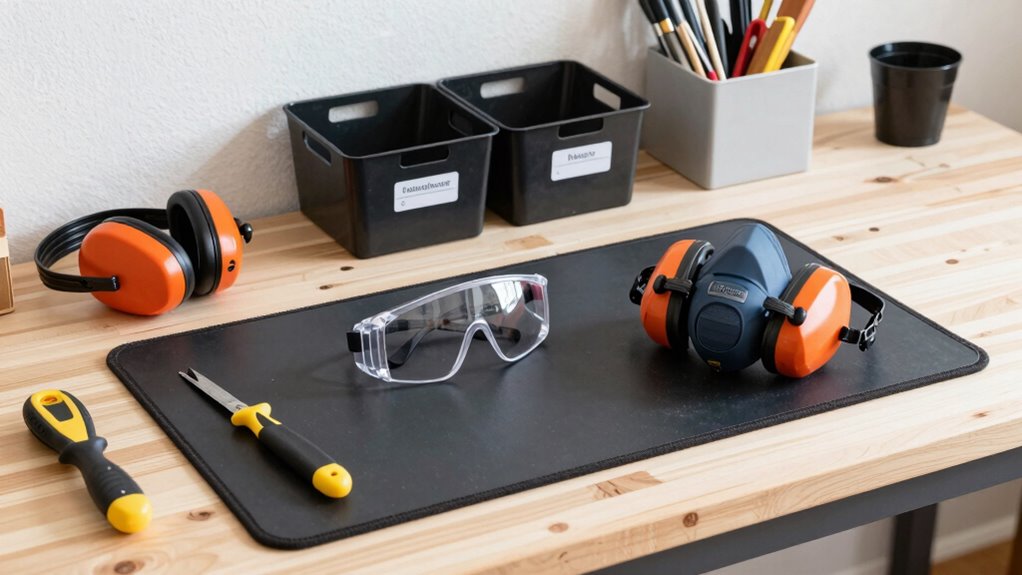
Creating a safe and organized workspace is essential for both your safety and the quality of your projects. Proper safety gear, like protective eyewear, shields your eyes from splashes, dust, or flying debris. Keeping your workspace organized minimizes clutter, reducing the risk of accidents and making your workflow smoother. Invest in simple accessories that promote safety and cleanliness, such as dust masks or gloves, and guarantee your tools are stored properly. Remember, a well-maintained workspace not only protects you but also enhances efficiency. Prioritize these essentials to create a safe environment where you can focus on your projects without worry. An organized, hazard-free space supports your craftsmanship and helps you work confidently and safely.
Tips for Using Your Glue-Up Toolkit Effectively and Safely

Using your glue-up toolkit safely and effectively starts with understanding each tool’s proper application. Always follow glue safety guidelines to prevent accidents and ensure strong bonds. Apply glue sparingly to avoid messes and wasted material. Keep your tools in good condition through regular tool maintenance; sharp blades and clean brushes make your work easier and safer. Store your toolkit properly to prevent damage and contamination. Use clamps and brushes carefully to avoid pinching or uneven pressure. Read instructions thoroughly before using new tools or glue types. Proper technique and attentive maintenance help you achieve better results and reduce the risk of injury. With disciplined care and safety awareness, your glue-up projects will be smoother and more successful.
Frequently Asked Questions
Can I Use Household Items as Makeshift Clamps?
Yes, you can use household items as makeshift clamps. For clamp alternatives, try using rubber bands, clothespins, or even heavy books to hold pieces together. These makeshift tools work well for small projects or light pressure. Just guarantee they apply even pressure without damaging the material. While not perfect, they’re handy options when you don’t have real clamps on hand, making your project doable with everyday items.
What Are the Signs of a Bad Glue Joint?
A bad glue joint is like a cracked foundation—unstable and unreliable. Look for signs like joint failure, where the glued pieces easily come apart, or uneven surfaces indicating improper curing. If the glue remains soft or shows visible gaps, it’s a clear sign your bond isn’t solid. These issues often stem from improper curing or insufficient clamping, so always guarantee proper technique for a strong, lasting hold.
How Do I Clean Excess Glue Safely?
To clean excess glue safely, act quickly before it dries. Use a damp cloth or sponge to wipe away excess glue while it’s still wet, paying attention to the glue consistency. If it’s dried, gently sand the area once the glue has fully cured, but avoid excessive force. Always follow the drying times specified on the glue’s label, and wear gloves if needed to protect your skin.
Are There Eco-Friendly Glue Options Available?
Did you know that the market for eco-friendly adhesives is growing rapidly, with a 25% increase in biodegradable adhesives over the past five years? You can choose plant-based glues or biodegradable adhesives, which are made from renewable resources and break down naturally without harming the environment. These options are safe, effective, and perfect for sustainable projects, helping you reduce your ecological footprint while still getting quality results.
How Often Should I Replace My Clamps and Tools?
You should replace your clamps and tools when they show signs of wear, damage, or loss of effectiveness. Regularly inspect them, practicing proper clamping techniques to avoid unnecessary strain. Good tool maintenance prolongs their lifespan, so clean and store your tools properly after each use. If clamps become warped or tools lose their grip, it’s time for replacements to ensure your projects stay precise and safe.
Conclusion
Just as an artist’s brush defines their masterpiece, your toolkit shapes your woodworking journey. With the right glues, tools, and safety gear, you’re equipped to craft with confidence and precision. Remember, every project is a new chapter—like a painter’s canvas awaiting its story. Stay mindful, practice patience, and let your toolkit be the steady hand that guides you toward craftsmanship that endures through time.