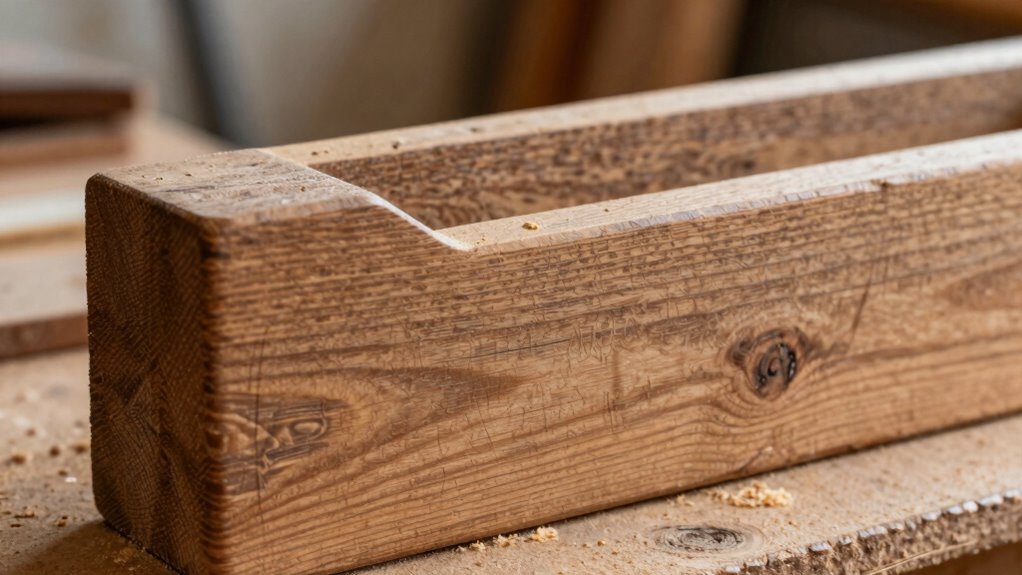
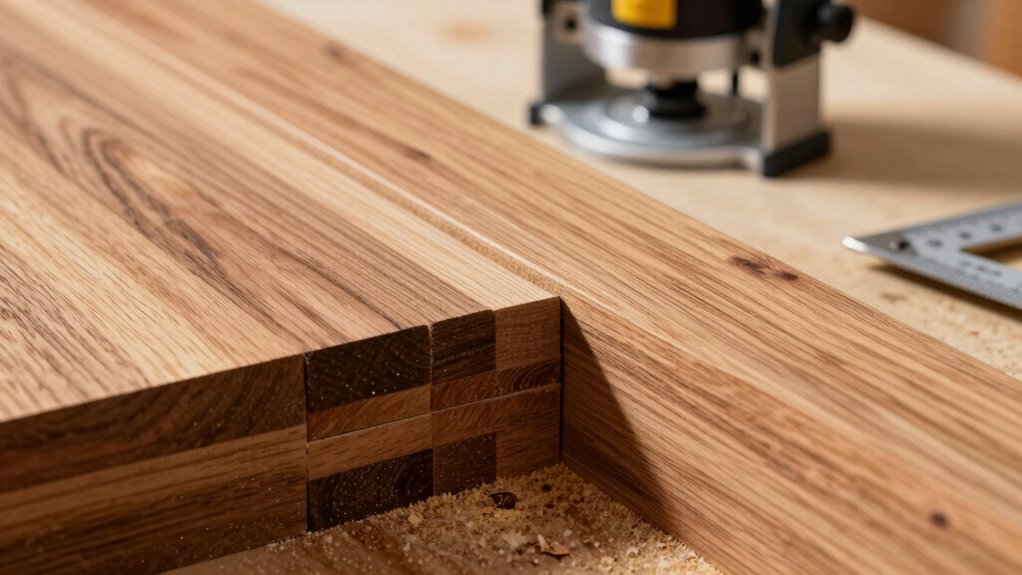
The real purpose of a dado blade is to create precise, wide grooves in wood for strong joints like shelves or drawers. If your cuts don’t fit right, it’s often due to improper setup—like incorrect blade width, misaligned fences, or dull blades. Properly adjusting your saw and matching the blade to your material guarantees a perfect fit. Keep going to discover how to troubleshoot and perfect your dado cuts for professional results.
Key Takeaways
- A dado creates precise, wide grooves for strong woodworking joints like shelves and drawers.
- Proper setup ensures the dado fits tightly, preventing gaps and weak joints.
- Misalignment or dull blades can cause the dado to fit improperly, leading to loose or tight joints.
- Matching the dado width to the blade and material thickness is essential for a perfect fit.
- Regular calibration and correct technique prevent fit issues and ensure professional, stable joints.
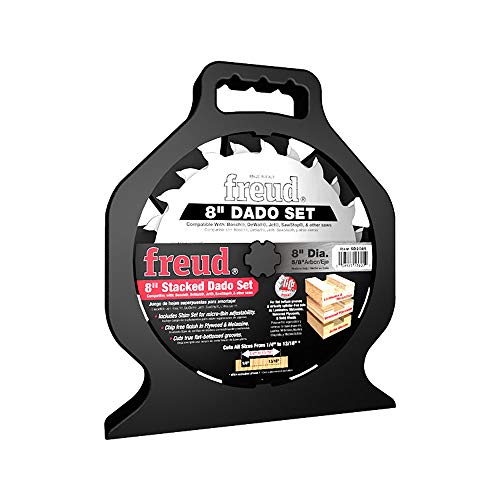
Freud Pro Dado Set with Premium Tico Hi-Density Carbide Crosscutting Blend for Maximum Performance – 8" Diameter, 12 Teeth, 5/8" Arbor, 6000 Max RPM – SD208S
Versatile Set Configuration – Includes 2 blades, 3 chippers, spacers, and a precision shim set, allowing micro-adjustments for…
As an affiliate, we earn on qualifying purchases.
As an affiliate, we earn on qualifying purchases.
What Is the True Purpose of a Dado Blade in Woodworking?

What exactly is the true purpose of a dado blade in woodworking? To understand its significance, you should look into its dado history, which dates back to early woodworking techniques where grooves and slots were essential for joinery. A dado blade is designed to cut precise, wide grooves across or into wood pieces, allowing you to create strong joints like shelves, cabinet dividers, or drawer supports. Its main purpose is to simplify these cuts, saving you time and effort while ensuring accuracy. Unlike regular saw blades, dado blades produce clean, consistent cuts that fit perfectly with other pieces. Mastering the use of a dado blade enhances your woodworking projects, making your joints stronger and your craftsmanship more professional. Additionally, understanding the history of dado blades can give you deeper insight into their evolution and continued importance in woodworking.
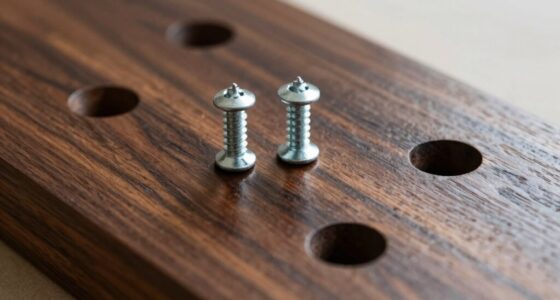
woodworking dado blade kit
As an affiliate, we earn on qualifying purchases.
As an affiliate, we earn on qualifying purchases.
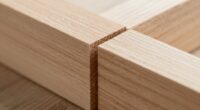
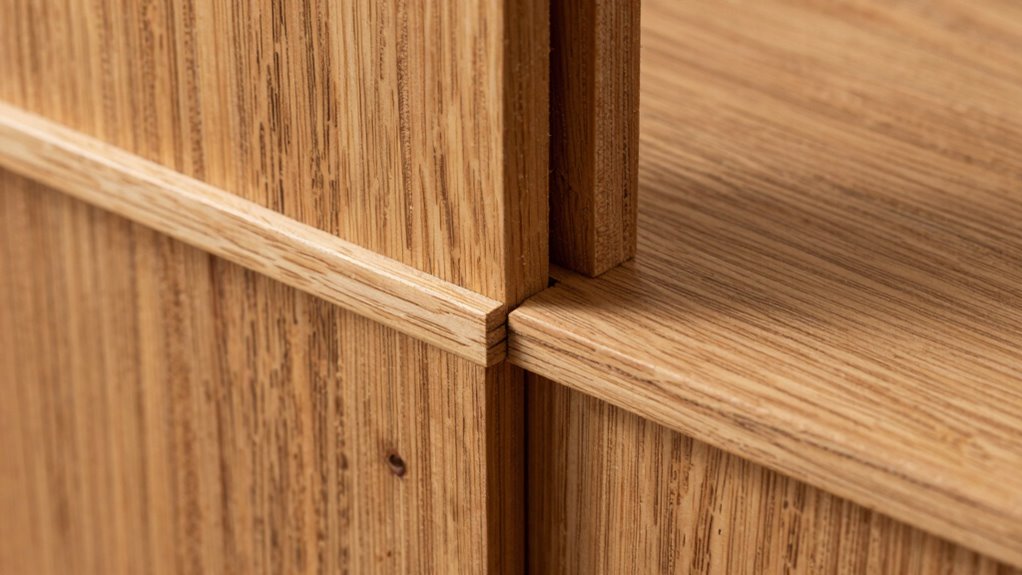
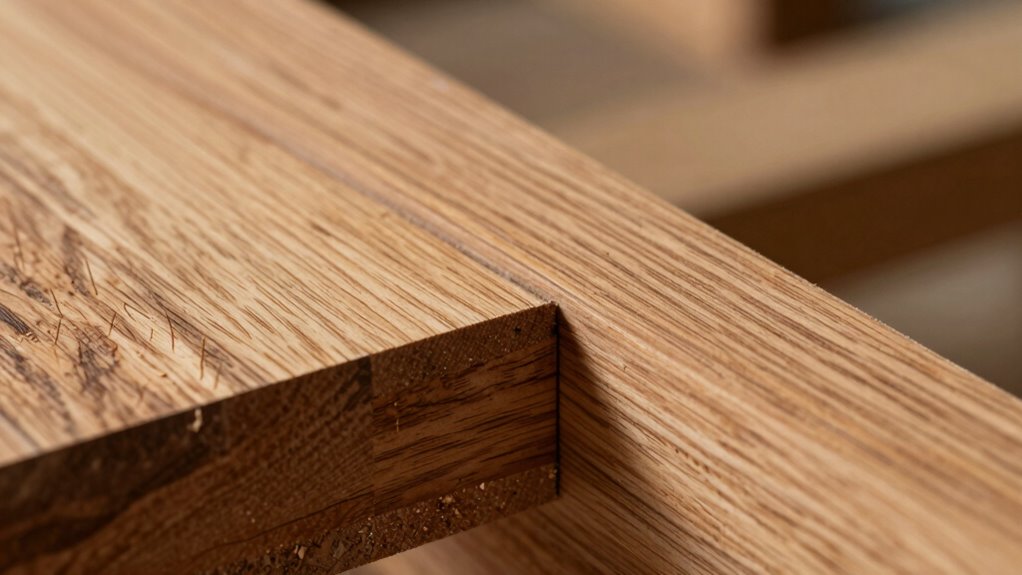
Why a Proper Dado Setup Is Key to Strong, Stable Joints
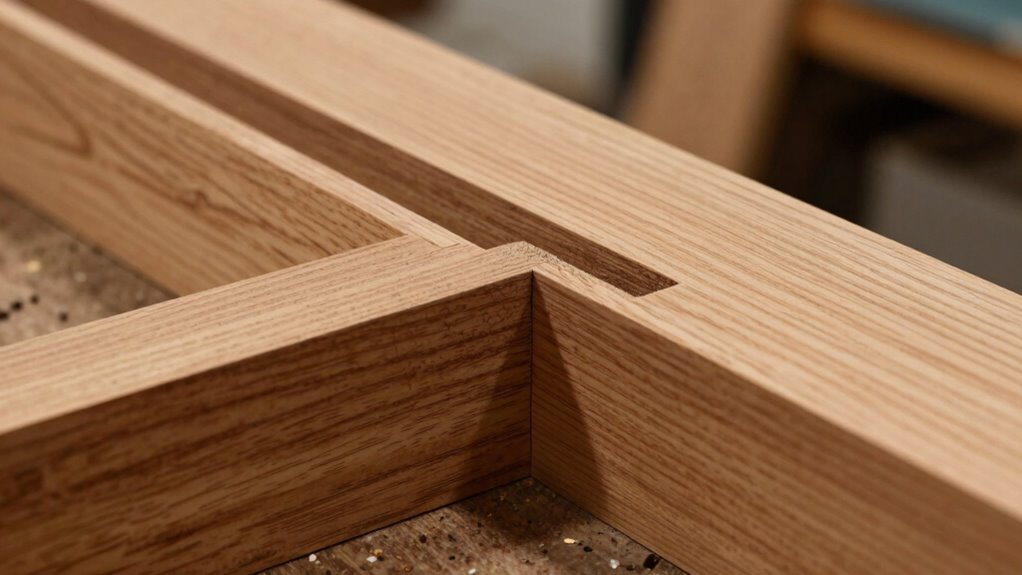
A proper dado setup is essential because it directly impacts the strength and stability of your joints. If your dado isn’t accurately aligned or your blade isn’t properly calibrated, your joints can be weak or uneven. To guarantee a strong fit, focus on dado alignment to keep the cut precise and consistent. Regular blade calibration guarantees the blade height and angle are correct, preventing gaps or misfits. Key points to remember:
- Check dado alignment before each cut
- Calibrate the blade for consistent depth
- Use a reliable measuring tool for accuracy
- Verify the fence is square to the blade
- Test on scrap wood before cutting your project
A correct setup guarantees tight, durable joints, avoiding wood failure or instability. Additionally, understanding the importance of proper equipment setup can further ensure your projects’ success by minimizing errors caused by misaligned tools, especially considering how proper calibration directly influences cutting precision and overall joint quality.
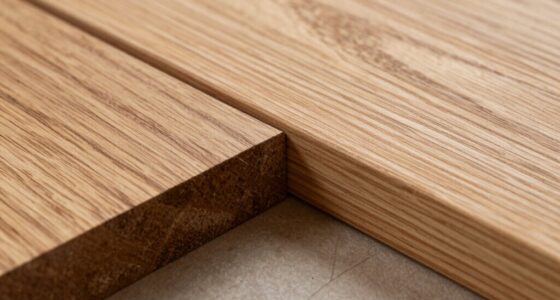
precision dado blade for shelves
As an affiliate, we earn on qualifying purchases.
As an affiliate, we earn on qualifying purchases.
Common Causes of Dado Fit Problems and How to Recognize Them
If your dado doesn’t fit properly, the issue might be with your blade alignment, which can cause uneven cuts. A worn or damaged blade also affects the fit, making it harder to achieve tight joints. Additionally, inconsistent cutting techniques can lead to gaps, so paying attention to your method is essential. Regular maintenance and understanding exfoliation benefits can help ensure your tools and techniques are optimized for precise cuts.
Improper Blade Alignment
When the saw blade isn’t properly aligned, it can cause significant issues with dado cuts. Misalignment affects blade calibration, leading to uneven or splintered joints, and compromises saw safety. Recognizing improper blade alignment is key to achieving perfect fits. Look for these signs:
- Uneven dado width across the cut
- Excessive vibration during operation
- Rough or splintered edges
- Difficulty maintaining consistent measurements
- Resistance or binding when pushing the workpiece
Regularly check and adjust your blade alignment to ensure precise cuts and safe operation. Proper blade calibration minimizes gaps and prevents the risk of kickback. Keep your saw’s components aligned to maintain ideal performance and avoid costly mistakes. Proper alignment is a simple but critical step in quality dado work.
Worn or Damaged Blade
Worn or damaged blades are common culprits behind poor dado fits, often causing uneven cuts and gaps that compromise the joint’s strength. Over time, regular use can dull the teeth or cause chips, leading to less precise cuts. To maintain peak dado blade performance, proper dado blade maintenance is essential—regularly inspect the blade for signs of damage or dullness. If you notice rough cuts or significant wear, it’s time for blade replacement. Using a damaged blade not only affects the quality of your dado but also risks safety, as compromised blades are more prone to breaking. Keeping your blades sharp and in good condition ensures cleaner cuts, tighter fits, and a safer woodworking experience. Regular maintenance and timely blade replacement are key to avoiding fit issues caused by a worn or damaged blade. Additionally, inspecting the worn or damaged blade regularly helps prevent accidents and ensures optimal performance. Moreover, understanding the role of the Sun in powering our environment highlights the importance of renewable energy sources like solar power.
Inconsistent Cutting Technique
Inconsistent cutting technique is a common cause of dado fit problems that often go unnoticed until the joint shows gaps or unevenness. Variations in your cutting depth, angle, or speed disrupt the dado design’s precision, leading to poor fit. To recognize this issue, look for signs like uneven groove widths or inconsistent depths across the cut. Maintaining cutting consistency is key to achieving a proper dado fit. Here are some common causes to watch out for:
- Varying blade height during cuts
- Using different feed speeds
- Not securing the material properly
- Inconsistent guide or fence settings
- Changing blade angles mid-cut
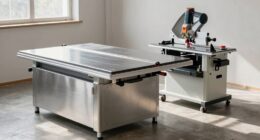
dado blade alignment tools
As an affiliate, we earn on qualifying purchases.
As an affiliate, we earn on qualifying purchases.
How to Measure and Match Your Dado Blade for Perfect Fits

To get perfect fits, you need to measure your dado blade accurately and match it precisely to the desired width. Using a caliper or a ruler guarantees your measurements are correct before making any cuts. Properly matching your blade to the dado width helps achieve clean, tight joints every time. Additionally, understanding the blade clearance and how it affects cut quality is essential for optimal results. Ensuring the blade setup is correct also minimizes tear-out and maximizes efficiency during your woodworking projects. Regularly checking your measurements against content relevance can help maintain consistent, high-quality results. Paying attention to measurement accuracy is fundamental for maintaining the integrity of your cuts and ensuring your projects fit together perfectly.
Accurate Blade Measurement
Measuring your dado blade accurately is essential to guarantee a perfect fit for your woodworking projects. Proper measurement ensures your dado thickness aligns with your material, preventing gaps or tight fits. To achieve this, focus on precise blade calibration and measurement techniques. Consider these key points:
- Use a caliper to measure the actual thickness of the blade set.
- Verify the blade’s width matches your desired dado size.
- Check for any warping or unevenness in the blades.
- Ensure the blades are securely mounted and aligned.
- Re-measure after any adjustments to confirm accuracy.
- Regular blade maintenance helps keep your measurements consistent and your cuts precise, which is crucial for maintaining cut quality and avoiding material waste. Additionally, understanding proper blade alignment ensures your cuts are both accurate and safe for your projects.
Proper Dado Widths
Achieving a perfect fit with your dado requires carefully matching the blade width to your desired cut. Start by measuring your dado thickness accurately, then adjust your blade to ensure proper blade clearance. Too tight, and the dado may split; too loose, and it won’t hold joints securely. Use the table below to match your blade to your workpiece:
| Dado Thickness | Recommended Blade Width |
|---|---|
| 1/4 inch | 25/64 inch |
| 3/8 inch | 7/16 inch |
| 1/2 inch | 9/16 inch |
| 3/4 inch | 13/16 inch |
| 1 inch | 1-1/8 inch |
Matching these ensures ideal dado width and proper blade clearance, resulting in strong, accurate joints. Remember to also consider proper blade alignment to maintain precision during your cuts. Ensuring the correct blade setup is essential for achieving optimal results and avoiding damage to your workpiece. Maintaining cutting accuracy is crucial for woodworking projects that require tight joints and precision.
Adjusting Your Saw and Blade for Accurate Dado Cuts
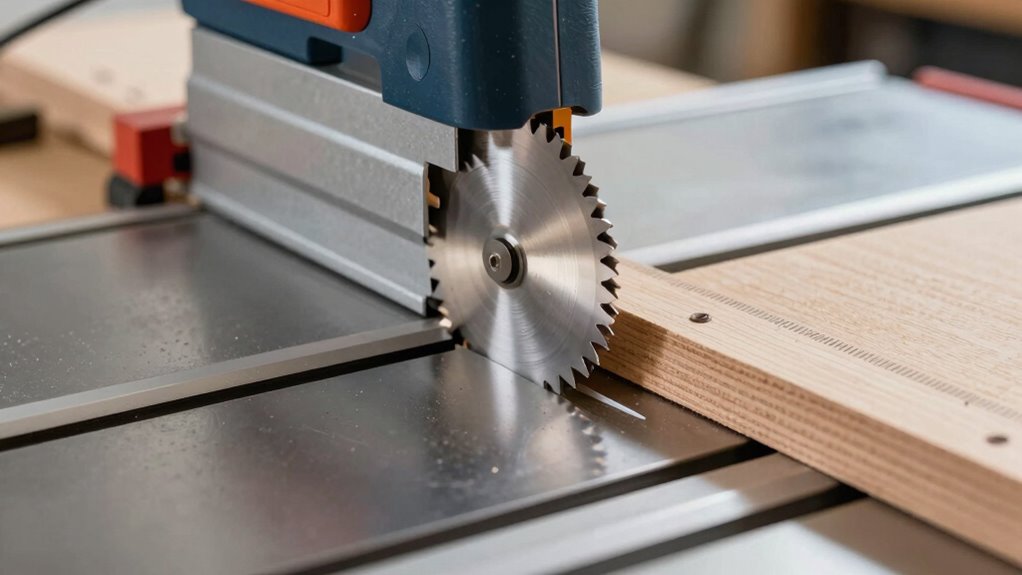
Ensuring your saw and blade are properly adjusted is essential for making accurate dado cuts. Proper alignment guarantees dado safety and prevents dangerous kickbacks. Start by verifying the blade material; carbide-tipped blades are durable and provide cleaner cuts. Use a reliable square to set the blade height precisely, matching the desired dado depth. Adjust the blade width with the dado stack or rip fence, ensuring each piece fits snugly without forcing. Check that the saw’s miter gauge or fence is square to the blade for consistent cuts. Regular calibration of your saw’s components is crucial, especially in relation to nanotechnology advancements that influence manufacturing precision. Finally, double-check all adjustments before cutting to prevent mistakes and ensure your dado fits perfectly. Regular calibration keeps your saw performing at its best and maintains safety during your woodworking projects.
Tips to Avoid Mistakes When Setting Up Your Dado Blade

To avoid mistakes when setting up your dado blade, start by double-checking all adjustments before making a cut. Ensuring proper dado safety involves verifying the blade width, height, and alignment with your woodworking tools. Misaligned blades can cause kickback or uneven cuts, risking injury and damaging your project. Use the table below to confirm your setup:
| Step | Checklist | Tips |
|---|---|---|
| 1 | Blade width matches cut needs | Measure with calipers for precision |
| 2 | Blade height is correct | Adjust to match material thickness |
| 3 | Blade alignment with fence | Ensure consistent positioning |
| 4 | Tighten all adjustments | Prevent movement during cut |
| 5 | Confirm dado safety protocols | Wear appropriate gear and check tools |
Following these tips keeps you safe and ensures your dado cuts are accurate every time.
Tools and Tricks for Achieving the Best Dado Fit Every Time
Using the right tools and techniques can make a significant difference in how precisely your dado fits. To guarantee perfect dado aesthetics, focus on accuracy and consistency. Start with sharp blades and precise measurements, aligning your fence carefully. Consider using a dado stack or a router with a jig for cleaner, more uniform cuts, reflecting woodworking history’s evolution. For better control, clamp your workpiece securely, preventing any shifting. Always double-check your setup before making the cut. Remember, a well-fitted dado enhances the overall look of your project. Here are some tips:
Achieve perfect dado fits with sharp tools, careful measurement, and secure clamping for clean, professional results.
- Use a high-quality, sharp dado blade or router bit
- Measure and mark carefully before cutting
- Clamp your workpiece securely
- Adjust blade height and fence for precision
- Regularly inspect tools for ideal performance
- Proper setup is essential to achieve consistent, professional results every time.
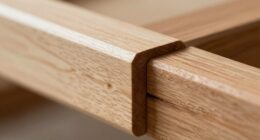
Troubleshooting Loose or Tight Dado Joints: What to Do Next
When you encounter a dado joint that’s either too loose or too tight, it’s essential to diagnose the problem quickly to achieve a proper fit. Loose joints can compromise dado aesthetics, making your project look sloppy, and may not hold decorative inlays securely. Tight joints, on the other hand, risk damaging the wood or causing gaps. To troubleshoot, check your blade height and fence alignment, ensuring the dado width matches your material thickness. If the fit is too tight, consider sanding or adjusting the blade to create a precise, snug fit. For loose joints, use glue or shims to tighten the fit. Correctly troubleshooting ensures your dado joints enhance both the structural integrity and visual appeal of your project, especially when incorporating decorative inlays. Additionally, verifying your blade setup is crucial for achieving consistent and accurate dado cuts.
Frequently Asked Questions
How Do I Choose the Right Dado Blade Width for My Project?
To choose the right dado blade width for your project, you need to consider your desired woodworking precision. Measure the thickness of the material you’ll cut, then select a dado blade that matches or slightly exceeds that width. Dado blade sizing is vital for clean joints and accurate cuts. Always double-check your measurements before making your cut to guarantee you achieve the best fit and professional results.
Can I Use a Regular Saw Blade for Dado Cuts?
You shouldn’t use a regular saw blade for dado cuts because it’s not designed for that purpose, and it can compromise dado blade compatibility. While some try saw blade alternatives, they often don’t produce clean, precise cuts like a dedicated dado blade set. Using the right tools ensures safety and accuracy, so invest in a proper dado blade to achieve ideal results and avoid damaging your saw or your project.
What Safety Precautions Should I Take When Setting up a Dado?
Imagine standing in your workspace, ready to cut a dado. You should wear safety gear like goggles and ear protection, ensuring sparks and noise don’t harm you. Set up your workspace properly, securing the saw and using a stable surface. Always double-check the blade height and alignment, and keep your hands away from the blade path. These precautions keep you safe and make your project smooth and enjoyable.
How Often Should I Calibrate My Saw and Dado Setup?
You should calibrate your saw and dado setup at least every few uses or whenever you notice inaccuracies. Regular calibration ensures blade maintenance stays ideal, providing precise cuts and safety. Check alignment, blade height, and fence position consistently, especially after moving or transporting your equipment. Maintaining a routine calibration frequency helps prevent errors, extends tool life, and keeps your woodworking projects accurate and safe.
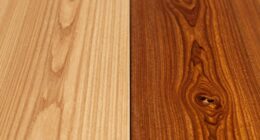
Are There Specific Wood Types That Affect Dado Fit Quality?
You might notice that certain wood types impact your dado fit more than others. Hardwoods like oak or maple tend to produce tighter, cleaner joints due to their dense grain, while softer woods like pine may result in looser fits. Grain considerations play a vital role—knots or irregular patterns can disrupt the cut, so selecting the right wood and understanding its grain can make all the difference in achieving perfect dado joints.
Conclusion
Now that you understand the true purpose of a dado, you’re armed with the tools to craft joints that fit like a glove. Think of your saw and blade as partners in a dance—when they move in harmony, your projects come together seamlessly. Keep fine-tuning your setup, and you’ll turn rough cuts into masterpieces. With patience and precision, you’ll master the art of perfect dado joints, turning your woodworking dreams into reality.