
To get clean inside corners, you should start with a precise stop-cut. Use a sharp saw to make a shallow, controlled cut at the exact corner, following the grain for a smooth boundary. Then, carefully chisel away the excess material, working slowly and steadily for a tight fit. Proper technique prevents splintering and uneven surfaces, giving you sharp, professional corners. Keep practicing these steps, and you’ll master the process for flawless inside joints.
Key Takeaways
- Make a precise stop-cut along the inside corner to define the boundary for chiseling.
- Use sharp, controlled chisels to remove material evenly and achieve a clean, square inside corner.
- Align your saw carefully to make shallow, accurate cuts before chiseling for better results.
- Work slowly and deliberately, checking fit frequently to prevent overcutting or undercutting.
- Maintain sharp tools and proper technique to ensure tight, professional-looking inside corners.

HURRICANE 4 Piece Wood Chisel Set for Woodworking. CR-V Steel Beveled Edge Blades with Safety Caps. Durable PVC High Impact Handle, for Precision Carving & DIY Projects (1/4", 1/2", 3/4", 1")
Premium Blades: Drop forged CR-V steel with heat-treated edges ensures sharp precision and long-lasting durability, can be used…
As an affiliate, we earn on qualifying purchases.
As an affiliate, we earn on qualifying purchases.
Why Precise Inside Corners Matter in Woodworking
When working with wood, precise inside corners are essential because they guarantee a tight fit and professional appearance. Proper corner reinforcement strengthens the joint, preventing gaps and ensuring durability. Achieving accurate corners also simplifies sanding techniques, allowing you to smooth progressions seamlessly. If corners are off, you risk weak joints and uneven surfaces, which can compromise your project’s integrity. Using precise cutting and chisel work helps create perfect inside corners that require less correction later. Reinforcing corners with appropriate techniques enhances the overall quality of your work, making it look cleaner and more finished. Mastering these details saves time and effort in finishing, ensuring your project is both sturdy and visually appealing. Precise inside corners are a fundamental step in professional woodworking. Additionally, understanding corner reinforcement methods can further improve the strength and appearance of your joints.

JORGENSEN Japanese Flush Cut Saw, 5 Inch Pro Double Edge Pull Saw, SK5 Flexible Blade Wood Handsaw, 18/25 TPI Blade with Soft Grip Handle for Hardwood & Softwood Woodworking, Wood Trim
Geometric Teeth Design: JORGENSEN 5 inch hand saw is designed with three-sided grinding gear, sharp edge, special hardened…
As an affiliate, we earn on qualifying purchases.
As an affiliate, we earn on qualifying purchases.
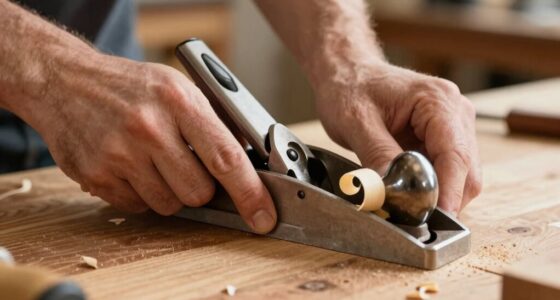
Preparing Wood and Tools for Accurate Inside Corners

Preparing your wood and tools sets the foundation for achieving accurate inside corners. First, examine the grain orientation; plan your cuts so the grain runs smoothly along the edges, reducing tear-out and chipping. Select high-quality chisels and sharp blades, as dull tools compromise precision. When working with wood, consider how grain and moisture affect swelling—cut slowly and carefully to prevent movement after shaping. Guarantee your workpiece is properly dried and stabilized to minimize wood swelling that can distort corners. Mark your measurements clearly, double-checking angles and depths before cutting. Proper preparation ensures your tools perform at their best and your wood responds predictably, making inside corner work more accurate and cleaner. This preparation is essential for precise, professional results. Additionally, understanding grain orientation can significantly improve the quality of your cuts and prevent costly mistakes.
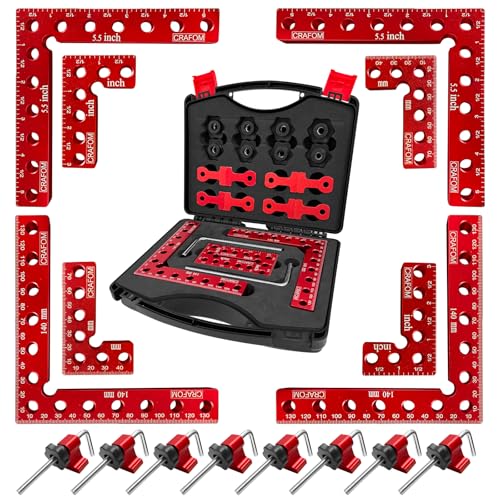
Crafom Corner Clamp for Woodworking, 90 Degree Corner Clamp With Box, Set of 8(3” 5.5”) Aluminum Alloy Right Angle Clamp, Wood Working Tools, Positioning Squares for Frame, Box, Cabinets, Drawers.
High Quality : CRAFOM 90 Degree Corner Clamping Squares is made of high-quality aluminum alloy material, Anodized red…
As an affiliate, we earn on qualifying purchases.
As an affiliate, we earn on qualifying purchases.
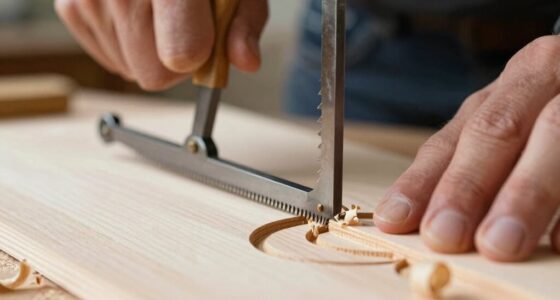
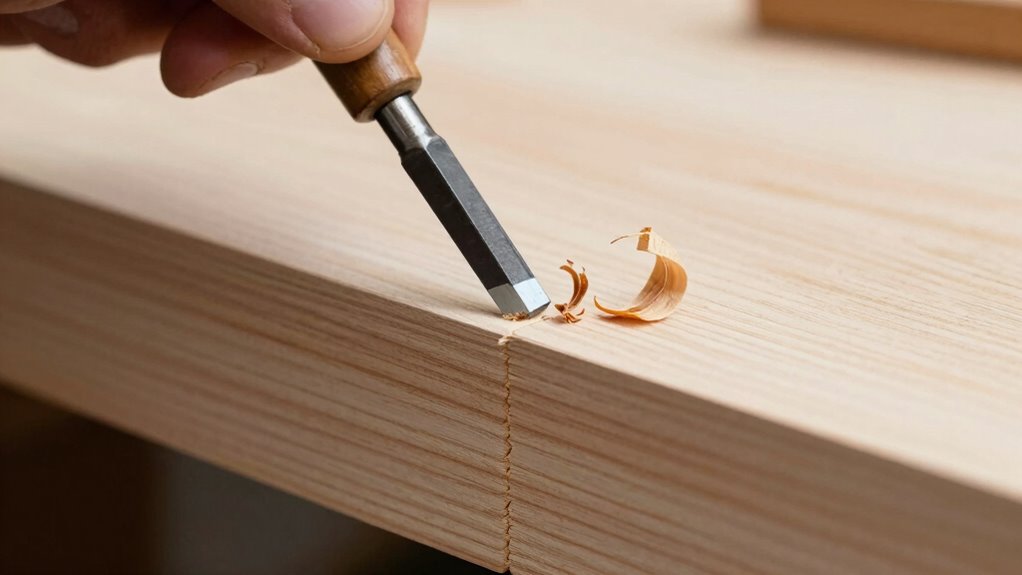
How to Make a Clean Stop‑Cut Step-by-Step
To achieve a clean stop-cut, start by marking the precise location where you want the cut to end. Pay attention to the corner radius, ensuring your marks follow the natural flow of the wood grain. This helps prevent tear-out and ensures a smoother finish. Use a sharp saw blade and make a shallow, controlled cut along your mark, cutting just into the surface. Keep the saw aligned with your line and maintain steady, even pressure. Once you reach the stop point, don’t force the cut—simply lift the saw and reset if needed. This technique creates a clear boundary for your chisel work, minimizing splintering and providing a clean edge that’s easier to chisel out neatly. Patience and precision are key to a perfect stop-cut, ensuring a professional-looking result.
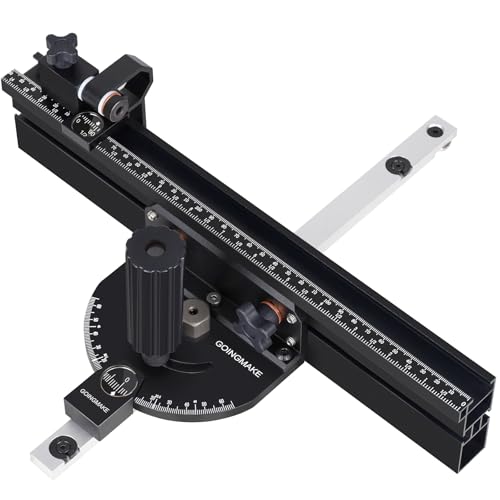
GOINGMAKE Compact Table Saw Miter Gauge with 360mm Fence and Multifunction Flip Stop and Positive Angle Stops, Miter Gauge for Table Saw Accessories, for Woodworking Cuts, Fits 3/4"x3/8" Slot
【Accurate Woodworking Crosscuts and Miter Cuts】GOINGMAKE miter gauge for table saw is perfect for repeat woodworking angle cuts…
As an affiliate, we earn on qualifying purchases.
As an affiliate, we earn on qualifying purchases.
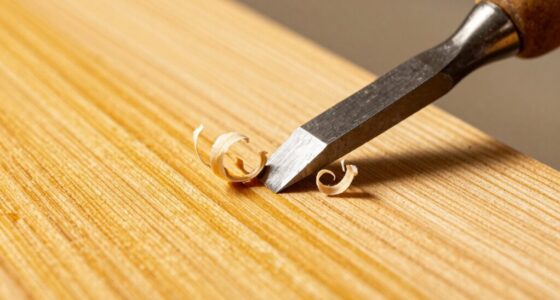
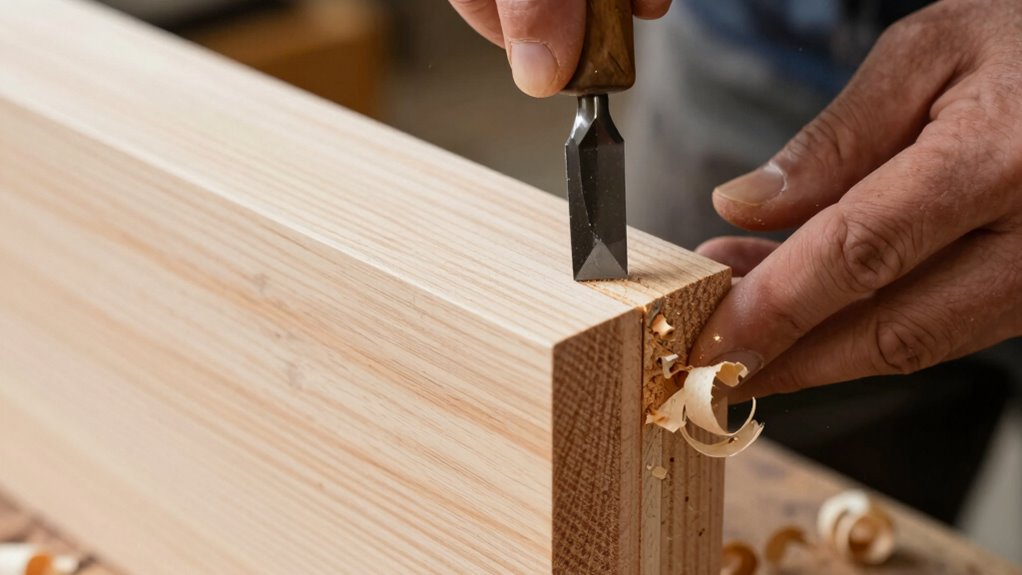
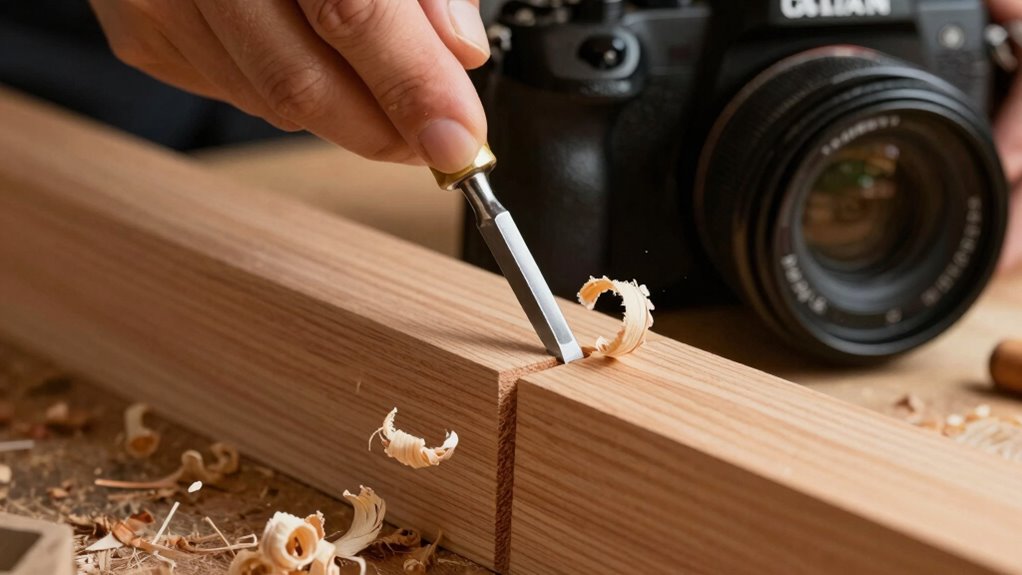
Chiseling and Finishing Inside Corners for a Perfect Fit
To get inside corners just right, you need to use precise measurement techniques to mark your cuts accurately. Proper chisel handling guarantees clean, controlled removal of material, making the fit snug and professional. Finishing carefully at this stage guarantees a flawless joint that looks great and functions perfectly. Additionally, understanding wood movement helps you anticipate how your project will respond to environmental changes, ensuring long-term stability and durability.
Precise Measurement Techniques
Achieving a perfect fit inside corners requires meticulous measurement and careful chiseling. Start by ensuring proper joint alignment, as even slight miscalculations can affect the fit. Measure the inside corners precisely, accounting for material expansion or contraction due to humidity and temperature changes. Use a square or a feeler gauge to verify the dimensions before marking your cut lines. When measuring, consider the slight expansion of the material, which can cause gaps or tight fits if ignored. Mark your cut lines carefully, double-checking measurements from multiple angles. Accurate measurement is key to reducing unnecessary chiseling and achieving a seamless joint. By paying attention to joint alignment and material behavior, you set a solid foundation for a clean, professional finish inside the corner. Understanding small systems helps in making precise adjustments and avoiding costly mistakes in your woodworking projects.
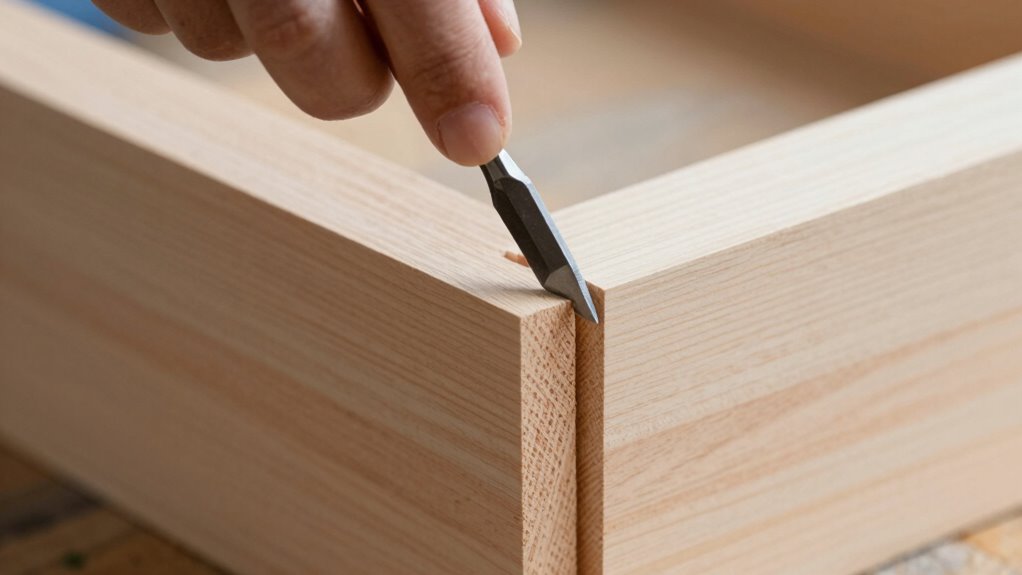
Proper Chisel Handling
Handling your chisel properly is essential for creating clean, precise inside corners. A secure chisel grip ensures control and safety, helping you make accurate cuts in the corner joint. Hold the handle firmly but comfortably, avoiding excessive pressure that could cause slips or uneven edges. Position the chisel at the correct angle, leaning slightly inward to follow the joint’s contours. Use your non-dominant hand to steady the workpiece, keeping your fingers clear of the cutting edge. Maintain consistent pressure and chisel direction as you pare away material. Proper chisel handling minimizes tear-out and ensures a smooth, clean inside corner. Additionally, understanding contrast ratio can help you evaluate the clarity and depth of your finished work. Remember, a steady hand and confident grip are key to achieving a perfect fit in your corner joint.
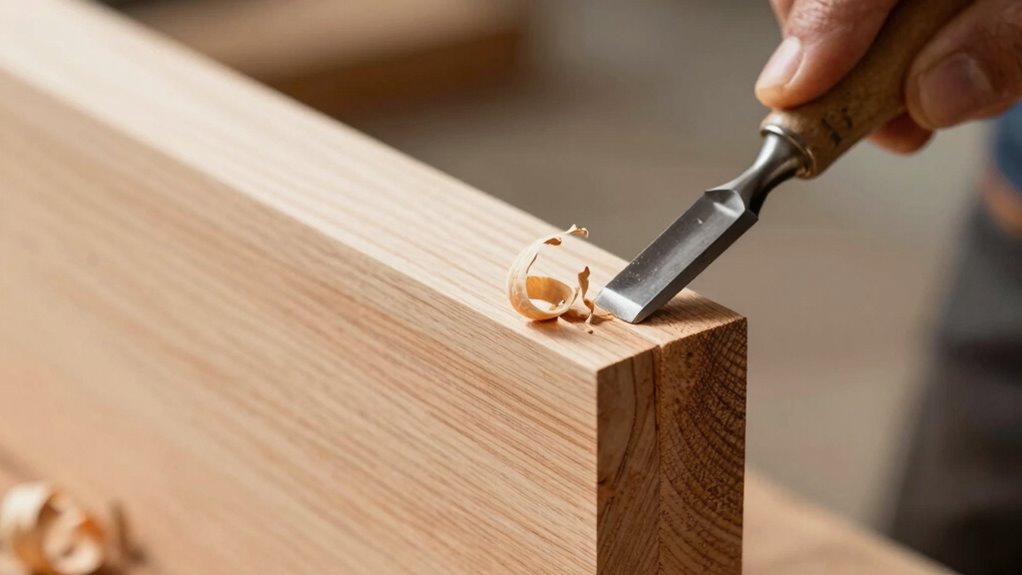
Finishing for Flawless Fit
Once you’ve established a secure grip and proper angle with your chisel, the next step is to refine the inside corners for a perfect fit. In finish carpentry, precise chisel work guarantees a seamless corner joint, which is essential for a professional appearance. Carefully pare away any high spots or uneven edges, working gradually to avoid removing too much material at once. Use light, controlled cuts to clean up the joint, matching the surrounding surfaces. Pay close attention to the angles and ensure the inside corner remains square and smooth. This finishing step not only improves the fit but also enhances the overall quality of your project. With patience and precision, your inside corners will be flawless, elevating your work in fine finish carpentry. Understanding how precise techniques are crucial in achieving a seamless finish can help you master this skill.
Common Mistakes When Squaring Inside Corners: And How to Fix Them
Squaring inside corners can be tricky, and many woodworkers make common mistakes that lead to gaps or misaligned joints. One mistake is not aligning the wood grain properly, which can weaken the corner joint. Another is overcutting or undercutting, resulting in a loose or tight fit. A third error is rushing the process, causing uneven cuts or misalignment. To fix these issues:
- Pay attention to the wood grain direction before cutting, ensuring it supports a sturdy corner joint.
- Use precise measurements and test fits before final cuts.
- Take your time, making small adjustments to avoid overcutting or creating gaps.
- Incorporate proper measuring techniques to improve accuracy and ensure well-aligned corners.
Tips for Consistent, Professional Inside Corner Results

Achieving consistent, professional inside corner results requires careful attention to detail and technique. Start by ensuring your corner joint is precisely cut, with clean, accurate angles that fit tightly. Use sharp tools to prevent chipping or uneven edges, which can compromise the aesthetic appeal. When cutting, measure twice and cut once, maintaining steady, controlled movements. Keep your chisel sharp and work slowly to refine the inside corners, removing any excess material evenly. Consistent pressure and proper tool control help produce smooth, sharp inside corners that enhance the overall look. Remember, the quality of your inside corners considerably impacts the project’s aesthetic appeal, so take your time to get each corner perfect. This precision elevates the craftsmanship and professional appearance of your work.
Frequently Asked Questions
What Types of Wood Are Best for Inside Corner Chiseling?
You should choose hardwoods like maple, cherry, or oak for inside corner chiseling because their tight wood grain makes cutting cleaner and easier. Avoid softwoods with coarse grain, as they tend to splinter. Also, pick wood with moderate moisture content—around 6-8%—to prevent warping or cracking during chiseling. Properly dried, stable wood helps you achieve precise, smooth inside corners with less effort.
How Do I Choose the Right Chisel Size for Inside Corners?
Choosing the right chisel size for inside corners is like selecting the perfect brush for fine detail work; it needs to fit comfortably and offer precision. Opt for smaller chisels, around 1/4 to 1/2 inch, to navigate tight corners without damaging the wood. Prioritize chisel ergonomics for comfort, and maintain your hand tools regularly to guarantee clean cuts. This approach ensures better control and accurate results in your woodworking projects.
Can Stop-Cuts Be Used for Curved or Angled Corners?
Yes, stop-cuts can be used for curved or angled corners, but you’ll need to adapt your techniques. For curved corners, try incorporating curved corner techniques, carefully making stop-cuts that follow the curve’s shape. For angled cuts, use angled cut methods to guarantee precision. Remember, slow, controlled cuts help maintain accuracy, and you might need to make multiple stop-cuts for complex curves or angles.
What Safety Precautions Should I Follow During Chiseling?
When chiseling, you should always wear personal protective equipment like safety glasses and gloves to protect yourself from flying debris. Make sure your tools are well-maintained and sharp to prevent slips. Keep a firm grip and chisel at a controlled angle, working slowly and carefully. Regularly inspect your tools for damage, and clean them after use to guarantee safety and longevity. Staying alert minimizes accidents and ensures precise work.
How Do I Repair a Poorly Cut Inside Corner?
To repair a poorly cut inside corner, start with miter joint repair by carefully removing the damaged section. Use corner finishing techniques like filling gaps with wood filler or joint compound, then sand smooth. Apply a new miter cut if needed, ensuring it fits snugly. Finish by sanding and painting or staining to match the surrounding area. These steps help create a clean, polished look and restore your corner’s integrity.
Conclusion
Mastering the stop-cut and chisel method guarantees your inside corners are clean and precise every time. With practice, you’ll avoid common mistakes and achieve professional results confidently. Remember, perfect inside corners can elevate your woodworking projects and impress your clients or friends. So, why settle for rough cuts when a clean, sharp inside corner is just a stop‑cut away? Keep honing your skills and enjoy the satisfaction of flawless craftsmanship.