
Stretcher placement is essential for transforming the look of your space. Every second counts, and proper alignment can enhance aesthetics and functionality. Whether you choose a classic running bond or a sophisticated herringbone pattern, your selection impacts durability and visual appeal. Attention to detail is key; even slight misalignments can create noticeable flaws. By planning your layout and ensuring precision, you elevate the overall design. Discover how mastering this art can take your project to the next level.
Key Takeaways
- Proper stretcher placement significantly enhances the aesthetic appeal of a space, creating visual harmony and flow.
- Selecting the right stretcher pattern, such as running bond or herringbone, impacts both style and functionality.
- Accurate measurements and layout planning are crucial to achieving a polished and professional look in installations.
- Attention to detail in alignment prevents flaws and elevates the overall quality of the finished product.
- Meticulous planning and execution improve durability and beauty, transforming the overall perception of the space.

When it comes to stretcher placement, every second counts. You might not realize it, but the way you align stretchers can dramatically influence the overall look of a space. Stretcher alignment isn’t just about functionality; it’s also about creating visual harmony. Whether you’re laying bricks or tiles, the patterns you choose can either enhance or detract from your design.
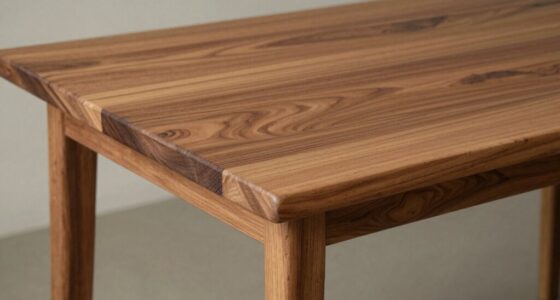
Think about the last time you noticed a stunning wall or floor. Chances are, the beauty stemmed from precise stretcher patterns that caught your eye. If you want to achieve that same level of admiration, you need to pay close attention to how you position each piece. Proper alignment guarantees that everything fits together seamlessly, creating a cohesive look that flows naturally.
The beauty of a space often lies in the precision of stretcher patterns; careful alignment creates a seamless, cohesive aesthetic.
You’ll find that there are various stretcher patterns to reflect upon, each offering its own unique flair. For instance, a running bond pattern can give your installation a classic feel, while a herringbone pattern adds a touch of sophistication. The key is to choose a pattern that aligns with both your aesthetic and the functionality you need. If your project involves high foot traffic, a more robust pattern might serve you better.
As you prepare for your project, visualize the final outcome. You want to guarantee that your stretcher alignment leads the eye in a way that’s pleasing. This means paying attention to the spacing, the color variations, and even the texture of the materials you choose. A staggered alignment can create depth, while a more uniform approach may offer simplicity. Proper stretcher pattern selection plays a vital role in achieving the desired look and durability. Additionally, understanding the importance of precise alignment can help you avoid common mistakes that compromise the integrity of your installation.
Don’t underestimate the importance of preparation before you start laying your stretchers. Measure your space accurately and plan your layout carefully. This groundwork will help prevent mishaps that could disrupt your stretcher patterns down the line. Being mindful of the layout planning can significantly improve your project’s outcome. Remember, the more meticulous you are in this stage, the smoother your installation will be.
Lastly, don’t forget that every detail matters. A slight misalignment can lead to a noticeable flaw in your finished product. So, take your time, double-check your work, and guarantee that each piece is placed with intention. By mastering stretcher placement, you’ll elevate not just the structure but the entire aesthetic of your space, turning a simple installation into a work of art. Your attention to these details will truly make all the difference. Additionally, understanding the stretcher placement can help you achieve a more polished and professional look.

Crowne Tools Tile Bullseye Multi-Size Tile Drilling Template & Guide, 4 Interlocking Rings, Durable Plastic, Precise Alignment
PINPOINT ACCURACY: 4 interlocking rings and center "X" prevent drill bit walking, ensuring precise holes in tile
As an affiliate, we earn on qualifying purchases.
As an affiliate, we earn on qualifying purchases.
Frequently Asked Questions
What Materials Are Best for Stretcher Frames?
For stretcher frames, you’ll want to contemplate sturdy wood types like pine, poplar, or birch for durability. These materials provide a solid foundation for your artwork. When selecting frame sizes, make certain they match your canvas dimensions to guarantee a snug fit and prevent warping. Using high-quality wood not only enhances the frame’s strength but also adds an aesthetic touch, making your artwork stand out beautifully.
How Do I Clean and Maintain My Stretcher?
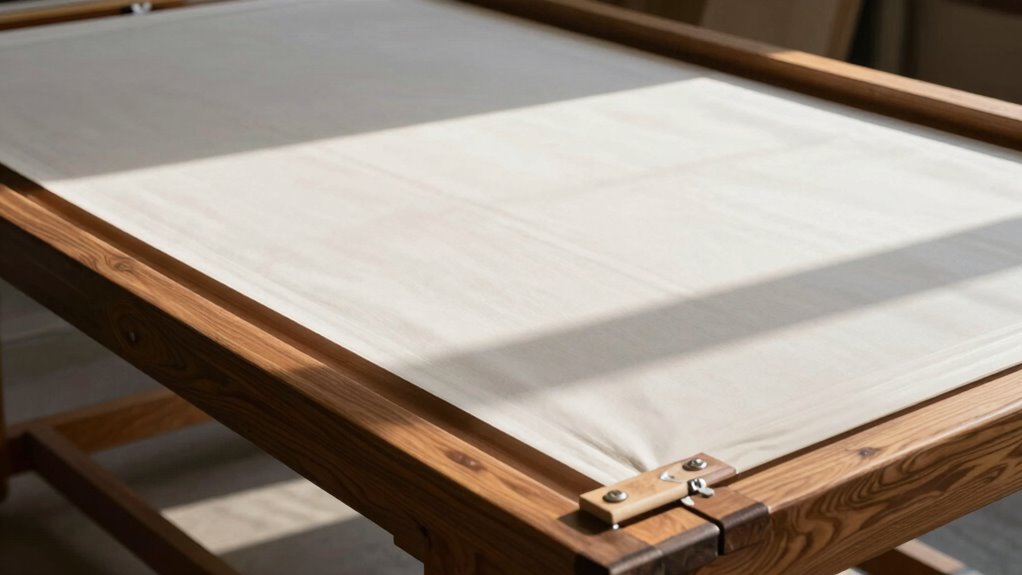
To keep your stretcher looking fresh, think of it as a canvas that deserves care. Start with gentle cleaning techniques—use a soft, damp cloth to wipe away dust, and avoid harsh chemicals that can dull its shine. For stretcher maintenance tips, check the tension regularly, ensuring your canvas remains taut. If you spot any wear, consider reinforcing the corners. With a little love, your stretcher will stay vibrant and sturdy for years.
Can Stretcher Placement Affect Canvas Tension?
Yes, stretcher placement can definitely affect canvas tension. If your stretcher alignment isn’t precise, it can lead to uneven tension across the canvas, which may compromise its durability. When you position your stretchers correctly, you guarantee a consistent pull on the fabric, preventing sagging or warping. Regular checks on your stretcher’s placement will help maintain that tension, keeping your artwork looking its best for years to come.
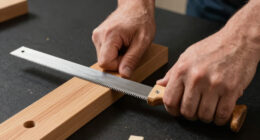
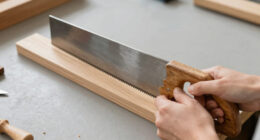
What Tools Do I Need for Stretcher Assembly?
For stretcher assembly, you’ll need a few essential tools. Start with a power drill or screwdriver for fastening the corners securely. A measuring tape guarantees accurate dimensions, while a square helps you maintain right angles. Don’t forget a staple gun for attaching the canvas, and a hammer for any adjustments. Proper tool selection makes the process smoother, assuring your frame is sturdy and ready for your artwork. Happy assembling!
Are There Alternative Methods to Using Stretchers?
If you’re looking for stretcher alternatives, consider using creative mounting methods like floating frames or clip systems. These options not only showcase your artwork beautifully but also add a modern twist. You could even use adhesive mounts for a sleek, minimalist look. Just remember, the right choice depends on your style and the piece’s weight. Explore these methods, and you’ll find a way to display your work that truly stands out!
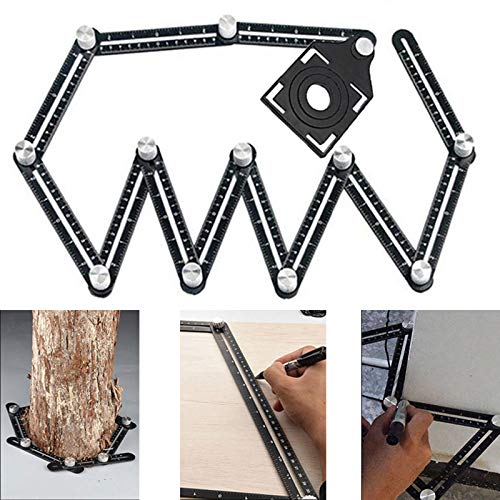
Multi Angle Measuring Ruler,12-Sided Angle Measurement,Tile Holes Measure Ruler with 3-Holes Positioning Apertures,Upgrade Multi Angle Ruler/Metal/Black
◉High-quality materials: The multi-angle measuring ruler is made of high-quality aluminum alloy, which is resistant to falling and…
As an affiliate, we earn on qualifying purchases.
As an affiliate, we earn on qualifying purchases.
Conclusion
Incorporating stretcher placement in your design isn’t just about aesthetics; it’s a smart choice that elevates your space. You might think it’s a minor detail, but these strategic placements can drastically alter the visual flow and perceived height of your walls. By embracing this technique, you’re not just following trends; you’re enhancing the overall elegance of your environment. So, go ahead and experiment—your walls deserve that touch of sophistication!

Transolid Prodigy PWK603696-431 60" x 36" x 96" Glue to Wall 3-Piece Shower Wall Trimmable Kit Herringbone Tile, in White
LOW MAINTENANCE: The textured HERRINGBONE TILE pattern provides the look and feel of real tile without the need…
As an affiliate, we earn on qualifying purchases.
As an affiliate, we earn on qualifying purchases.

Chazcool Brick Liner Runner, 2PCS Brick Liner Plumber Tools, Bricklayer Tools, Bricklayer Tools Accessories for Building Construction
Professional Tool: The brick lining has a spring clip that can firmly hold the brick, providing a fast…
As an affiliate, we earn on qualifying purchases.
As an affiliate, we earn on qualifying purchases.