
To prevent streaks when applying wipe-on poly, keep your pressure light and consistent throughout each stroke, letting the tool’s weight do most of the work. Wait 2 to 4 hours between coats to guarantee proper drying, and avoid overworking the surface. Practice smooth, even strokes and prepare your surface well for better results. If you follow these tips, you’ll achieve a flawless finish—continue to explore these techniques for even better results.
Key Takeaways
- Use a light grip on the applicator to maintain consistent, gentle pressure during wiping to prevent streaks.
- Wait the recommended 2-4 hours between coats to ensure proper drying and avoid uneven finishes.
- Apply thin, even coats with smooth, steady wiping motions to promote a streak-free surface.
- Keep surface clean and smooth before application to reduce the need for excessive pressure.
- Practice and adjust wiping technique to develop a feel for optimal pressure and timing for a flawless finish.

Rustins Poly Foam Brushes – Professional Grade Paint Applicators for Smooth Finishes
Achieve Flawless Finishes: Rustins Poly Foam Brushes ensure even and smooth paint application, providing a professional touch to…
As an affiliate, we earn on qualifying purchases.
As an affiliate, we earn on qualifying purchases.
Why Pressure and Timing Are Key to a Perfect Wipe‑On Finish
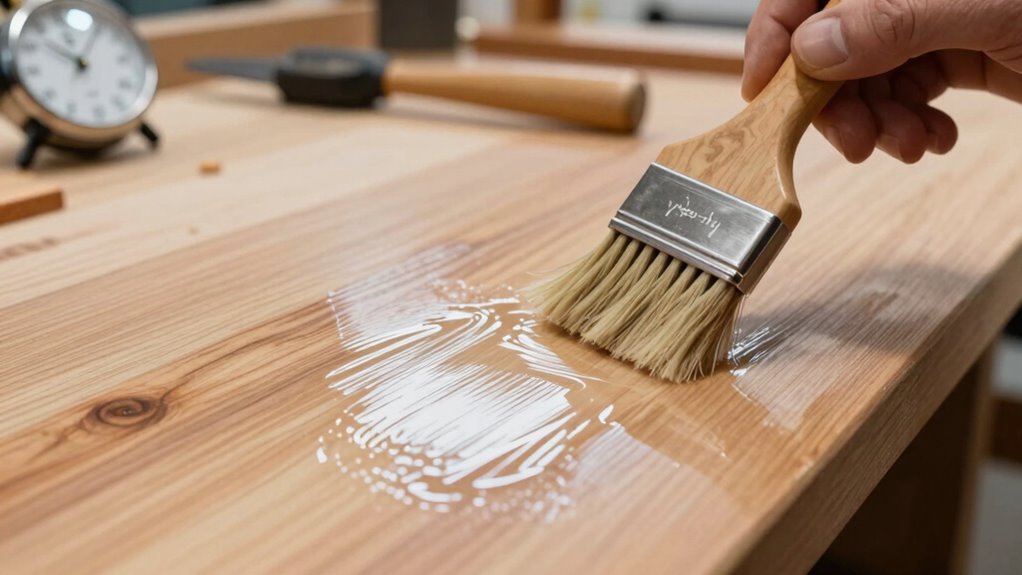
To achieve a smooth and durable wipe-on poly finish, controlling pressure and timing is essential. Your brush control directly impacts how evenly the finish applies, preventing streaks and blotches. Proper surface prep ensures the wood is clean, smooth, and free of dust or oils that could interfere with adhesion. When you maintain consistent pressure, you avoid applying too much product in one spot, which can cause uneven coverage. Timing matters because working steadily prevents the finish from drying too quickly or unevenly. By focusing on brush control and surface prep, you set the foundation for a flawless finish. Additionally, understanding wood movement and how it affects finishes can help you plan your application for better long-term results. These steps help you achieve a professional look with minimal effort, making your project look polished and long-lasting.

MāKRS Stain Pad, Cut-to-Size Staining Pads, 3-Pack, Lint, Snag, Streak-Free Applicator, Micro Brush Material, Wood Stains and Oil Based Finishes, Easy to Use with Consistent Application
Precision Where It Counts: Tackle thin, round, or intricate woodworking projects with confidence, now in a more affordable…
As an affiliate, we earn on qualifying purchases.
As an affiliate, we earn on qualifying purchases.
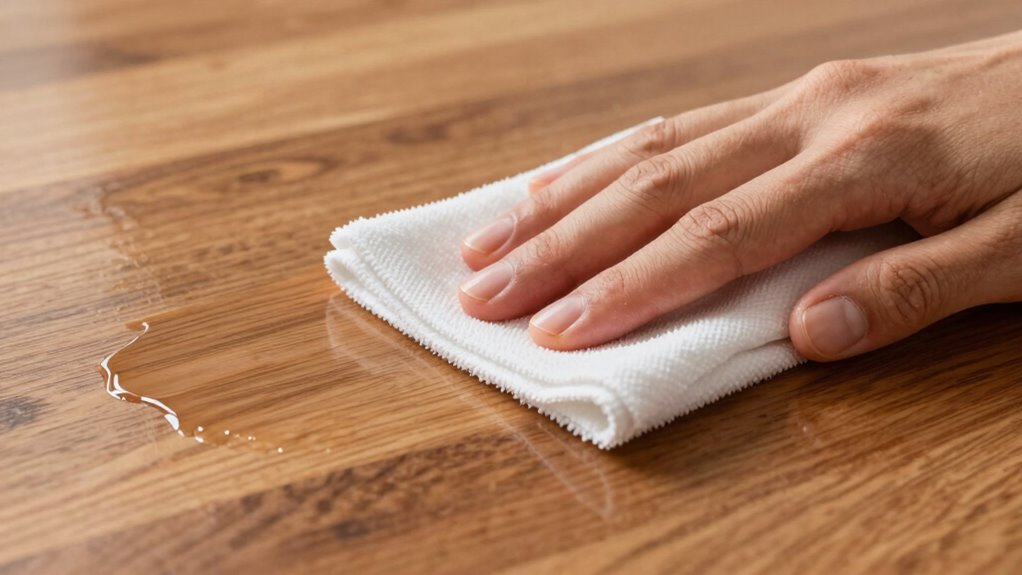
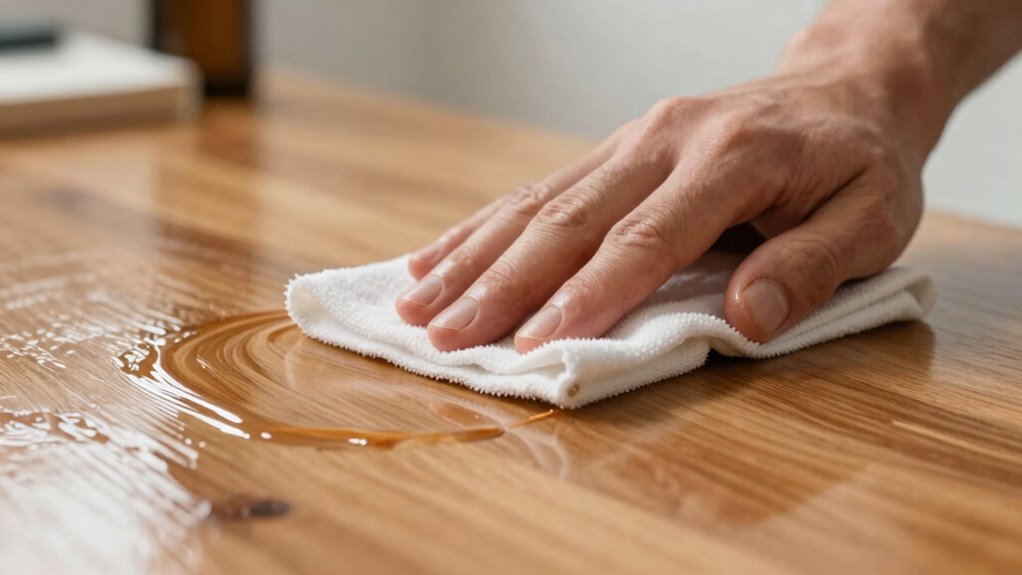
How to Control Pressure During Wipe‑On Poly Application
Controlling pressure during wipe-on poly application is essential for achieving an even, professional finish. Proper brush control ensures you apply a consistent coat without streaks or bubbles. Start with well-prepared surfaces—clean, smooth, and free of dust—to reduce the need for excessive pressure. When applying, hold your brush or applicator with a light grip, allowing the weight of the tool to do the work. Pressing too hard can leave streaks, while too little pressure might cause uneven coverage. Maintain a steady, gentle pressure as you work across the surface, following the grain if applicable. Regularly check your technique to ensure uniform application. Mastering brush control combined with proper surface preparation is key to a flawless wipe-on poly finish. Additionally, understanding how automation and precision in modern tools can assist in maintaining consistent pressure can significantly improve results.
Magimate 3-Inch (76mm) Double Thick Chip Paint Brush – Versatile Stain Brush Wood Handle for Furniture, Walls, Fences, and Murals – Smooth Gesso, Plaster, Polyurethane, and Varnish Wide Paintbrush
【Wide 3-Inch Brush Head】This flat, straight 3inch (76mm) wide paint brush provides extensive coverage for both small and…
As an affiliate, we earn on qualifying purchases.
As an affiliate, we earn on qualifying purchases.
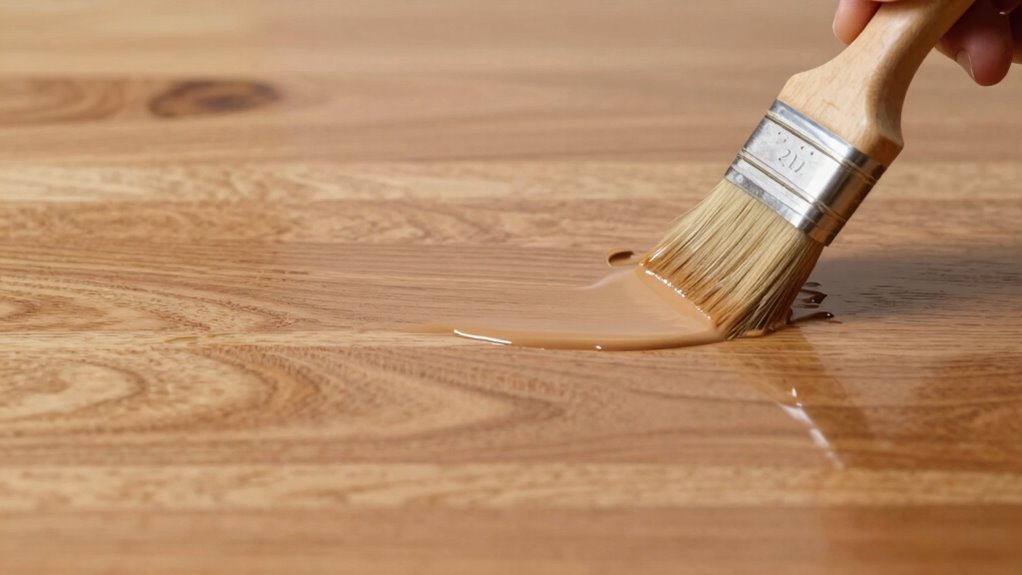
When to Apply Multiple Coats for the Best Results

Applying multiple coats of wipe-on poly at the right times guarantees a durable, glossy finish. You should wait until each coat is fully dry before adding the next—usually 2 to 4 hours, depending on humidity and temperature. Rushing this step can lead to visible brush strokes or uneven texture. During drying time, avoid over-brushing or reworking the surface, as this can cause streaks or tackiness. If you notice the finish becomes dull or uneven, it’s best to wait longer before applying the next coat. Multiple coats build depth and protection without compromising the smooth look. By timing your coats correctly, you ensure each layer adheres well, minimizes streaks, and results in a flawless, professional finish. Proper drying time is essential for achieving optimal results and a high-quality finish.

LDHTHOPI 1800W Burnishing Polishing Machine, 110V Handheld Electric Stainless Steel Polisher, 8 Variable Speed, 3100RPM for Metal, Stainless Steel, Wood
【Strong Power】This burnishing polishing machine comes with a powerful 1800W copper motor that is capable of handling complex…
As an affiliate, we earn on qualifying purchases.
As an affiliate, we earn on qualifying purchases.
Troubleshooting Streaks: Fixing Pressure and Timing Issues
Streaks often appear when pressure is uneven or applied too aggressively, causing the finish to look blotchy or rough. To fix this, focus on your brush techniques, maintaining consistent pressure and smooth, even strokes. Avoid pressing too hard, which can cause streaks and uneven drying times. Instead, use a light touch and keep your brush moving steadily across the surface. Pay close attention to drying times between coats; rushing can lead to streaks, while waiting too long might cause uneven absorption. Practice gentle, controlled brushwork, and guarantee each coat dries thoroughly before applying the next. Adjust your pressure and timing as needed, and your finish will become smoother, more uniform, and streak-free.
Tips for Practicing and Perfecting Your Wipe‑On Technique
Practicing your wipe-on technique is the best way to achieve a smooth, even finish. Focus on consistent brush strokes, maintaining steady pressure to avoid streaks and uneven areas. Experiment with different wiping motions to find what works best for you, paying close attention to how the brush glides over the surface. Timing is essential—apply thin coats and wait for proper drying time between layers to prevent buildup and streaks. As you practice, watch for brush strokes that become visible or uneven, adjusting your pressure and movement accordingly. Keep your strokes light and even, and don’t rush the drying process. With consistent practice, you’ll develop a feel for the right pressure and timing, resulting in a flawless wipe-on finish. Additionally, understanding innovative cloud solutions can inspire modern approaches to refining your techniques and workflows.
Frequently Asked Questions
What Types of Wood Surfaces Are Best Suited for Wipe-On Poly?
You’ll find wipe-on poly works best on smooth wood surfaces with tight grain, like oak or cherry, because these allow for even application. Avoid rough or highly textured surfaces, as the wood grain can trap excess finish and cause streaks. For a flawless look, focus on maintaining consistent pressure and proper timing, which helps the finish glide smoothly over the surface texture, preventing streaks and enhancing the natural beauty of the wood.
How Long Should I Wait Between Coats for Optimal Results?
You should wait about 2 to 4 hours between coats of wipe-on poly, but always check the manufacturer’s instructions for exact timing. Allow enough waiting time for each coat to dry and begin curing, which guarantees a smooth finish without streaks. Patience during these curing periods helps the finish harden properly, resulting in a durable, professional-looking surface. Rushing through coats can cause unevenness and imperfections, so take your time.
Can Temperature or Humidity Affect Wipe-On Poly Application?
Like a dance with the elements, your application environment influences your success. Temperature and humidity can profoundly affect wipe-on poly, making climate control essential. Too much humidity or high heat can cause uneven drying or streaks, while cold or dry air may slow curing. To achieve a smooth finish, guarantee consistent conditions, ideally in a controlled space. Adjust your timing and pressure accordingly, embracing the rhythm that climate sets for perfect results.
What Tools Are Recommended for Applying Wipe-On Poly Evenly?
You should use high-quality brushes or foam applicators to apply wipe-on poly evenly. A natural bristle brush offers smooth, controlled strokes, while foam applicators help spread the finish thinly and uniformly. Make certain to select tools that match your project’s size and desired finish. Dipping or loading your applicator with just the right amount of poly guarantees a streak-free, even coat, giving you a professional-looking result every time.
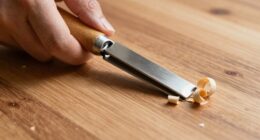
How Do I Remove Dust or Debris That Lands on the Finish?
Oh, the irony—dust and debris landing right after your perfect finish. To fix it, gently remove dust or debris by lightly sweeping with a tack cloth or a soft brush. Avoid wiping or pressing down, which can smudge the finish. Dust removal and debris cleanup require patience and a delicate touch. Once cleared, lightly sand the area if needed, then carefully reapply your wipe-on poly to restore that flawless look.
Conclusion
Mastering the wipe-on poly technique is like conducting a delicate symphony—you control the pressure and timing to create a flawless finish. By paying attention to these details, you prevent streaks and achieve smooth, professional results. Remember, practice makes perfect, and every stroke is a step closer to perfection. With patience and finesse, you’ll turn your project into a masterpiece, proving that the right touch can transform even the simplest woodwork into art.