In high humidity, moisture can cause bubbles, blisters, and poor adhesion when finishing. To prevent failures, you should promote good airflow, use dehumidifiers, and make certain surfaces are thoroughly dry before applying coats. Apply thin layers in well-ventilated areas and choose moisture-resistant products with stabilizers. Controlling temperature and avoiding rapid drying are key. Keep these tips in mind to improve your results, and you’ll discover more ways to perfect your finishing projects.
Key Takeaways
- Ensure surfaces are thoroughly dry and clean before applying finishes to prevent moisture entrapment.
- Use thin coats and moisture-resistant products to reduce vapor pressure and surface defects.
- Promote airflow with fans, dehumidifiers, and proper ventilation to facilitate even drying.
- Incorporate humidity stabilizers or additives into finishes to control drying times and prevent bubbles.
- Maintain steady temperature and avoid rapid drying by adjusting environmental conditions during application.
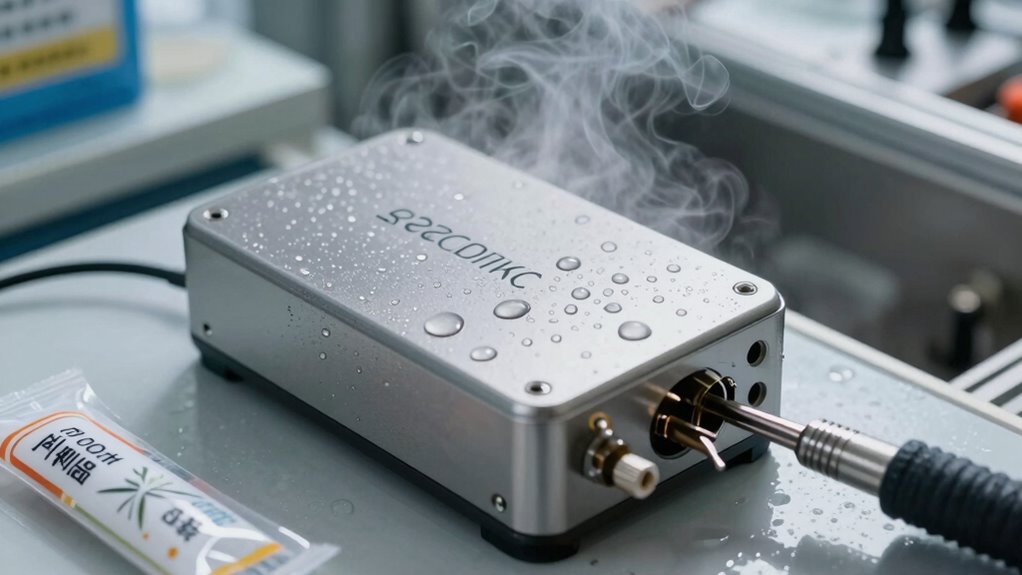
dehumidifier for woodworking projects
As an affiliate, we earn on qualifying purchases.
As an affiliate, we earn on qualifying purchases.
Why Does Humidity Cause Bubbles and Blisters in Your Finish?
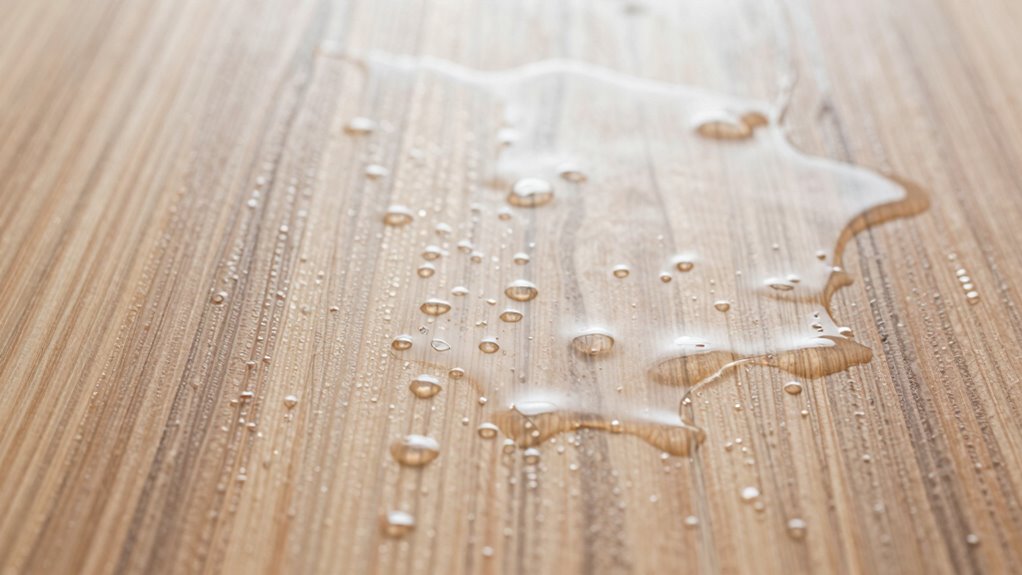
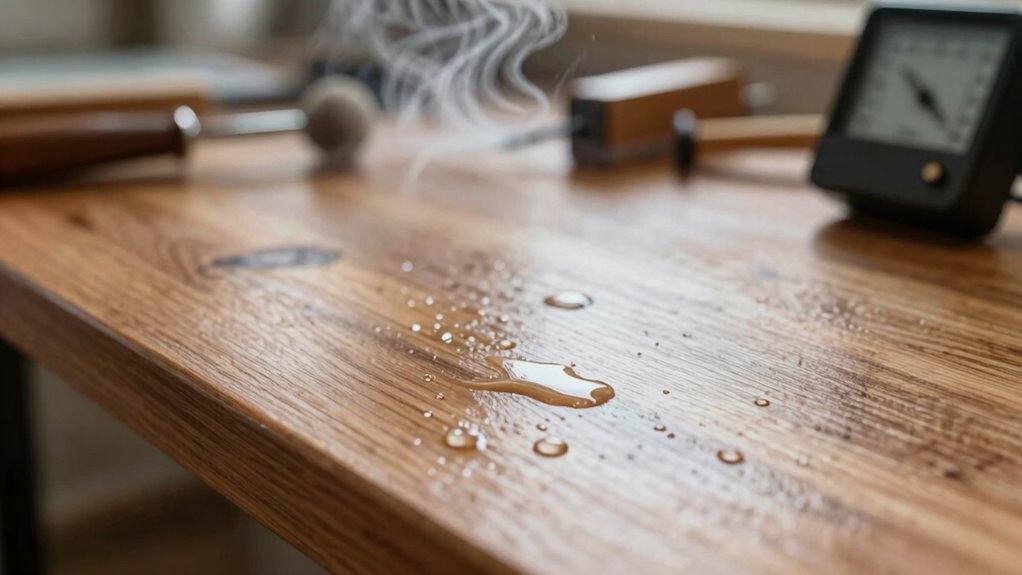
Humidity can cause bubbles and blisters in your finish because moisture infiltration disrupts the curing process. When moisture gets trapped beneath the surface, it prevents the finish from bonding properly to the substrate, weakening finish adhesion. As the finish dries, the trapped moisture turns into vapor, creating pressure that pushes the finish away from the surface, forming bubbles or blisters. High humidity levels slow down evaporation, increasing the risk of moisture lingering in the coating. This interference compromises the integrity of your project, leading to visible defects that are difficult to repair. Understanding that moisture infiltration hampers proper adhesion helps you recognize why controlling humidity is vital for a smooth, durable finish. Without proper conditions, your finish won’t cure evenly, causing these unwanted surface imperfections.

Gorilla All Purpose Wood Filler, Natural Finish, 16 Ounce Tub (Pack of 1) – Water Resistant for Indoor or Outdoor Projects and Repairs
Gorilla tough: Gorilla Wood Filler is the go-to product for strong water resistant repairs on cracks, gouges and…
As an affiliate, we earn on qualifying purchases.
As an affiliate, we earn on qualifying purchases.
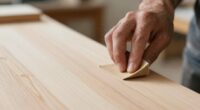
How to Prepare Your Workspace for Humid Conditions

When working in humid conditions, preparing your workspace is essential to guarantee a high-quality finish. Proper workshop ventilation helps remove excess moisture and fumes, reducing the risk of defects. Humidity control measures, like dehumidifiers or moisture absorbers, stabilize the environment, preventing rapid moisture changes. To set up effectively, imagine:
Proper ventilation and humidity control are key to achieving a flawless finish in humid conditions.
- Opening windows and doors to promote airflow
- Using a dehumidifier to lower ambient humidity
- Covering surfaces to protect against humidity fluctuations
- Ensuring your tools are dry and free of moisture
- Incorporating smart ventilation systems to automatically adapt to humidity levels
These steps help create a stable environment, minimizing the effects of high humidity. Focus on good ventilation and humidity control to maintain consistent conditions, which ultimately leads to a flawless finish and fewer failures.

VEVOR 16 Inch Utility Blower Fan, 2 Speed 5175 CFM Heavy Duty Cylinder Axial Exhaust Fan with 16.4ft Duct Hose, Industrial Portable Confined Space Ventilator for basements, warehouse, Workshop
Efficient Ventilation: 1350W Powerful AC motor features 2 speed selection meet your different airflow demand, High speed 5175…
As an affiliate, we earn on qualifying purchases.
As an affiliate, we earn on qualifying purchases.
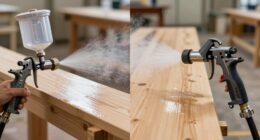
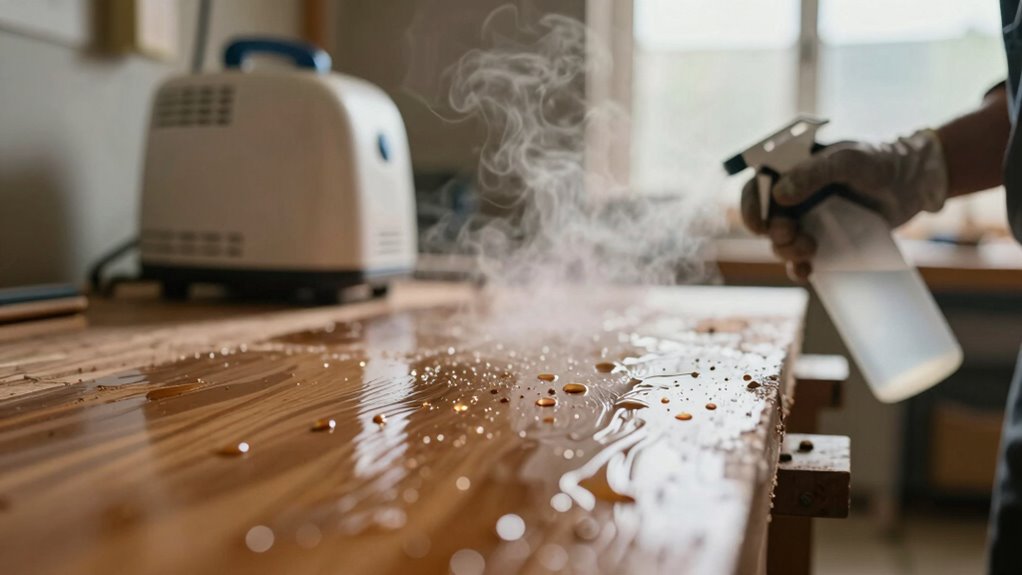
Applying Your Finish Correctly in High Humidity
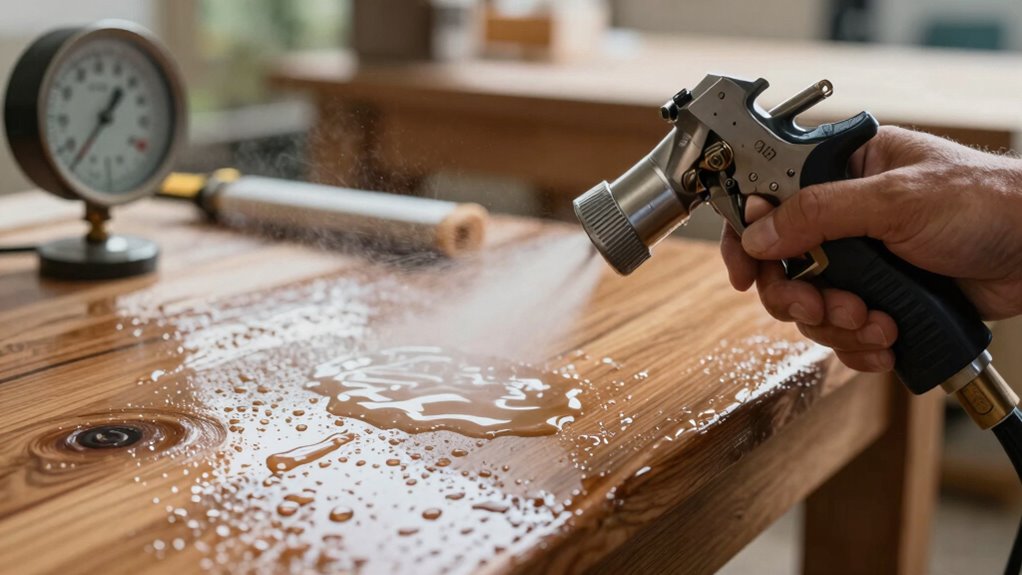
Ever wonder why applying your finish in high humidity can be tricky? Humidity effects can slow down drying times and cause finishes to become cloudy or uneven. To improve finish adhesion, verify the surface is thoroughly dry and clean before application. Use thin coats, as thick layers trap moisture and lead to bubbles or streaks. Apply in well-ventilated areas with controlled temperature, avoiding drastic temperature swings. Keep the environment as consistent as possible to prevent rapid moisture absorption. If you notice the finish isn’t leveling properly, lightly sand and wipe away dust before applying the next coat. Remember, high humidity demands patience and precision; rushing can compromise adhesion and result in failures. Adjusting your technique helps ensure a smooth, durable finish despite the challenging conditions. Additionally, understanding the environmental impact on drying times can help you better plan your application schedule.

Natural Earth Paint Acrylik Medium – Plant-Based, Non-Toxic Acrylic Medium for Mixing, Varnishing & Collaging – Water-Resistant, Non-Yellowing, Flexible Finish – 16 oz. Glass Jar – Made in USA
The First Plant-Based Acrylic Medium – A natural, non-toxic alternative for mixing, varnishing, collaging & more. Provides a…
As an affiliate, we earn on qualifying purchases.
As an affiliate, we earn on qualifying purchases.
Best Products and Additives for Humid Weather

Choosing the right products and additives can make a significant difference when finishing in humid conditions. Moisture resistant products help prevent water vapor from seeping into the finish, reducing the risk of bubbles and peeling. Humidity stabilizing additives are essential for maintaining a consistent drying process, especially when ambient moisture fluctuates. Look for finishes designed specifically for high humidity environments, such as those with built-in moisture barriers. Using these products guarantees your project stays smooth and durable. Visualize applying a clear coat that resists moisture, or mixing a stabilizer into your stain to control drying time. Imagine the feel of a finish that stays even, without streaks or cloudiness, despite the damp air. These targeted products give you confidence in achieving a flawless, long-lasting result.
How to Dry and Cure Finishes Properly in Humid Conditions
Drying and curing finishes in humid conditions requires careful attention to airflow and temperature control. To effectively manage humidity control, ensure your workspace stays well-ventilated with fans or dehumidifiers. Use drying techniques that promote even air circulation around your project, preventing moisture buildup that can cause failures like bubbles or clouding. Keep the temperature steady and avoid rapid drying, which can trap moisture in the finish. Thin coats dry faster and reduce the risk of surface defects. Monitor the environment regularly and adjust airflow or temperature as needed. Proper drying techniques are essential to prevent moisture entrapment and ensure a smooth, durable finish. Patience is key—allow ample curing time before handling or applying additional coats. By controlling humidity and employing Proper drying techniques, you considerably decrease the chances of finish failure in high humidity.
Troubleshooting Common Finishing Problems in High Humidity
When finishing in high humidity, you may notice issues like runs or poor adhesion. To fix these, you should adjust your spray techniques and control environmental factors. Small changes can make a big difference in achieving a smooth, professional finish. Incorporating connected equipment and monitoring environmental conditions with appropriate apps can also help optimize your finishing process in humid environments.
Adjust Spray Techniques
In high humidity, adjusting your spray techniques is essential to prevent issues like runs, sags, or a dull finish. You should focus on controlling spray pressure and maintaining a consistent spray pattern. Lower your spray pressure slightly to reduce the amount of material applied, which helps prevent runs. Keep your spray pattern even and steady to avoid uneven coats and drips. Pay attention to your distance from the surface—staying too close can cause thick spots, while too far can lead to dry, uneven layers. Practice overlapping each pass smoothly for uniform coverage. Remember, a consistent spray pattern and proper pressure make all the difference in high humidity environments, helping your finish dry smoothly and look professional. Additionally, being aware of paint viscosity and adjusting it accordingly can improve application quality in humid conditions.
Control Environmental Factors
High humidity can substantially disrupt your finishing process by affecting how your coating behaves on the surface. To combat this, focus on humidity control and environmental management. Use dehumidifiers or air conditioners to lower moisture levels in your workspace, creating a more stable environment. Keep the area well-ventilated to promote proper drying and reduce humidity buildup. Monitor humidity levels regularly with a hygrometer, adjusting your climate controls as needed. Maintaining consistent environmental conditions prevents issues like uneven drying, blushing, or runs. Proper environmental management minimizes the impact of high humidity, helping you achieve a flawless, durable finish every time. By choosing appropriate air purifiers, you can also improve indoor air quality, which supports better drying conditions and reduces airborne contaminants that can interfere with your finish.
Frequently Asked Questions
How Can I Tell if Humidity Levels Are Too High for Finishing?
You can tell if humidity levels are too high for finishing by using humidity sensors and moisture meters. If these tools indicate humidity above the recommended range, it’s a sign to pause or adjust your process. High humidity often causes finishing failures like clouding or uneven gloss. Regularly monitoring with these devices helps you stay within ideal conditions, ensuring a smooth, successful finish without costly mistakes.
Are There Specific Finishes That Perform Better in Humid Environments?
Did you know that moisture-resistant finishes can extend the lifespan of your project by up to 50%? In humid environments, you should opt for moisture-resistant finishes or waterproof coatings, as they perform better and resist peeling or mold growth. These finishes create a protective barrier, ensuring your work stays intact despite high humidity. Always choose products specifically designed for damp conditions to prevent failures and maintain quality.
Can Climate Control Help Manage Humidity During Finishing?
Yes, climate control can help manage humidity during finishing. Using climate control options like dehumidifiers offers significant benefits by reducing excess moisture, which minimizes the risk of failures. You should consider deploying dehumidifiers and HVAC systems to maintain ideal humidity levels. These tools create a controlled environment, ensuring your finish remains consistent and durable, even in high humidity conditions. Proper climate control ultimately enhances the quality of your finished work.
How Long Should I Wait Between Coats in Humid Conditions?
Think of each coat as a seed that needs time to sprout. In humid conditions, it’s best to wait at least 24 hours between coats to guarantee proper drying times. Rushing application techniques can trap moisture, leading to failures. Patience lets your finish breathe and settle, preventing issues like blushing or peeling. So, give it time—your patience will pay off with a flawless, durable finish.
What Are Signs of Finish Failure Caused by Humidity?
You’ll notice finish failure caused by humidity through extended drying times and unexpected color changes, like dullness or streaking. Moisture delays the drying process, making the surface look uneven or hazy. You might also see spots or blotches forming as the finish struggles to cure properly. If you observe these signs, it’s a clear indicator that high humidity is interfering, and you should allow more time for drying or improve ventilation.
Conclusion
Don’t let high humidity ruin your finish. With the right prep, products, and techniques, you can achieve a smooth, durable result even in damp conditions. Some worry that adjusting methods is too complicated or time-consuming, but it’s worth it to prevent costly mistakes and rework. By following these tips, you’ll confidently finish your project and enjoy beautiful, professional-looking results that stand up to humidity’s challenges.