
To avoid dark edges and streaks when dyeing your hair, start with clean, dry hair and section it neatly for even coverage. Use a brush to apply the dye carefully, working from roots to ends with controlled strokes. Blend the edges thoroughly and avoid overlapping on previously colored areas. Steady hands and proper saturation help attain a seamless look. Want more tips to perfect your color? Keep going for expert techniques to guarantee flawless results.
Key Takeaways
- Section hair into small, manageable parts for precise, even application from roots to ends.
- Use a clean brush to blend edges and avoid harsh lines after applying dye.
- Apply dye with steady, controlled strokes, focusing on consistent saturation without overlapping previously colored areas.
- Feather the dye at the roots and around the hairline to create seamless, natural transitions.
- Perform gentle touch-ups and blending to correct streaks and dark edges for a uniform, polished look.
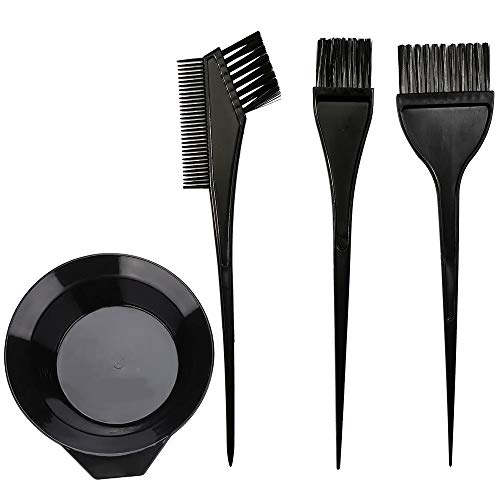
MOONMINI Hair Dye Color Brush and Bowl Set, Color Bowl Brushes Tool Mixing Bowl Kit Tint Comb for Hair Tint Dying Coloring Applicator (Black)
NECESSARY KIT: Come with 1X mixing bowl, 1X large brush, 1X small brush and 1X hair dye comb-brush,…
As an affiliate, we earn on qualifying purchases.
As an affiliate, we earn on qualifying purchases.
How to Prevent Dark Edges and Streaks When Dyeing Hair
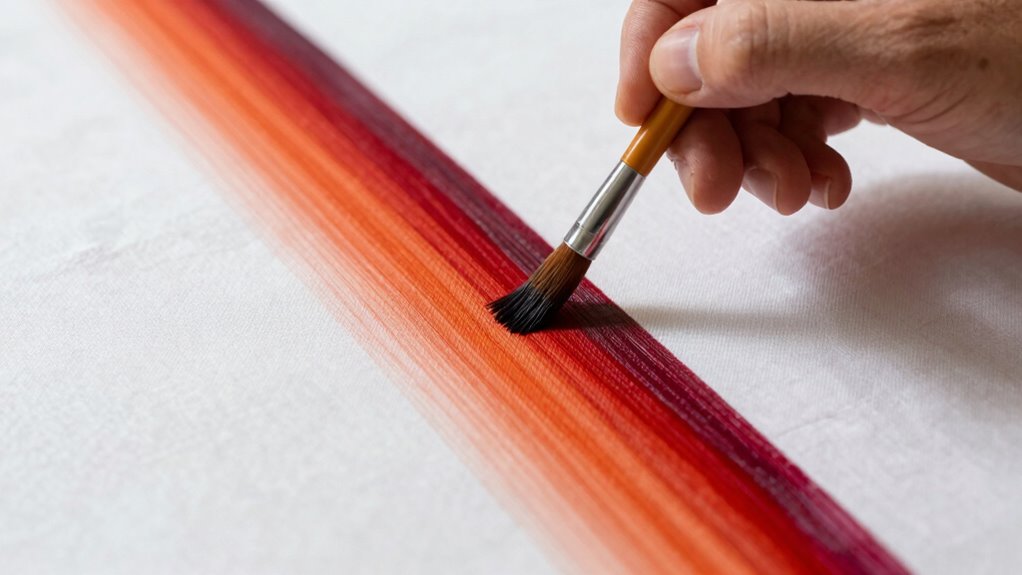
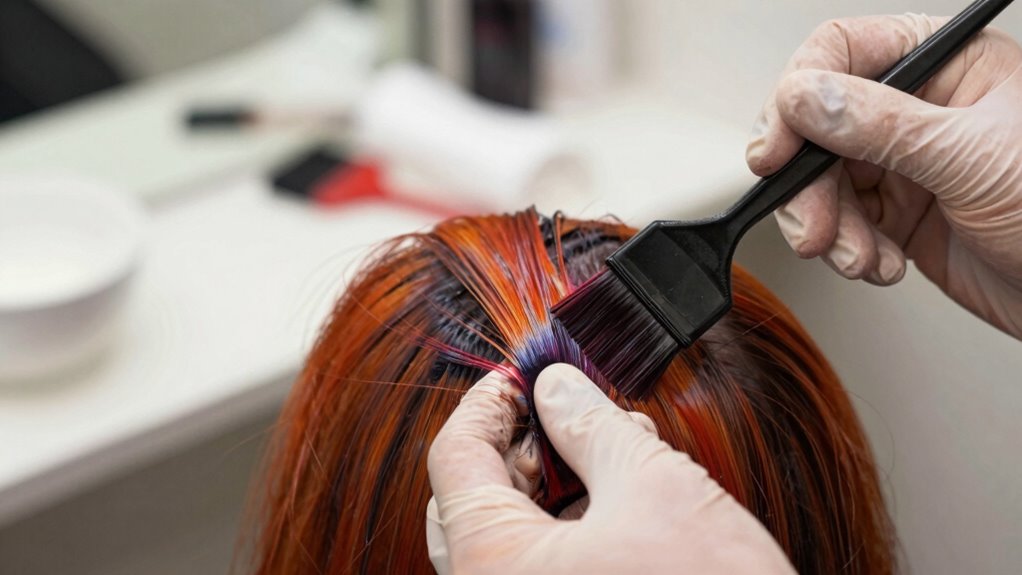
To prevent dark edges and streaks when dyeing your hair, it’s crucial to apply the dye evenly and carefully. Start by performing color exfoliation to remove dead skin and buildup around the hairline, which helps achieve a cleaner, more even application. When applying the dye, focus on shade blending, gradually shifting from roots to ends to avoid harsh lines. Use a brush for precise sectioning, ensuring each strand receives equal dye coverage. Work in small sections, overlapping slightly to prevent patchy spots. Keep your hands steady and avoid rushing. Proper sectioning and blending techniques minimize the risk of dark edges and streaks, resulting in a seamless, professional-looking finish. Attention to detail during application makes all the difference in achieving a smooth, consistent color. Additionally, understanding the fundamentals of knife techniques can help you develop a steady hand and precise control, which are equally important for flawless hair dye application.

Xarchy 19 Pcs Professional Hair Bleach Kit Hair Coloring Products with Hair Dye Brush, Hair Color Bowl, Hairclips, Applicator, Earmuffs for Hair Highlighting and Hair Coloring at Home
Professional Hair Dye Kit: Included 1 boxes, 1 storage bag, 1 hair color bowl, 2 hair dye brush,…
As an affiliate, we earn on qualifying purchases.
As an affiliate, we earn on qualifying purchases.
Why Dark Edges and Streaks Happen During Hair Coloring
Dark edges and streaks often occur when the dye isn’t applied evenly or processed for too long. If the product isn’t distributed properly, some areas will absorb more color than others. Additionally, leaving the dye on your hair too long can lead to uneven results and unwanted dark patches.
Uneven Product Distribution
Have you ever noticed dark edges or streaks after coloring your hair? This often happens because of uneven product distribution. When you don’t achieve proper product saturation, some sections receive too much dye, while others get too little. Your application technique plays a vital role in this. To avoid streaks, consider these tips:
- Use consistent, even strokes for thorough coverage.
- Work in small sections to control product application.
- Avoid piling product at the roots or ends.
- Regularly check for uniform saturation across each section.
Excessive Processing Time
Ever wonder why your hair develops dark edges or streaks after coloring? Excessive processing time causes this by creating processing delays that affect even color absorption. When you leave the dye on too long, the color can become uneven, leading to darker areas along the edges or streaks. Prolonged processing also increases the risk of color fade, making your hair look patchy and uneven over time. To prevent this, follow the recommended processing times carefully, and don’t rush the process. Using a timer helps ensure you don’t accidentally leave the dye on longer than necessary. By controlling processing delays, you allow the color to develop evenly, reducing dark edges and streaks, and maintaining a vibrant, consistent hue. Additionally, understanding how color accuracy impacts the final appearance can help you achieve more uniform results.
Ondder 24 Pack Alligator Hair Clips for Styling Sectioning Large Salon Pro Hair Clips for Barber Clips for Hair Coloring, Cutting, Sectioning Big Gator Clips Hair Styling Accessories for Women Men
24 Pcs: These hair styling clips adopt classic design, smooth plastic surface and metal body, easy to open,…
As an affiliate, we earn on qualifying purchases.
As an affiliate, we earn on qualifying purchases.
Preparing Your Hair and Tools for an Even Dye Job
Before applying dye, make sure to wash your hair thoroughly to remove any oils or product buildup. Gather all your necessary tools, like brushes, gloves, and bowls, so everything’s ready to go. Carefully detangle your hair to prevent clumps and guarantee even coverage during the coloring process. For best results, ensure your hair is dry and free of knots to avoid streaks and dark edges.
Cleanse Hair Thoroughly
To guarantee your dye penetrates evenly, start by thoroughly cleansing your hair and tools. This step ensures your hair’s porosity is balanced and removes product buildup, which can interfere with color absorption. Additionally, cleansing helps minimize scalp sensitivity, reducing discomfort during application.
Here are four essential tips:
- Use a gentle, sulfate-free shampoo to cleanse without stripping natural oils.
- Rinse thoroughly to remove all residue, avoiding dulling film or buildup.
- Dry hair completely before applying dye to ensure even coverage.
- Sanitize your tools to prevent bacteria transfer and contamination.
Gather Essential Tools
Are you ready to gather the essential tools needed for an even dye job? Having the right equipment guarantees smooth application and prevents streaks or dark edges. Start with clean brushes, mixing bowls, and gloves. Remember to sterilize your tools to avoid contamination. Proper preparation of your tools also includes organizing them for easy access during the process. For consistent color results, focus on accurate color mixing and measurement. Here’s a quick overview:
| Tool | Purpose |
|---|---|
| Mixing bowls | Combine dye evenly |
| Brushes | Apply dye precisely |
| Gloves | Protect your skin |
| Comb | Section hair and avoid streaks |
| Timer | Track processing time |
Additionally, understanding the importance of even dye distribution helps ensure a flawless, streak-free finish. Preparing your tools and hair sets the foundation for a flawless, streak-free dye job.
Detangle Carefully
Detangling your hair thoroughly is essential to guarantee an even dye application. Proper hair preparation ensures the dye distributes smoothly without streaks or dark edges. To achieve this, use effective detangle techniques that minimize breakage and knots. Here are four tips:
- Start with a wide-tooth comb to gently loosen knots.
- Apply a leave-in conditioner or detangling spray to ease tangles.
- Work from ends to roots, gradually lifting knots without pulling.
- Section your hair into manageable parts to detangle thoroughly.
Taking these steps helps prevent snags and uneven dye absorption. Well-prepped hair is key for a clean, streak-free finish. Remember, careful detangling sets the foundation for a flawless dye job by optimizing your hair preparation process.
MOONMINI Hair Dye Color Brush and Bowl Set, Color Bowl Brushes Tool Mixing Bowl Kit Tint Comb for Hair Tint Dying Coloring Applicator (Black)
NECESSARY KIT: Come with 1X mixing bowl, 1X large brush, 1X small brush and 1X hair dye comb-brush,…
As an affiliate, we earn on qualifying purchases.
As an affiliate, we earn on qualifying purchases.
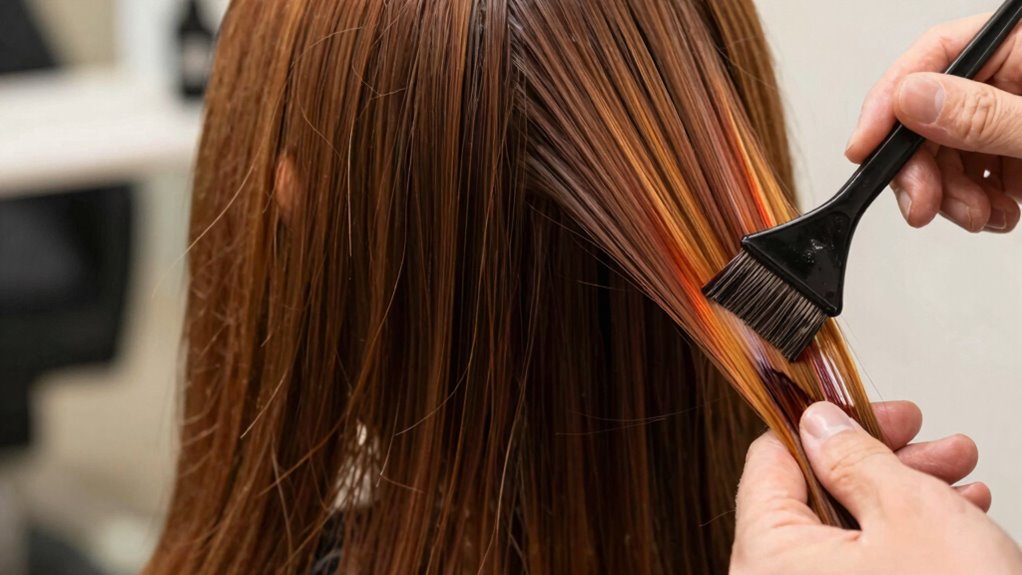
How to Apply Hair Dye for a Smooth, Even Finish
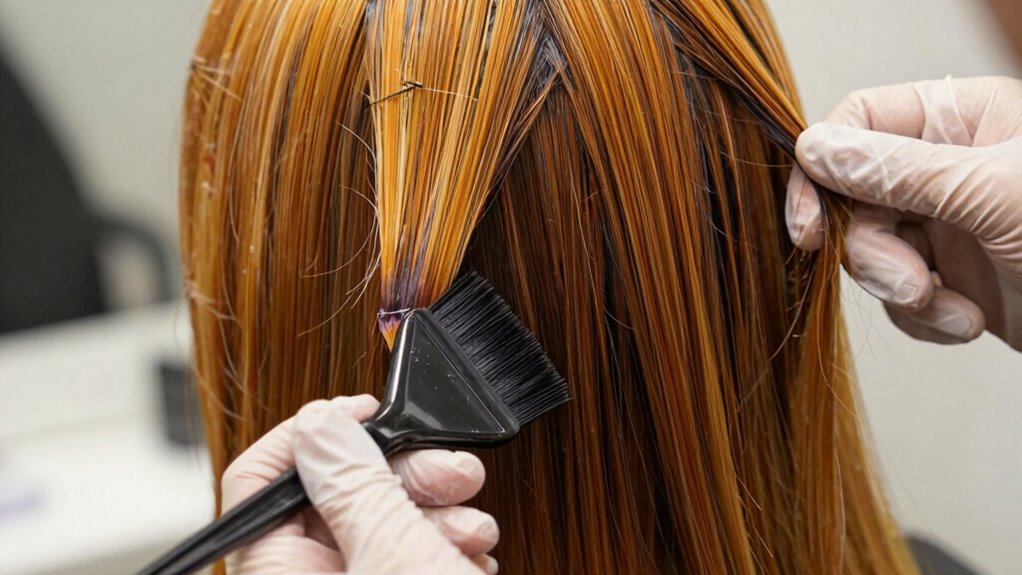
Achieving a smooth, even finish when applying hair dye starts with proper preparation. Begin by sectioning your hair into manageable parts to ensure thorough coverage. When it comes to application techniques, work from roots to ends, using a brush or applicator for precise placement. Focus on color blending by feathering the dye into the hair to avoid harsh lines or streaks. Keep a steady hand and maintain consistent pressure to prevent uneven patches. Regularly check your work to ensure even distribution. Don’t rush—taking your time helps achieve a uniform look. Remember, careful application reduces the need for extensive touch-ups later. Proper furniture placement can also influence the overall aesthetic and harmony of your space. With attention to detail and proper technique, you’ll enjoy a flawless, natural-looking color finish.
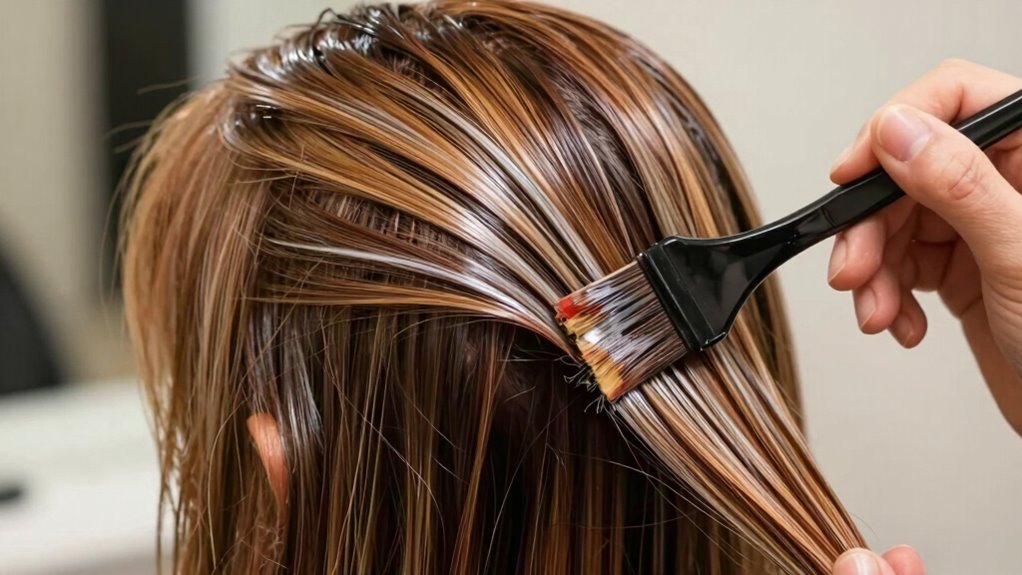
Finishing Tips: Blending and Touch-Ups for a Natural Look
Once you’ve applied the dye evenly, the next step is to blend the color seamlessly and perform touch-ups to create a natural look. Proper shade matching is essential, so confirm your chosen dye complements your existing hair color. To achieve smooth color blending:
- Use a clean brush or comb to softly blend edges where the new dye meets your natural hair.
- Check for uneven spots and apply small amounts of dye to correct them precisely.
- Focus on blending around the hairline and part to avoid harsh lines.
- Perform gentle touch-ups on any streaks or dark edges to ensure a cohesive, natural appearance.
- Incorporate techniques such as color fading to help the dye blend more naturally with your existing hair color.
These steps help prevent visible lines and streaks, making your hair look effortlessly polished and natural.
Troubleshooting Common Dyeing Issues and Fixes
Despite careful preparation, dyeing hair can sometimes lead to unexpected issues such as uneven color, streaks, or unwanted tones. To fix these problems, identify the root cause. For example, if you notice color fading faster than expected, it might be due to overexposure to sunlight or improper aftercare. Chemical damage can also cause uneven results and compromise hair health. Use the table below to troubleshoot common issues and solutions:
| Issue | Fix |
|---|---|
| Uneven color | Reapply dye selectively, ensure even application |
| Streaks | Blend edges and do a gentle touch-up |
| Color fading | Use color-safe shampoos, limit washing |
| Unwanted tones | Use a toner or gloss to neutralize |
| Chemical damage | Deep conditioning and avoid harsh products |
Additionally, understanding the importance of sustainable hair care practices can help maintain healthier hair and more consistent dye results over time.
Frequently Asked Questions
How Long Should I Leave Dye on My Hair for Best Results?
You should leave the dye on your hair for the recommended hair processing time indicated on the package, usually between 30 to 45 minutes. To achieve the best results, guarantee the dye saturation level is even, so the color develops uniformly. Avoid exceeding the suggested time, as it can lead to damage or uneven color. Check your hair periodically to see if the desired shade has been achieved.
Can I Use a Different Dye Brand for Touch-Ups?
Did you know that 65% of people struggle with color matching when using different dye brands? You can use a different brand for touch-ups, but it’s vital to maintain brand consistency to avoid uneven results. Always check the shade and formulation, as color matching is key. Test a small section first, and consider mixing brands carefully or consulting a professional to guarantee seamless blending and perfect color consistency.
What Tools Are Recommended for Precise Dye Application?
For precise dye application, you should use brush tools and applicator bottles. Brush tools give you control for detailed work, especially around the hairline and roots. Applicator bottles allow you to target specific sections evenly and reduce mess. Together, these tools help you achieve a clean, professional look while avoiding dark edges and streaks. Make sure to choose high-quality options for the best results and easier application.
Is It Safe to Dye Hair at Home Without Professional Help?
Dyeing your hair at home can be safe if you follow proper DIY safety precautions, like doing a patch test and reading instructions carefully. However, for complex or drastic color changes, seeking professional assistance is wise to prevent mishaps. If you’re confident and well-informed, you can achieve good results on your own, but knowing when to consult a pro helps avoid damage and uneven coloring.
How Often Should I Reapply Dye to Maintain Color?
Like a gardener tending delicate blooms, you should reapply dye every 4 to 6 weeks to keep your hair color vibrant. This dye maintenance schedule helps prolong hair color longevity, preventing fading and dullness. Keep an eye on your roots and color intensity; if your hair starts looking dull or roots grow out, it’s time for a touch-up. Consistent care guarantees your color stays fresh and beautiful.
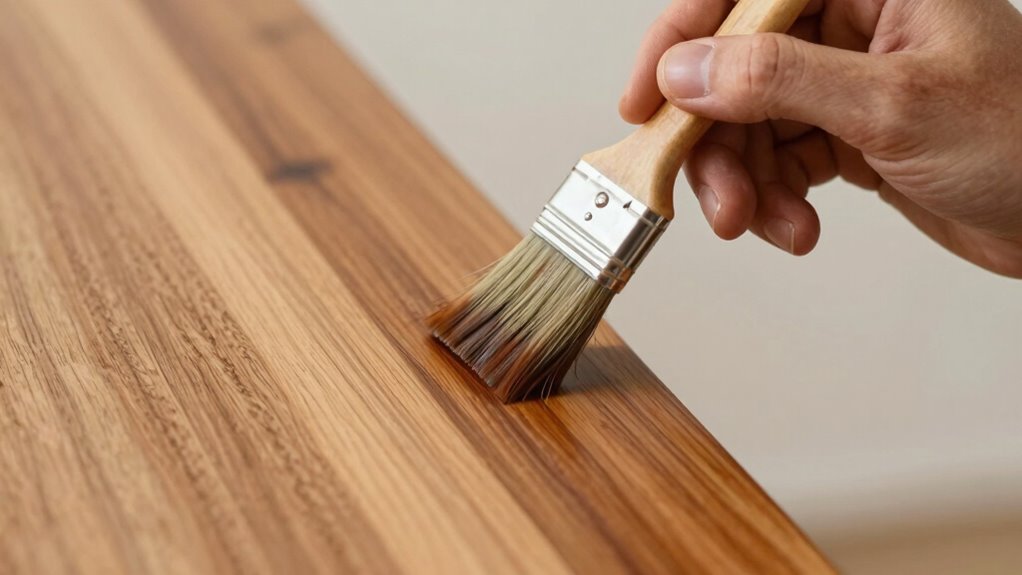
Conclusion
Think of hair dyeing like painting a wall—you want smooth, even strokes to avoid streaks and dark spots. When I once rushed my roots, I ended up with uneven color that took multiple sessions to fix. With patience and proper technique, you can achieve a flawless finish the first time. Remember, a little prep and careful application are your brushes for a perfect, natural look—so take your time and enjoy the transformation!