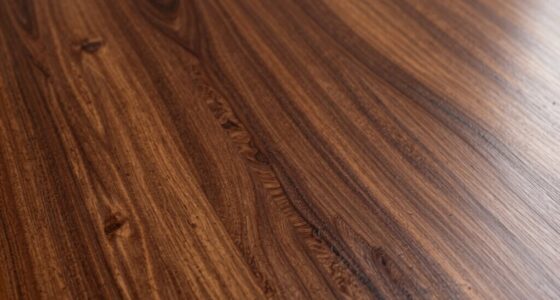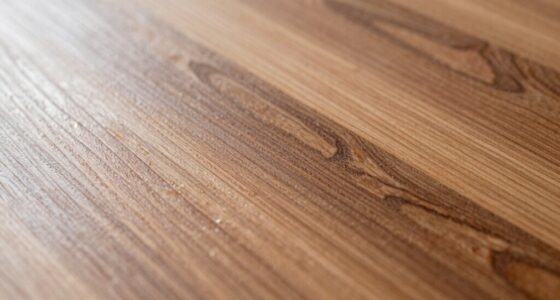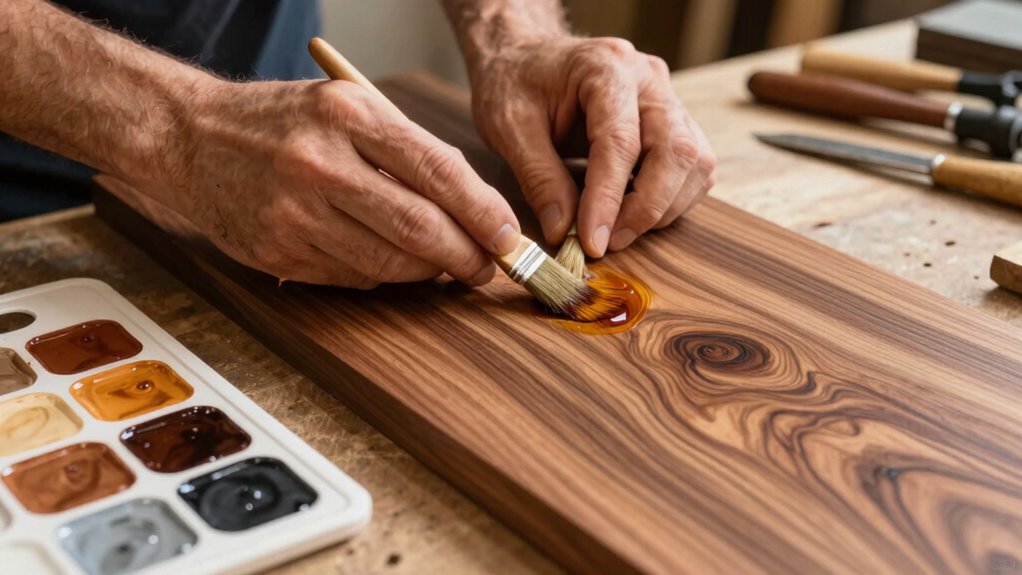

To tone wood effectively, start with thorough wood and surface preparation. Sand your piece, moving from coarse to fine grit for a smooth finish. Choose a toner that matches your wood species and test it on a scrap piece first. Apply the toner with a clean, lint-free cloth, working in sections for seamless blending. Finish with a clear topcoat to protect your work and enhance color richness. You’ll discover more techniques for perfecting your wood projects along the way.

Get tools and workshop supplies delivered free — and shop member deals
- Fast, free delivery on millions of items
- Access to Prime Big Deal Days deals on October 6–7
- Prime Video, Amazon Music and more included
Key Takeaways
- Proper wood and surface preparation, including sanding, ensures even toner adherence and prevents blotchy spots.
- Testing toner on scrap wood before application helps gauge the final appearance and ensures color matching.
- Choose a toner that complements the wood species for better overall results and aesthetics.
- Work in sections during application to achieve seamless blending and avoid visible lines between areas.
- Finish with a clear topcoat to protect the wood and enhance the toner’s richness for a professional look.
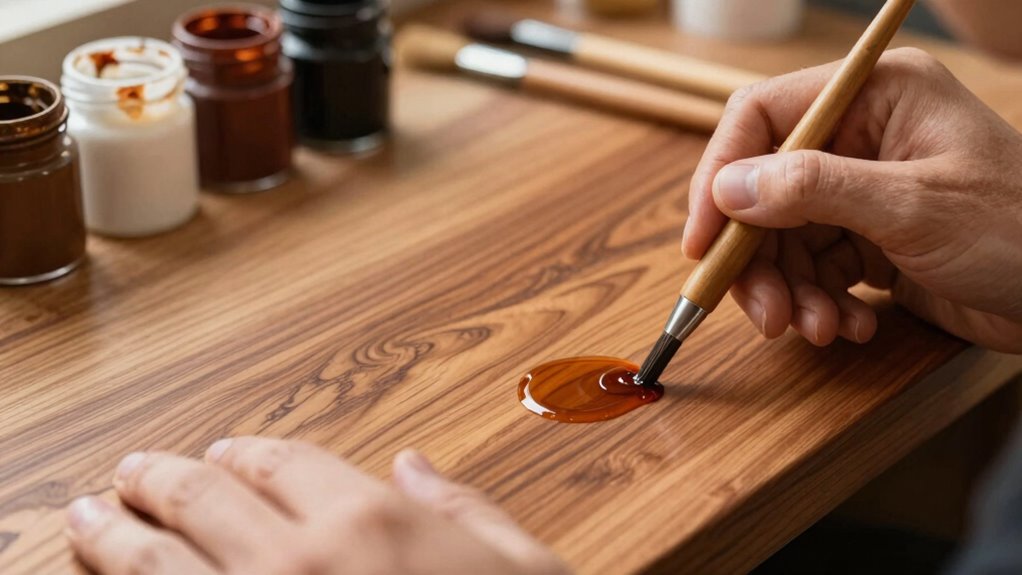
Before diving into finish application, it’s essential to prepare your wood properly. Sanding is your best friend here. Start with a coarse grit and work your way to a finer grit to create a smooth surface. This step guarantees that the toner adheres evenly, allowing for a uniform finish. If you skip this, you might end up with blotchy spots that can ruin the entire look. Once you’re satisfied with the smoothness, wipe down the surface to remove any dust or debris. Proper surface preparation is crucial for achieving a professional-looking result. Additionally, selecting the appropriate finishing techniques ensures the toner bonds well and enhances durability. Using the right techniques can also help control the color consistency across your project, leading to a more polished outcome. Remember, understanding how different finishes interact with toner can further improve your results, so exploring finish compatibility is advisable.
When it comes to color matching, you’ll want to choose a toner that complements the wood species you’re working with. Test your chosen toner on a scrap piece of wood first. This trial run helps you gauge how the color will appear once it dries. You might find that the wet color looks different than when it’s dry, so this step is vital for achieving your desired shade. Remember, it’s easier to add more color than to take it away.
Choosing the right toner is crucial; always test on scrap wood to ensure your desired shade before applying.
Now, let’s talk about finish application. Use a clean, lint-free cloth or a foam brush to apply the toner. Work in sections, making sure you blend the edges to avoid visible lines. If you’re after a more intense color, you can apply additional coats, but allow each layer to dry completely before adding the next. This patience pays off, as it gives you better control over the final hue.
Once you’ve achieved the desired color, finish with a clear topcoat to protect the wood. This layer not only enhances the richness of the toner but also safeguards your hard work against scratches and wear. Remember, the finish application is just as important as the toning; a good topcoat seals everything in and gives your project that professional look.
wood toner for furniture finishing
As an affiliate, we earn on qualifying purchases.
As an affiliate, we earn on qualifying purchases.
Frequently Asked Questions
What Types of Finishes Are Best for Toning Wood?
The best finishes for toning wood include oil-based stains, water-based dyes, and shellac. These options let you use various staining techniques for effective color blending. Oil-based stains penetrate deeply, enhancing the wood’s grain, while water-based dyes provide vibrant hues. Shellac offers a smooth finish and can be layered for richer tones. Experiment with these finishes to achieve the look you want, ensuring you test on scrap wood for the best results.
Can I Tone Wood After Applying a Clear Finish?
You can’t have your cake and eat it too when it comes to toning wood after applying a clear finish. While it’s possible, it often leads to complications with color matching and finish compatibility. If you decide to tone it, make sure the toner is compatible with your existing finish. Test on a scrap piece first to avoid unwanted surprises. Remember, patience pays off in achieving that perfect look!
How Do I Remove Toner From Wood?
To remove toner from wood, start by selecting toner removal techniques like chemical strippers or sanding. If you choose a stripper, apply it evenly and let it sit as directed. Scrape off the toner gently, then clean the surface with mineral spirits. If sanding, use fine-grit paper to avoid damage. Afterward, prepare the wood by cleaning it thoroughly and allowing it to dry, ensuring it’s ready for any new finish or stain.
Is Toning Wood Safe for Indoor Furniture?
Yes, toning wood is generally safe for indoor furniture, but you should consider the materials you use. Many wood coloration techniques involve finishes that can emit volatile organic compounds (VOCs), which might affect indoor air quality. To guarantee safety, choose low-VOC or water-based toners. Always work in a well-ventilated area and let your finished piece cure fully before bringing it indoors. This way, you can enjoy beautiful furniture without compromising your health.
How Long Does Toned Wood Take to Dry?
Toned wood usually takes about 24 to 48 hours to dry, depending on the moisture levels in the air and the type of finish you used. If humidity’s high, it might take a bit longer. Make sure to keep the area well-ventilated to speed up the drying process. You can check for dryness by lightly touching the surface; if it feels tacky, it needs more time. Patience is key for a smooth finish!
As an affiliate, we earn on qualifying purchases.
Conclusion
By toning wood with finish, you can achieve a flawless color match that elevates your project. Did you know that 70% of woodworkers believe color consistency is essential for a professional look? With the right techniques, you can guarantee every piece blends beautifully, enhancing the overall aesthetic. So, embrace the art of toning and watch your craftsmanship shine. You’ve got the tools; now let your creativity flow and transform your woodwork into something truly extraordinary!
As an affiliate, we earn on qualifying purchases.
lint-free cloth for wood finishing
As an affiliate, we earn on qualifying purchases.
As an affiliate, we earn on qualifying purchases.
Halloween Picks
halloween
As an affiliate, we earn on qualifying purchases.