To plan your filler strips effectively, start by choosing materials that match your surfaces, like wood or plastic, for aesthetics and durability. Measure gaps accurately to avoid installation errors, and prepare your workspace by cleaning and maintaining ideal conditions for adhesives. Understand the compatibility of glues and fasteners for effective bonding. Finally, pay attention to finishing touches, like sanding and sealing, to enhance the look and lifespan of your strips. There’s much more you can explore to guarantee success.
Key Takeaways
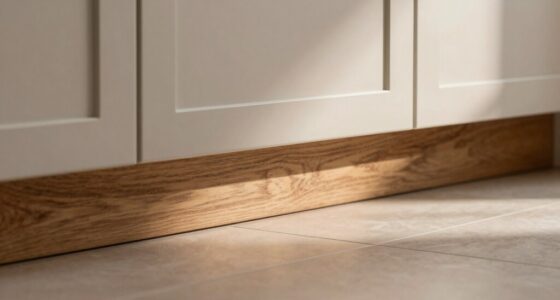
- Choose the right material (wood or plastic) based on the installation environment and compatibility with surrounding surfaces.
- Measure gaps accurately to avoid mistakes that lead to improper sizing or installation issues.
- Prepare the workspace by cleaning thoroughly and ensuring suitable environmental conditions for adhesives.
- Understand material compatibility for adhesives and fasteners, selecting products that work well with your chosen filler strip.
- Finish with attention to detail by sanding edges and applying sealant or paint to enhance durability and appearance.

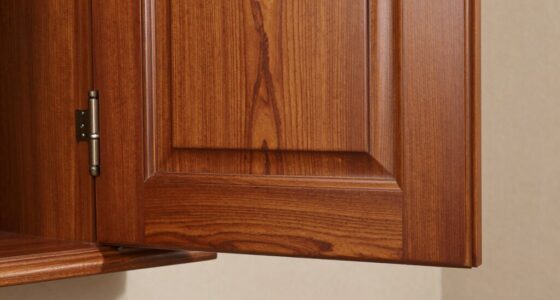
Planning filler strips might seem straightforward, but there are a few key steps you shouldn’t overlook. When it comes to choosing the right filler strip materials, you’ll find that your decision can greatly affect both the appearance and durability of your installation. For instance, if you’re opting for wood, reflect on how it will blend with your existing surfaces. On the other hand, plastic might offer more resistance to moisture, making it ideal for areas prone to water exposure.
Choosing the right filler strip materials is crucial for both appearance and durability, influencing your overall installation success.
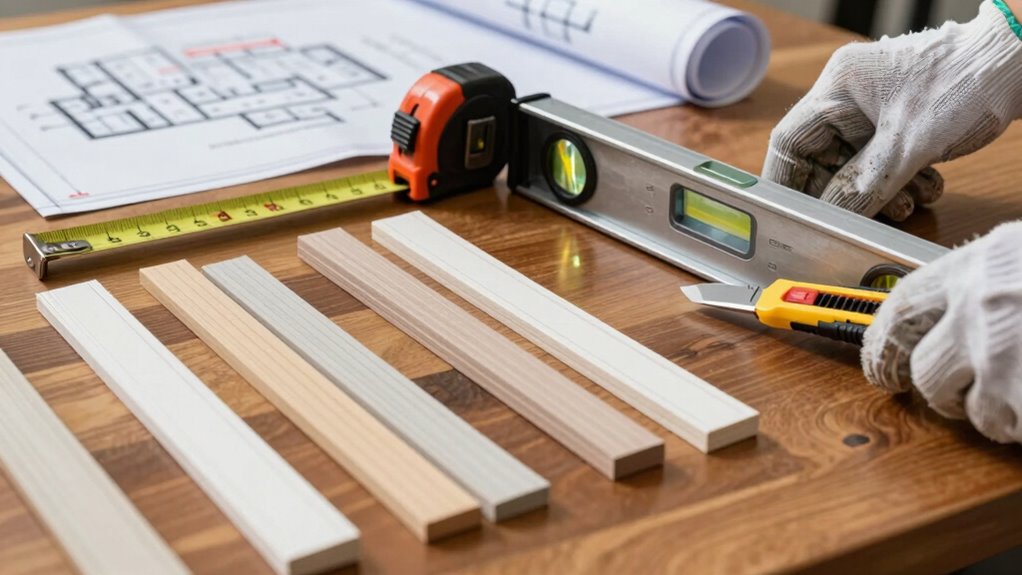
Once you’ve selected your materials, it’s vital to familiarize yourself with effective installation techniques. You don’t want to jump in without a solid plan. A well-thought-out approach can save you time and prevent headaches down the line. Start by measuring the gaps that need to be filled accurately. This guarantees you cut your filler strips to the right size, reducing the risk of having to make adjustments later. Make sure your measurements are precise; even a small error can lead to unsightly gaps or overcuts.
Next, think about the method of attachment. Some materials work best with adhesives, while others may require nails or screws. If you’re using adhesive, pay attention to the specific type that suits your filler strip materials. Certain glues work better with particular surfaces, so take the time to read labels and choose wisely. If you decide to use screws, pre-drilling your holes can prevent splitting and guarantee a clean finish. Understanding material compatibility is also crucial to ensure your chosen adhesives and fasteners work effectively with your selected materials. Additionally, reviewing installation guides can provide valuable insights tailored to your specific project.
After you’ve got your strips cut and ready for installation, take a moment to prep your workspace. Clean the area thoroughly, removing any dust or debris that might interfere with adhesion. You’ll also want to reflect on the environmental conditions; extreme temperatures can affect how well your adhesive bonds. If it’s too cold or too hot, it could lead to complications later on. Understanding smart home solutions can help you integrate your filler strips seamlessly into an automated or tech-enhanced environment. Being aware of installation techniques can also help you achieve a more professional finish, especially if you’re new to DIY projects. Proper planning and preparation are essential, including considering safety precautions to avoid unnecessary accidents during installation. Remember, proper planning and preparation are key to a successful and long-lasting installation.
Finally, once everything’s in place, don’t rush the finishing touches. Sand down any rough edges, and if necessary, apply a sealant or paint to match the surrounding area. This final step not only enhances the appearance but can also prolong the lifespan of your filler strips. By planning carefully and keeping these key steps in mind, you can make sure your filler strip installation goes off without a hitch, saving you from potential headaches down the line.

Art3d 4 FT Self Adhesive Vinyl Floor Transition Strip, Laminate Strip Flat Divider for Joining Gaps,Carpet Threshold Transition,Floor Tiles(1.57in, Brown)
Excellent Materials: High-Quality PVC Floor Transition Strips, which is scratch-resistant, abrasion-resistant, dirt-resistant. Easy to clean, just use a…
As an affiliate, we earn on qualifying purchases.
As an affiliate, we earn on qualifying purchases.
Frequently Asked Questions
What Materials Are Best for Filler Strips?
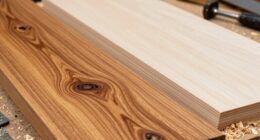
For filler strips, you’ll want to choose materials that combine durability with aesthetic appeal. Hardwoods like oak or maple are great options due to their strength and resistance to wear. If you’re looking for something more cost-effective, consider plywood or MDF, which can also hold up well. Just remember, whichever wood types you select, make sure they match your existing decor and can withstand the conditions of the installation area.
How Do I Calculate Filler Strip Dimensions?
To calculate filler strip dimensions, measure the gap you need to fill, then subtract the thickness of your main material. Notably, a precise measurement can reduce installation errors by up to 30%. For accurate filler strip measurements, consider using a measuring tape and double-checking your figures. Installation tips include cutting strips slightly longer than needed for better fit and ensuring you account for any expansion or contraction in your materials.
Can I Paint Filler Strips After Installation?
Yes, you can paint filler strips after installation. Just make sure the surface is clean and free of dust for better paint adhesion. Choose filler strip colors that match or complement your decor for a seamless look. If the strips are made of a material like wood or PVC, use a primer for best results. Once you’ve applied the paint, allow it to dry thoroughly before touching or installing anything over it.
How Do I Maintain Filler Strips Over Time?
To maintain your filler strips over time, regularly clean them with mild soap and water to prevent buildup. Inspect for any damage or wear and address issues promptly. For longevity, avoid harsh chemicals and excessive moisture. Consider applying a protective sealant every few years to enhance durability. Following these filler strip maintenance tips will keep them looking great and extend their lifespan, ensuring they remain an attractive part of your space.
Are There Specific Tools Needed for Installation?
For installation, you’ll need a few specific tools: a measuring tape, a utility knife, and a level. These help guarantee precision and reduce common mistakes like uneven cuts or misalignment. Depending on your material, a heat gun might be useful for flexibility. Familiarize yourself with various installation techniques to enhance your results. By having the right tools on hand, you can streamline the process and achieve a professional finish.

TOUSEA Professional Waterproof Caulk Strip – Self Adhesive White Sealing Tape for Toilet, Tub, Wall Edge – Decorative Wall Trim & Peel and Stick Backsplash Finisher – Renter Friendly, Easy Install
Color & Size Specification: 1.5IN/38mm(With), 10.5FT/3.2m(Length), 0.04IN/1mm(Thickness) Color: White This waterproof sealant caulk tape strip with a crease…
As an affiliate, we earn on qualifying purchases.
As an affiliate, we earn on qualifying purchases.
Conclusion
In summary, planning your filler strips is like laying a solid foundation before building a house. Take the time to measure accurately and sketch a layout, guaranteeing everything fits together seamlessly. This preparation not only saves you headaches during installation but also assures a polished final look. Remember, a little foresight goes a long way, so don’t rush through this essential step. With careful planning, your project will flow smoothly and efficiently.

Gorilla All Purpose Wood Filler, Natural Finish, 16 Ounce Tub (Pack of 1) – Water Resistant for Indoor or Outdoor Projects and Repairs
Gorilla tough: Gorilla Wood Filler is the go-to product for strong water resistant repairs on cracks, gouges and…
As an affiliate, we earn on qualifying purchases.
As an affiliate, we earn on qualifying purchases.

NIUBEE 20 Pack Acrylic Sign Holder 8.5 x 11 inches Clear Wall Mount Frame Bonus , Wall Mount Plastic Sign Holder Perfect for Home, Office, Store, Restaurant- Vertical
EASY TO ASSEMBLE- You can install the wall mounted sign holder by using the Included Screws and Anchors,or…
As an affiliate, we earn on qualifying purchases.
As an affiliate, we earn on qualifying purchases.